Want to pass along the joy of your child’s artwork as a present to someone they love? I’ve partnered with Crayola to bring you five fun and easy ways to turn children’s artwork into gifts!
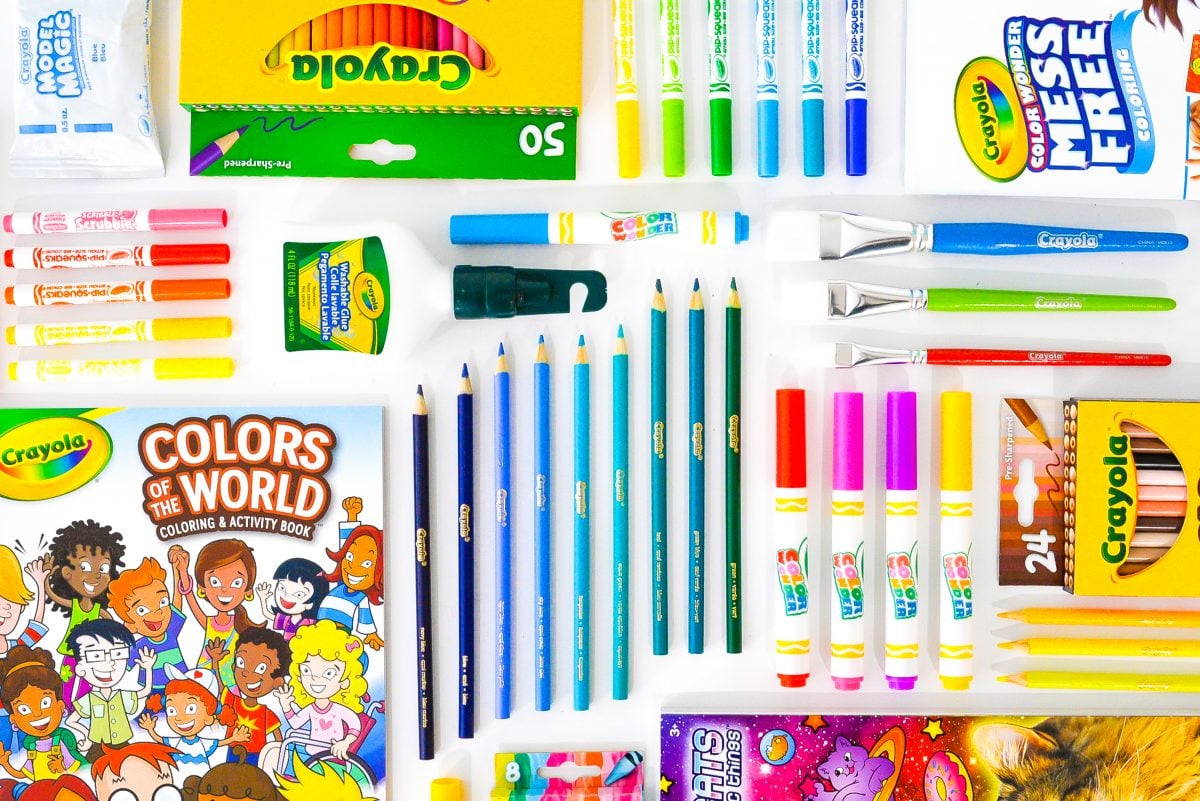
Today I am so excited to be partnering with one of my favorite brands from one of my favorite stores—Crayola!
As an artsy kid, Crayola played a big part in my childhood. From crayons to colored pencils, paints to coloring books, there hasn’t been a time when I haven’t had a drawer full of Crayola products in my home. And now as a mom of two six-year-olds, I’m passing my love of Crayola onto my boys!
My boys favorite is definitely the Crayola Color Wonder coloring pages. We took Crayola Color Wonder Stow and Go packs on a recent road trip to Yellowstone and the boys colored for hours. They loved finding the “hidden pictures” and colored artwork for everyone we visited on the trip. But the best part? They are mess free! The markers only color on the pages, and not, for example, the seats of the expensive rental car. It was such a great activity for them on our long vacation.
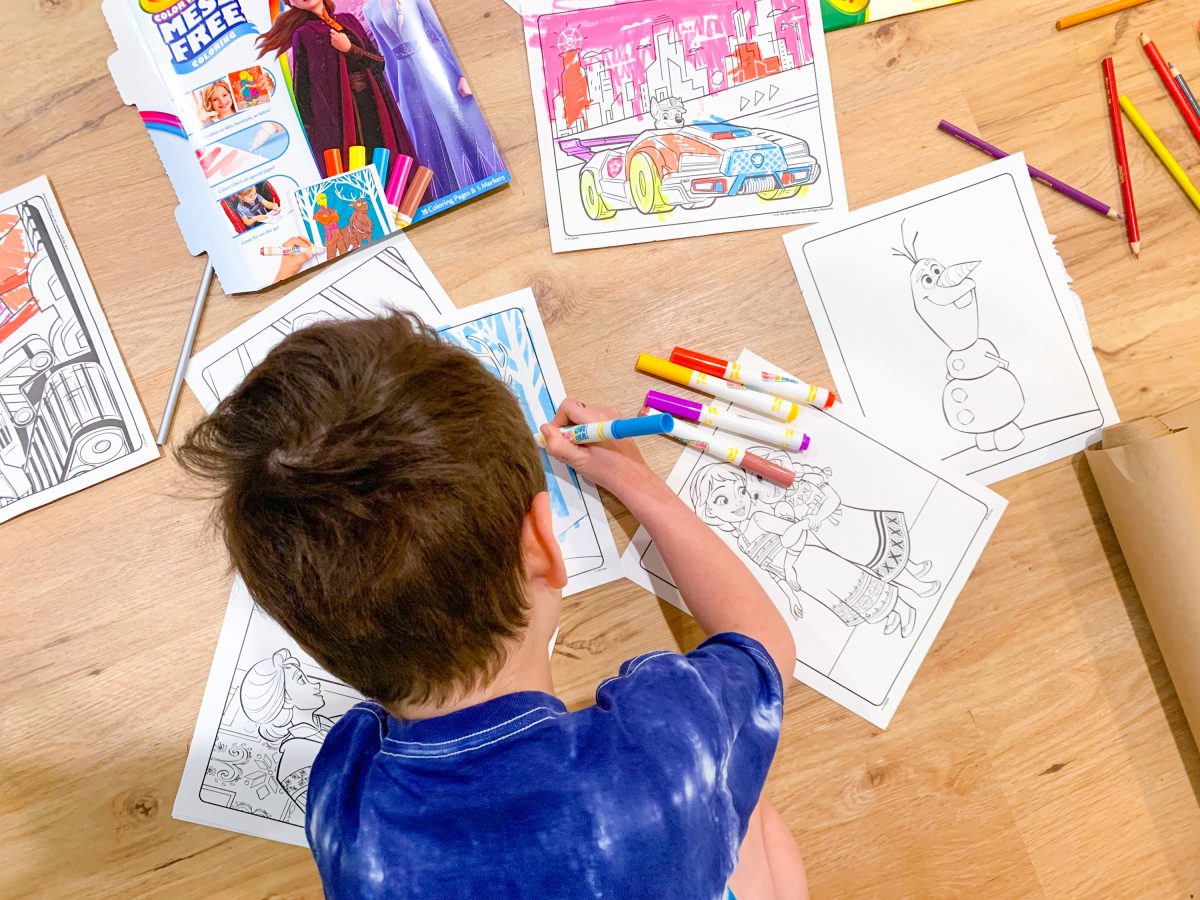
Since our house is basically a Crayola art factory these days, I’ve been coming up with creative ways to showcase the boys artwork. From framing their favorite drawings to using coloring pages as wrapping paper, we’ve come up with lots of ways to actually enjoy their artwork instead of it languishing in a drawer.
Recently, my mom told the boys she wanted some of their artwork for Christmas. Instead of giving her just the artwork itself, I thought I’d come up with some fun ideas to better showcase their drawings and coloring pages for grandma.
These are also fun ideas for grandparents, caregivers, teachers, and more to work with kids to make presents for their parents for the upcoming holidays!
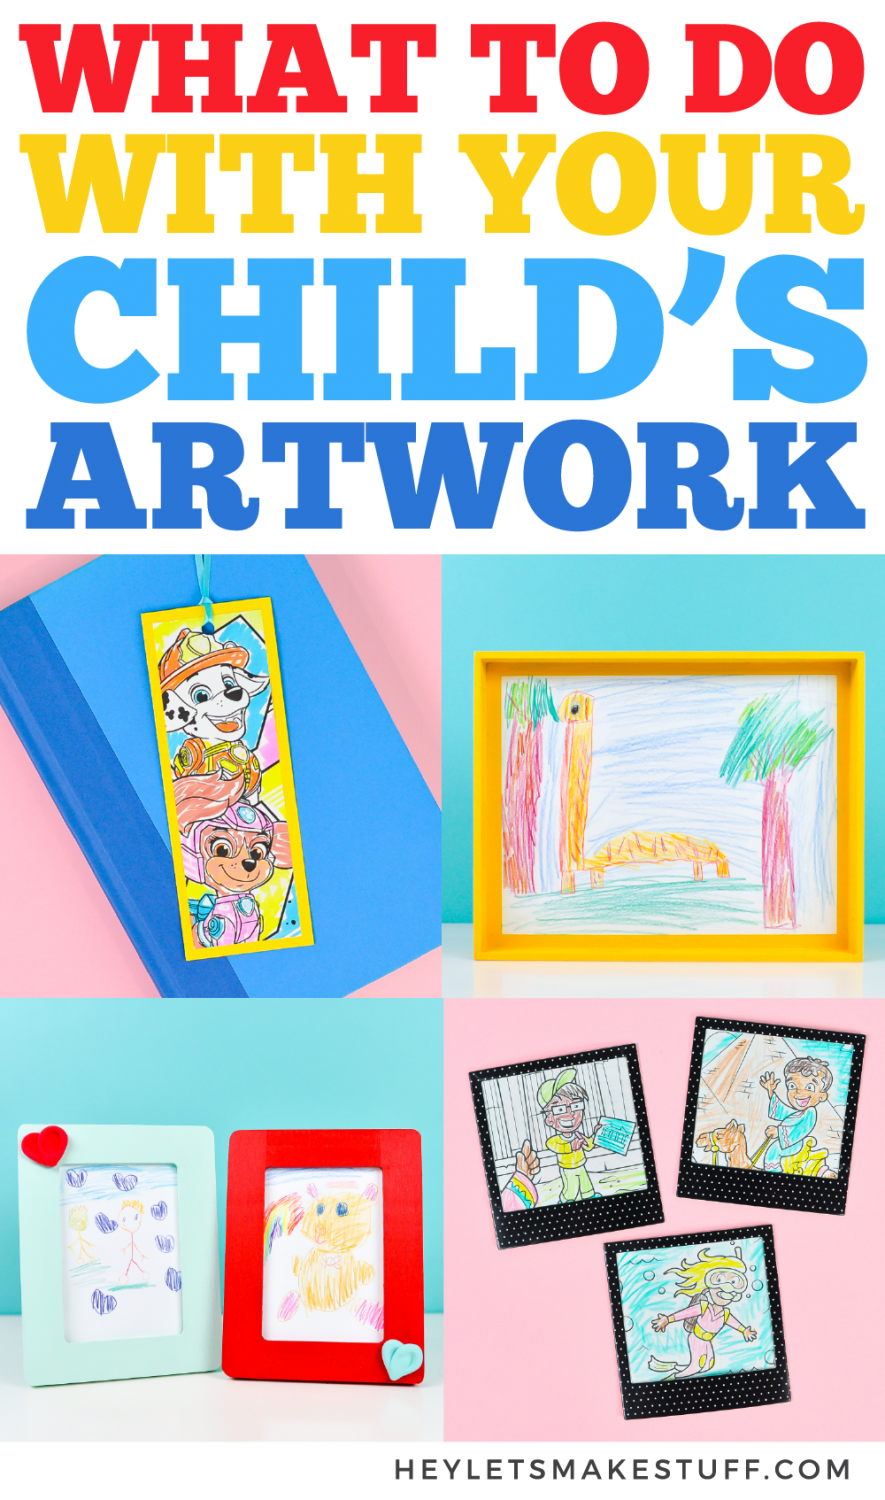
Five Ways to Turn Children’s Artwork into Gifts with Crayola!
Kid’s Artwork Tray
Supplies Needed
- Your child’s artwork or coloring pages
- Wood tray
- Crayola Project Paint
- Paint brushes
- Decoupage medium
- Brayer (optional)
I’m always corralling different things around our house in trays, so a custom tray made with your kid’s artwork is a fun gift idea for anyone who could use a little clutter management!
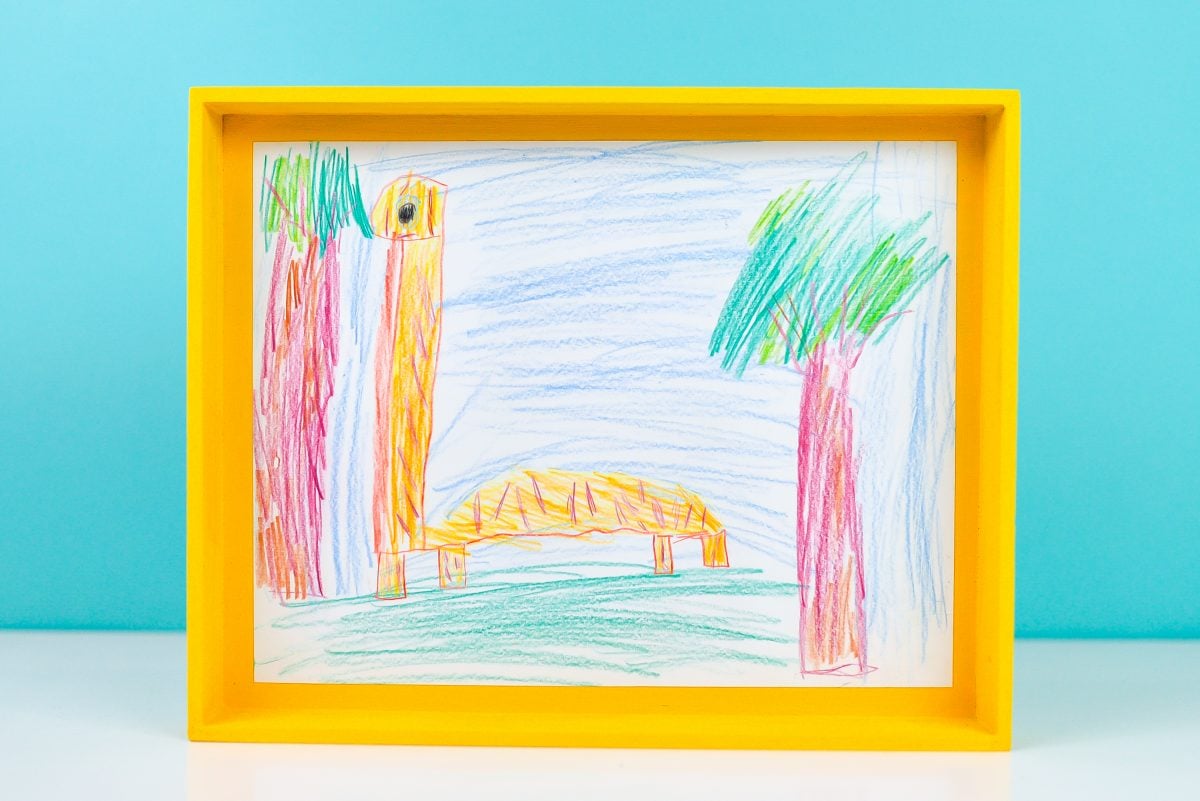
To start, paint your tray if you’d like. I went with a bright yellow to match my son’s artwork. Let dry overnight.
Paint a thin layer of decoupage medium on the back of the artwork, and set it onto the tray. Start in the middle and work outward, trying to avoid bubbles. If needed, use a brayer to work out any bubbles. Let dry.
Then paint another thin layer decoupage medium on top of the artwork. Let dry. Repeat with a second layer and you’re done with your tray!
So cute! My son Cal wanted you to know that this is a portrait of his favorite stuffie, Jack the Giraffe. Jack is eating the leaves on that tree and he thinks they are “delicious and nutritious!”
Coloring Page Bookmarks
Supplies Needed
- Your child’s artwork or coloring pages
- Scissors or a paper trimmer
- Coordinating cardstock
- Glue stick
- Hole punch
- Ribbon or a bookmark tassel
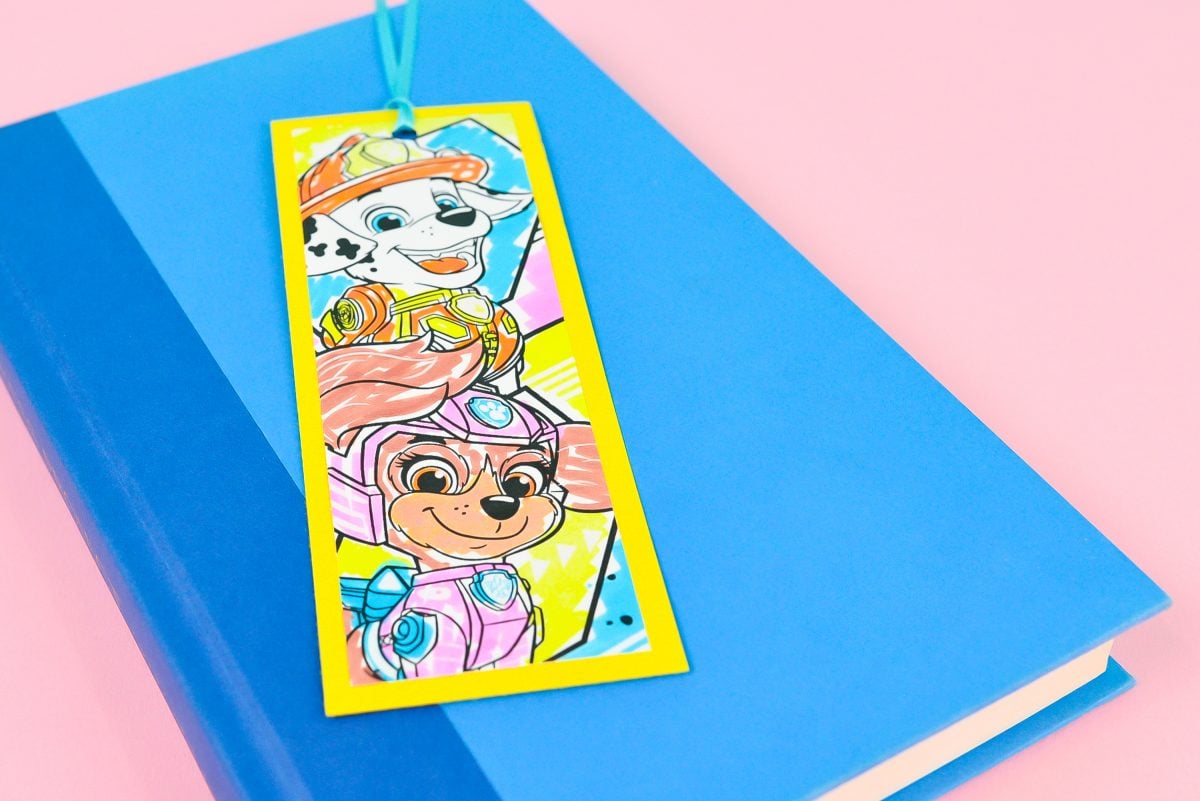
This is a fun (and inexpensive!) gift idea for any book lover. We’re a bit Paw Patrol obsessed in our house, so I grabbed one of their Paw Patrol Crayola Color Wonder sheets for this project.
This one is super easy! Simply trim your artwork into a long rectangle, about 2″ wide and 6″ tall. Cut a slightly larger piece of coordinating cardstock. Glue the artwork to the cardstock.
Then punch a hole at the top and add a ribbon. A bookmark tassel would also be fun!
We’ve been reading out of longer chapter books with our boys so I’ll also make a few for us—saving us from the dreaded dog-ear!
Coloring Pencil Box
Supplies Needed
- Your child’s artwork or coloring page
- Wooden box
- Crayola Project Paint
- Paint brushes
- Crayola colored pencils
- Brayer (optional)
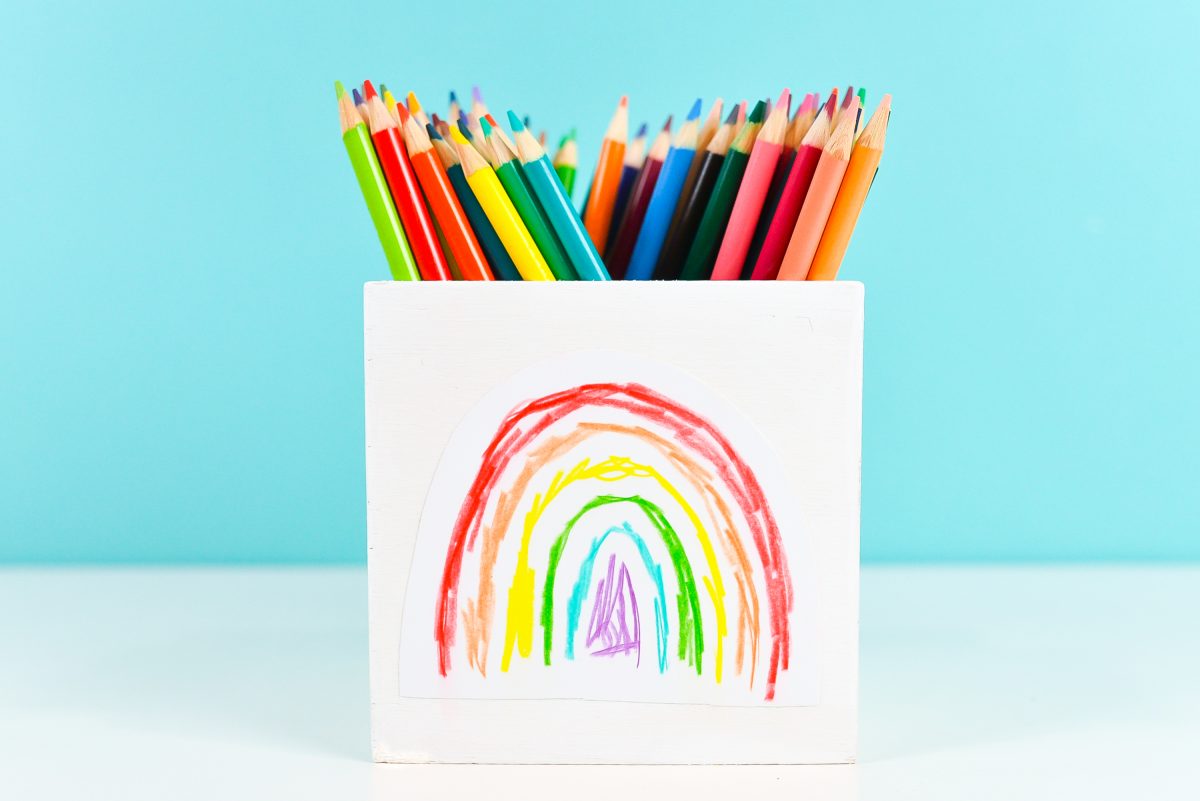
This is a great gift for an artsy friend—a pencil box filled with Crayola colored pencils! My boys are obsessed with drawing rainbows (um, same!) so I had them draw a bunch of rainbows and I chose my favorite. They are getting so good!
If you’d like, paint your box. I went with white so the rainbow would stand out! Let dry overnight.
Paint a thin layer of decoupage medium on the back of the artwork, and set it on the box. Start in the middle and work outward, trying to avoid bubbles. If needed, use a brayer to work out any bubbles. Let dry.
Then paint another thin layer decoupage medium on top of the artwork. Let dry. Repeat with a second layer.
Repeat this process on all four sides of the box, if you’d like! This would be a fun one with coloring pages too—I know my boys would love a Paw Patrol box for their Color Wonder markers, or a Baby Shark box for their crayons.
DIY Frame Using Crayola Model Magic
Supplies Needed
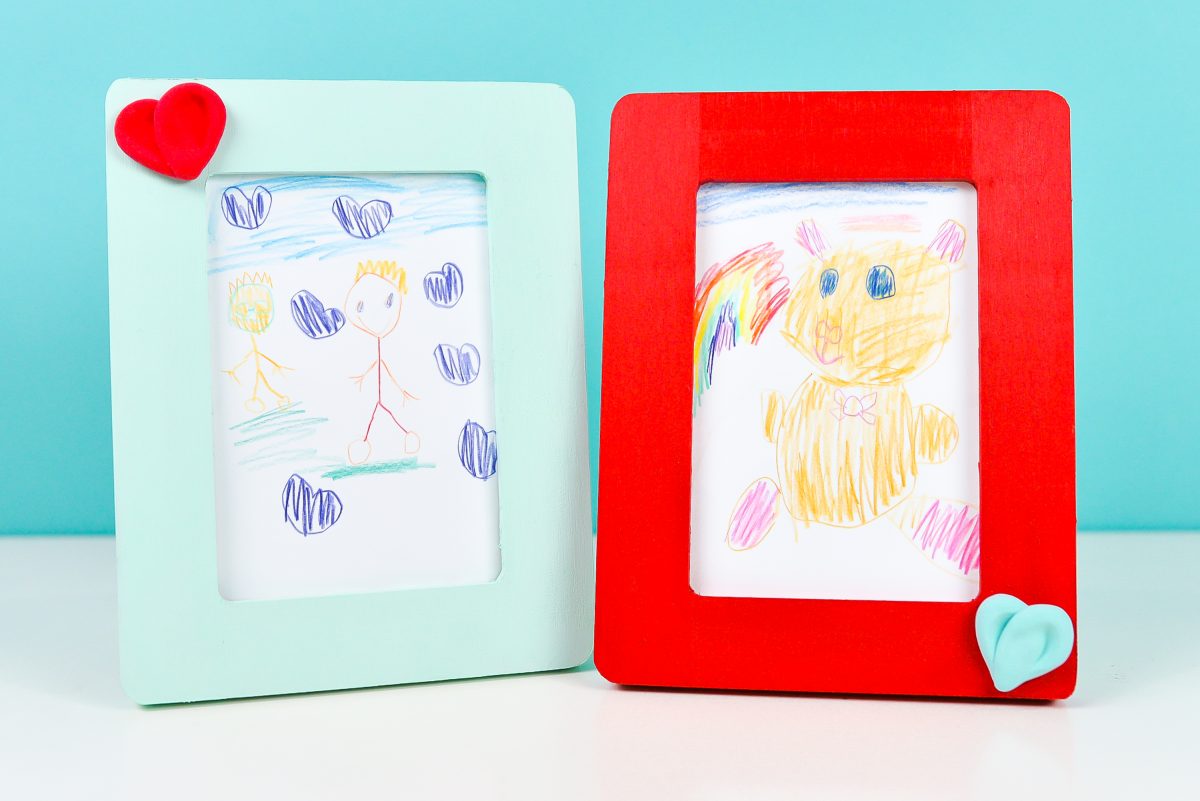
This project is a simple twist on a framed piece of artwork. I am in love with both of these drawings by my other son, Seb. The one on the left is grandpa and grandma and on the right is his beloved stuffed bear, Hazel.
- Your child’s artwork or coloring page
- Wood frame
- Crayola Project Paint
- Paint brushes
- Crayola Model Magic
- Crayola Glue
We painted the frames red and a lighter teal (a mix of mostly white and a bit of blue and green).
To make the frames more special, we used Crayola Model Magic to create a thumbprint heart! Crayola Model Magic is a modeling clay that is way less crumbly than other types of clay. My boys love mixing together the different colors to create a huge rainbow of color. We were able to make a light teal using white, blue, and green Model Magic! It was a lot of fun working with them to get the color proportions right to match the paint we mixed.
To make the heart, take a small piece of Crayola Model Magic and create a teardrop shape. Have your child press their thumb to create a thumb print in the shape. Then do the same with a second teardrop shape. Then layer the two teardrops to create a thumb print heart!
Let the heart dry overnight and adhere it to the painted frame with a bit of glue.
Photo Frame Magnets
Supplies Needed:
- Your child’s artwork or coloring pages
- Cardstock frames, or you can cut your own from cardstock
- Cardstock cut to the same size as the frames (optional)
- Glue stick
- Magnet
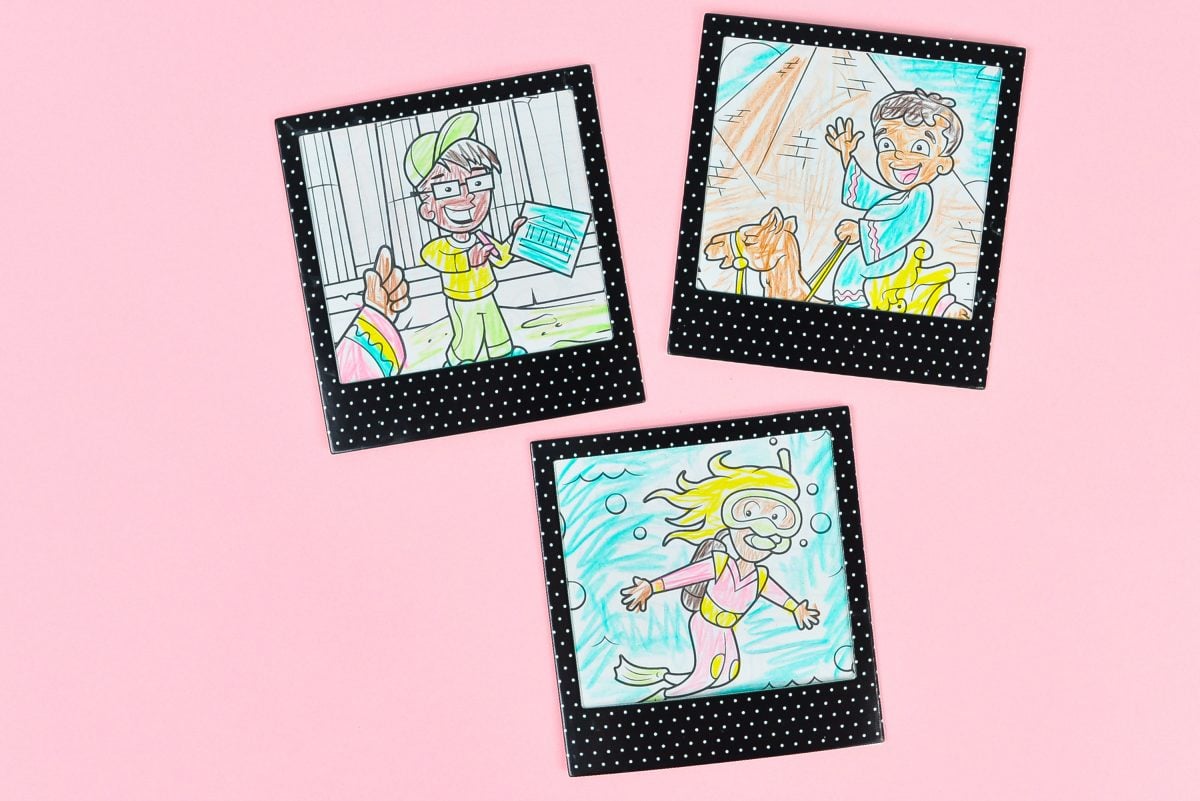
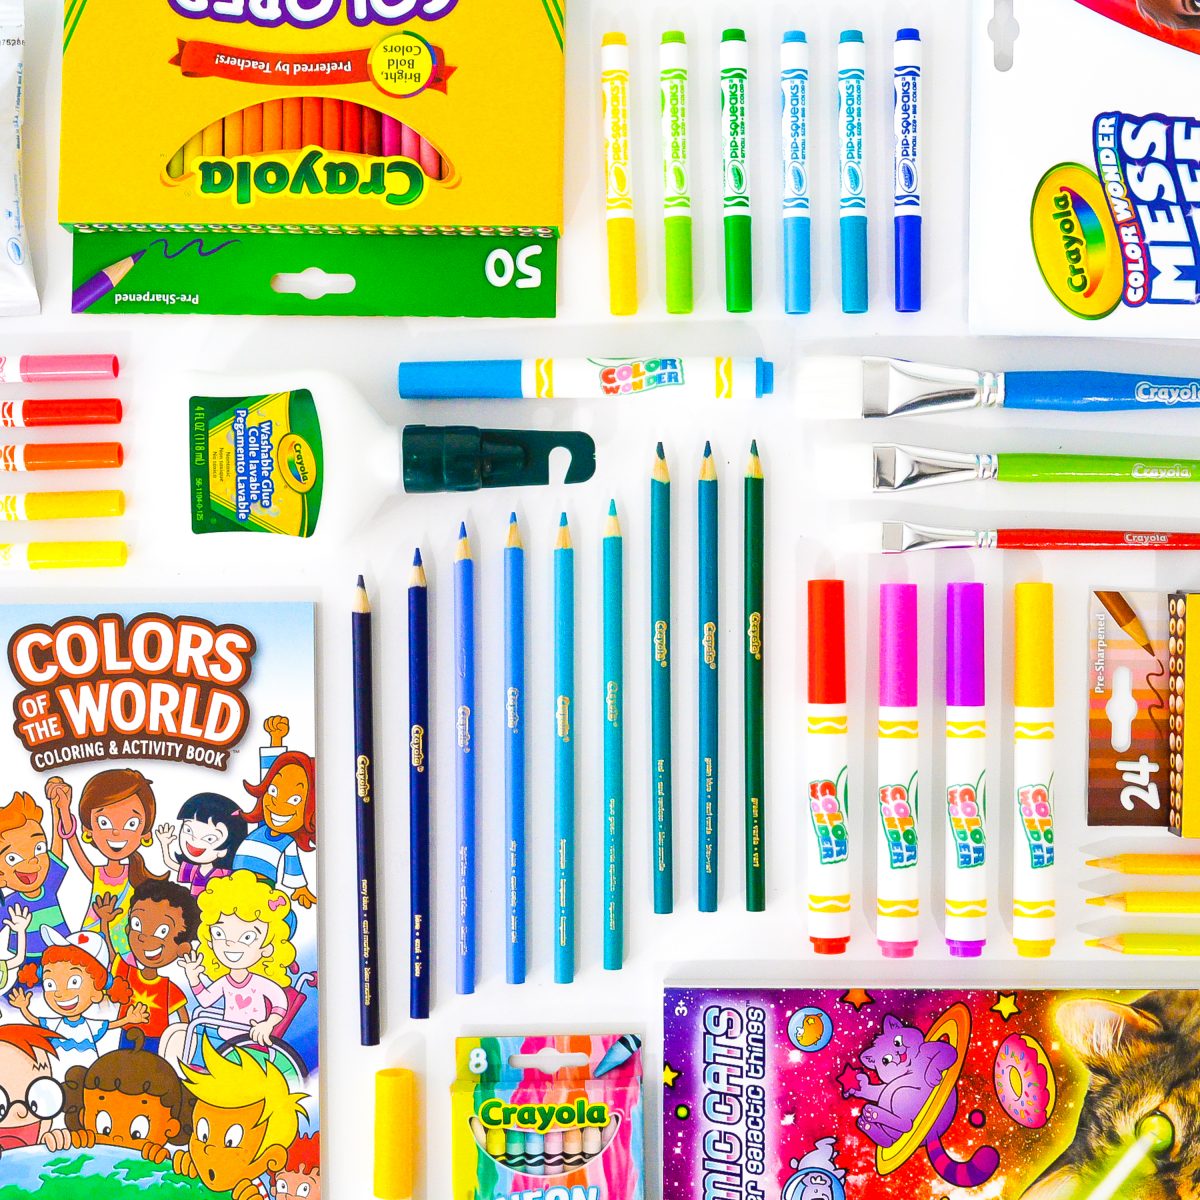
For this project, the boys and I colored in their Colors of the World coloring book with the matching colored pencils. I love the HUGE range of skin tones in this pack of colored pencils. It’s fun to watch them color a whole world of people! These were particularly fun in photo frames because they look like vacation snapshots!
Magnets make the perfect gift for a grandparent or other loved one. My nephew gave me a magnet of an owl he drew a few years ago and it’s still on our fridge—I treasure it! So I knew it was the perfect sort of gift for a grandparent to proudly display on their refrigerator.
To make these photo frame magnets, simply cut out the artwork or coloring pages to fit just behind the photo frames.
Use glue to adhere the frame to the artwork.
If you want your frame to bit a bit more sturdy, you can add a piece of cardstock behind the frame as well.
Finally, glue a magnet to the back!
I hope you found these ideas inspiring for turning children’s artwork into gifts!


Leave A Reply!