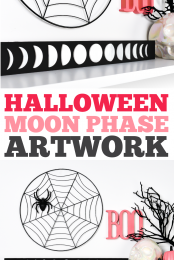
Ready to make a quick but eye-catching piece of artwork for your home? Use your Glowforge or other laser cutter to craft this striking moon phase artwork using pearl acrylic! Perfect for Halloween decor, too.
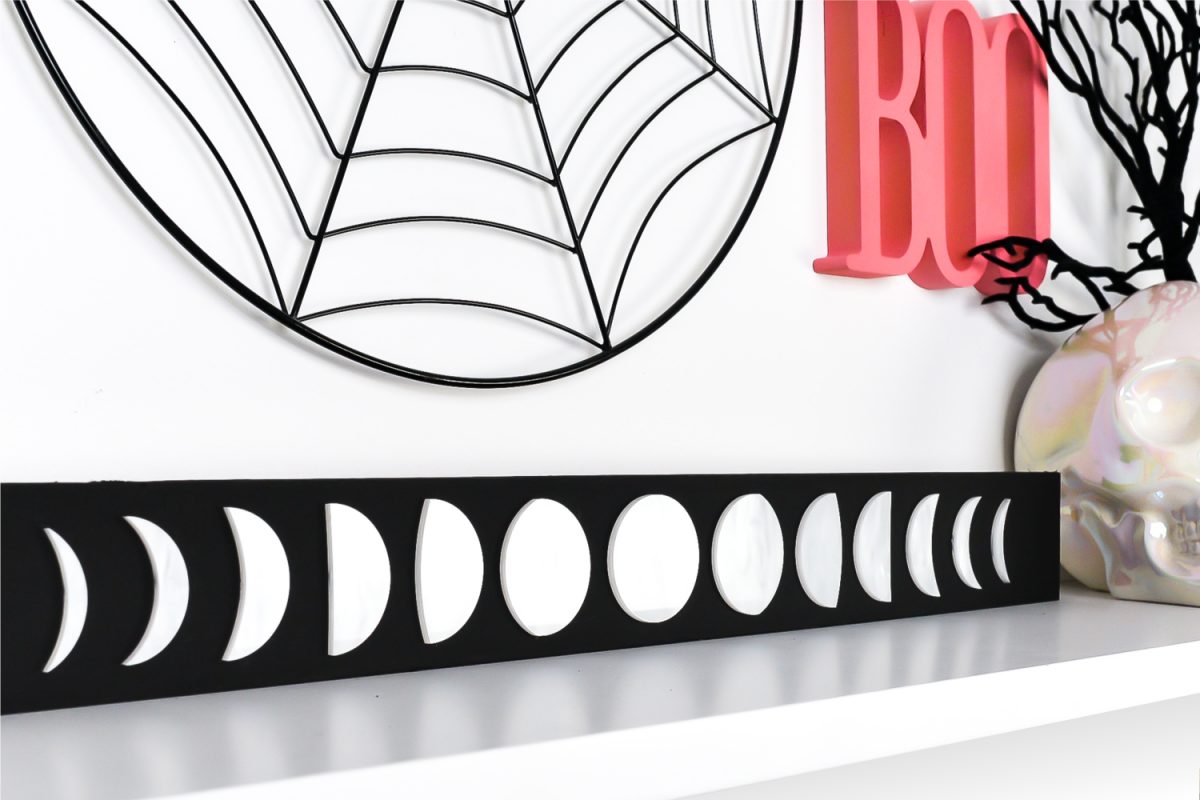
I’ve been really inspired to craft with my Glowforge this Halloween season. I need twice as many hours in the day (and basically no other responsibilities!) to craft all of the ideas I have rolling around in my head this Halloween season.
Not sure what a Glowforge is? I wrote all about it in my Glowforge Overview: What to Know Before You Buy! You can also save up to $500 on a machine in that post!
I’m getting more and more comfortable using my machine with new materials, in particular. One of my favorite shops for materials is Cerulean Tides. They have a huge selection of acrylic that can be cut on your Glowforge or other laser cutter. When I saw their pearl acrylic, I knew it was the perfect fit for a project I’ve had on my list for a while now.
A while back, I saw Kara’s moon phase artwork on her blog A Kailo Chic Life. I really loved the artwork because I think it’s perfect for Halloween without being spooky, but also because I have always loved watching the phases of the moon over the course of time. Combine the idea of some moon phase artwork with some white pearl acrylic and I knew I had a winner.
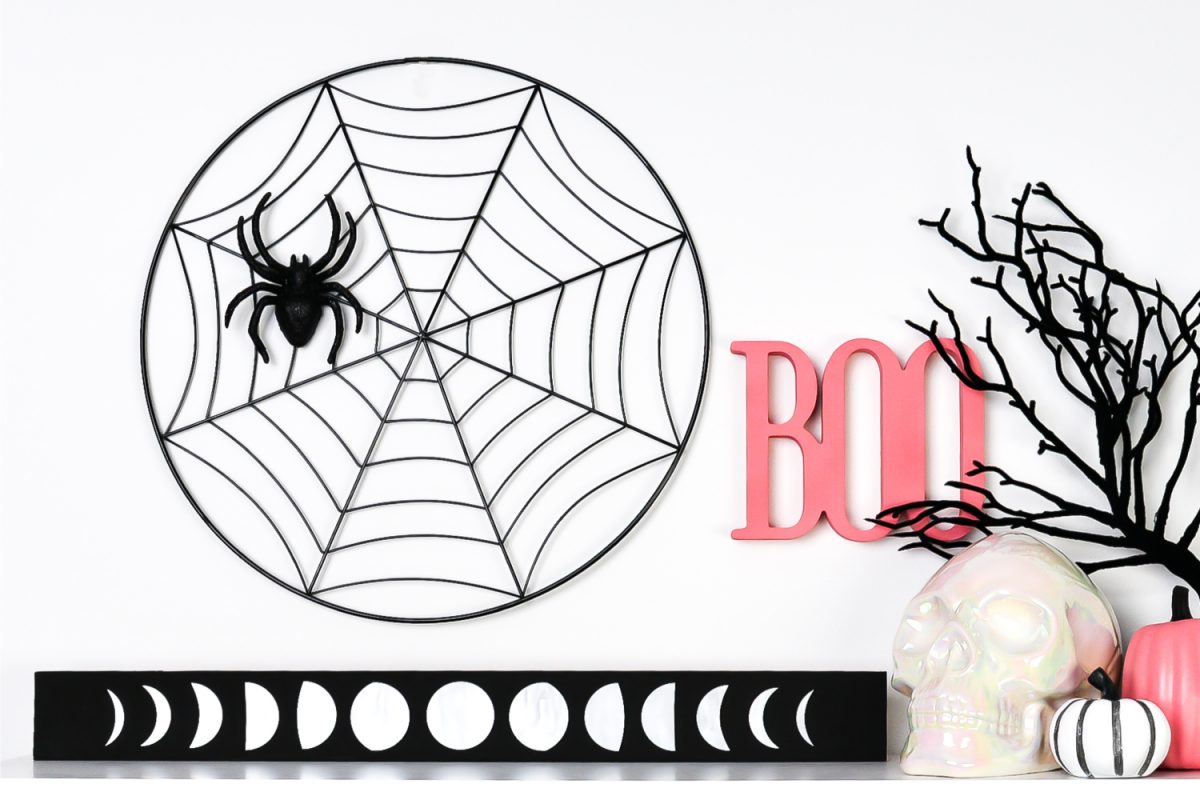
This is such an easy project to make—perfect for Glowforge beginners! Let’s get started.
Moon Phase Artwork Supplies
- Glowforge or other laser cutter
- White pearl acrylic
- Masking (if your acrylic doesn’t come masked) + Brayer
- A piece of wood that is 24″ x 2.5″ (see note)
- Black paint + paint brush
- E6000 glue
- Moon Phase SVG File (see below)
Note: for the backing board, I just used a scrap of cedar that we had, cut down to 24″ long. You can use any sort of wood scrap. Your dimensions don’t have to be the same as mine—you can cut the moon phases larger or smaller to fit your board. You could even use fewer phases from the file and/or arrange them in a grid like the artwork in Kara’s post.
Get the Moon Phase SVG
Moon Phase Artwork Instructions
Start by painting your board black (or navy blue…or bright pink…whatever you want!). I prefer chalk paint because it’s very matte and doesn’t reflect the light—I want the moon phases to be what shines here.
If needed, add a layer of masking to your
Then fire up your Glowforge and put your piece of acrylic in the bed.
Open the Glowforge App and upload the Moon SVG File.
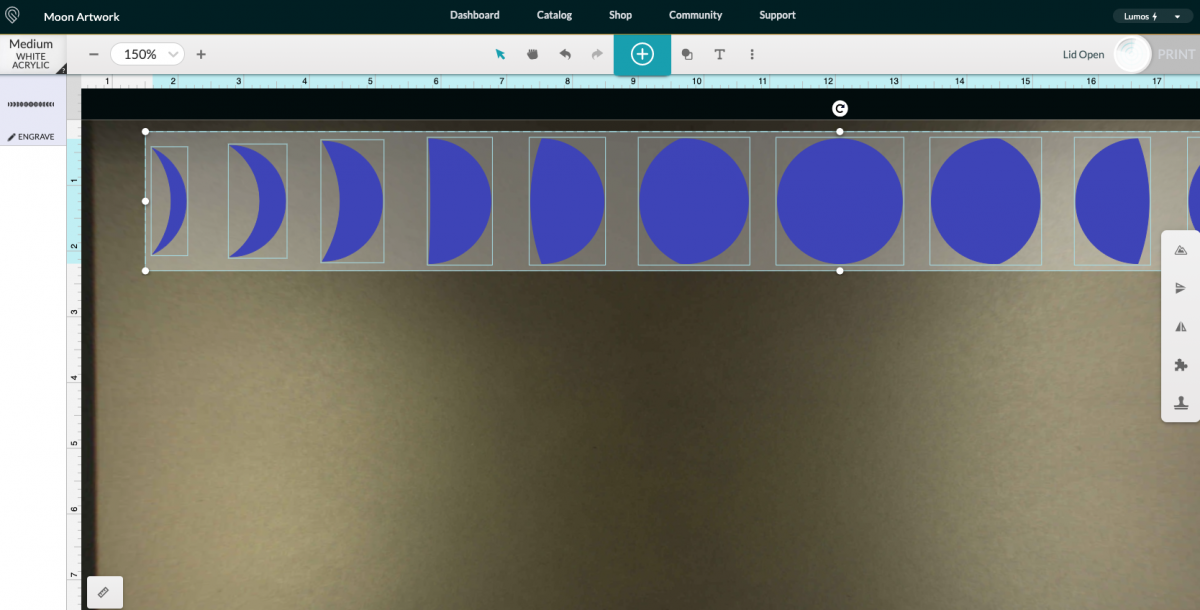
Click on the layer on the left and change the operation type to cut. You’ll also want to change the material. On the Cerulean Tides website, they suggest using the Medium White Acrylic setting, and that worked great for me.
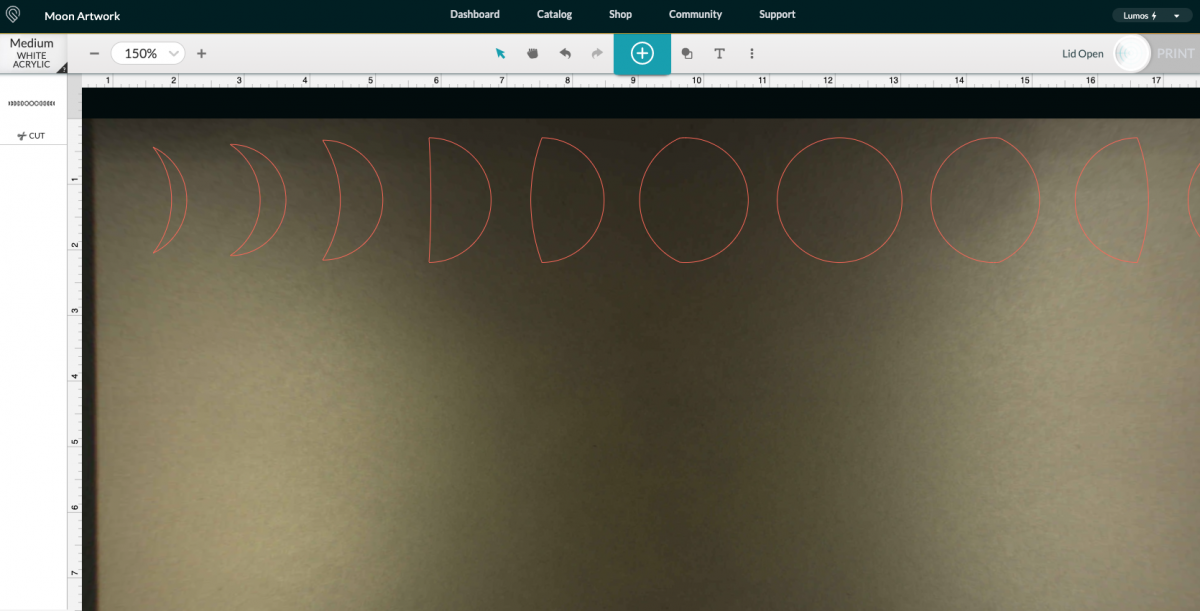
Finally, “nest” your pieces to save material when you cut. Click on each individual moon piece and drag them to be closer together.
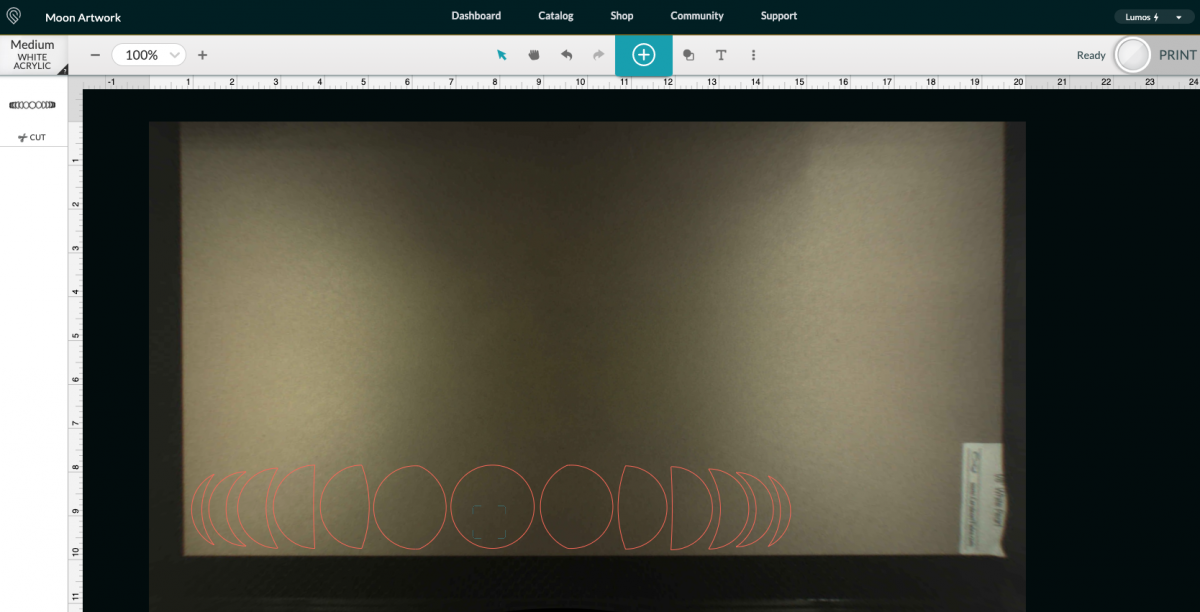
Click Print in the upper right and you’re off to the races! Your Glowforge will cut your acrylic.
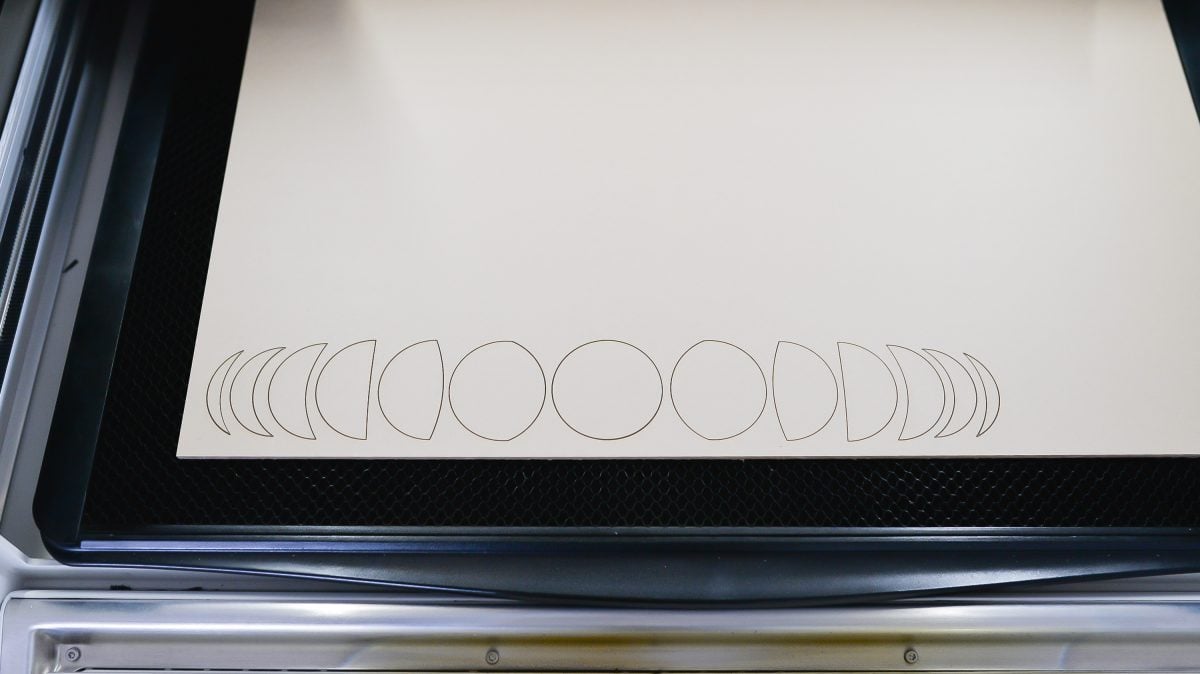
Once your pieces are cut, remove the masking.
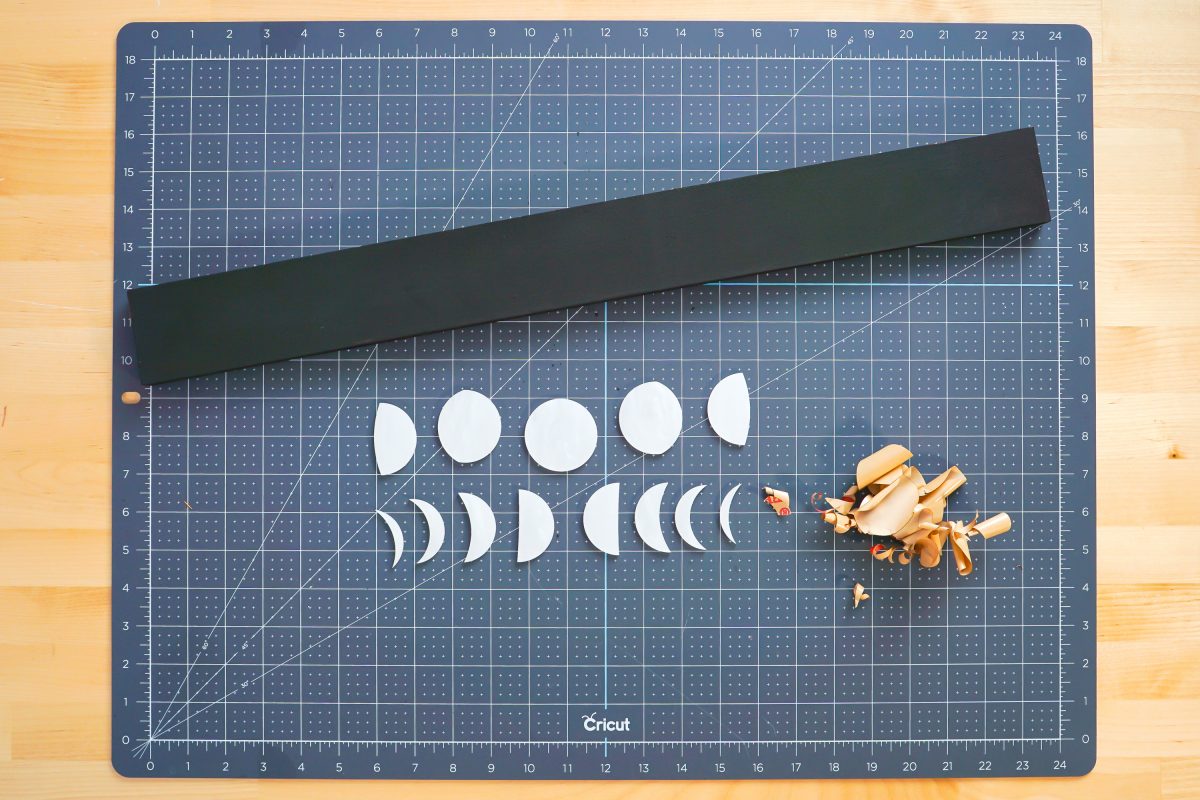
Finally, glue the moon pieces to your board. I used my ruled cutting mat to help me evenly space my moons. I like a dab of E6000 (it’ll stick to just about anything, including acrylic).
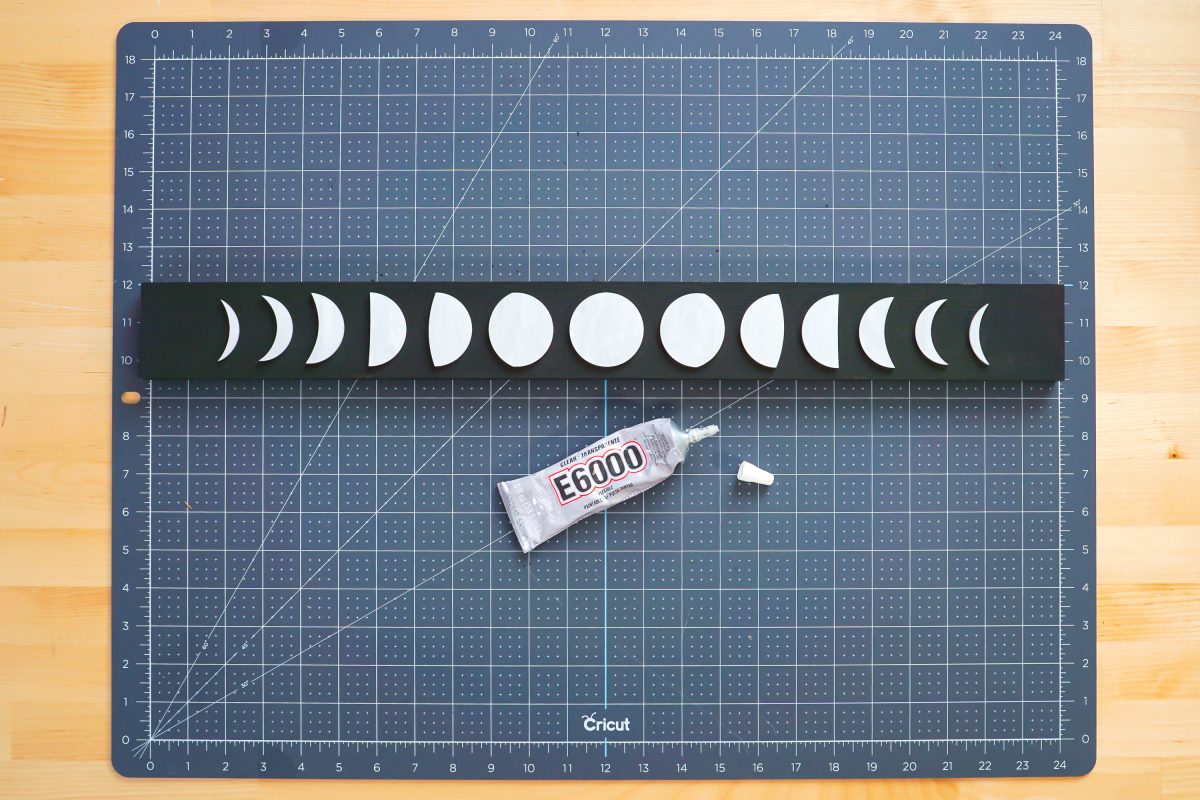
Let the glue dry and you’re done! That pearlescent acrylic is SO pretty in person:
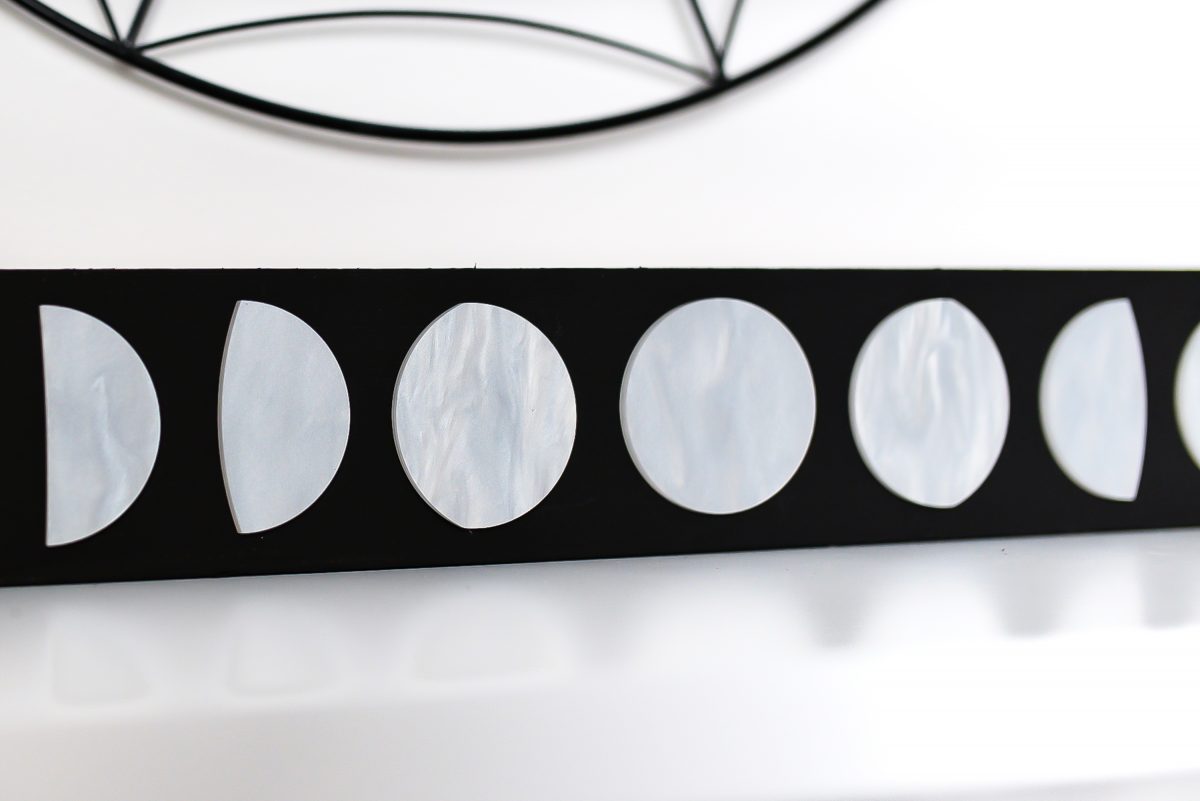
An easy piece of decor that you’ll love to have out all year round!

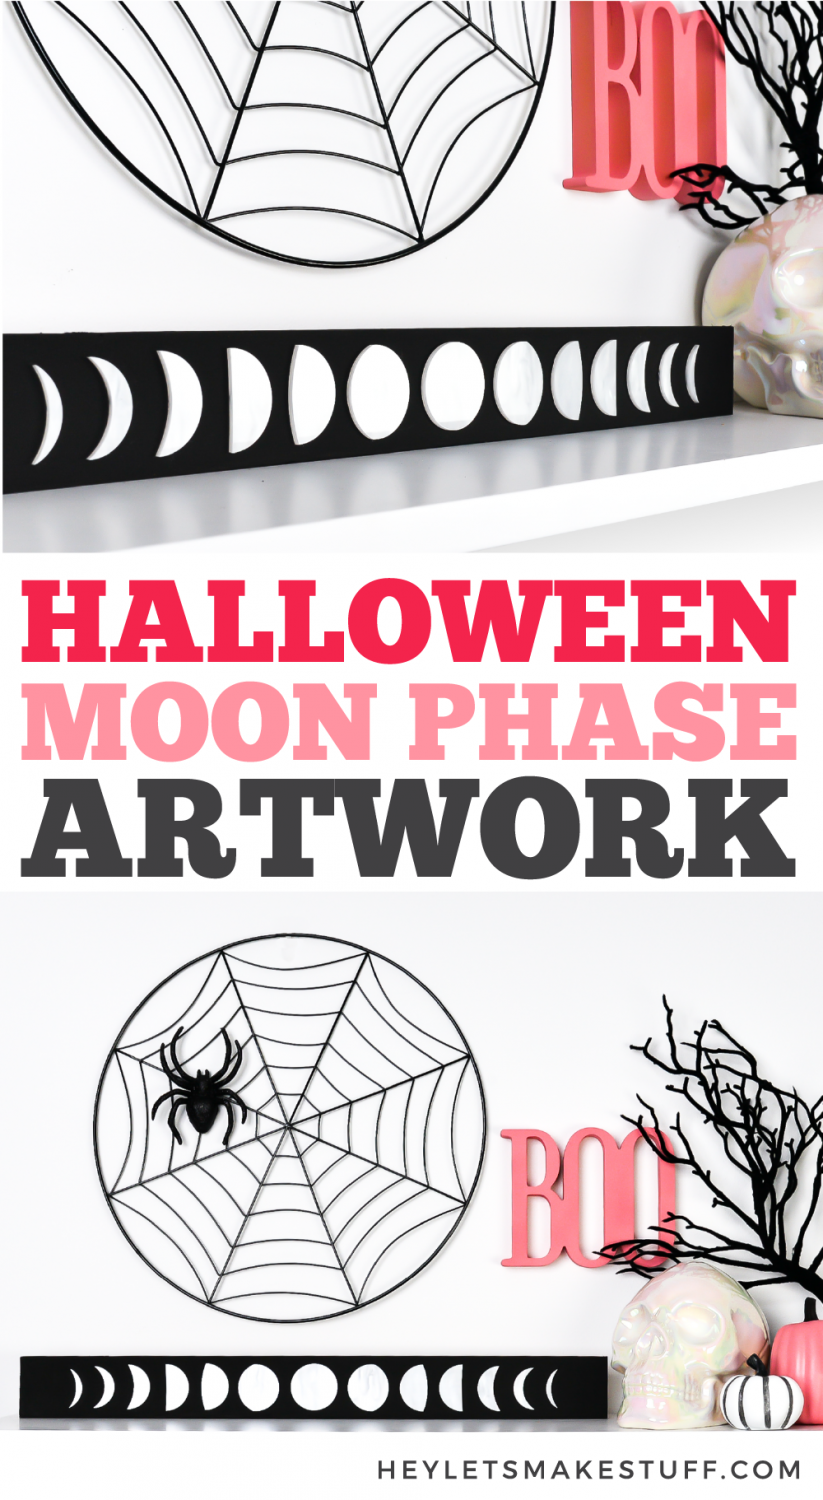
Interesting in some more celestial designs? Check out my blog for a Free Moon SVG + More Free Celestial SVG Files!


Leave A Reply!