Get creative with Duck Tape® to make this cute patchwork-style DIY Christmas banner! Includes instructions for making the banner, letters, and tassel—all with Duck Tape!

This is a sponsored post written by me on behalf of Duck Brand® for IZEA Worldwide. All opinions are 100% mine.
We’ve quickly moved from fall to winter here in California, and we’ve been stuck inside a lot lately because of the rain. That means more time for crafting! I broke out a few rolls of Duck Tape to make a decorative Christmas banner to hang in our home for the holidays! I like crafting with Duck Tape because the adhesive is built in—no messing with glue. I had an idea to do patchwork with layers of Duck Tape and I think it turned out really festive and cute for Christmas!
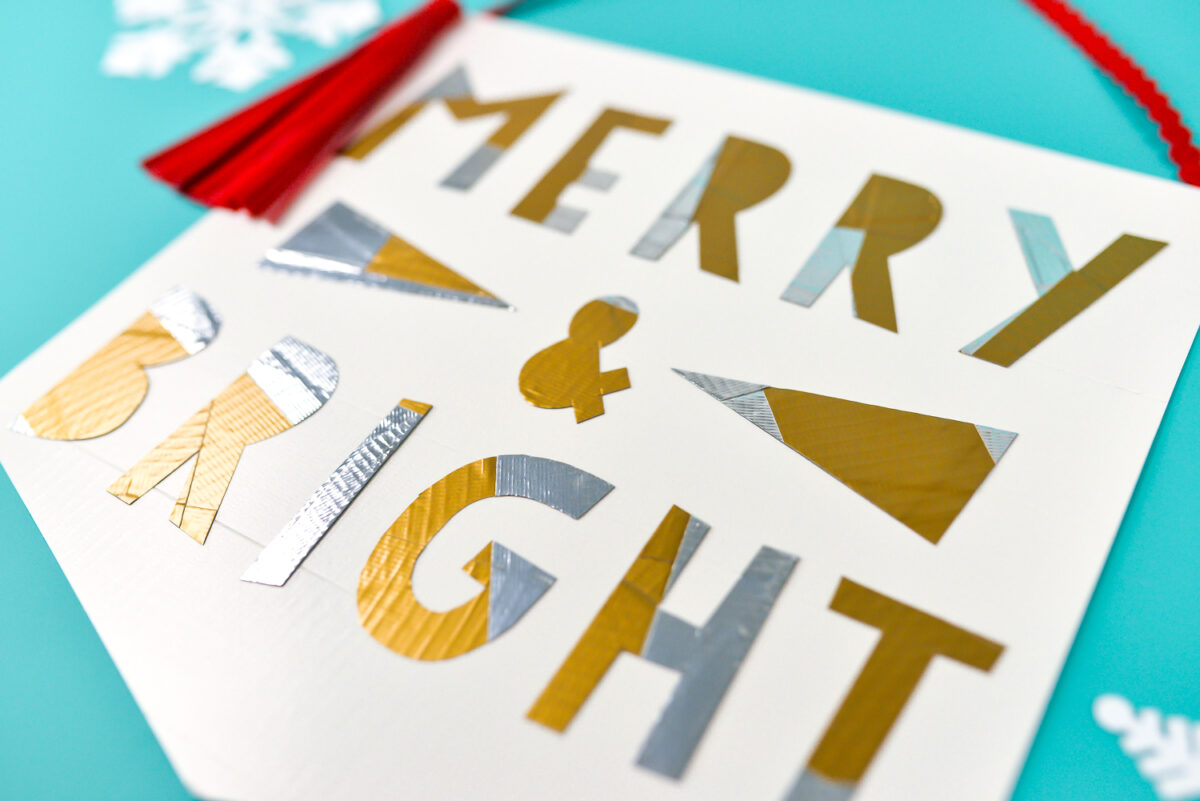
Let’s make it!
DIY Christmas Banner Supplies
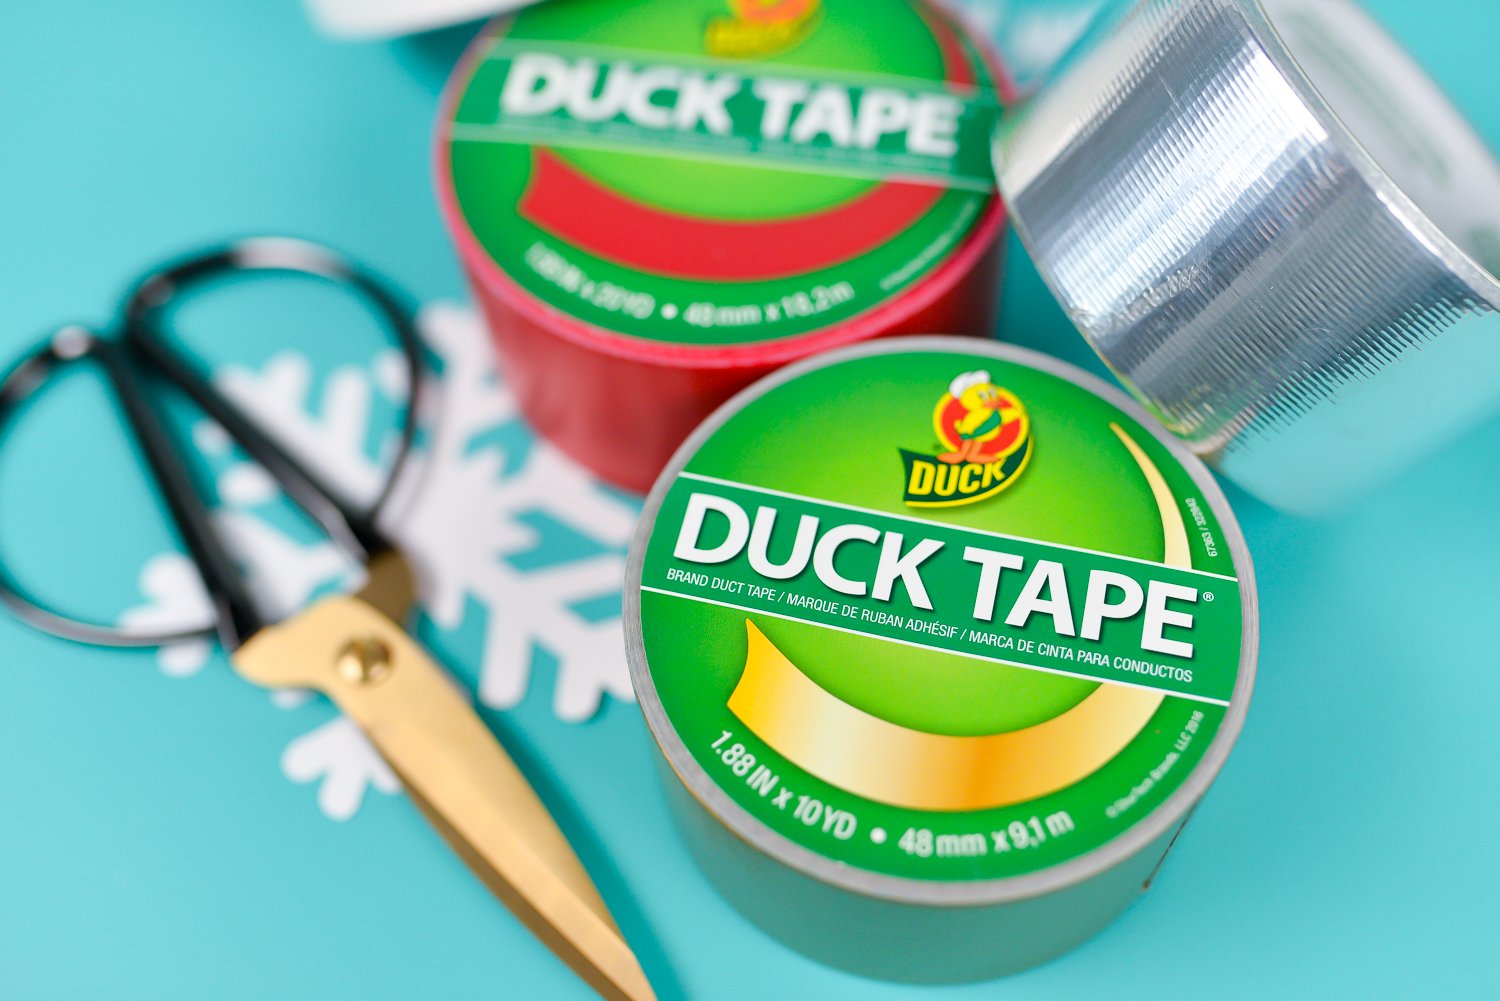
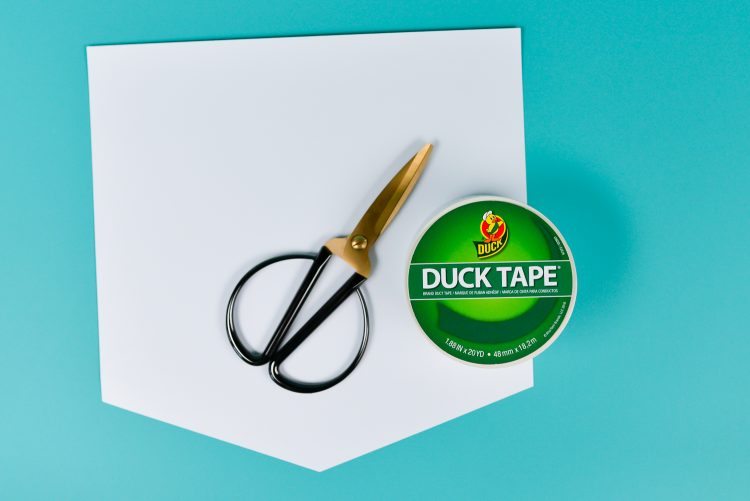
- Duck® brand duct tape in a vibrant assortment colors (I used white, silver, gold, and red, but this would be so cute in traditional red and green or a bright selection of neons!)
- Cutting mat
- White cardstock
- Scissors and/or rotary cutter and ruler (I found both useful)
- Parchment or wax paper
- Ribbon
- PDF with Letters
Get the Free File
Want access to this free file? Join my FREE craft library! All you need is the password to get in, which you can get by filling out the form below. The file number is: C161.
DIY Christmas Banner Instructions
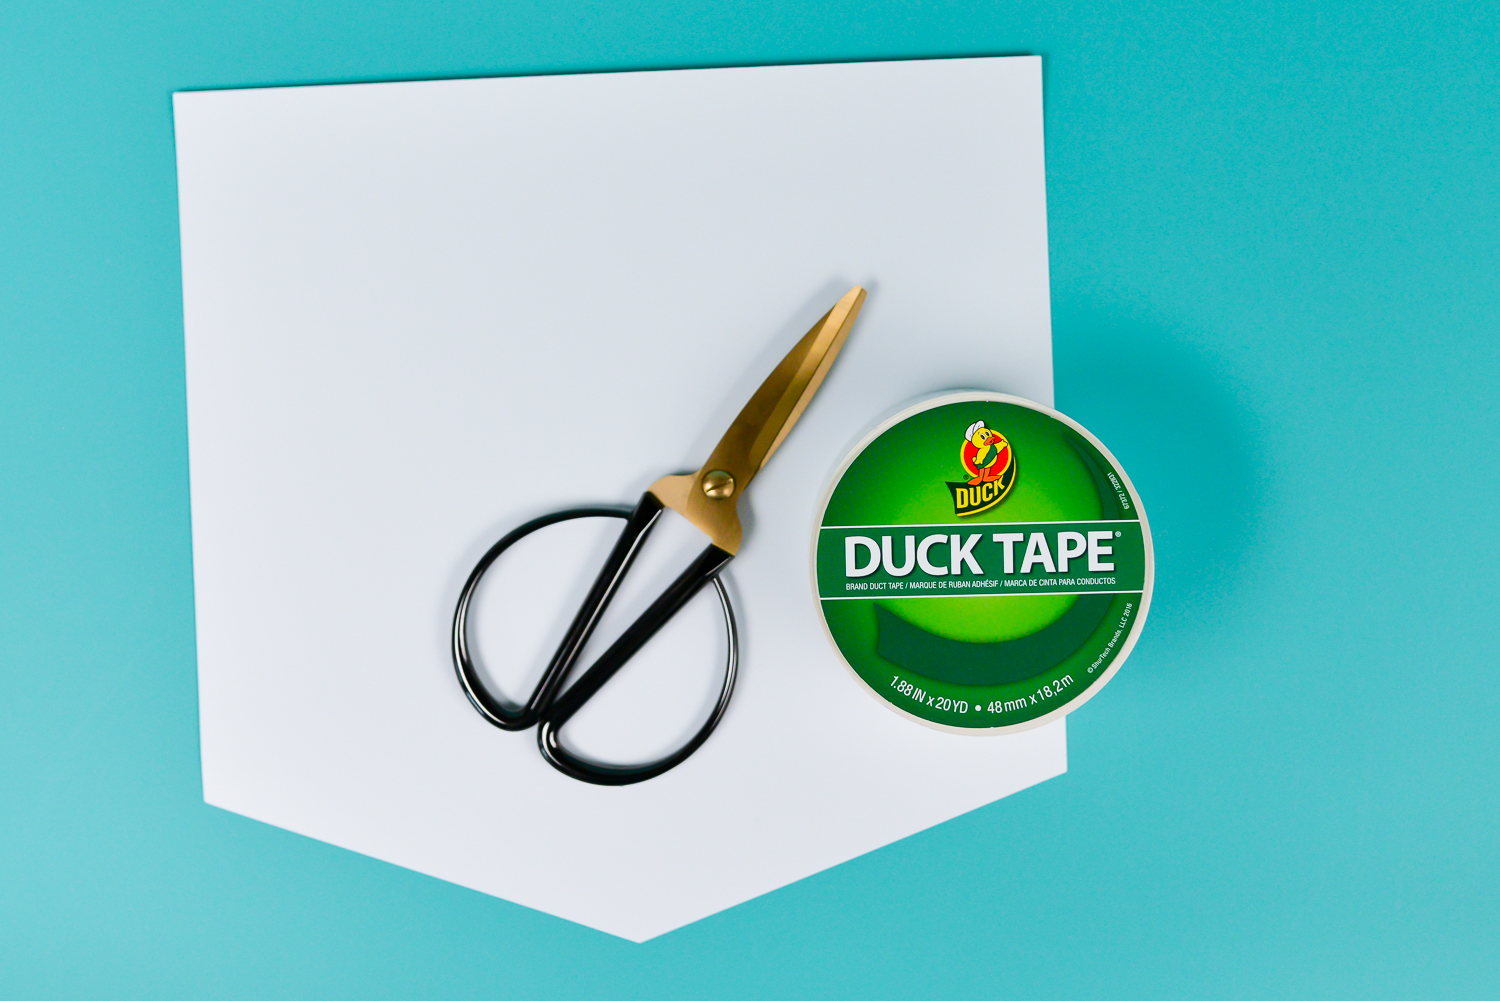
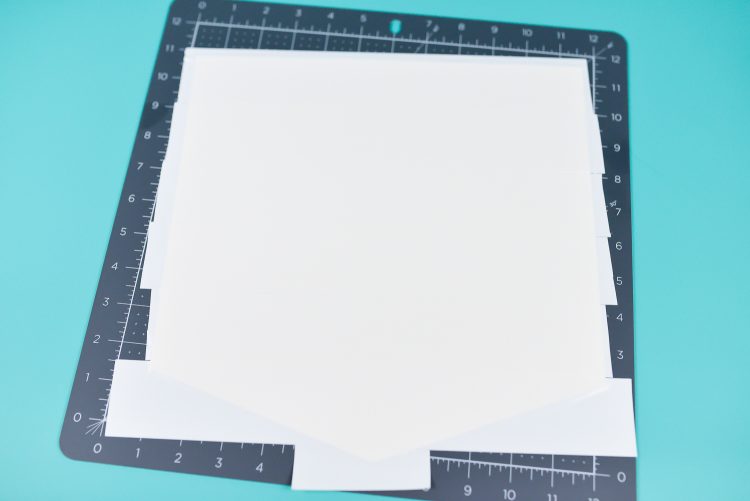
Let’s start by making the banner itself. I thought of creating banner with only Duck Tape, but decided to use a piece of cardstock as a stabilizer to ensure it would hang nicely. Simply cut a point at the end of a piece of 12″ x 12″ white cardstock—I measured up 2″ on each side and drew a line connecting it to the center of the bottom.
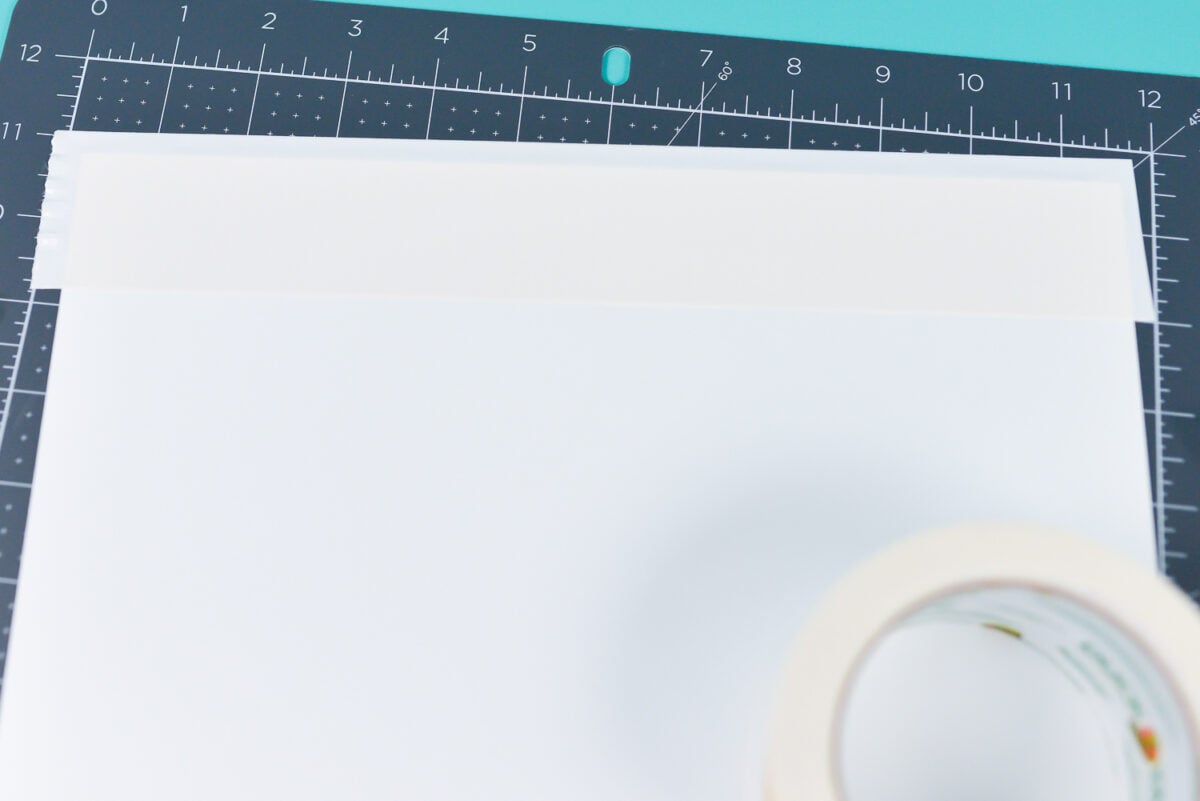
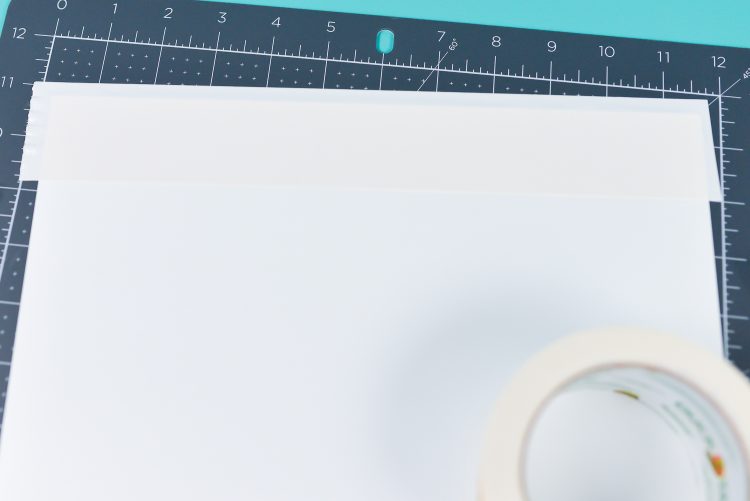
I have found that a craft cutting mat is a great surface for working with Duck Tape. Place your cardstock on the cutting mat and cover with strips of white Duck Tape. I was able to line them up really cleanly to get a perfectly flat surface.
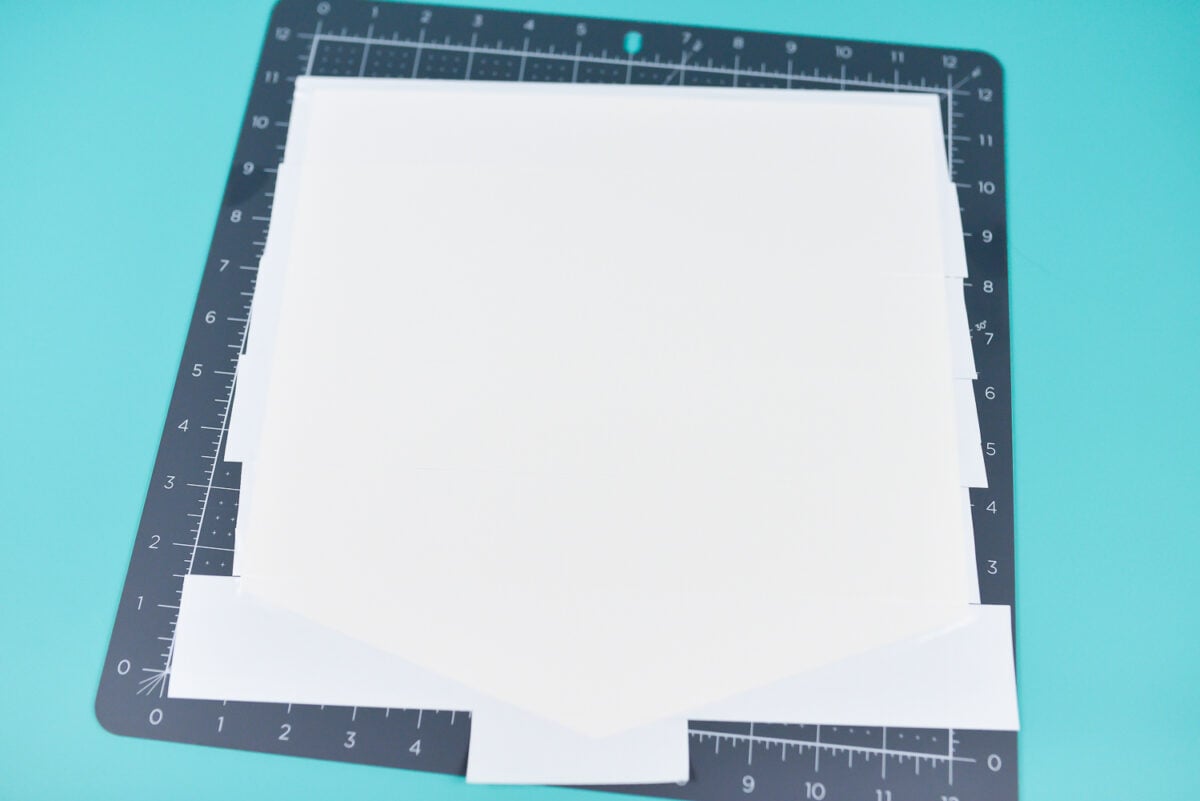
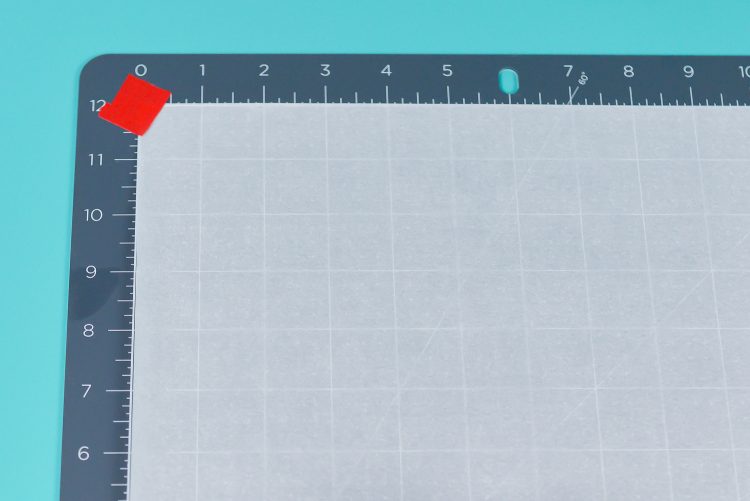
Then carefully peel it off the mat, flip it over, and use scissors or a rotary cutter and ruler to trim off the excess tape. Now let’s make the letters! Start by taping down a square of 12″ x 12″ parchment paper to your cutting mat.
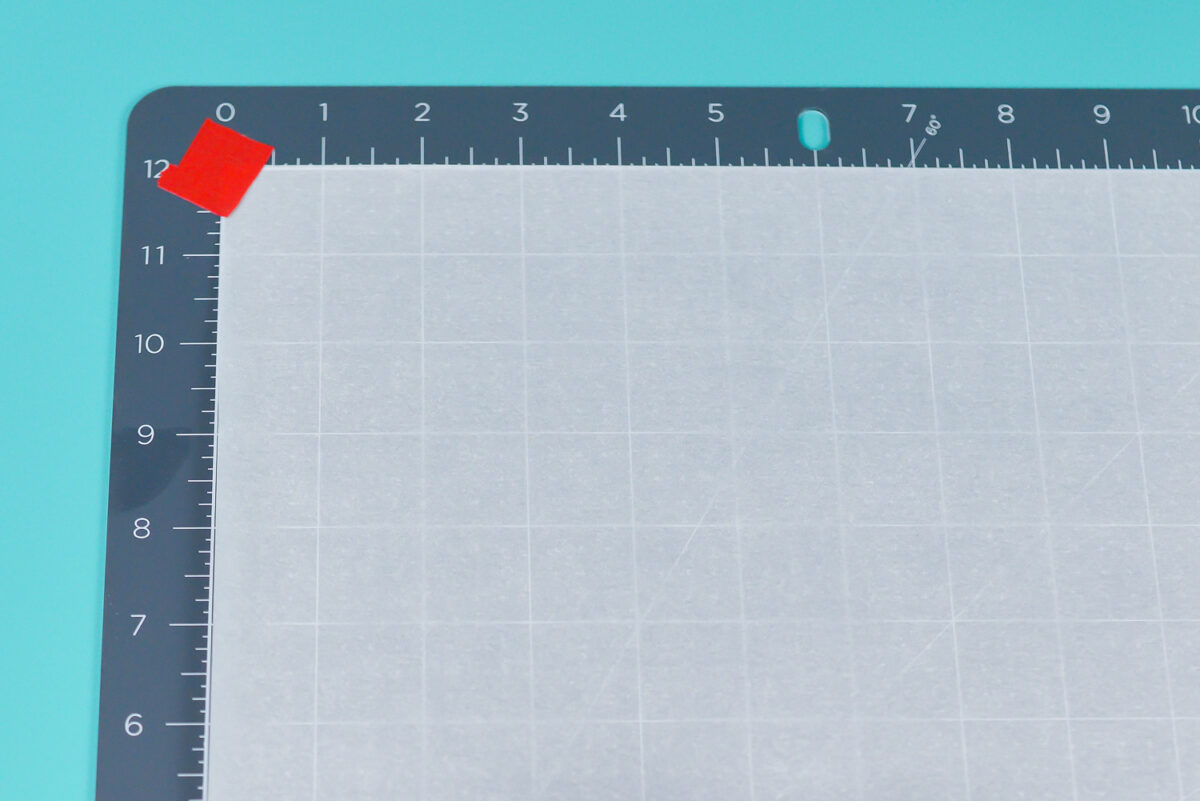
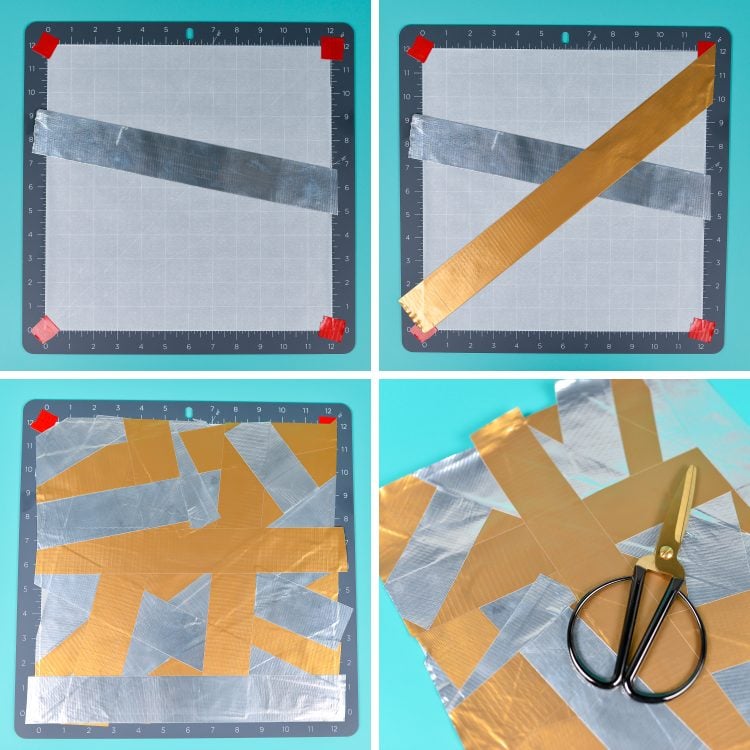
Then layer the Duck Tape on the parchment paper, making sure to overlap the edges a bit. Repeat until the whole parchment paper is covered. Try not to get it too thick in the middle—trim and use shorter pieces if needed. Then carefully peel everything off the mat, making sure the parchment paper is still connected to the back.
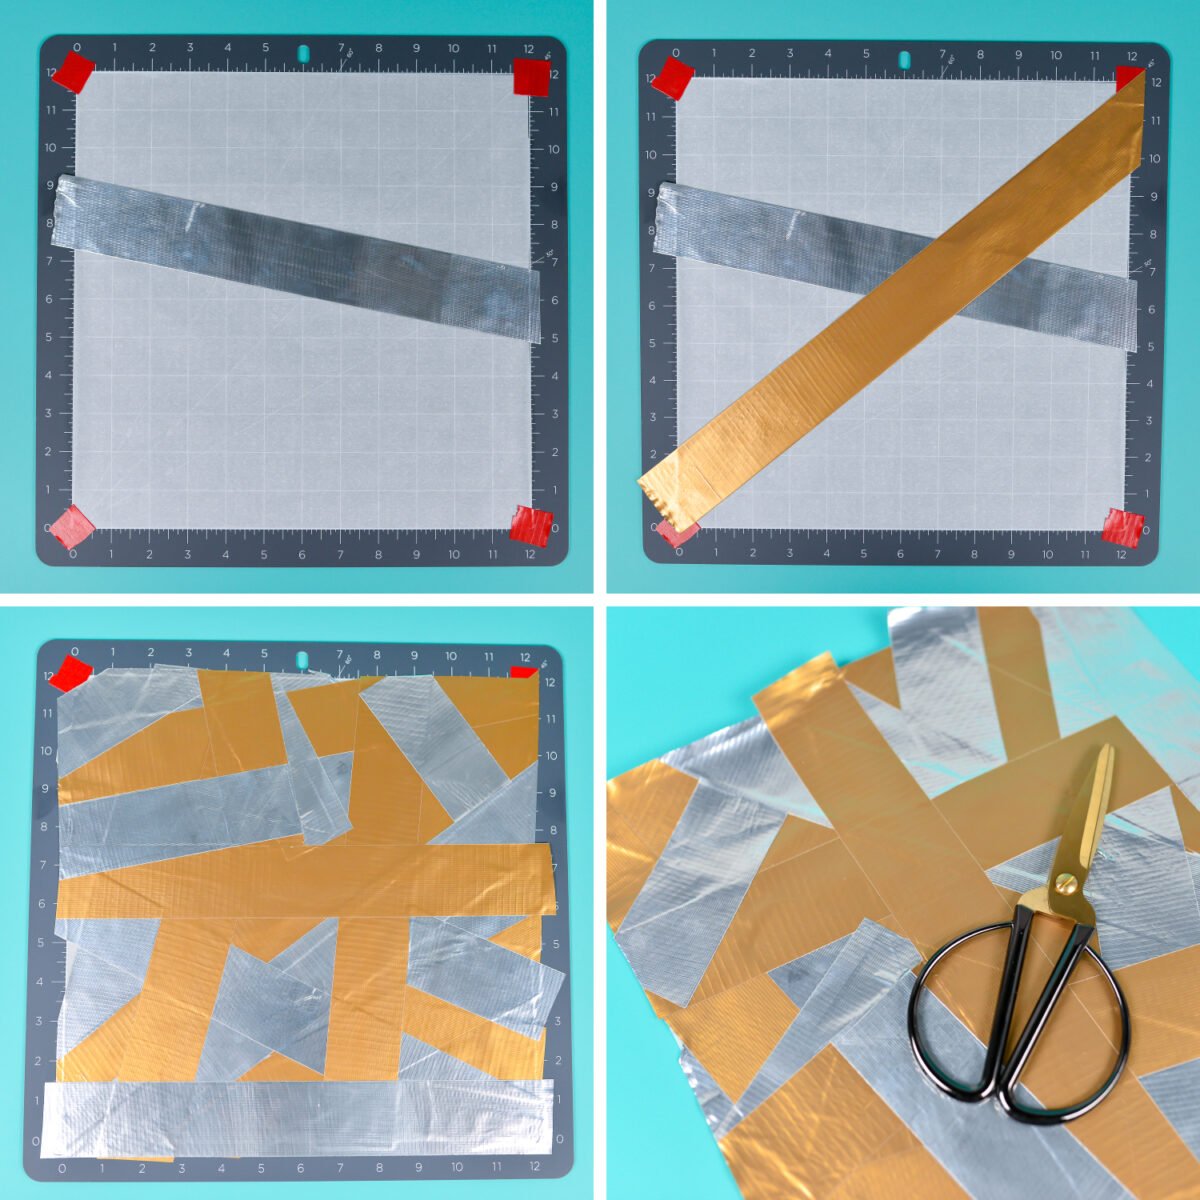
From here, you can either hand-cut your letters or use the downloaded letter pattern above. I found it easiest to use a little paper tape to adhere the pattern piece to the Duck Tape, and then cut around the edge. The rotary cutter, ruler, and mat are helpful for many of the straight edges.

Then lay out your letters on top of the large white banner piece, so you can see how it will all lay out. Then peel off the parchment paper to create a patchwork Duck Tape sticker!

Adhere all of your letters to your banner—if your Duck Tape lines on your white banner piece are straight, they make it helpful for lining up your letters!

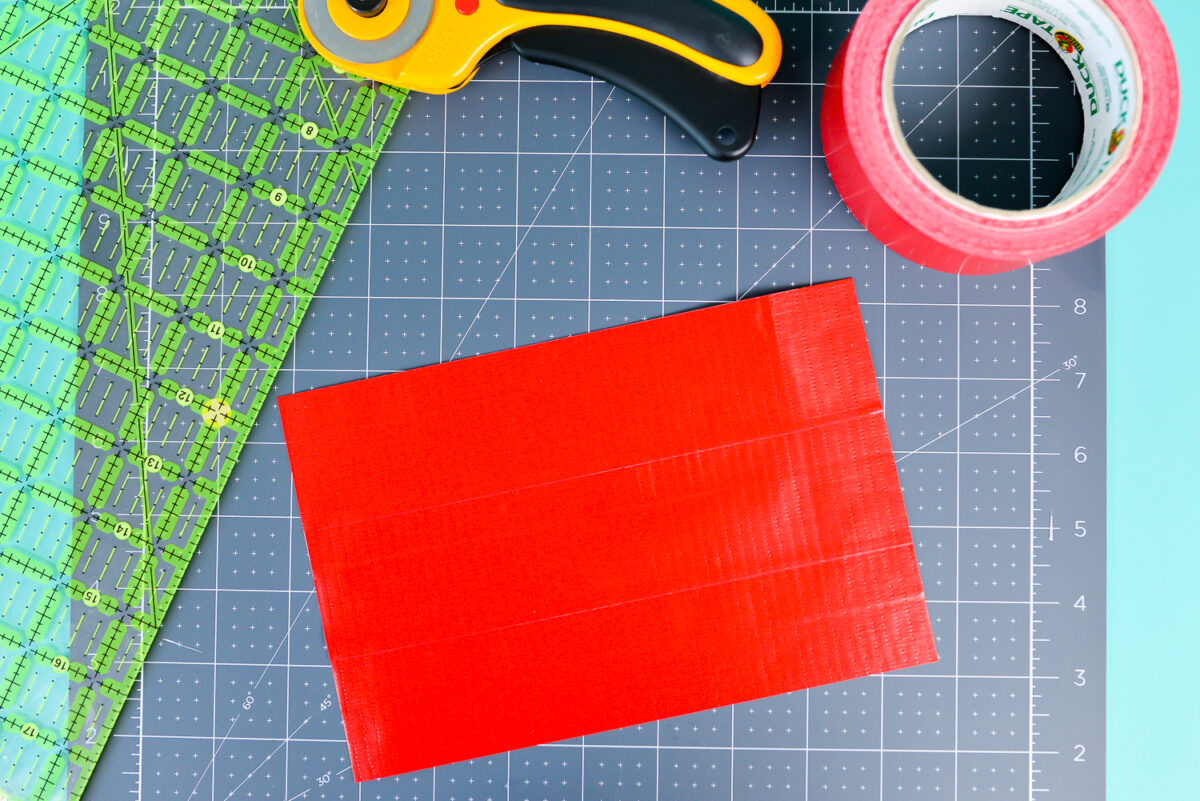
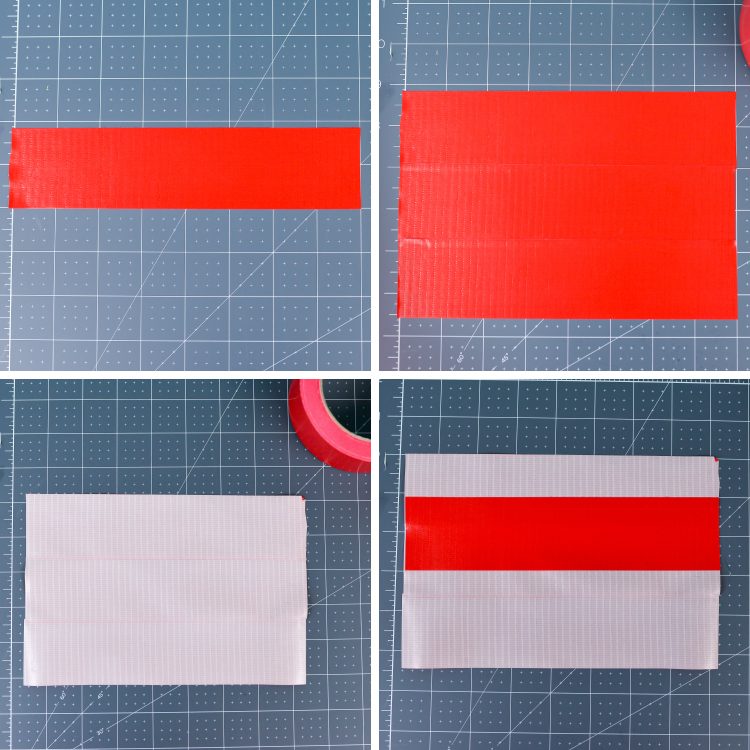
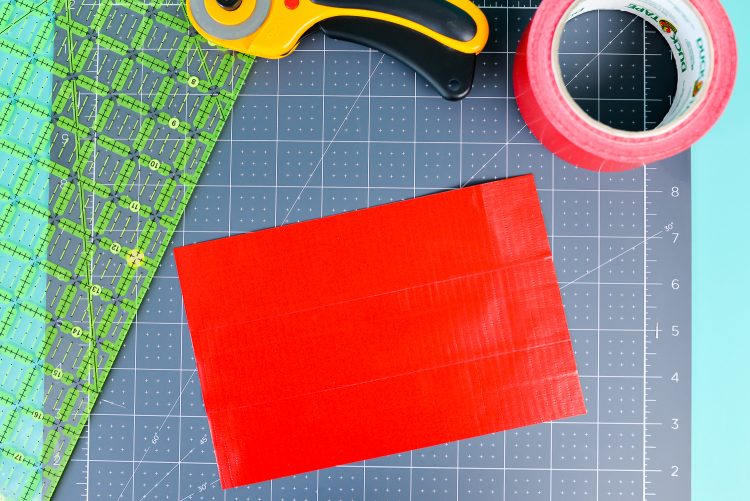
Now let’s make that super cute tassel. I really love how this turned out and can’t wait to make them for other craft projects! Grab your cutting mat one more time and cut a piece of red Duck Tape that’s 8″ long (I found the rotary cutter and ruler helpful for cutting exact pieces). Then cut two more and overlap them just a bit. Then carefully flip all three pieces over and put strips of Duck Tape over the seams on the back, covering all of the adhesive.
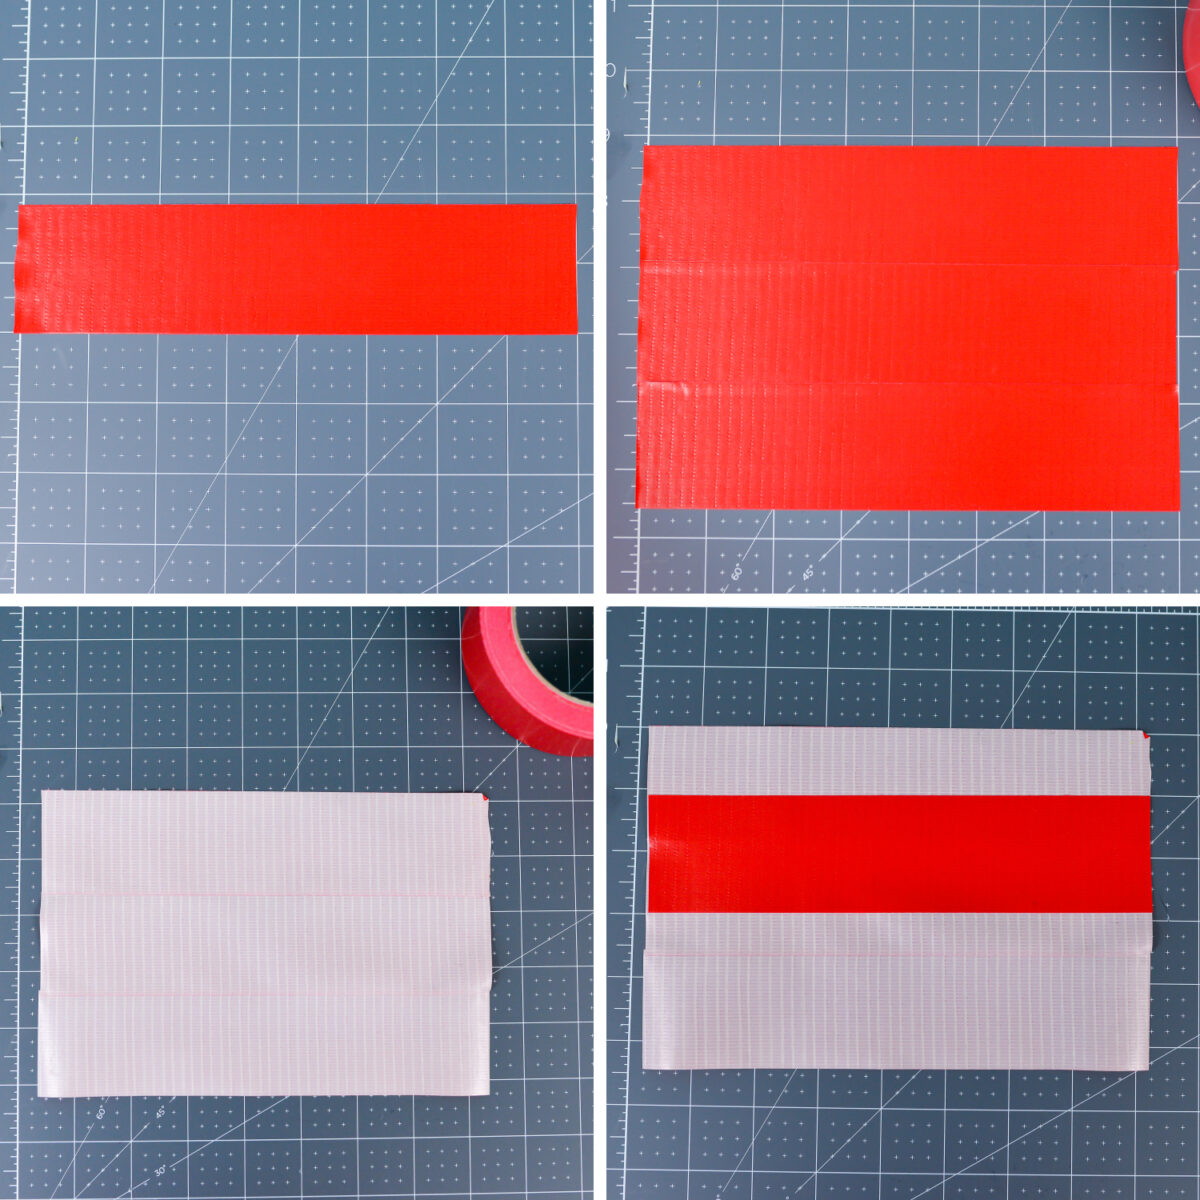
You can “square up” your tassel by trimming off the uneven edges using your rotary cutter and ruler, so that your Duck Tape rectangle is approximately 8″ x 5″.
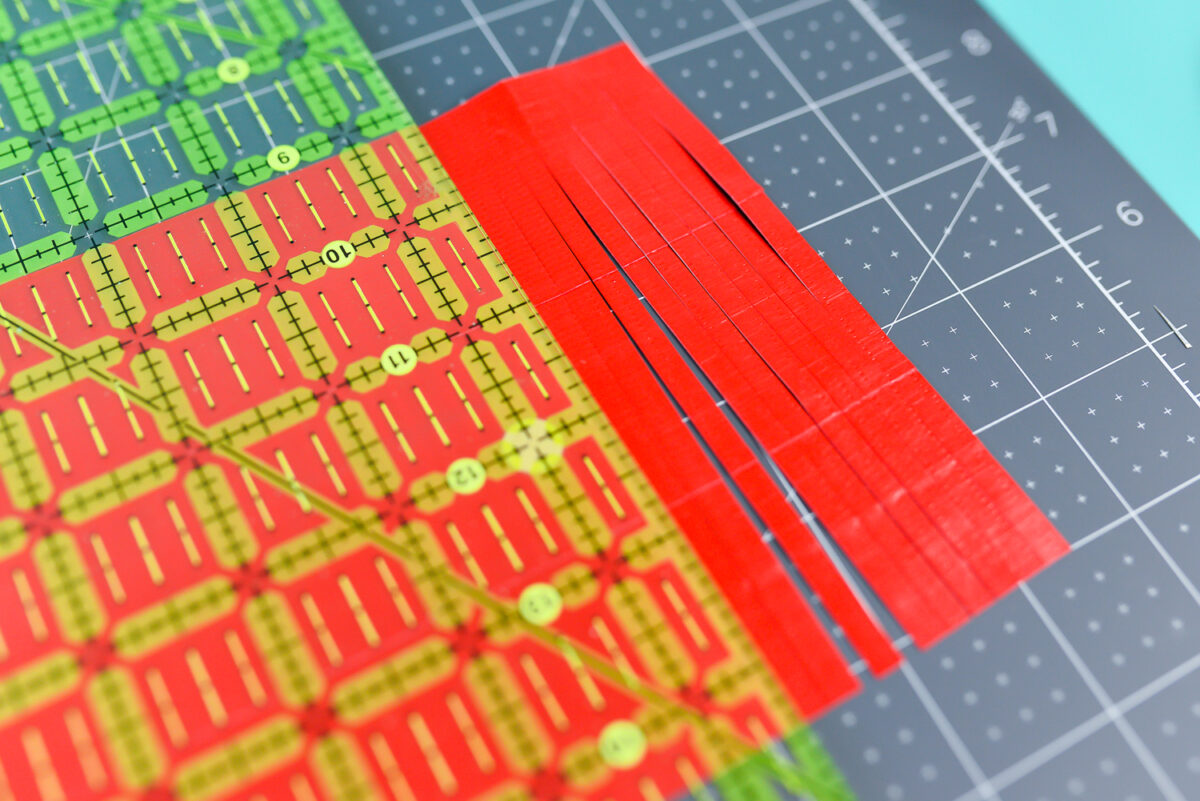
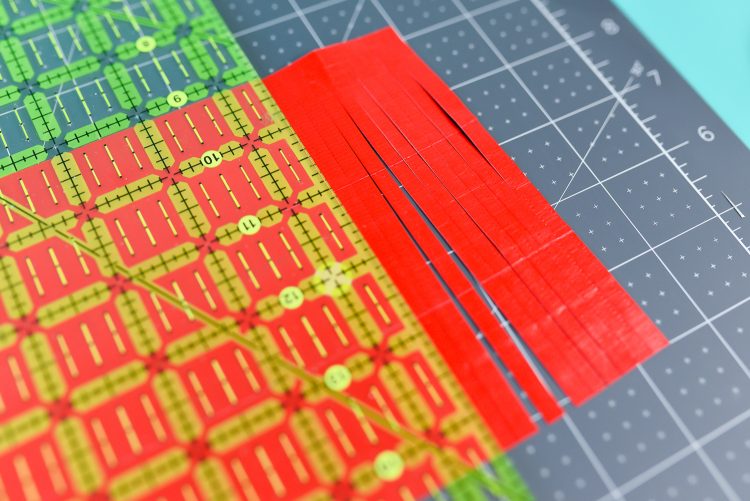
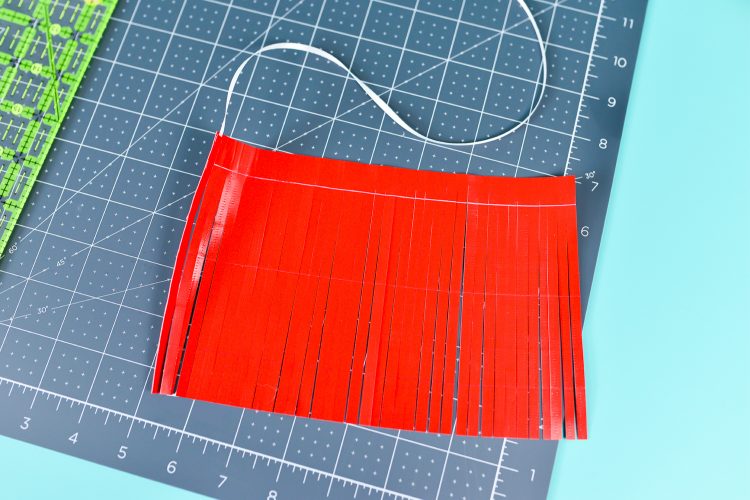
Then using scissors or a rotary cutter, cut fringe into your Duck Tape rectangle, making sure not to cut all the way through. My fringe was a little less than 1/4″ thick—I just eyeballed it. Since Duck Tape is a high-quality material, it cut just beautifully.
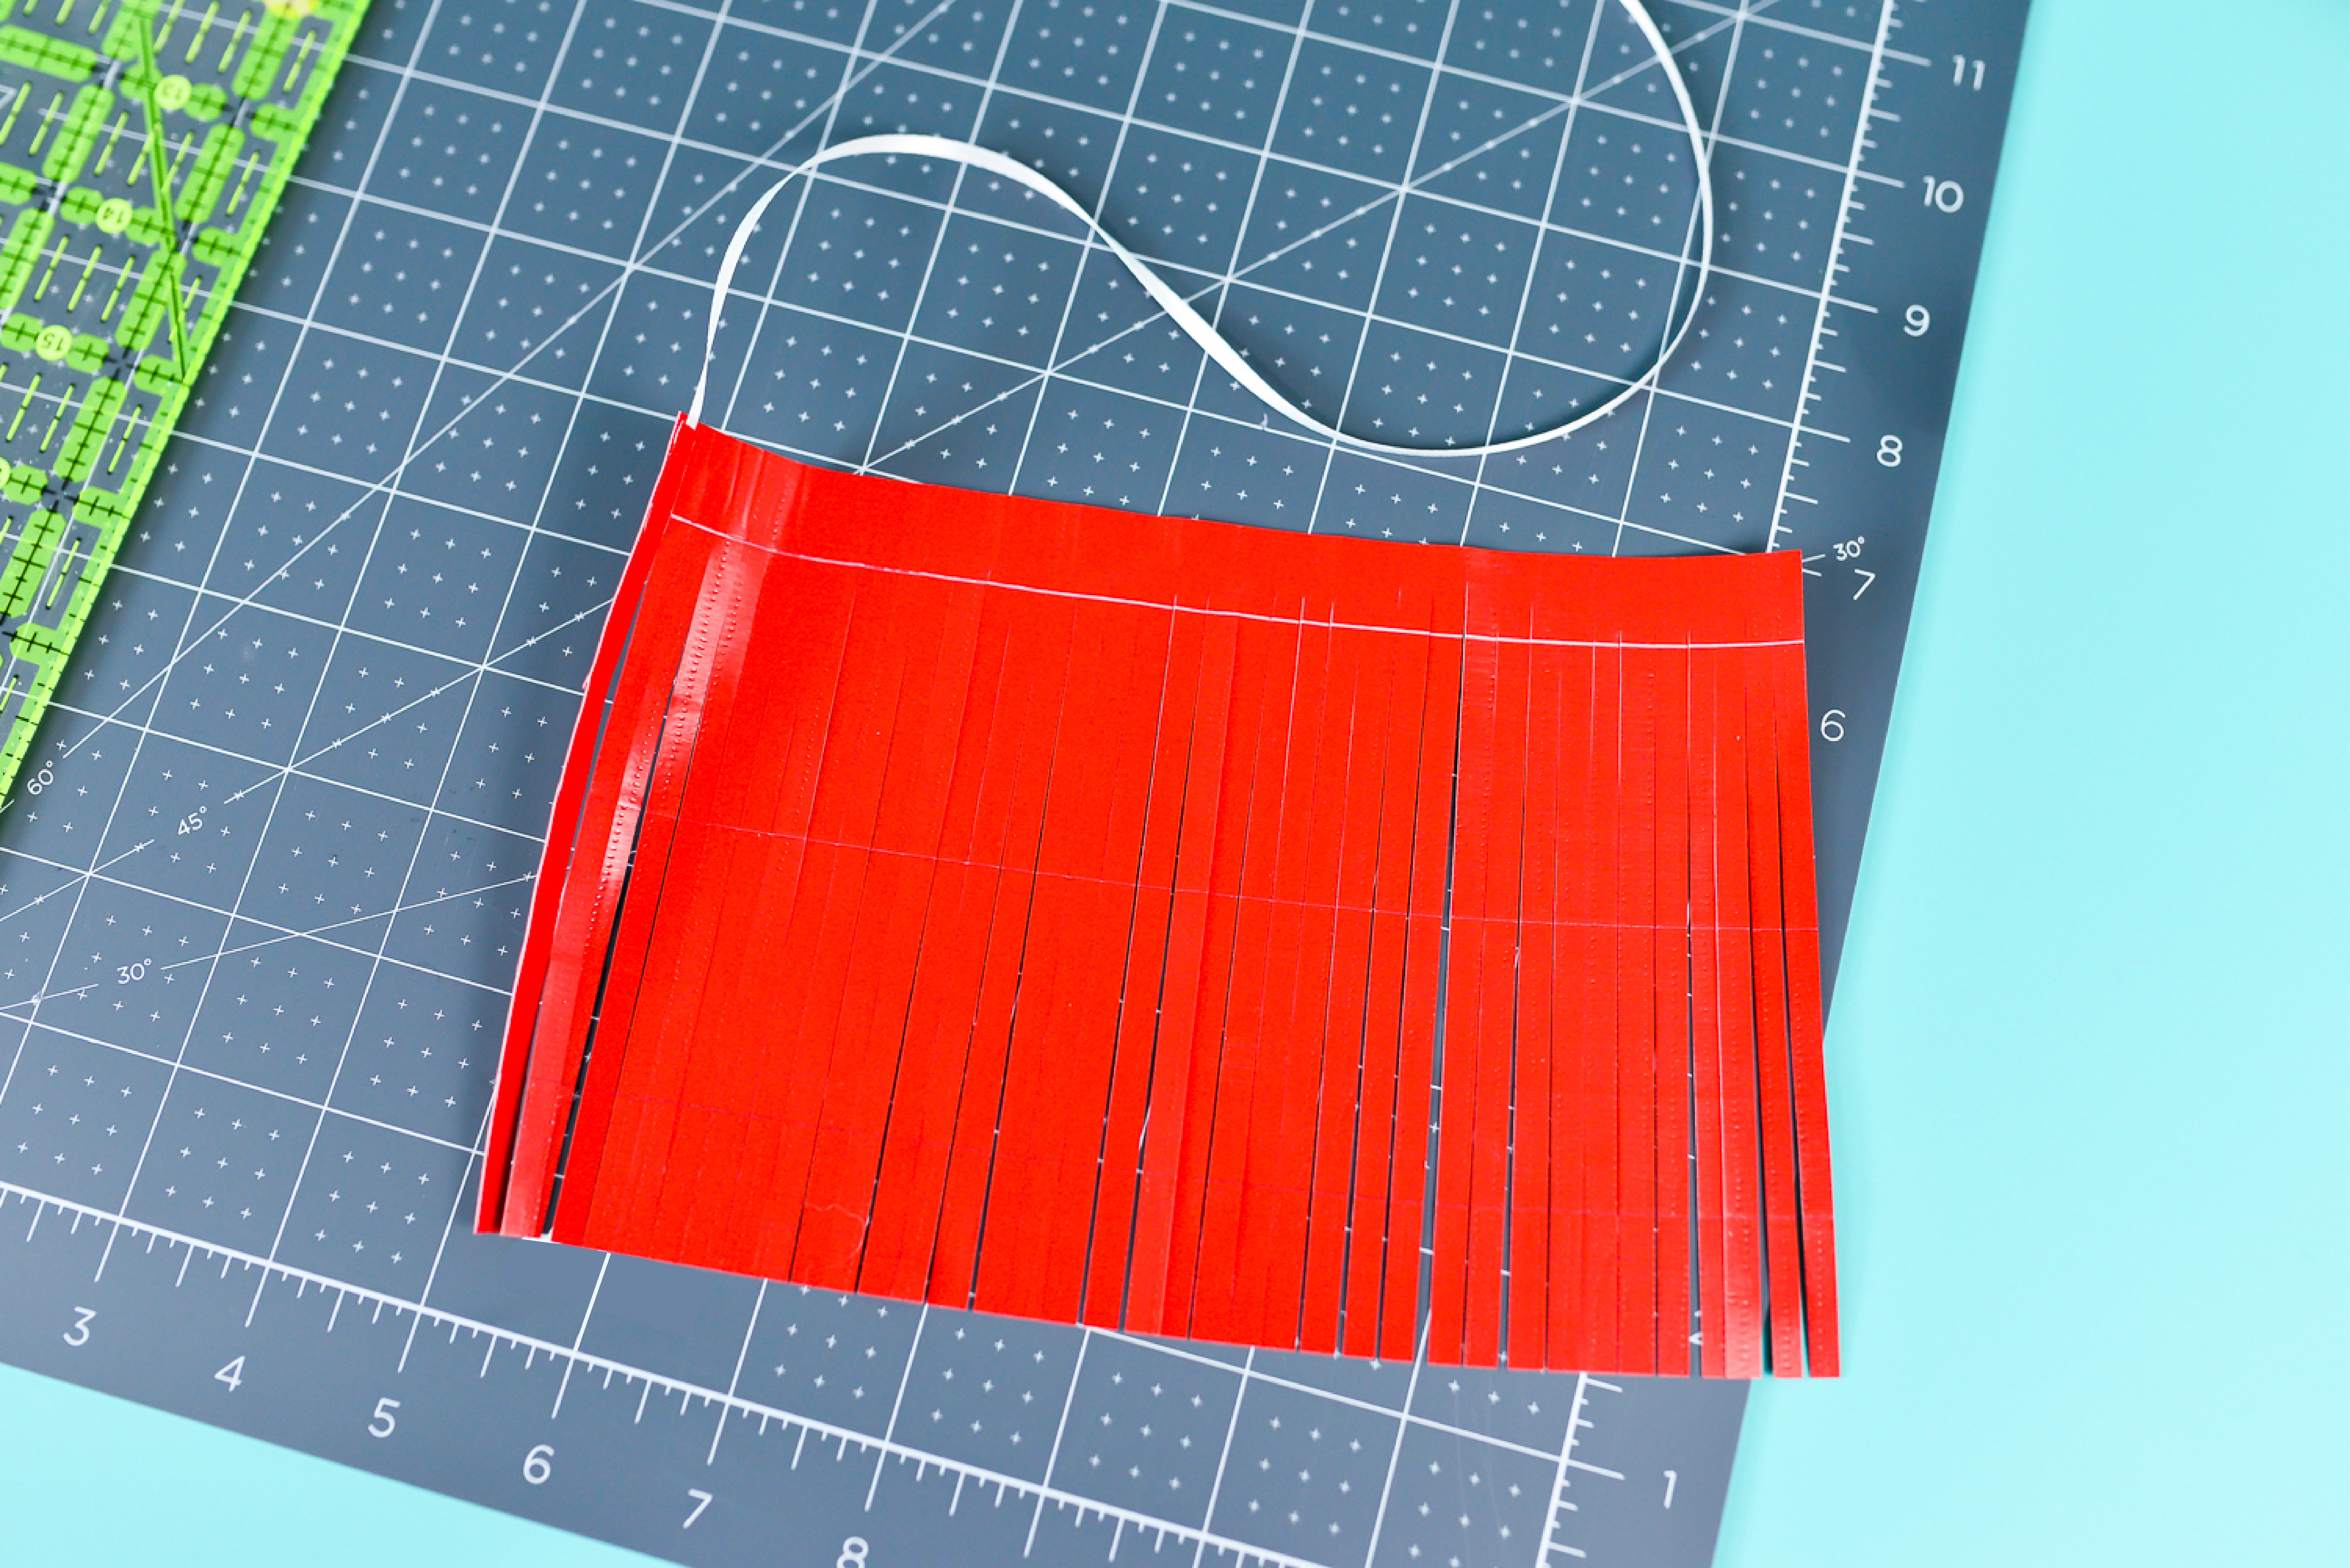
Tape a piece of ribbon or twine to one end of the “inside” of your fringe. You’ll notice that I didn’t quite overlap one layer of tape, so I just made that the inside of my tassel.
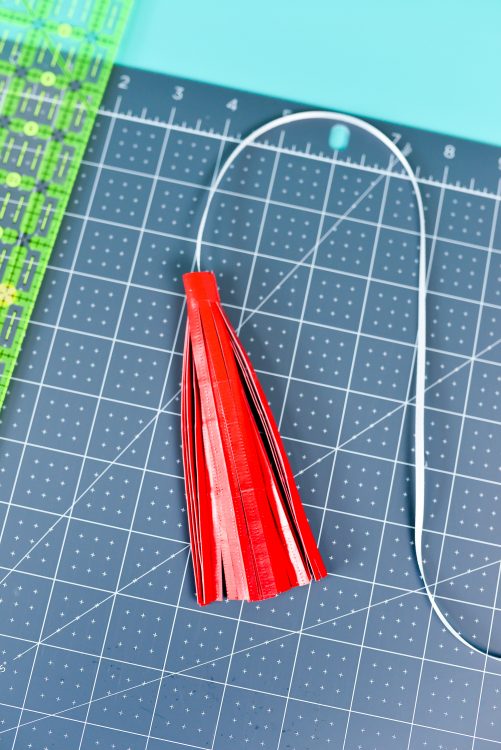
Then roll your tassel tight, and secure with a piece of tape at the top.
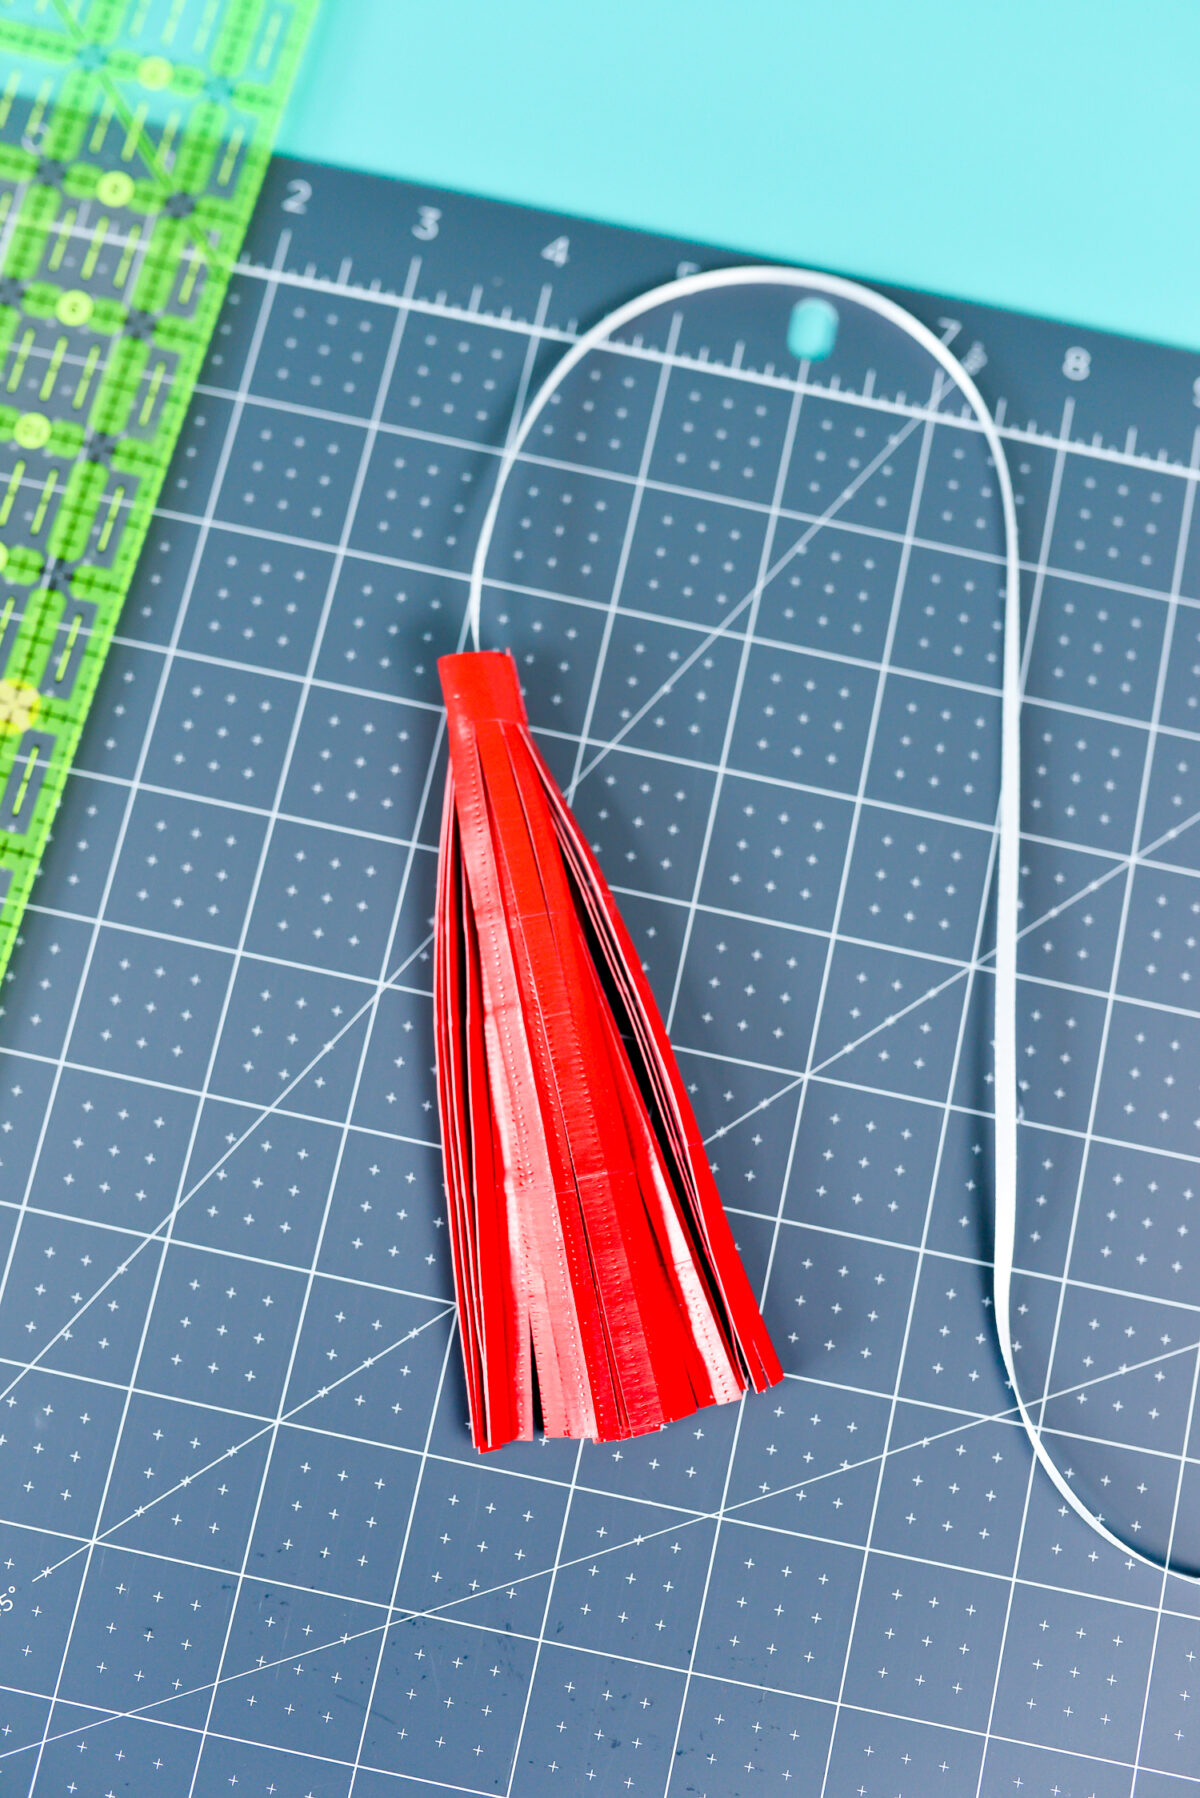
Add some decorative ribbon and your tassel to your banner and it’s done!

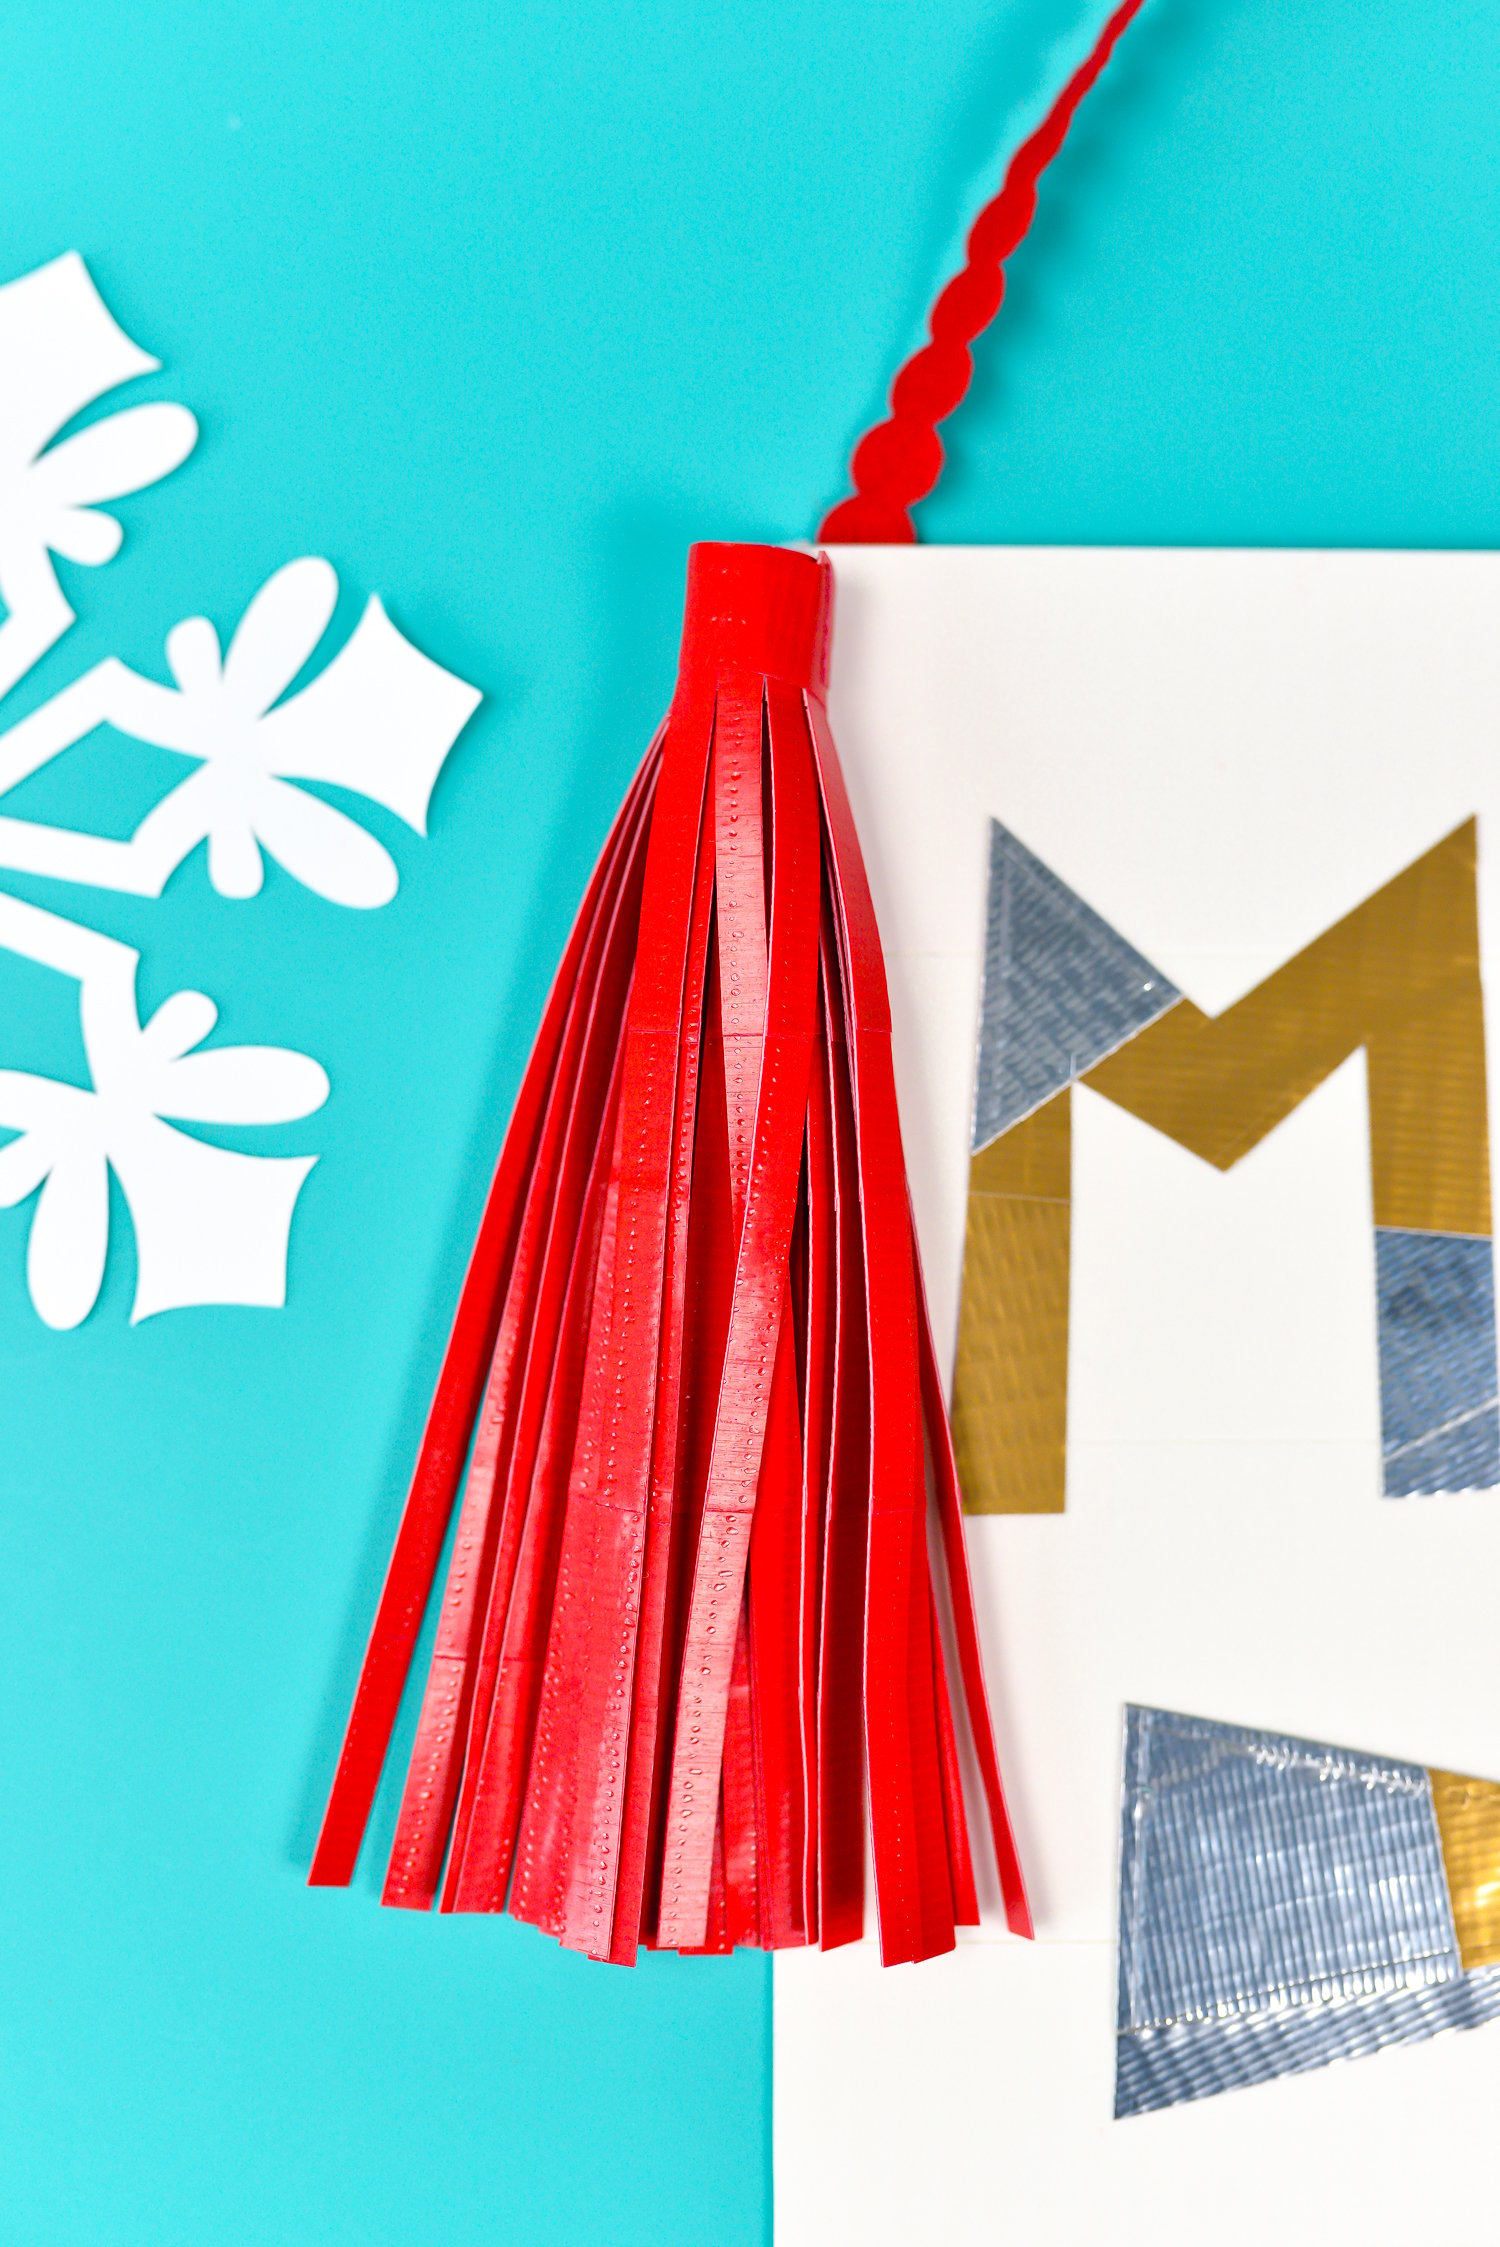

I just love how it reflects the light! Super festive for Christmas. And I’m totally obsessed with the tassel—I’ll be making a bunch of those for all sorts of decorations year round! I also make tassels out of fabric!
Which Color Duck Tape® would you use to create your banner? Let me know in the comments!
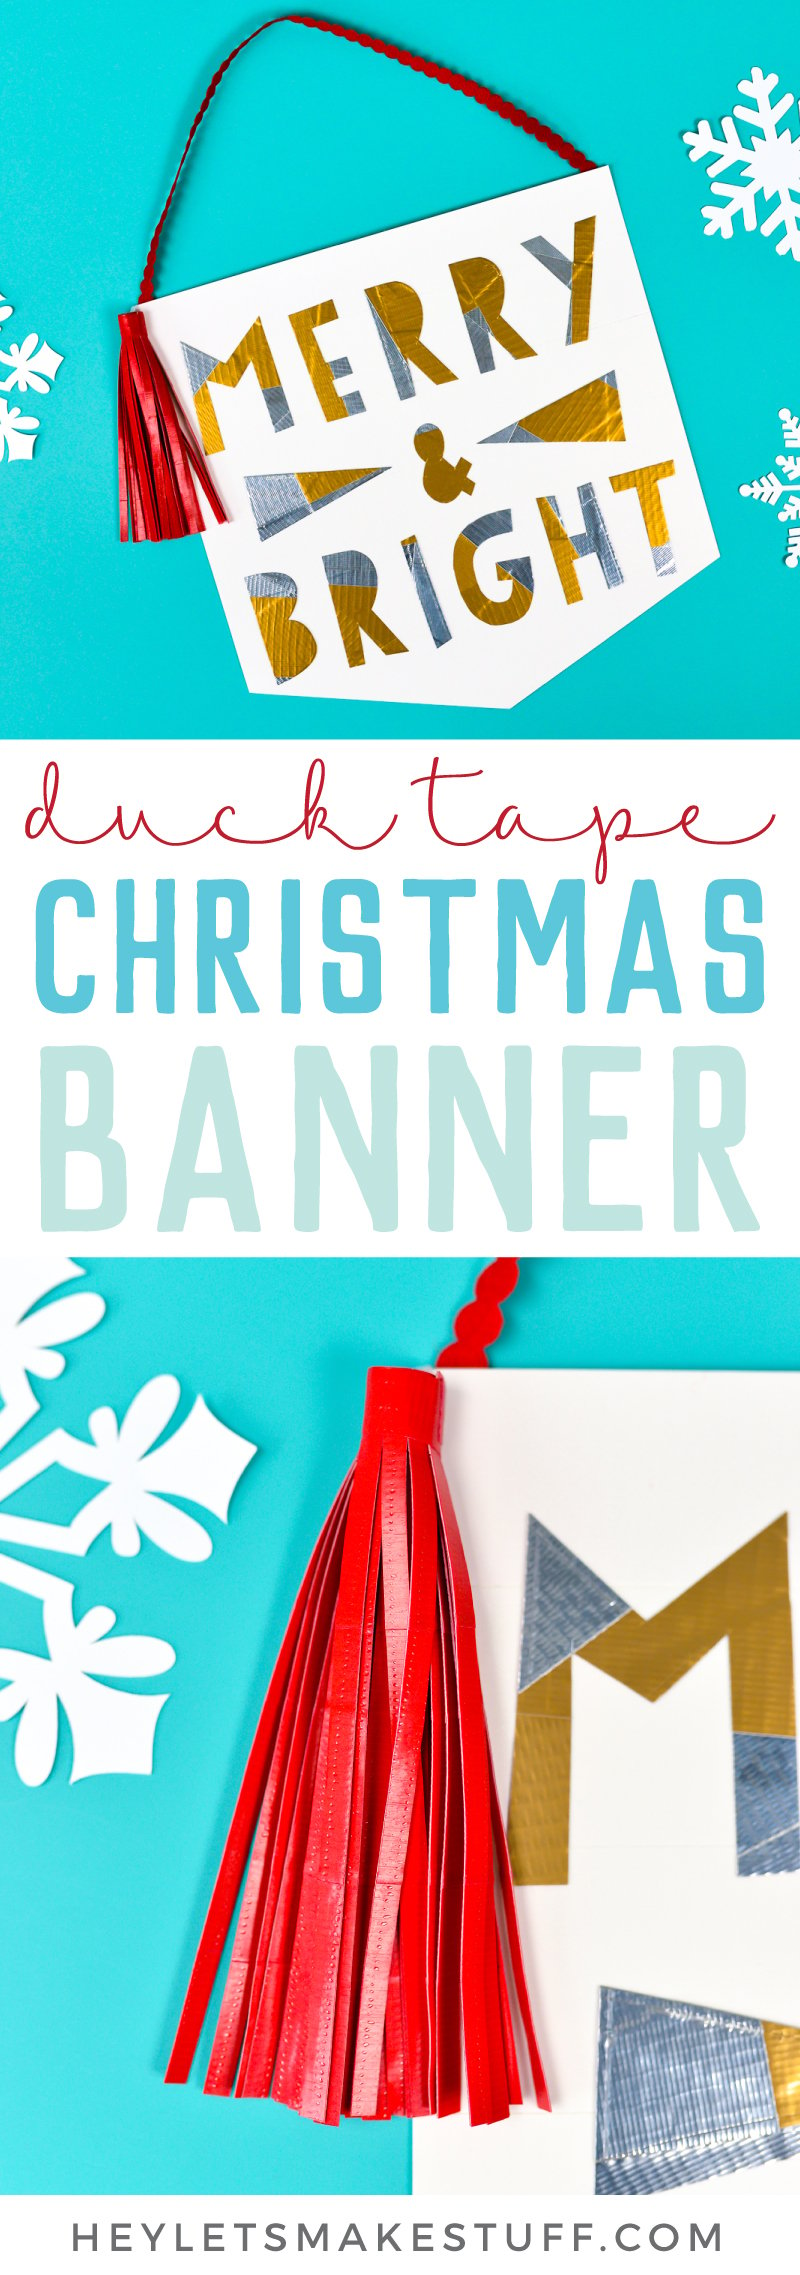

CHRISTMAS BANNER WITH DUCK TAPE®
Equipment
- Rotary cutter and/or
- Parchment or
Supplies
- Duck® brand duct tape in a vibrant assortment of colors
- White cardstock
- Ribbon
- Free Merry & Bright File #C161
Instructions
- Cut a point at the end of a piece of 12" x 12" white cardstock—Measure up 2" on each side and draw a line connecting it to the center of the bottom.

- Place your cardstock on the cutting mat and cover with strips of white Duck Tape.


- Then carefully peel it off the mat, flip it over, and use scissors or a rotary cutter and ruler to trim off the excess tape. Now let's make the letters! Start by taping down a square of 12" x 12" parchment paper to your cutting mat.

- Then layer the Duck Tape on the parchment paper, making sure to overlap the edges a bit. Repeat until the whole parchment paper is covered. Try not to get it too thick in the middle—trim and use shorter pieces if needed. Then carefully peel everything off the mat, making sure the parchment paper is still connected to the back.

- From here, you can either hand-cut your letters or use the downloaded letter pattern above. Use a little paper tape to adhere the pattern piece to the Duck Tape, and then cut around the edge. The rotary cutter, ruler, and mat are helpful for many of the straight edges.

- Then lay out your letters on top of the large white banner piece, so you can see how it will all lay out. Then peel off the parchment paper to create a patchwork Duck Tape sticker!

- Adhere all of your letters to your banner—if your Duck Tape lines on your white banner piece are straight, they make it helpful for lining up your letters!

- Now let's make that super cute tassel. Grab your cutting mat one more time and cut a piece of red Duck Tape that's 8" long. Then cut two more and overlap them just a bit. Then carefully flip all three pieces over and put strips of Duck Tape over the seams on the back, covering all of the adhesive.

- You can "square up" your tassel by trimming off the uneven edges using your rotary cutter and ruler, so that your Duck Tape rectangle is approximately 8" x 5".

- Then using scissors or a rotary cutter, cut fringe into your Duck Tape rectangle, making sure not to cut all the way through. The fringe for this project was a little less than 1/4" thick—just eyeballed it. Since Duck Tape is a high-quality material, it cut just beautifully.

- Tape a piece of ribbon or twine to one end of the "inside" of your fringe. You'll notice that it didn't quite overlap one layer of tape, so that was just made to be the inside of the tassel.

- Then roll your tassel tight, and secure with a piece of tape at the top.

- Add some decorative ribbon and your tassel to your banner and it's done!







Leave A Reply!