With a few materials and your Cricut Explore or Maker, you can create this easy DIY Advent Calendar with Christmas activities! Your family will love counting down the days until Christmas!
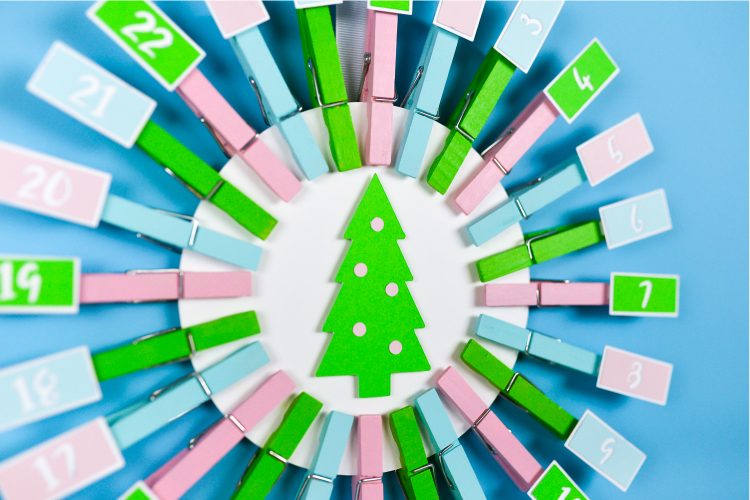
When I was a kid, we always had an advent calendar. I’m pretty sure most years it came from my grandma. Every morning in December, my brother and I would take turns opening up the little doors to find small trinkets or chocolates inside. I love that an advent calendar really drives home the “waiting” of the advent season—doing something physical each day as we’re awaiting Christmas!
Many DIY advent calendars are a lot of work, so I wanted to make one that was simple, made from easy-to-find supplies in a fun candy-coated color palette. And instead of a treat each day, this advent calendar includes fun Christmas activities you can do with your kids! This is an easy way to spend more time with your family this holiday season. See the end of this post for Christmas activity ideas to use with this DIY advent calendar.
DIY Advent Calendar Supplies
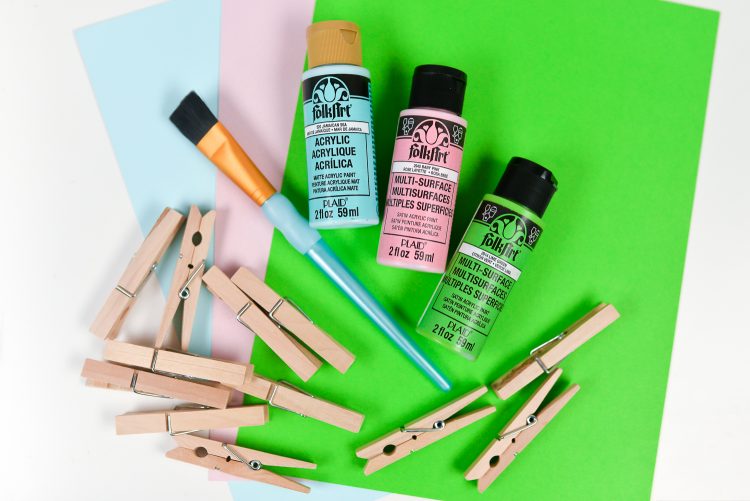
- Wooden clothespins
- Colored craft paint
- White kraft board or poster board
- Colored paper
- Cricut Explore or Maker
- Glue stick
- Mini glue squares
- SVG Download (use the box below)
Get the Free File
Want access to this free file? Join my FREE craft library! All you need is the password to get in, which you can get by filling out the form below. The file number is: C152.
DIY Advent Calendar Instructions
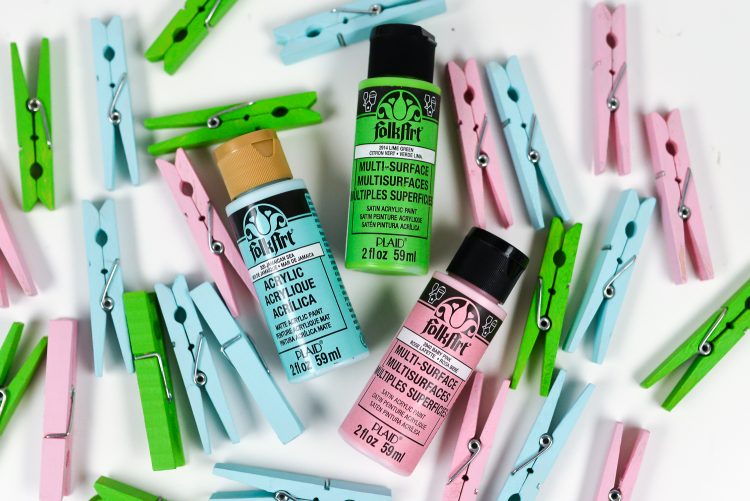
If you have colored clothespins, you can just skip this step. I didn’t, and I wanted to specifically match my paper, so I disassembled my clothespins (so that paint wouldn’t get on the hinge) and painted them with three colors of acrylic craft paint—pink, green, and blue. You could also use spray paint if you’d like. Once dry, put the clothespins back together.
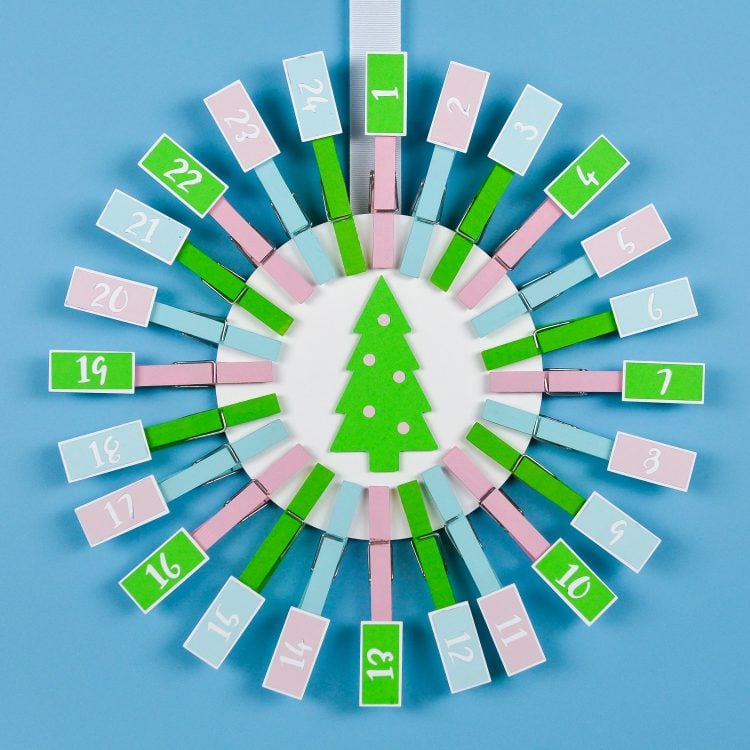
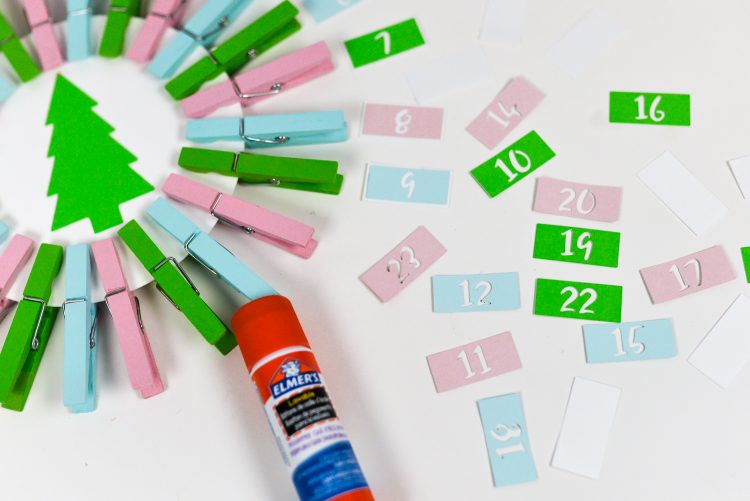
Upload the free SVG for this project to Cricut Design Space. Cut the large white circle in white kraft board (or duplicate and glue three pieces of white cardstock together—basically you want a nice, sturdy circle). Cut the tags and tree/ornaments in colored paper. Clip your clothespins around the edge of the circle.
Adhere the numbers to white tag pieces using a glue stick, centering the number on the white tag pieces.
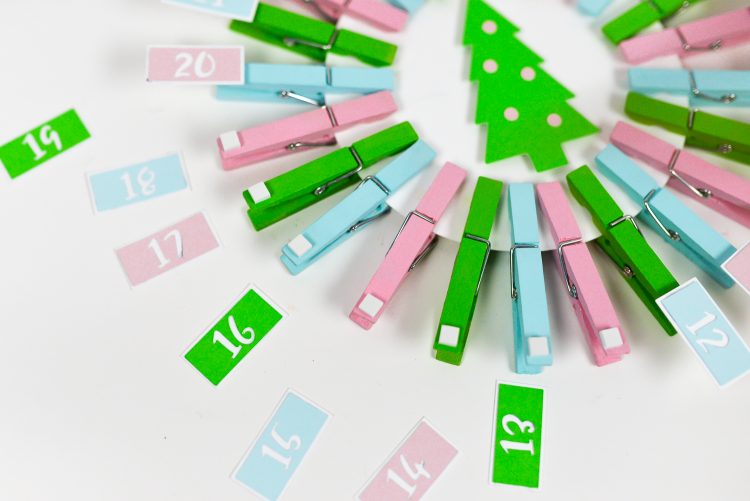
Use the foam squares to adhere the tags to the clothespins. I also used foam squares behind the Christmas tree in the center to give it a little dimension.
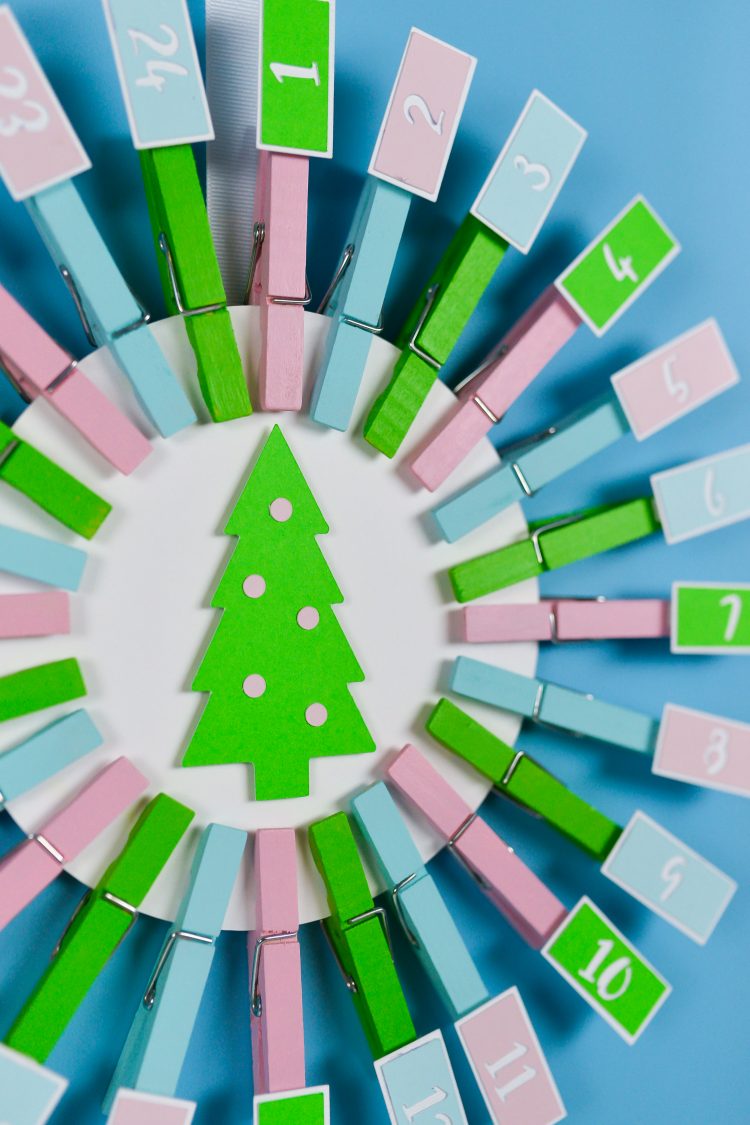
Write your Christmas activities on the back of each tag! I recommend doing this after you’ve attached it to the clothespin—that way you don’t cover your activity with the foam square.
Then, starting December 1, unclip the day’s clothespin to see what activity your family will do that day!


Christmas Activities for Families
Wondering what activities you might want to do for this advent calendar? Here are some fun ideas!
- Bake cookies
- Make ornaments
- Ice skating
- Write letters to Santa
- Make paper snowflakes
- Have a Christmas craft day
- Visit a living nativity
- Make snow angels
- Go Christmas caroling
- Build a pillow fort
- Bring treats to your neighbors
- Make fudge
- Volunteer at a soup kitchen
- Go to your community’s tree lighting
- Read a Christmas story
- Look at Christmas lights
- Make an ugly sweater
- Go sledding
- Take photos with Santa
- DIY a snow globe
- Build a snowman
- Make hot cocoa
- Decorate the Christmas tree
- Watch a Christmas movie
- Make a popcorn garland
- Write Christmas cards
- Make homemade gifts
- Donate old toys to charity
- Throw a game night
- Make a gingerbread house
- Have a Christmas song dance party
- Make a wreath
- Sleep under the tree
Love this Cricut advent calendar? Check out my post 15+ DIY Cricut Advent Calendars & Christmas Countdowns for more ideas!
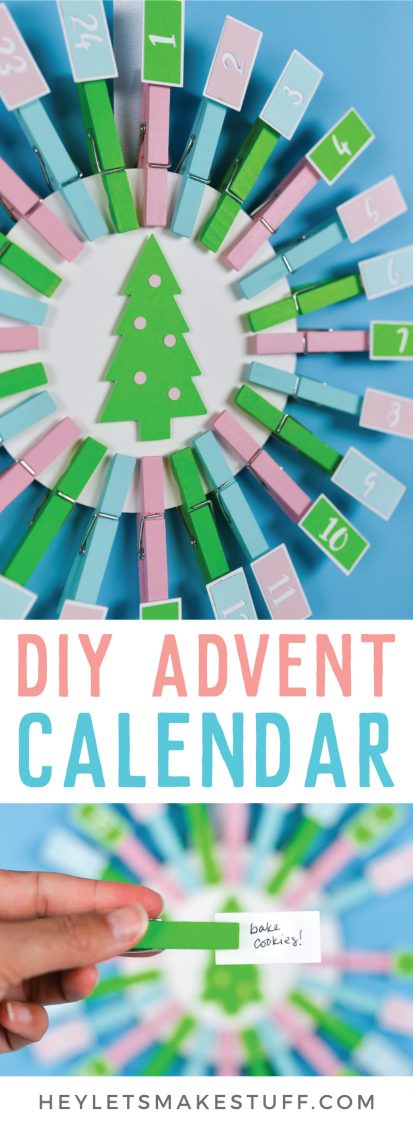

EASY DIY ADVENT CALENDAR
Equipment
- Cricut Maker or
Supplies
Instructions
- If you have colored clothespins, you can just skip this step. For this project, the clothespins needed to specifically match the paper, so they were disassembled (so that paint wouldn't get on the hinge) and painted with three colors of acrylic craft paint—pink, green, and blue. You could also use spray paint if you'd like. Once dry, put the clothespins back together.

- Upload the free SVG for this project to Cricut Design Space. Cut the large white circle in white kraft board (or duplicate and glue three pieces of white cardstock together—basically you want a nice, sturdy circle). Cut the tags and tree/ornaments in colored paper. Clip your clothespins around the edge of the circle.
- Adhere the numbers to white tag pieces using a glue stick, centering the number on the white tag pieces.

- Use the foam squares to adhere the tags to the clothespins. Foam squares were also used behind the Christmas tree in the center to give it a little dimension.

- Write your Christmas activities on the back of each tag! It is recommended doing this after you've attached it to the clothespin—that way you don't cover your activity with the foam square.Then, starting December 1, unclip the day's clothespin to see what activity your family will do that day!

