
EASY DIY ADVENT CALENDAR
With a few materials you can create this easy DIY Advent Calendar with Christmas activities! Your family will love counting down the days until Christmas!
Equipment
- Cricut Maker or
Ingredients
Instructions
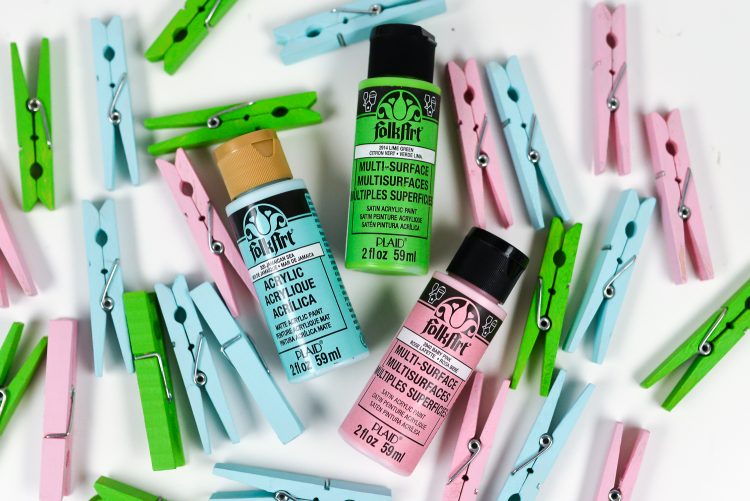
- If you have colored clothespins, you can just skip this step. For this project, the clothespins needed to specifically match the paper, so they were disassembled (so that paint wouldn't get on the hinge) and painted with three colors of acrylic craft paint—pink, green, and blue. You could also use spray paint if you'd like. Once dry, put the clothespins back together.
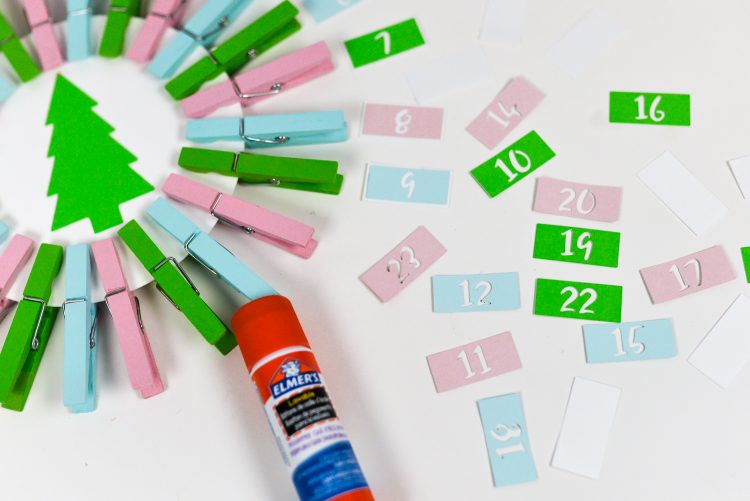
- Upload the free SVG for this project to Cricut Design Space. Cut the large white circle in white kraft board (or duplicate and glue three pieces of white cardstock together—basically you want a nice, sturdy circle). Cut the tags and tree/ornaments in colored paper. Clip your clothespins around the edge of the circle.
- Adhere the numbers to white tag pieces using a glue stick, centering the number on the white tag pieces.
- Use the foam squares to adhere the tags to the clothespins. Foam squares were also used behind the Christmas tree in the center to give it a little dimension.

- Write your Christmas activities on the back of each tag! It is recommended doing this after you've attached it to the clothespin—that way you don't cover your activity with the foam square.Then, starting December 1, unclip the day's clothespin to see what activity your family will do that day!