Frustrated weeding iron on vinyl for projects made using your Cricut or other cutting machine? Here are tips and tricks to make weeding HTV easier!
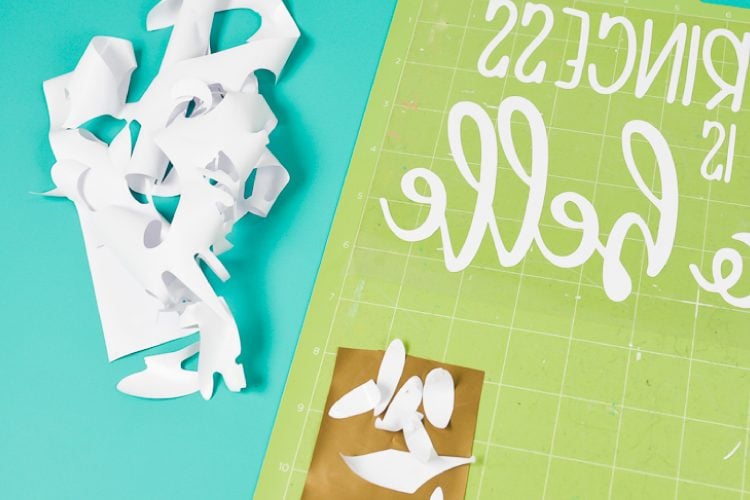
Iron on has quickly become one of my favorite materials to work with on my Cricut. It can adhere to so many different surfaces, particularly those that are difficult to use with regular adhesive vinyl, like wood and cardstock. It makes it much easier to layer your projects because your material stays connected to your backing plastic. And you can also cut much more intricate designs and not have to fuss with using transfer tape, which is a huge headache for a lot of users. You just cut your design and iron it on.
Oh wait. There’s one big, important step in between cutting and ironing—you have to weed your vinyl. Today I’m going to use one of my files from my taco bundle to show some of my best tips and tricks when it comes to weeding vinyl.
What is Weeding Iron On Vinyl?
Weeding iron on vinyl is the process of removing the excess material that you do not want on your project. Let’s take this Taco Belle file (I heard someone make this joke the other day and it had me giggling for far longer than I’d like to admit!). I changed the color of the words in Cricut Design Space to cut in white so it would work better on my black t-shirt.

You will use a special tool called a weeder or weeding hook to remove the excess vinyl. It sounds simple, but the more complex your design, the more care you need to take while weeding.
One thing we get to before actually weeding—when you cut out your design in iron-on vinyl, make sure to mirror it! Because you’re actually cutting the back of your vinyl, if you don’t mirror your image, it will end up backward. You can mirror your iron on vinyl in the Prepare Screen in Cricut Design Space, and if you select iron on vinyl as your material, there will be a warning reminding you to mirror your image.
Tips for Weeding Iron On Vinyl
Okay! Our Taco Belle image is cut. It’s time to weed. Clearly if I ironed this onto my shirt as-is, I’d just have a big white rectangle on my shirt, which isn’t what I want at all. Let’s get rid of the negative space.
Cut Off Excess Vinyl
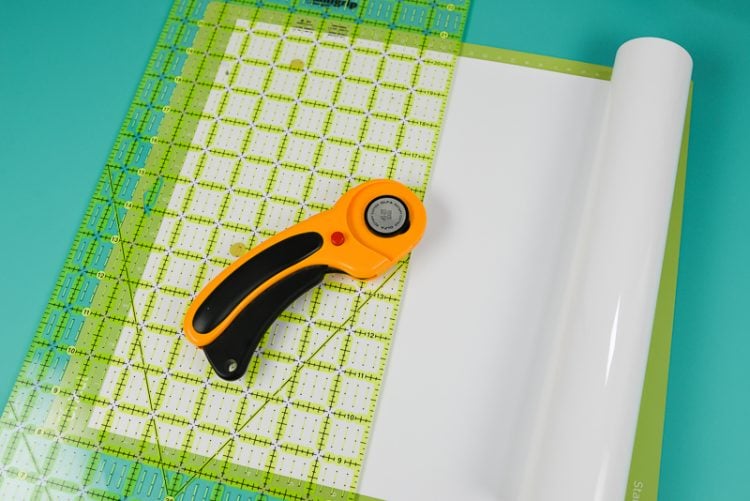
A lot of times, the piece of vinyl you use will be a lot larger than your actual cut. I like to use my rotary cutter and quilting ruler to cut a straight line across the bottom—this gives me a nice straight edge for my next project! You can also trim with scissors or a craft knife.
Find a Hook That Works For You
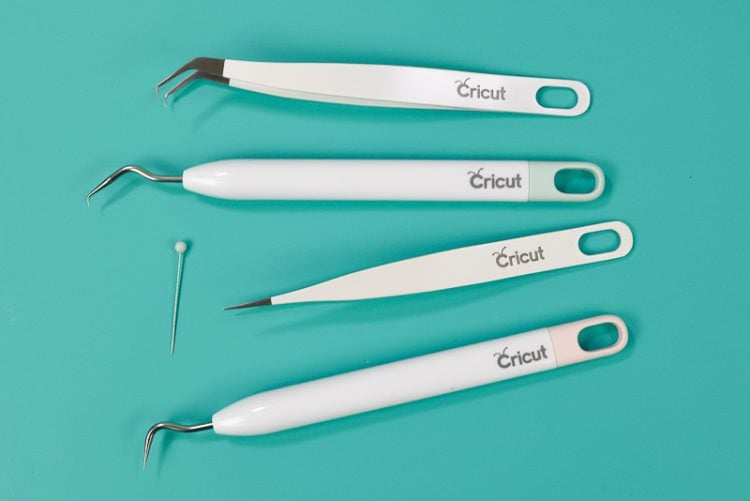
There are quite a few weeding hooks on the market. Cricut has a whole set of different weeding tools that include several hooks. After years of using the basic Cricut weeding hook, that’s definitely my favorite. But there are other brands with different shapes—find one that works for you and stick with it. The more you use your hook, the more it will feel like an extension of your hand when you weed. Simply dig the point of the hook into the piece that you want to remove and lift it away.
Use Other Tools
99% of the time, I use my weeding hook. I have just found it’s the tool that works best for me. There are other tools, however, that you might want to have in your weeding arsenal—a good pair of tweezers, a straight pin or needle (for pulling up the tiniest pieces), and a craft knife.
Print Out Your Design
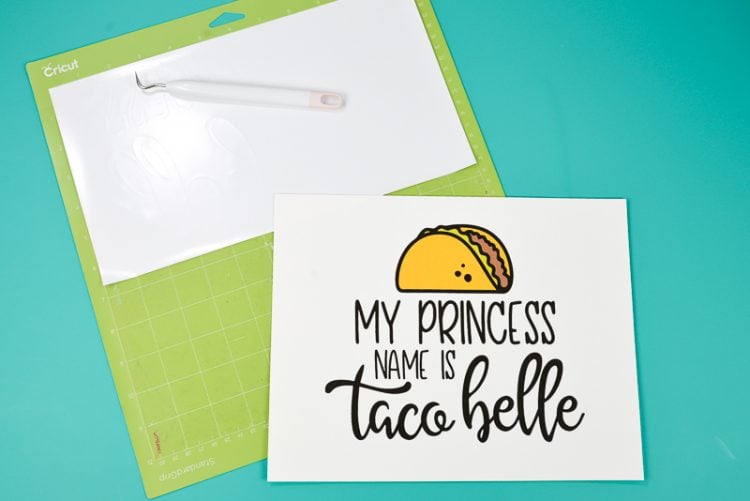
If you have a particularly intricate design, you may want to actually print a copy of what you’re weeding. That way, you can see exactly what needs to be removed and what is actually part of the design. This design wasn’t difficult, but it can be super helpful on intricate designs like my lace hearts, it’s a must.
Keep Your Material on Your Mat
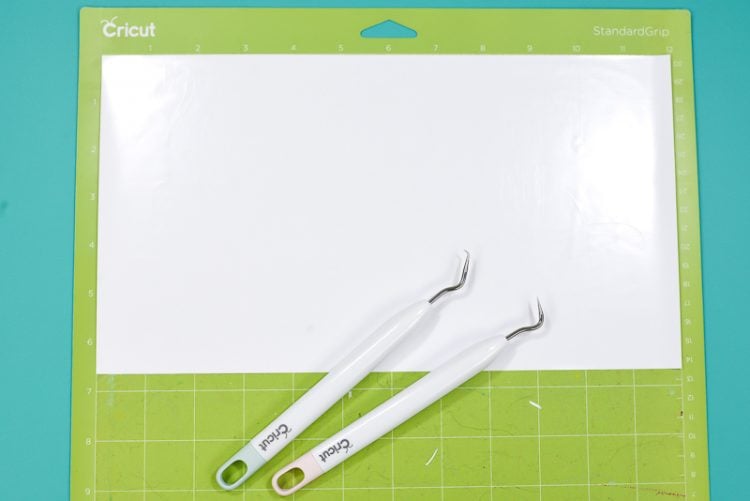
I find it easiest to weed with my backing material still stuck to my Cricut mat. This keeps my project steady and helps hold down my backing material as I weed the vinyl.
Then again, you can always…
Use the Cricut BrighPad
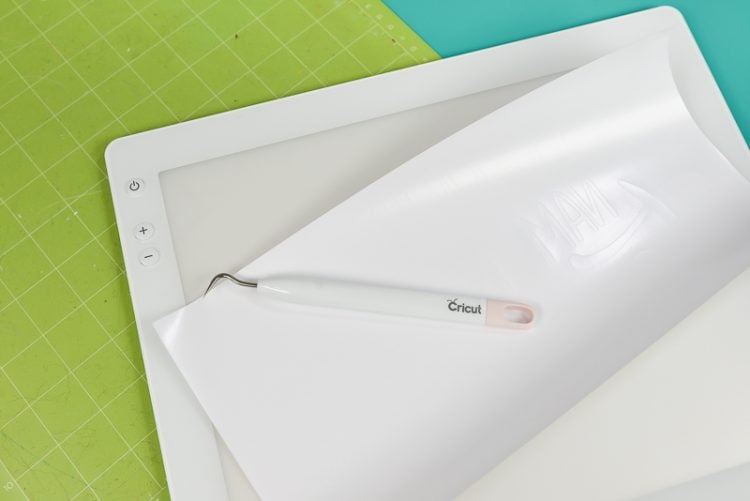
If you’re having trouble seeing your weeding lines, give the Cricut BrightPad a shot. It is basically a very thing lightbox that you can weed on top of—and it shines light through the cuts to make them easier to see and weed. I don’t use mine often since I prefer the mat method above, but if I’m struggling to see my cut lines, I will break mine out—it really does make things a lot easier!
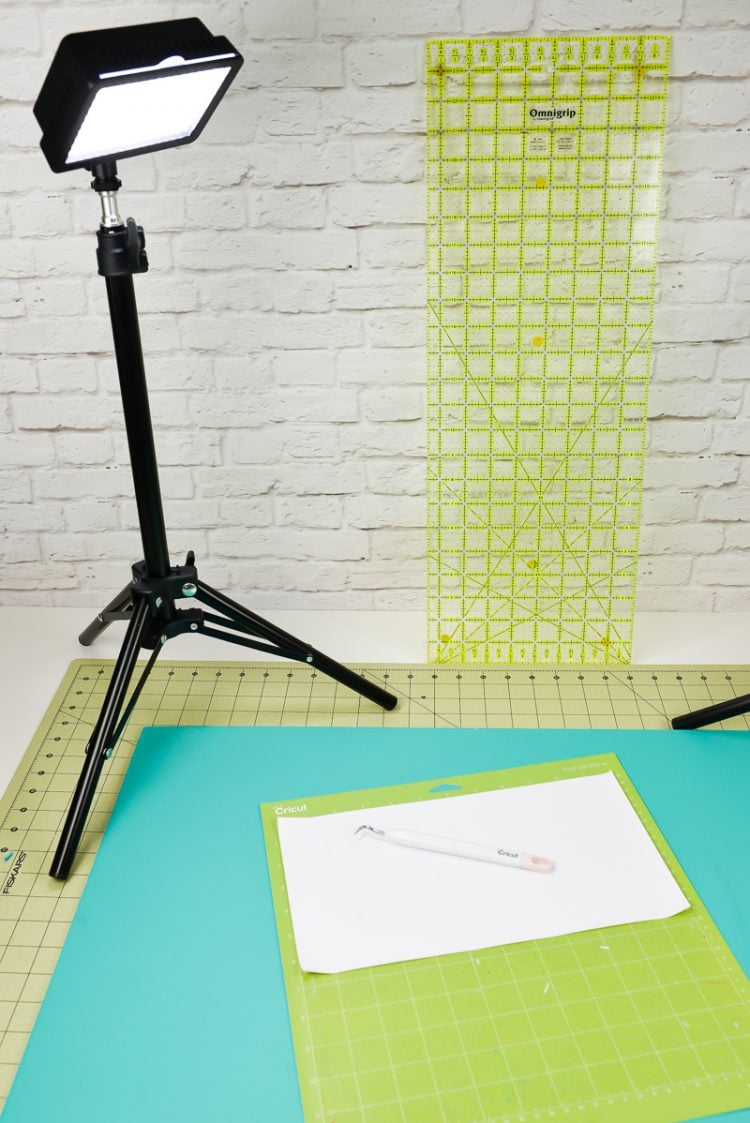
Use a Good Light
Speaking of lighting, find a good, bright light to weed under. I actually use my studio photography lights because they are quite bright, but others swear but the Ottlite and other similar work-oriented lights. A little behind the scenes magic here:
Start in the Upper Left
That…if you are right-handed. If you are left-handed, start in the upper right. I find that by starting in the upper left, I can weed down and across. If I start in the lower right, for instance, and weed up and across, my arm then comes in contact with the sticky backing paper I’ve already weeded and it becomes a sticky mess of dog hair and shirt fibers and arm hair (ew…but seriously…some of that backing material is sticky).
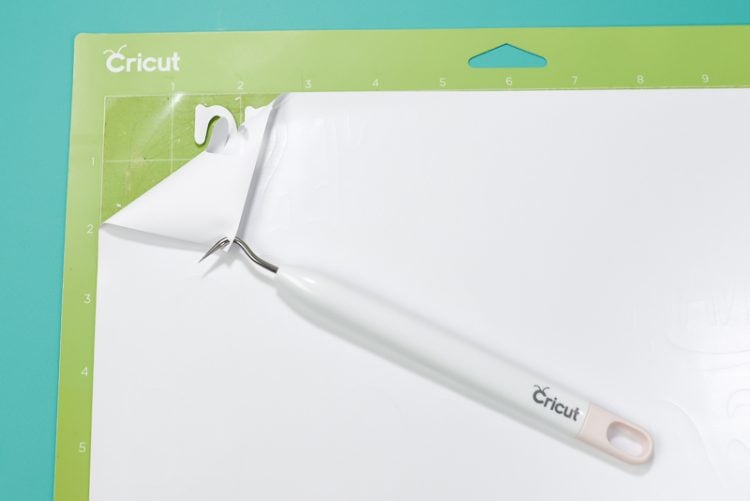
Use Scissors
If you’ve weeded off quite a large chunk, just chop that weeded vinyl off with a pair of scissors—this helps keep it from getting in the way as you weed the rest of your project.
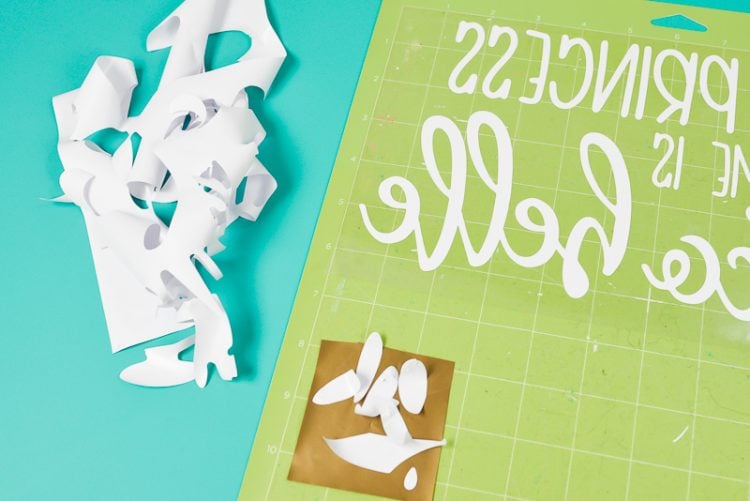
Use a Piece of Vinyl for Scraps
I’m not sure where I picked up this trick, but I will often take a piece of regular adhesive vinyl, about 2″ square, and place it sticky-side up on my Cricut mat. Then I can use it to collect the small weeded scrap pieces of my project—it’s pretty handy! Double-sided tape works well, as well.
Go Slowly and Methodically
Some iron on vinyl weeds more easily than others. No matter what you’re using, though, I find my best tip is to go slowly and methodically as you weed. Your inclination might be to just pull everything up, as much as you can at one time. But that’s a surefire way to lose the dots on your “i”s and other small pieces. Just take it slowly and carefully, making sure that what you want to remain on the backing material remains, and what needs to come up comes up.
Always Double Check
Once you’re done, hold your project up to the light to make sure you haven’t missed any pieces, like the pesky bits inside letters. I often also put my cut file up to a contrasting colored background — it works as well. Once those little bits ironed on, there’s no going back, so you need it have it right the first time!

I know weeding can be frustrating, particularly for people with bad eyesight or issues with their hands (I have carpal tunnel in my hand, so I understand!), or for anyone who really just hates weeding out all those tiny pieces. Hopefully these tips have made it a little easier! Once you have your vinyl weeded, you can easy adhere it to your material using the Cricut EasyPress (see why I love mine here), a heatpress, or your household iron. See more of my tips and tricks for using iron on vinyl here!
