Cricut’s new premium Iron On Designs are perfect for a quick project—and they don’t require a Cricut machine! I used Cricut Iron On Designs on several different colors of fabric, and here are my results.
This post was sponsored by Cricut.
If you’ve always wanted to make cool things with a Cricut…but don’t actually have a Cricut, I have a fun new product to share with you today! I’ve been playing around with Cricut’s new premium Iron On Designs! These are pre-made iron on designs that you don’t need a Cricut to cut and make—all the work is done for you. All you have to do is iron it on to your favorite material—t-shirts, tote bags, onesies, pillows and more. There are dozens of designs available, with more on the way. They are perfect for last-minute gift ideas as well!
And if you do have a Cricut, you can use these designs along with iron on vinyl you cut yourself. Take the cute unicorn and put your child’s name below it or this cute sloth with the words “just hanging out!” There are a lot of ways you can personalize these designs with your Cricut!
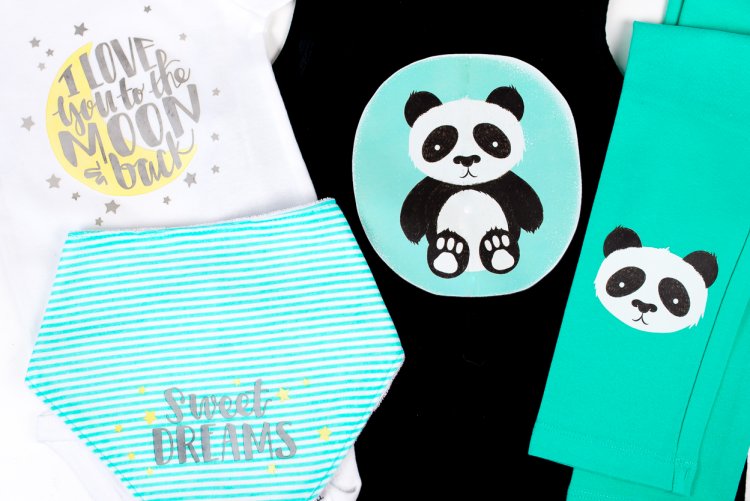
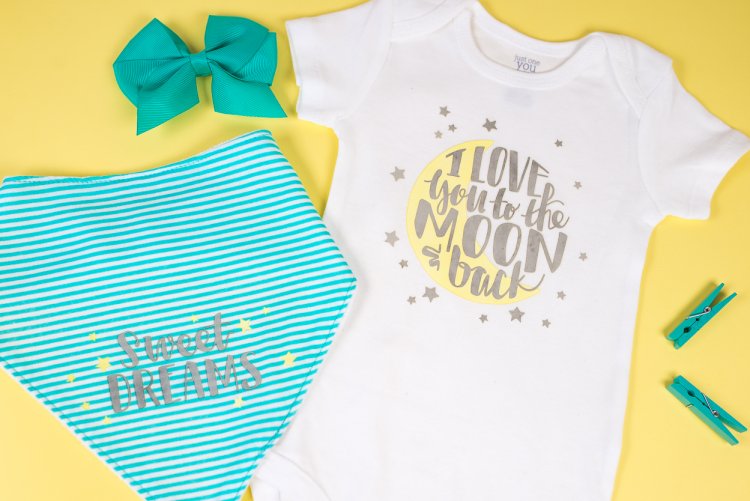
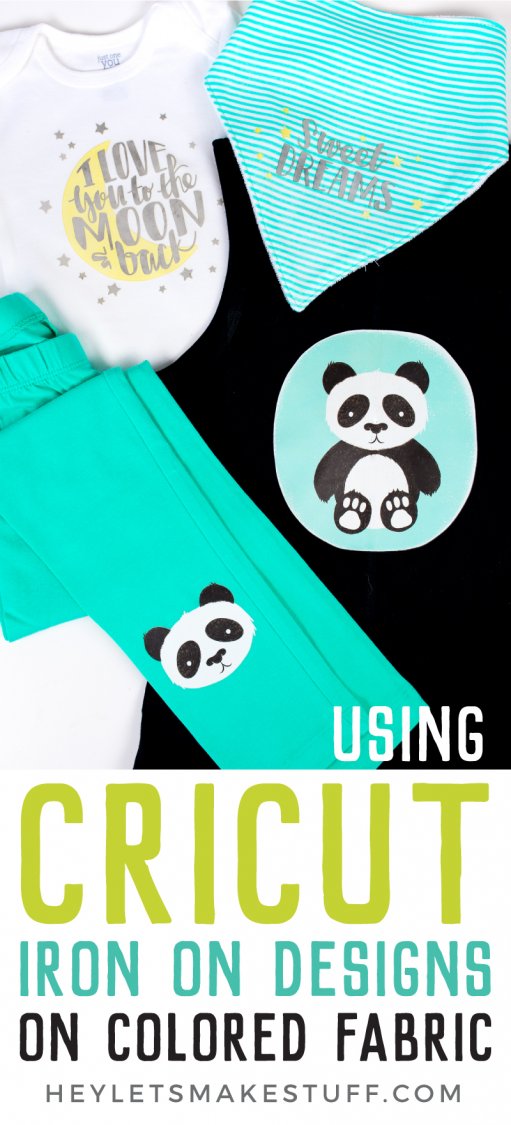
I wanted to test these designs with different colors of fabric, so I made two adorable outfits—a onesie and bib for a baby using the Love You to the Moon set, and ashirt and leggings set for a little girl using the Panda set. Overall I tested using the Iron On Designs on:
- White cotton
- Black cotton
- Colored (teal) cotton
- Patterned (striped) cotton
I’ll get to my results in a bit, but I wanted to go through the quick process of adhering these designs to your project.
Adhering the Cricut Iron On Designs
I suggest using a Cricut EasyPress. You can use your household iron as well, but I find that I get much better results with my EasyPress than I ever did with my iron, especially because you can precisely control the temperature (read my thoughts about the EasyPress here). Cricut recommends the following settings for their premium Iron On Designs. If you have an iron, you can approximate these settings (note that felt and faux leather are much cooler!). Check out the Cricut Heat Guide.
- Cotton: 5 second pre-heat | 340° press for 30 seconds | 15 second press on the back | Cold Peel
- Cotton/Poly Blend: 5 second pre-heat | 340° press for 30 seconds | 15 second press on the back | Cold Peel
- Cotton Canvas: 5 second pre-heat | 340° press for 30 seconds | 15 second press on the back | Cold Peel
- Wool Felt: 5 second pre-heat | 265° press for 20 seconds | 15 second press on the back | Cold Peel
- Faux Leather: 5 second pre-heat | 265° press for 20 seconds | 15 second press on the back | Cold Peel
All of the projects I’ve made so far have been on cotton—here’s how the above process plays out.
Start by laying your material out as flat as you can on the EasyPress Mat or a folded towel. You need this base layer to protect your table surface.
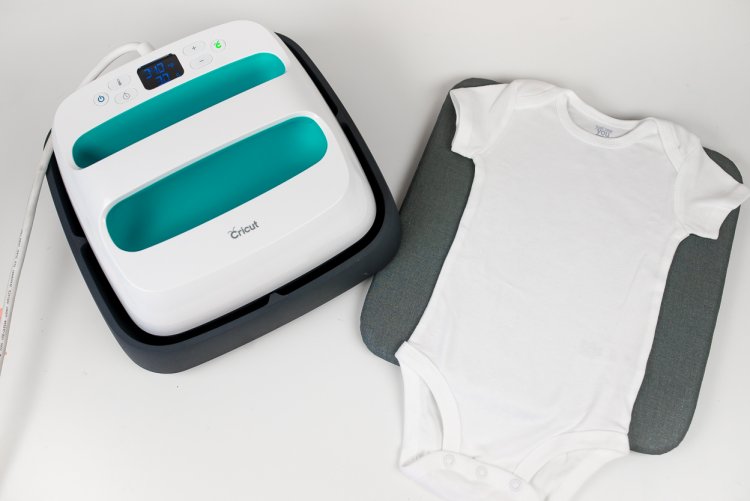
Set your EasyPress to 350° and wait for it to heat up. Once it does, do a quick 5-second press to preheat your fabric.
Lay your design on your material, face up. I trim down the extra plastic backing sheet so that my iron on design is not hanging off the sides of my project.
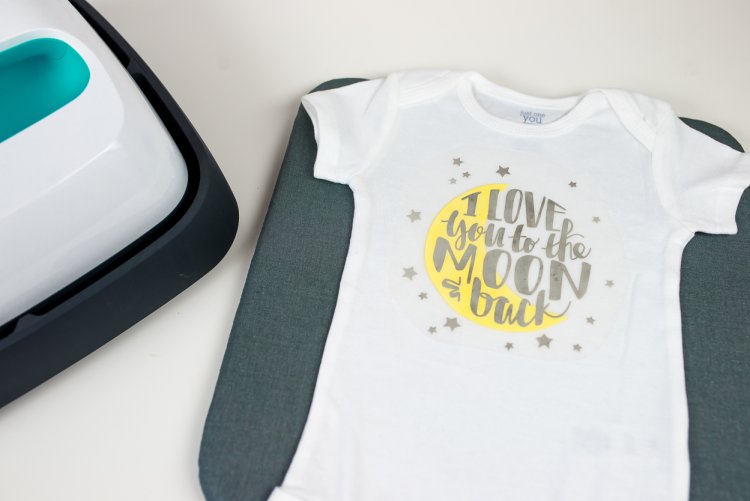
Press for 30 seconds, not moving your EasyPress or iron. If your EasyPress or iron isn’t big enough to cover the whole design, pick it it up and press the un-pressed area for another 30 seconds.
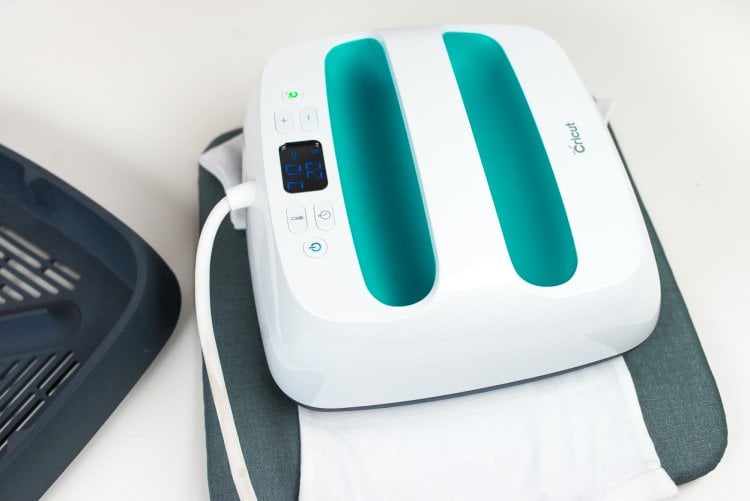
Flip your project over and give it another press on the back for 15 seconds. Note that this isn’t always possible depending on your material.
Wait for it to cool before peeling off the backing sheet. I found a slightly warm peel was a bit better than a totally cold peel for these. If your design doesn’t release from the backing sheet, press again.
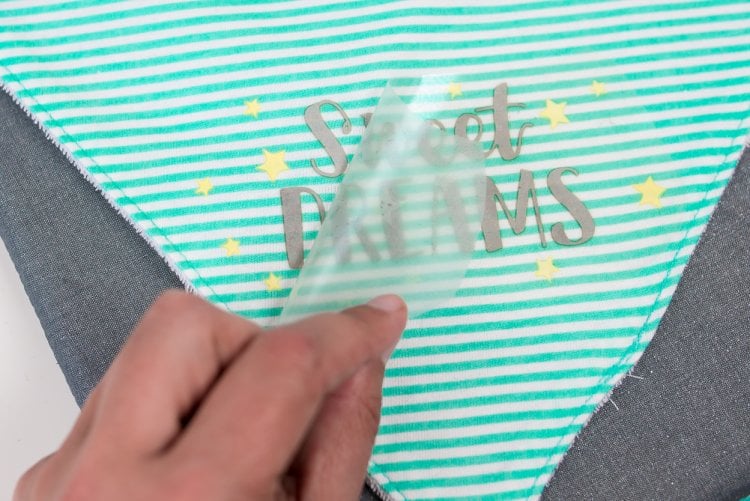
Tada! Cute project, minimal effort. WIN.
A few important notes. Wait 24 hours before washing your garment inside out. Do not use bleach—it will break down the adhesive. And if you do need to iron your project after washing, only iron it inside out.
Cricut Iron On Designs on Colored Fabric
So how did the different colors of fabric prevail? Pretty good, I think! Because these are pre-made, you don’t get to choose the color. So you need to make sure your material works well with the design you’ve chosen.
White
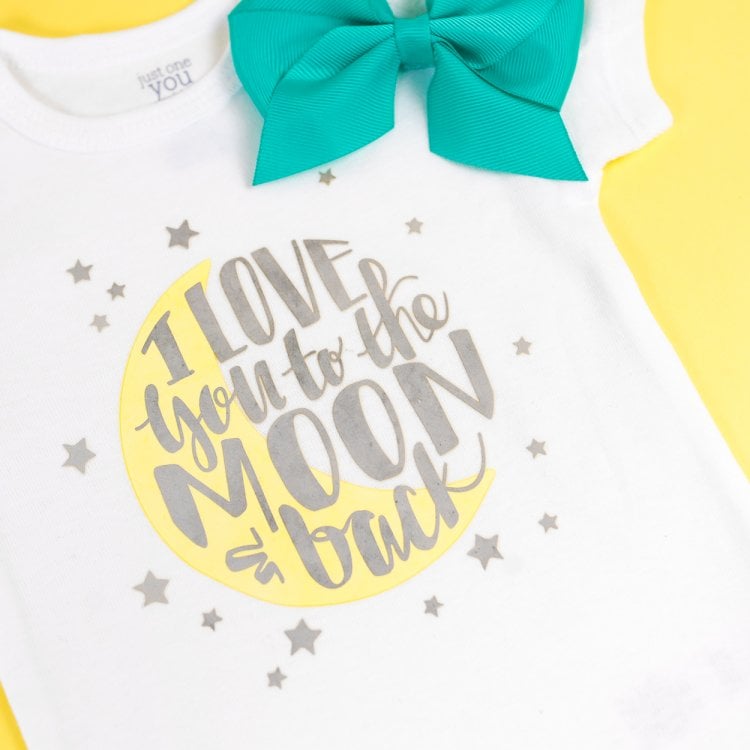
White materials are perfect for most of the designs. There are a handful that are 100% white which need a darker background, like this Faith Hope Love design. I used a white onesie for the Love You to the Moon design and it’s so cute!
Black
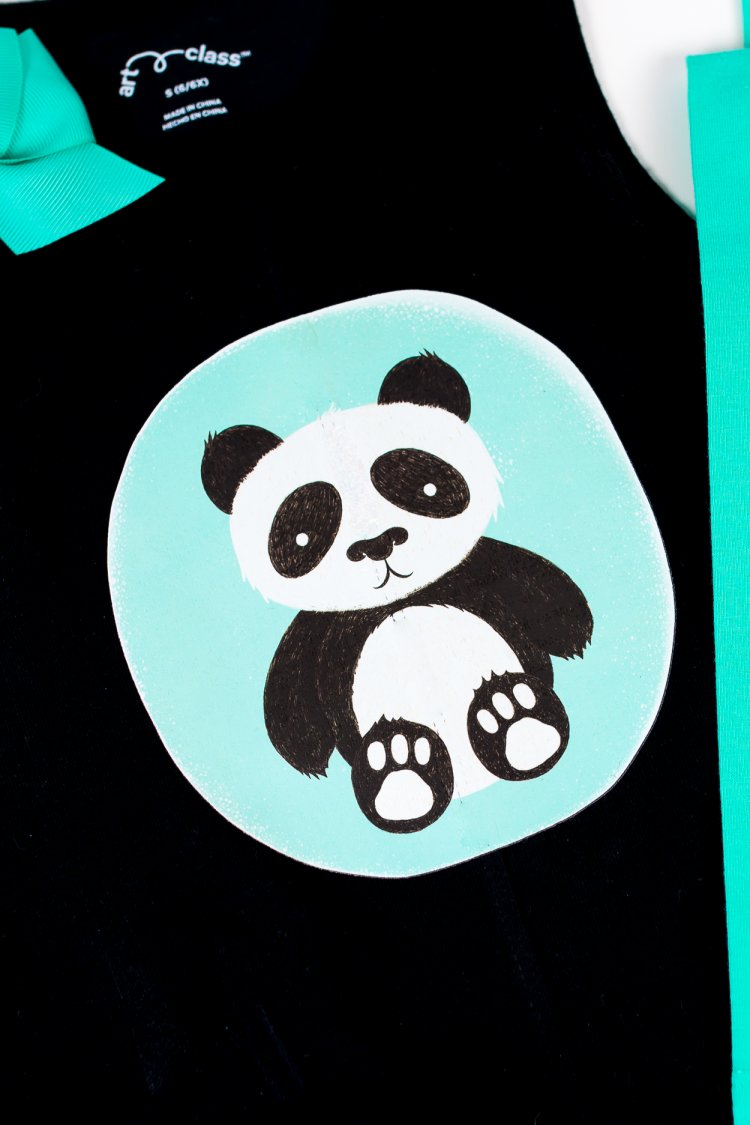
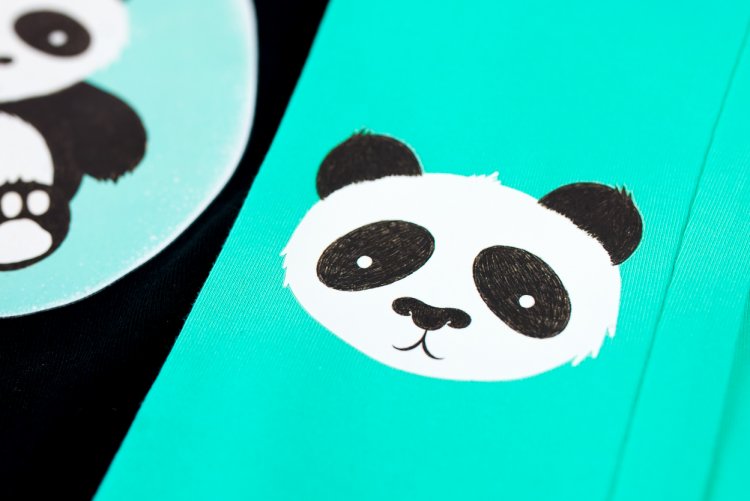
Black is a little trickier. There are a lot of really cute designs with black writing, like this Sunshine is my Favorite Color design. Black writing on a black t-shirt? Nope. It works much better on white or a lighter color. All of the designs have a white backing, so they are vibrant against black. Some of the white backing is more apparent, like on the panda I used on this shirt. Others are more subtle—no white outline, but the white backing allows for the image to really shine.
Colors
Your success with different colors really depends on the designs. I wanted to use a pink t-shirt with the Love Heart, but the pinks were too similar and the flowers were getting lost in the mix. This one was much better on black or white. Some of the designs, however, play really nicely with colors. The pandas look great on this teal, and the teal of the pants is such a nice complement to the teal in the panda on the shirt! The nice thing about these designs is that you can take them out of the package, lay them on your material, and get a pretty accurate sense of what your final project will look like.
Patterns
Patterns are definitely more miss than hit. You really need a pretty simple pattern for these designs to look good. The designs themselves have a lot of variation and dimension, so pairing them with a crazy pattern may make your eyes cross. I also suggest using a pattern without a lot of contrast. If I’d used a black and white striped bib, you would have been able to see the stripes a bit through the design. But with the lower contrast teal and white striped bib, that effect is minimized.

And there you have it! My next test is to wash that onesie a bunch and see how the iron on actually holds up. Be on the lookout for that post soon!


Comments & Reviews
Karen Stachowiak says
Hi,
I just bought the Cricut baby iron on for a onesie and was wondering where did you find the bib? I want to give this to a friend who just had a baby. Thanks!
Amy Motroni says
Hi Karen,
Amazon! Just search striped bandana bib :)
Affiliate link: https://amzn.to/37NKoX6
Happy Crafting!
Amy, HLMS Reader Support