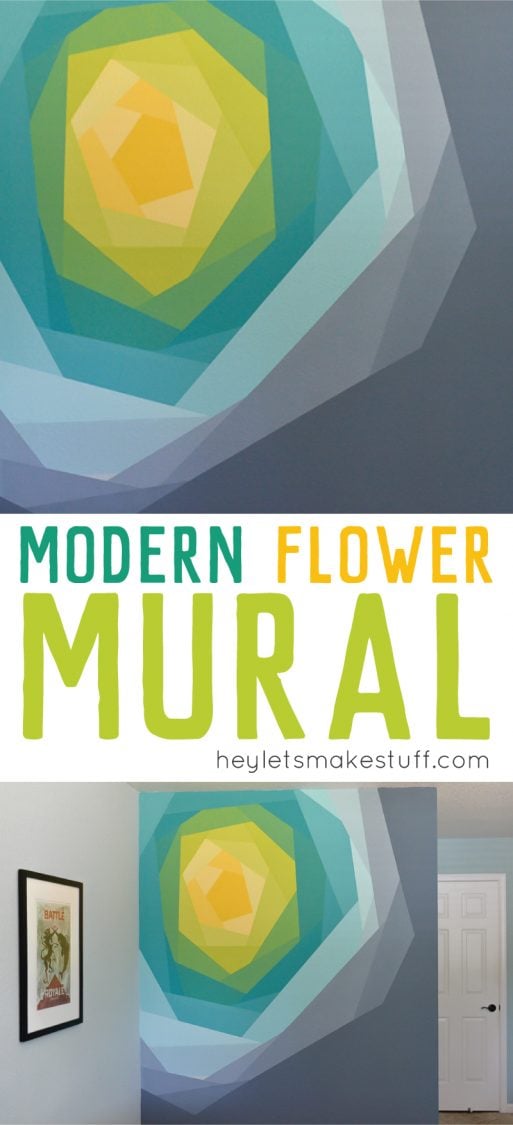
All it takes to make this gorgeous flower wall mural is paint, FrogTape, and patience! A stunning addition to any space.
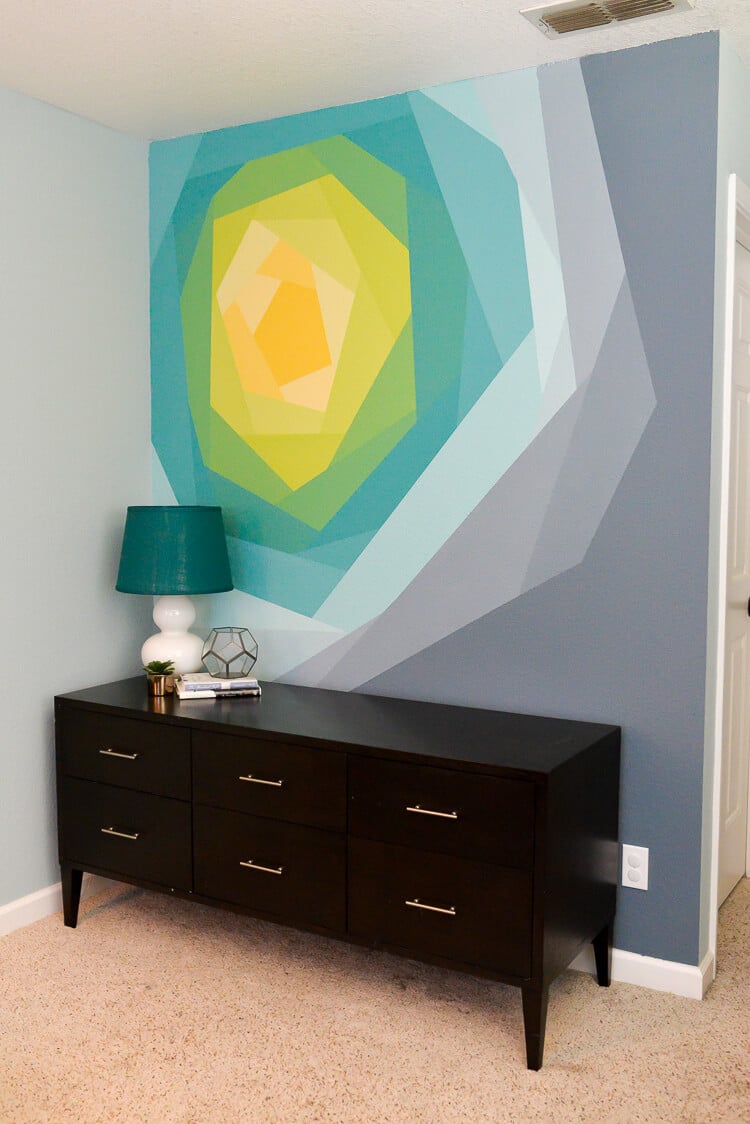
One of the most popular posts here at Hey Let’s Make Stuff is my Bloomin’ Quilt-As-You-Go tutorial. I had an idea recently to do something similar as a wall treatment and when Frog Tape asked if I wanted to partner with them on a project, I knew it was time! Here’s my pillow as inspiration:
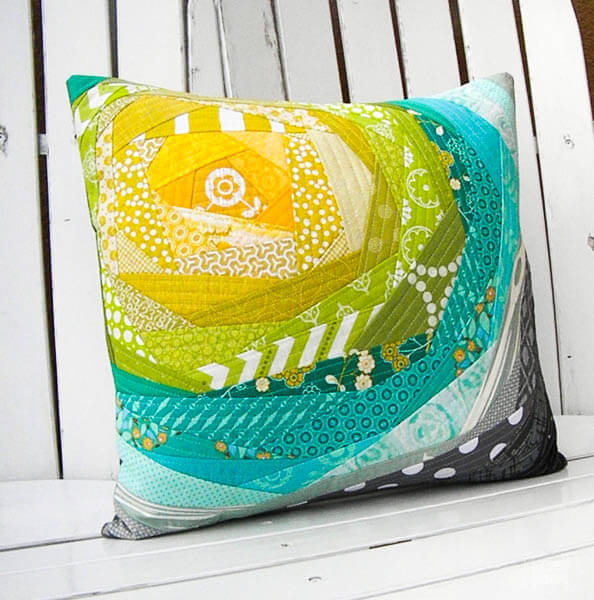
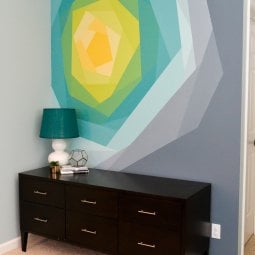
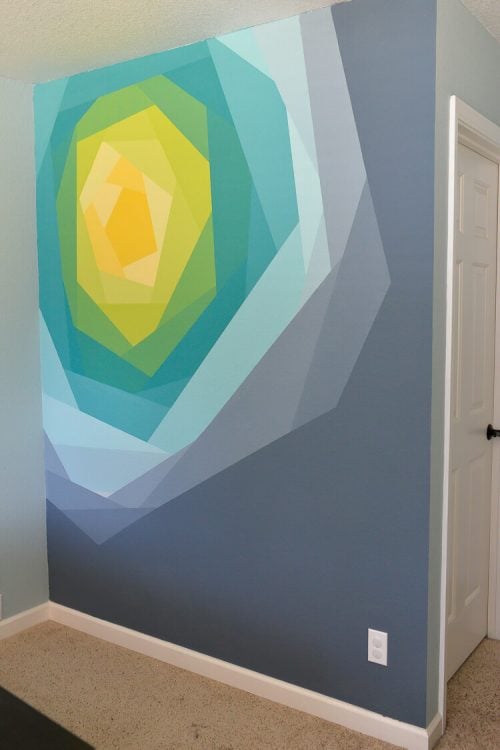
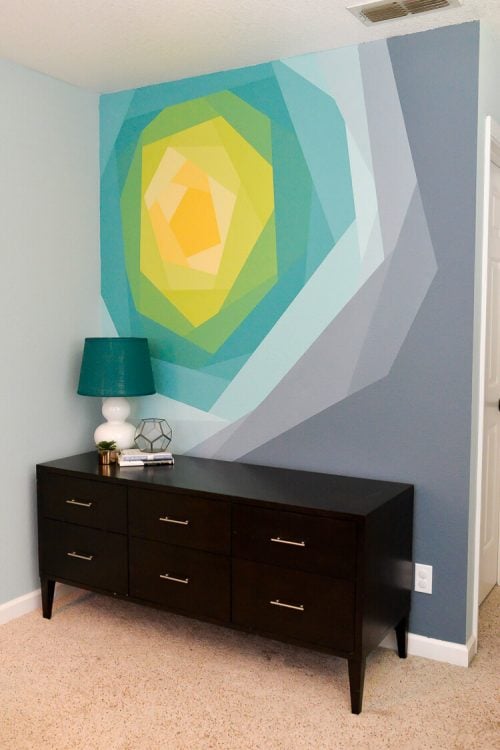
And here’s the finished wall:
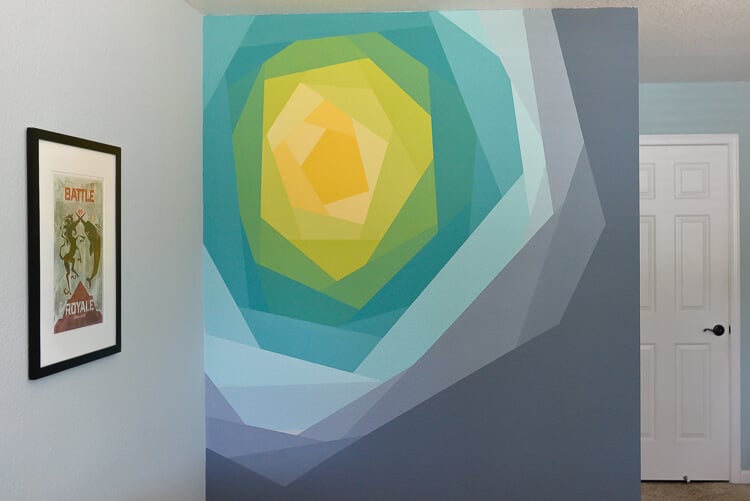
Pretty darn close, if I do say so myself! Not going to lie—this was a lot of work. But I love it so so so much! The hardest part, really, is waiting for the paint to dry between “petals,” — the actual work wasn’t bad at all.
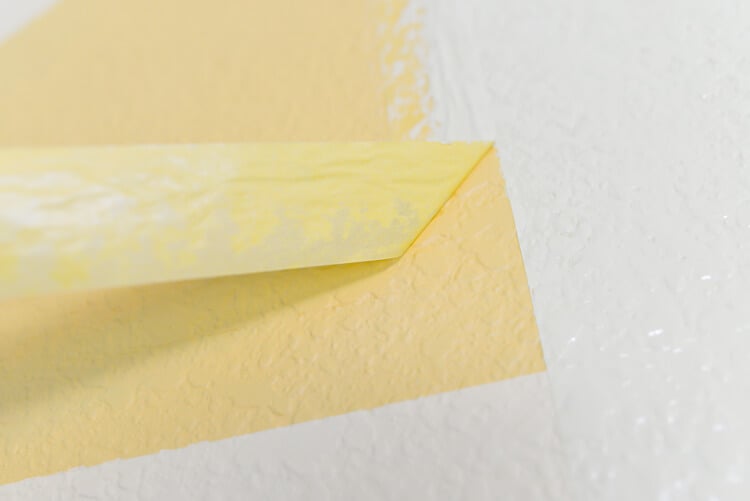
FrogTape® brand painter’s tape made it so easy, because my paint lines were crisp each and every time. They have patented patented PaintBlock® Technology, which reacts with the water in latex paint and instantly gels to form a barrier against paint bleed giving me the sharpest paint lines possible. It’s awesome!
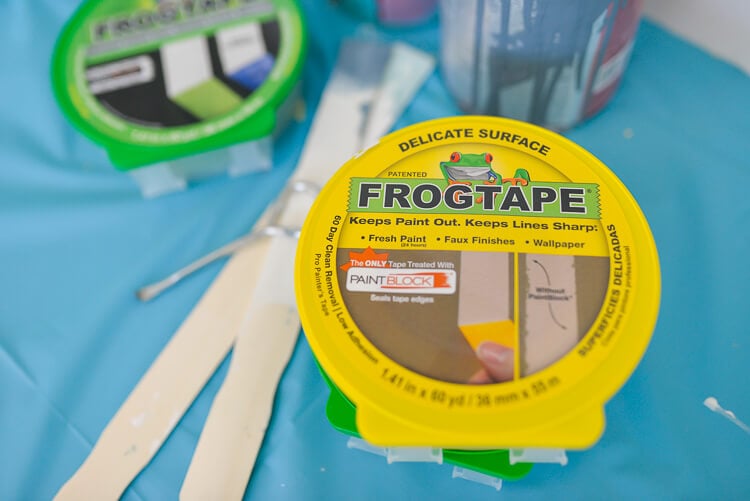
I used FrogTape® Delicate Surface because it won’t peel of paint layers that are less than 24-hours old. It worked well on our very rough orange-peel texture walls (thank you, the 1980s!). You could do this painted wall art project in almost any size in any color combination you can think of.
Now let’s do this with paint and FrogTape®!
Flower Wall Mural Supplies
- Paint in a variety of colors (I used golden yellow, green, deep teal, white, and dark gray)
- Paint brush, 4″ roller, and small paint tray
- FrogTape® Delicate Surface brand painter’s tape
Flower Wall Mural Instructions
The petals of the flower are basically a mix of the five colors of paint. I started with yellow on the outside, added a bit of white, then a bit of green, more green, then some teal, some more white, a little gray, and finally more gray until I got to my final gray section. I mixed in a paint tray as I went along, guesstimating the combination of paints.
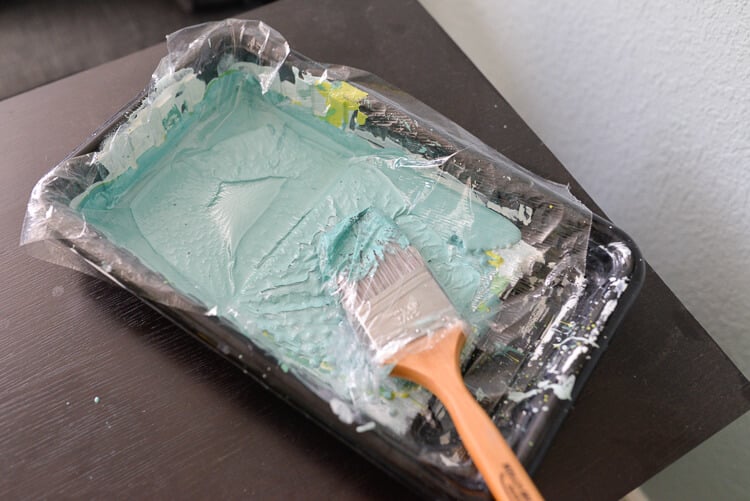
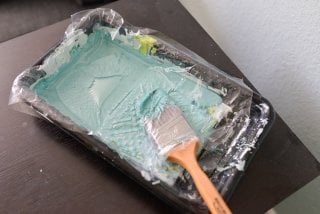
In between each coat, I just covered my tray, brush, and roller with clear plastic wrap, instead of washing everything out. That would have taken forever and we’re still in a drought here in California!
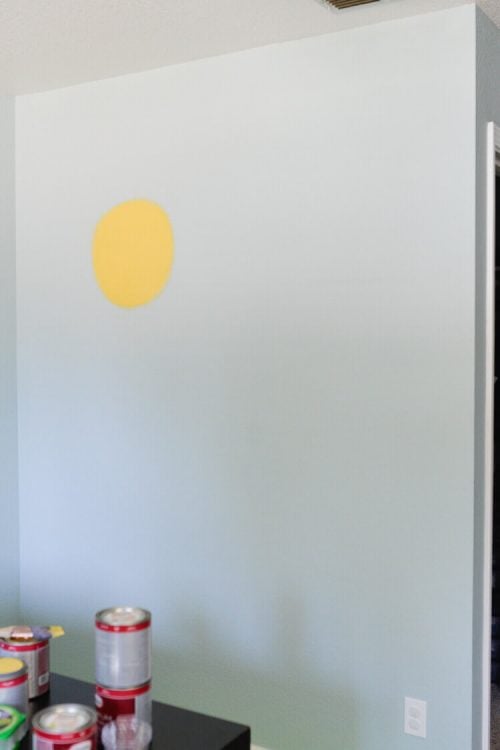
Here’s the wall before (don’t fall asleep, it’s like the most boring wall EVER):
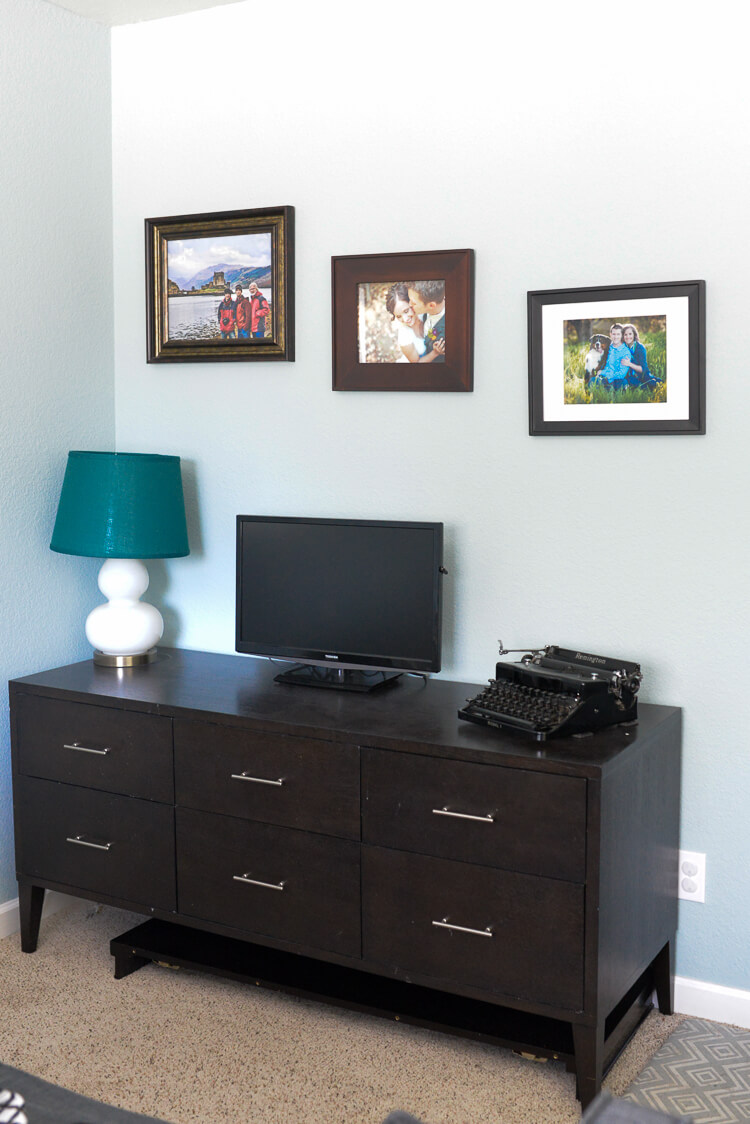
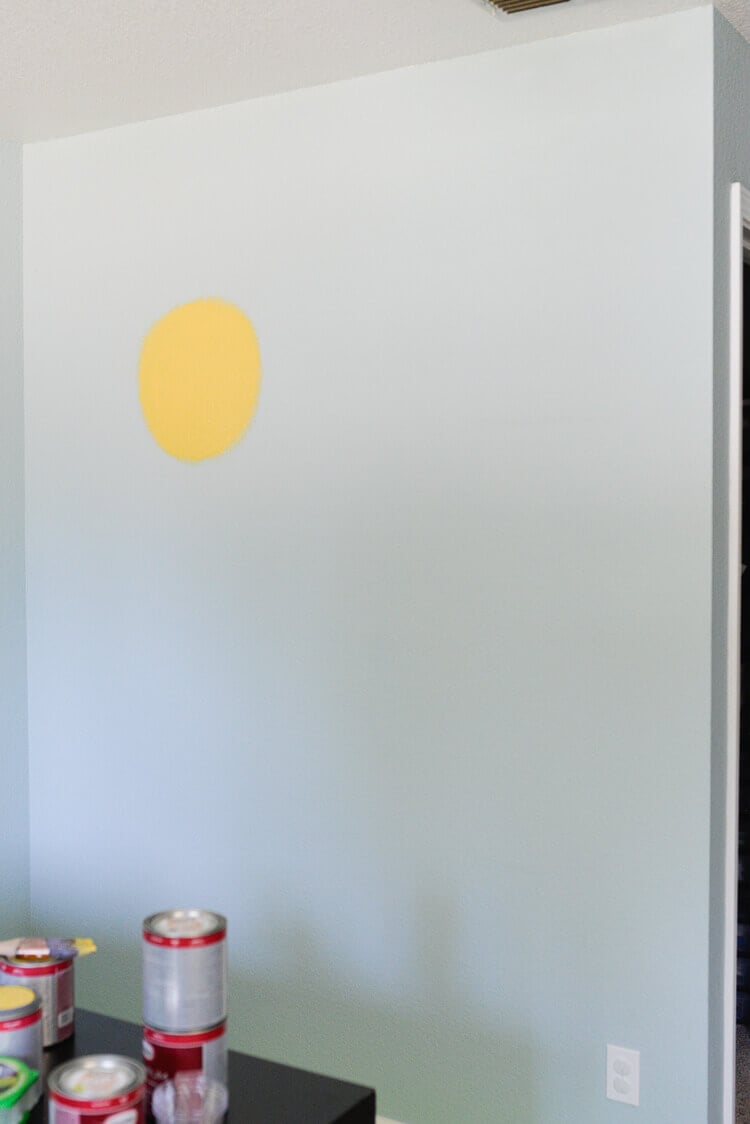
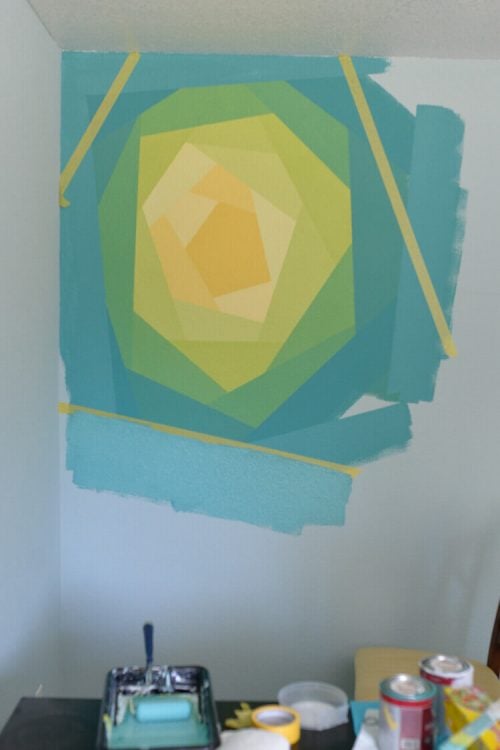
SNOOZE. Let’s make it better! Start with a circle of yellow for the center of your flower. My circle was about 1.5′ around. It doesn’t need to be perfect — you’ll be painting over the edges anyway. I found it took about 20-30 minutes between each coat of paint. The whole project took me about four days, painting layers around my other responsibilities.
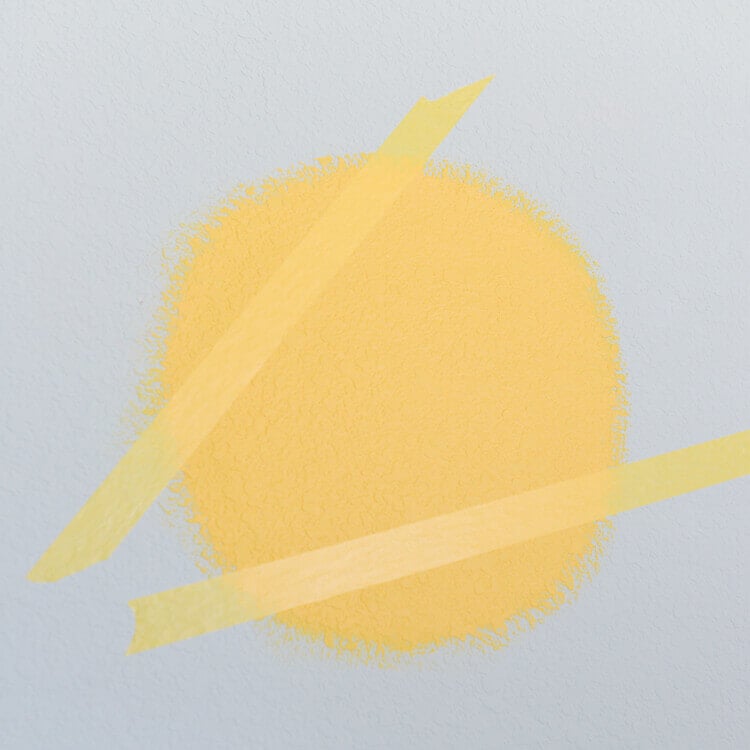
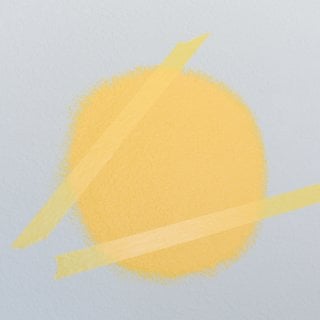
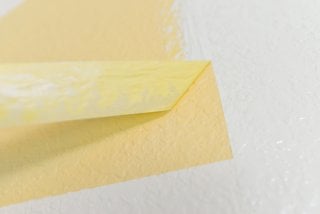
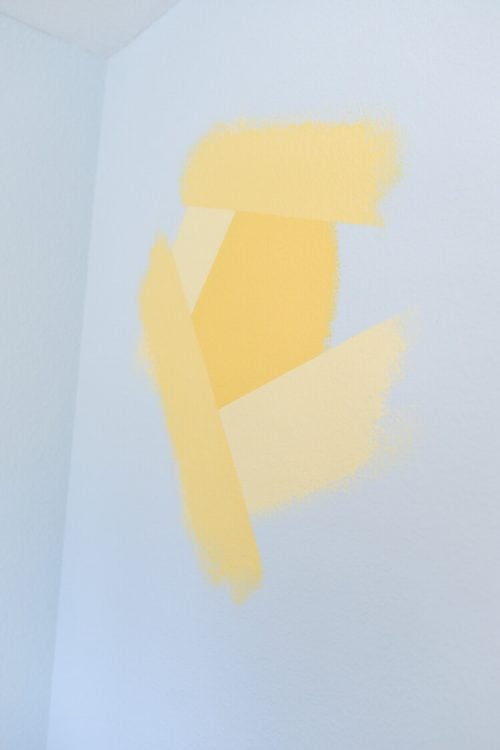
Once dry, use your Frog Tape to tape off two straight lines sort of opposite of each other, but not quite. Then paint 9″ to 12″ or so out from that line. Wait to dry, add a second coat. Remove the FrogTape (I loooove a crisp paint line, don’t you?):
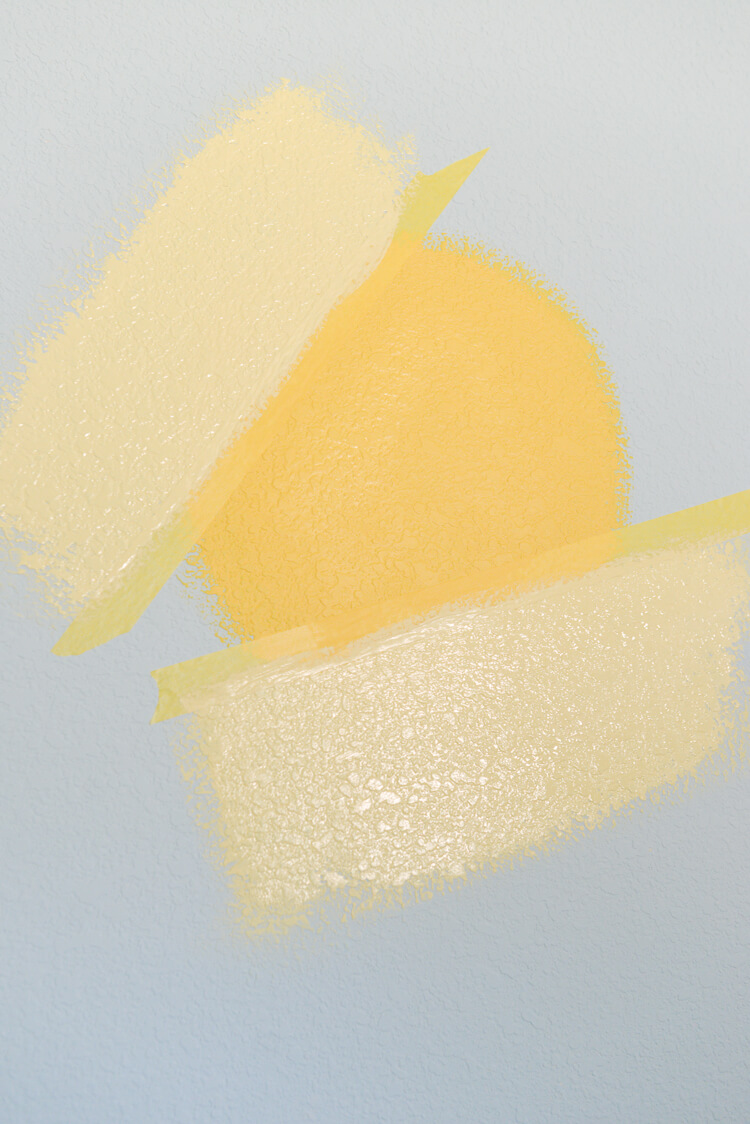
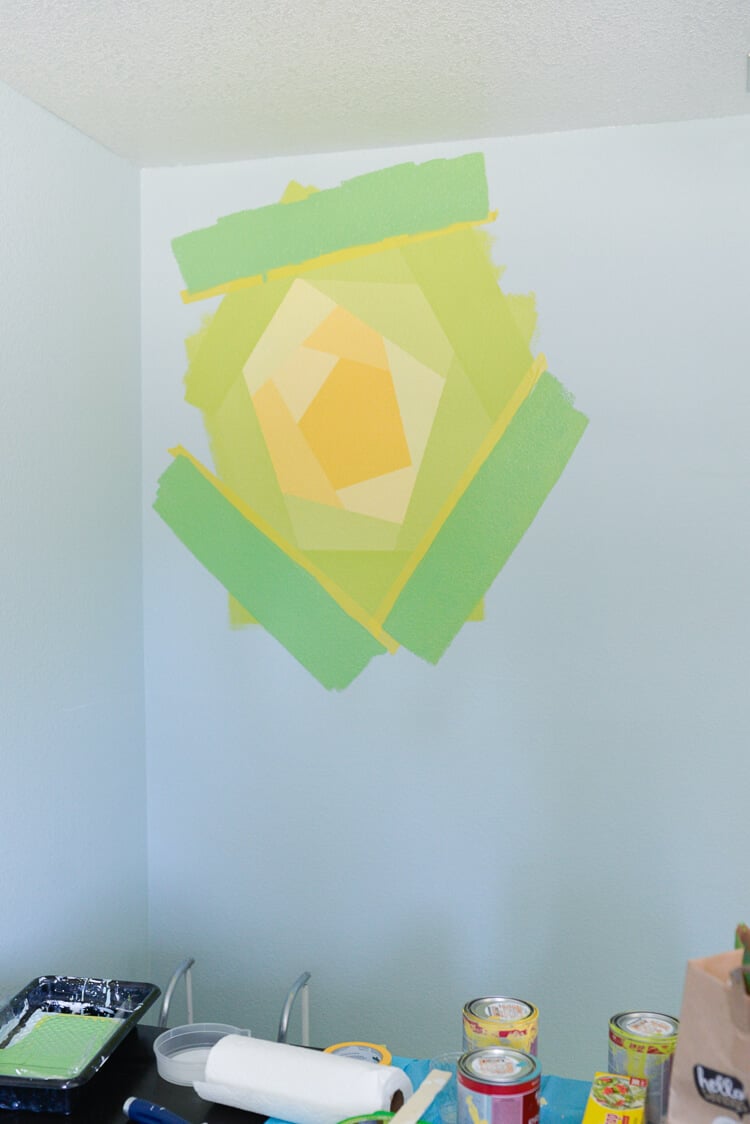
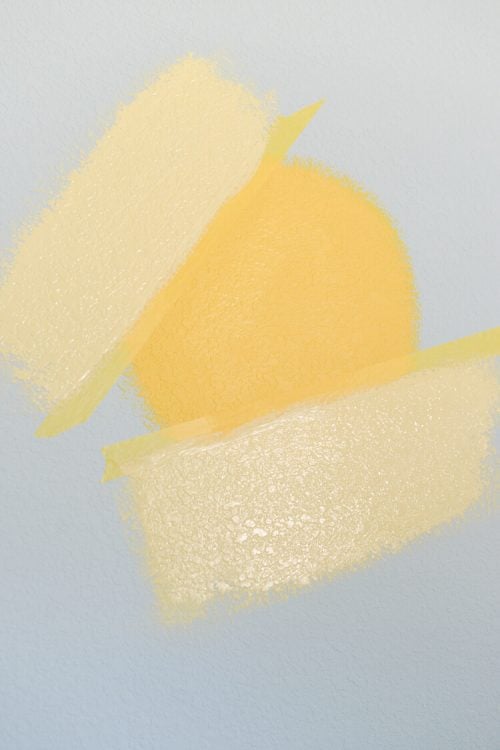
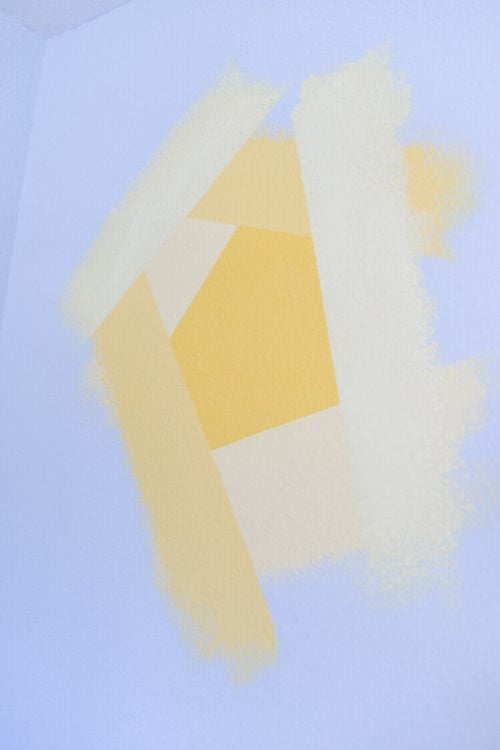
Then add two more strips of FrogTape to start creating the shape of your flower. Paint away from those two pieces of tape, like you did for the first strips. Then keep building your way out, mixing new shades as you go.
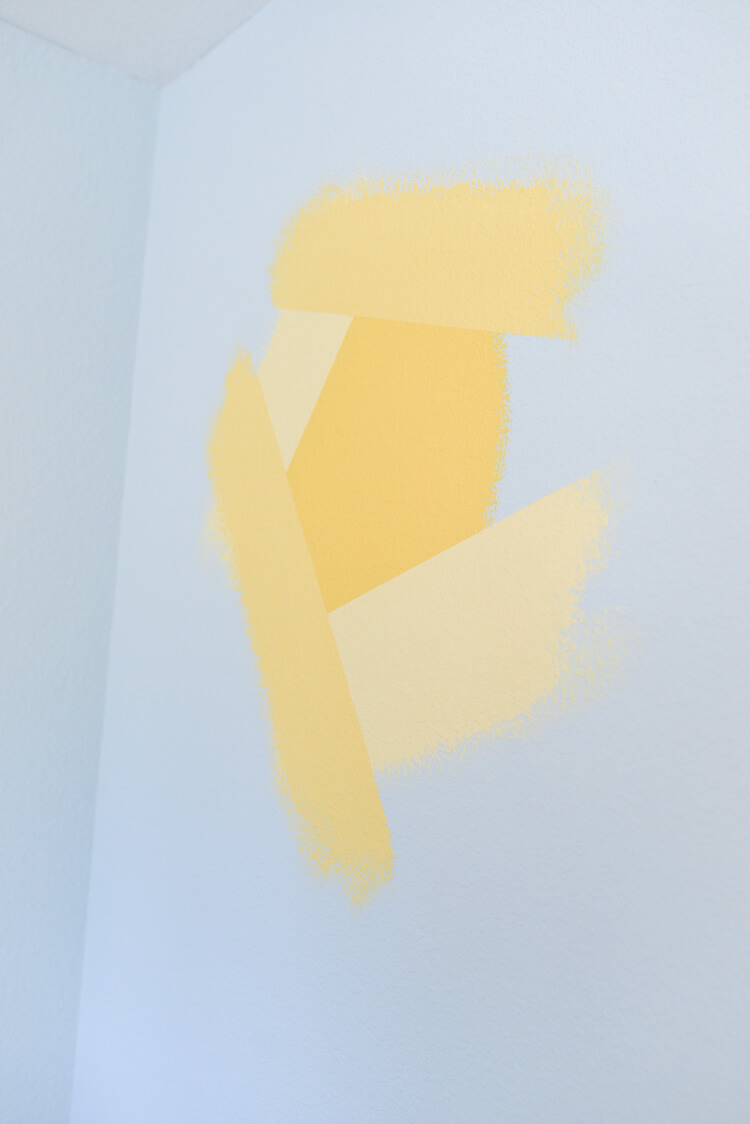
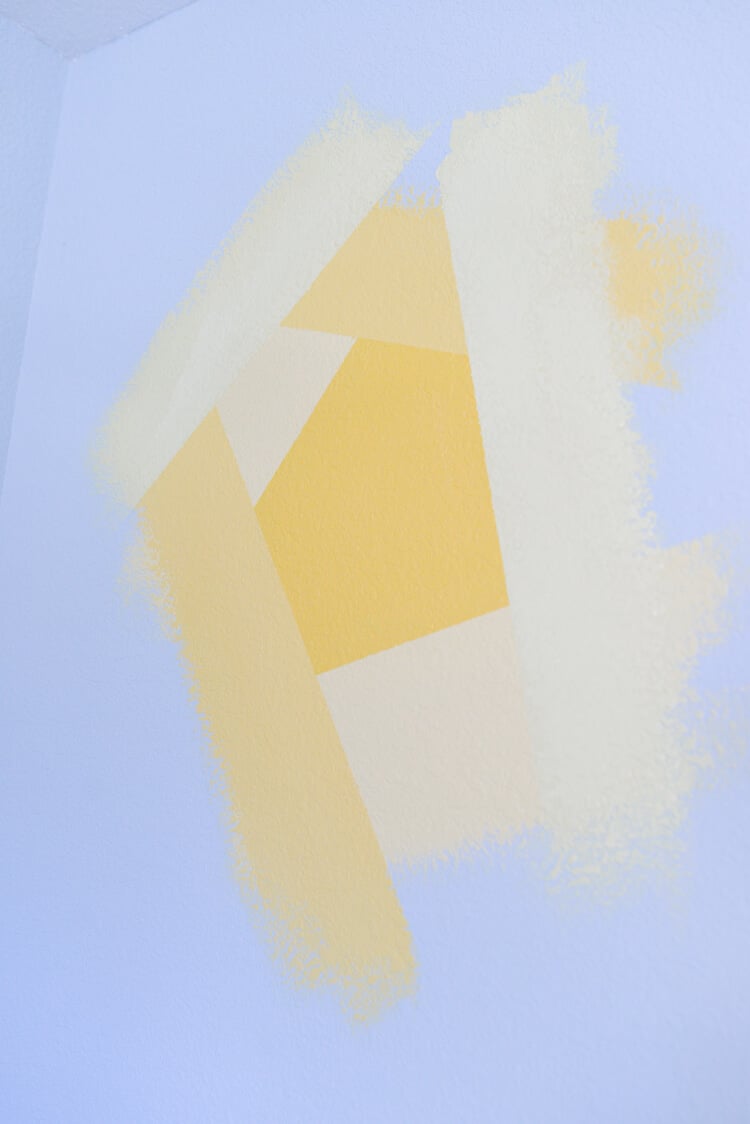
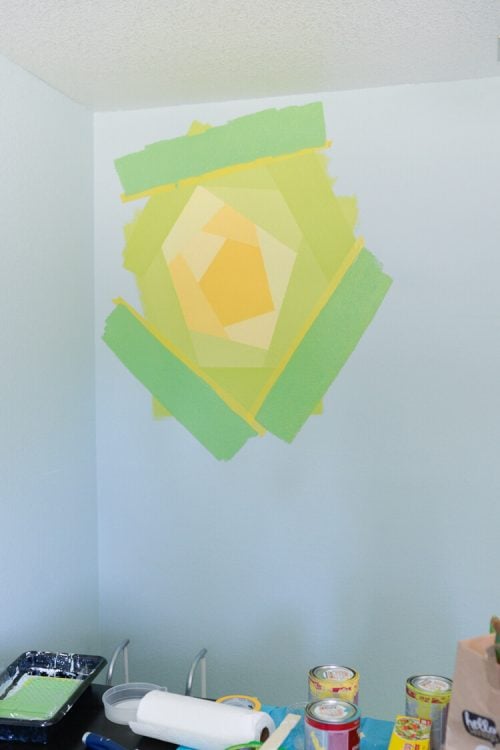
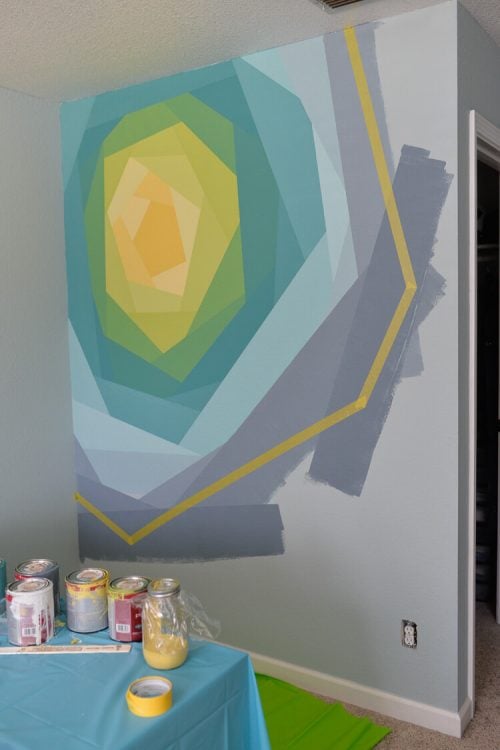
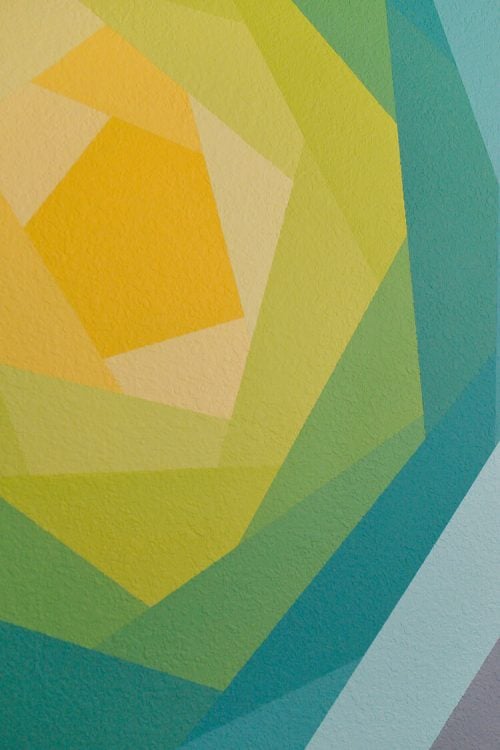
You’ll notice that you’re covering up large swaths of wall you’ve already painted, but don’t worry about it — that’s just what happens with this technique. Continue to build outward, mixing new colors and continuing the gradient. In the beginning, I painted two strips per color, but as I went out I added a third, like in this green layer.
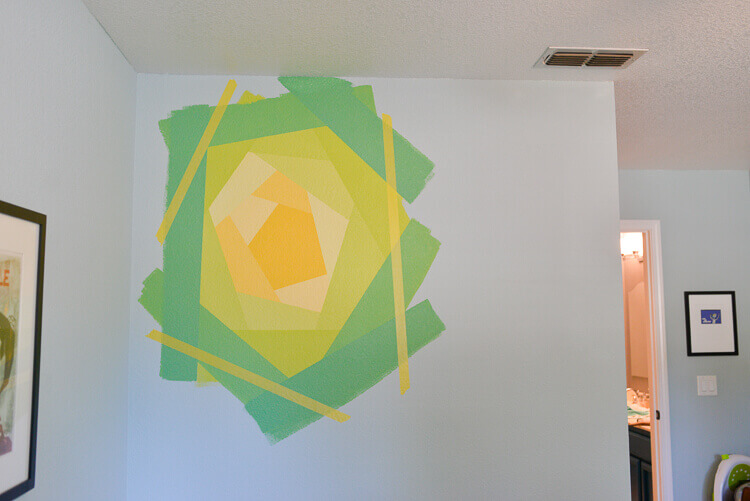
When I got to the edges, I carefully painted up to the adjoining wall and ceiling.
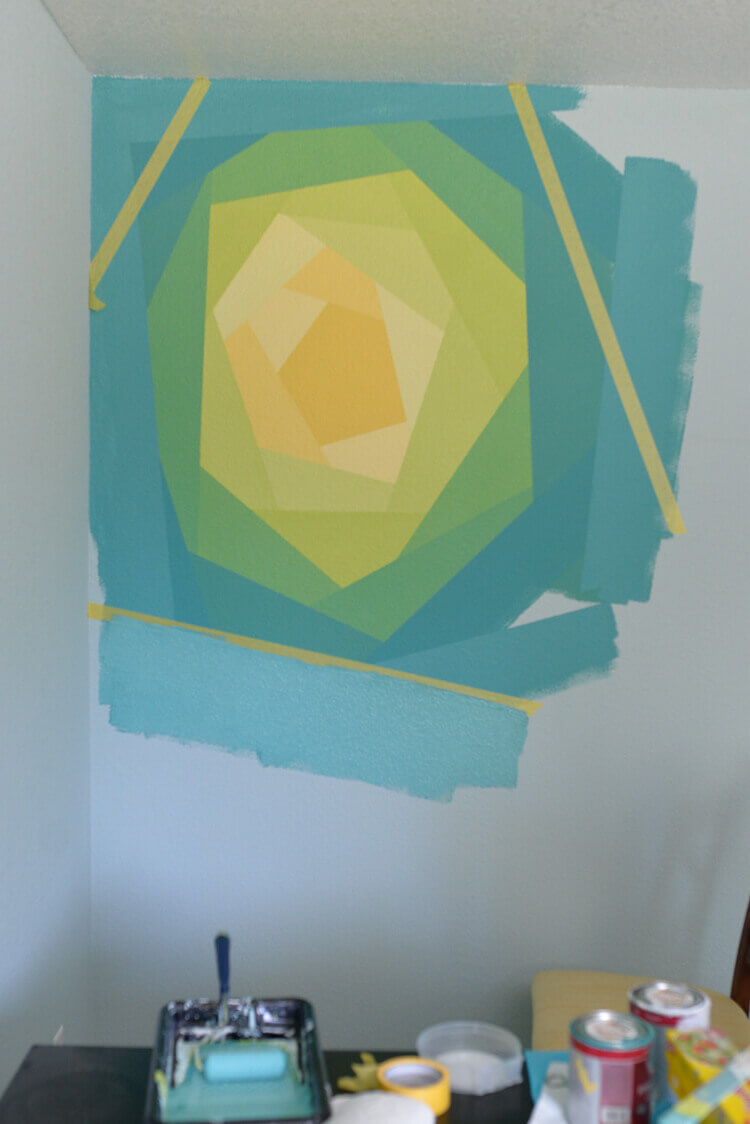
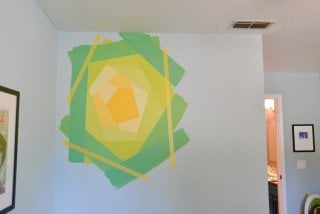
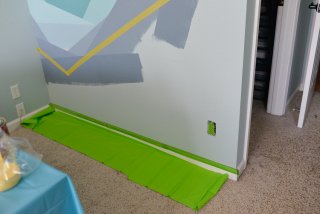
When I got toward the edge and the darkest of my grays, I decided just to finish off the wall with the rest of the dark gray. I carefully taped off a geometric shape around the edge of my flower and painted the rest of the wall dark gray. I also used the regular FrogTape to tape off my baseboard.
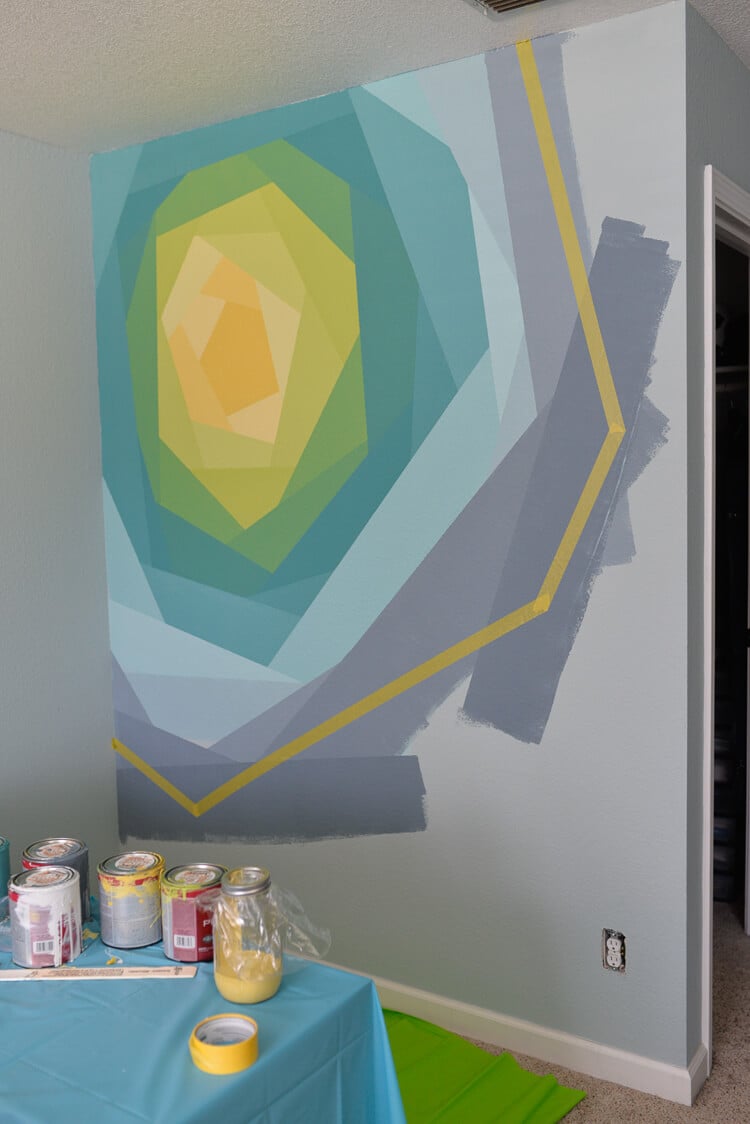
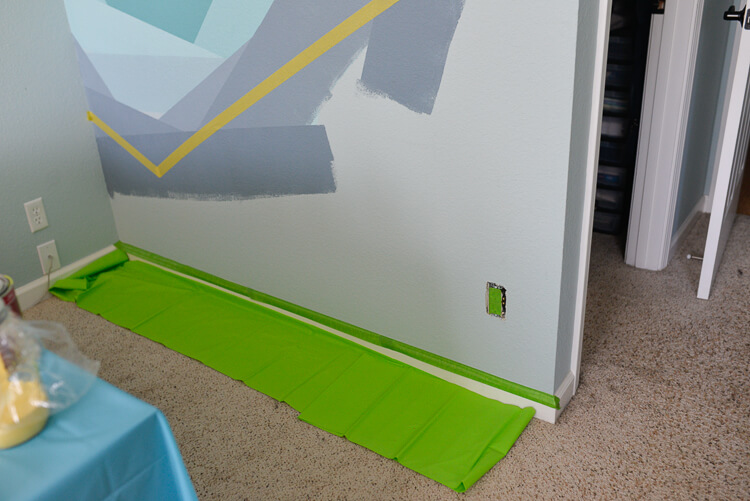
After two coats of gray paint, the masterpiece was done!
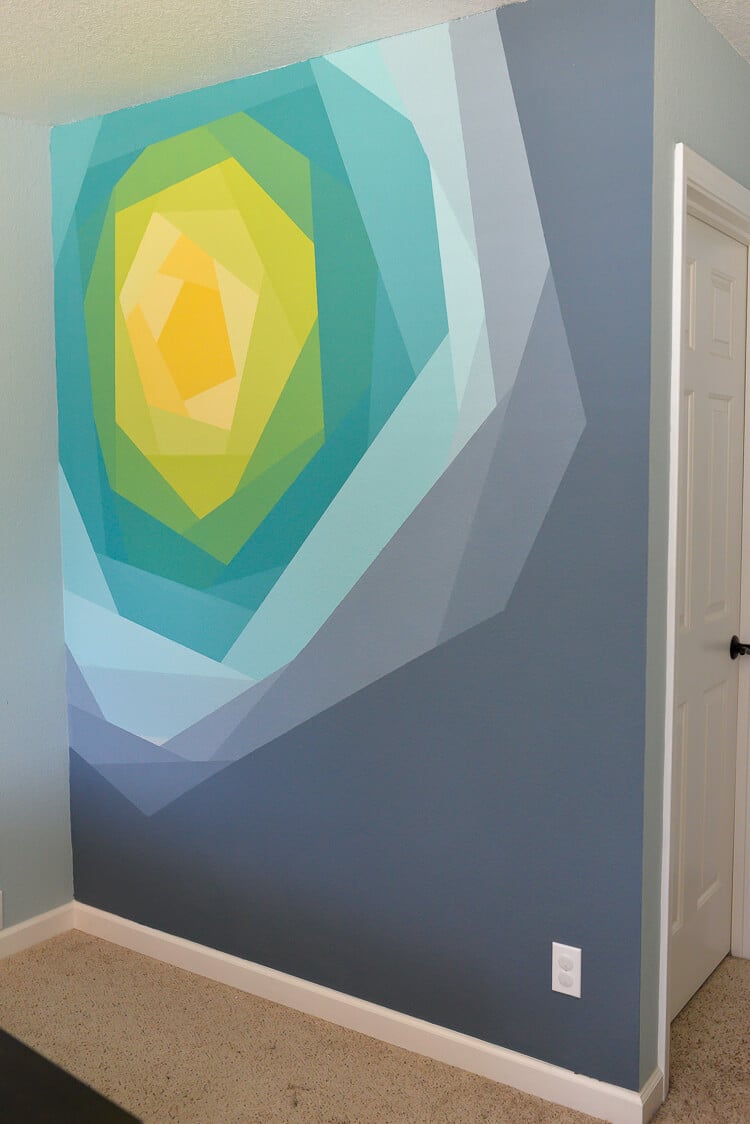
I freaking love it. It’s such a cool statement wall in our otherwise VERY boring office. It makes me want to do some more work in there to spice it up!
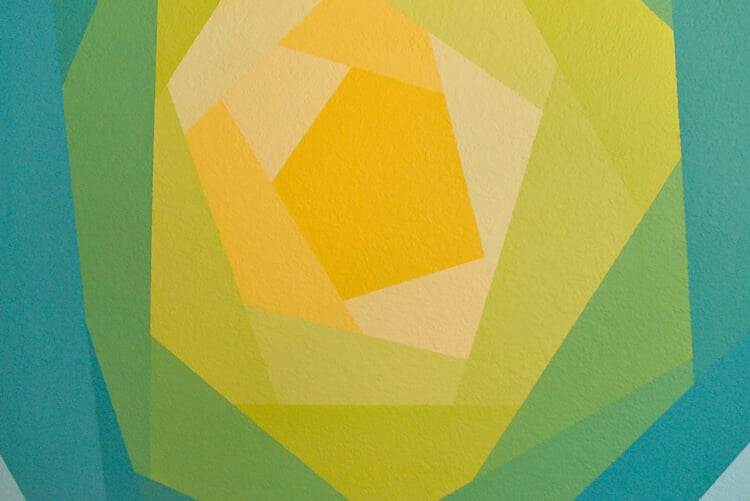
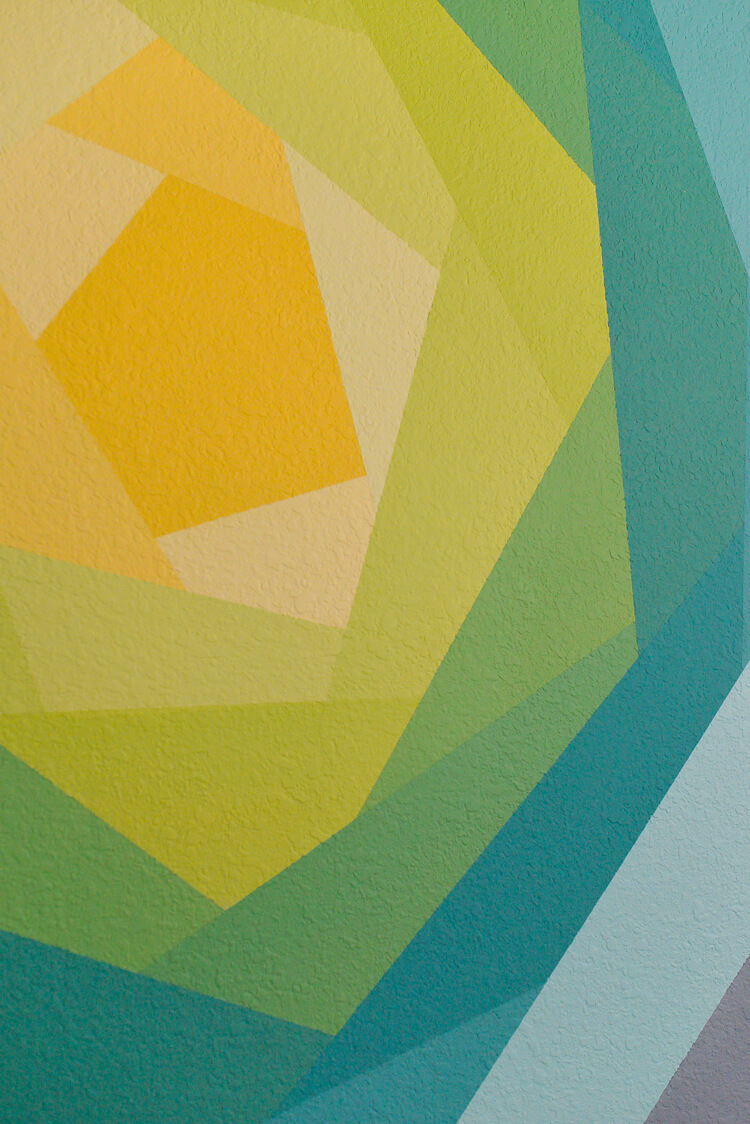

PAINTED FLOWER WALL MURAL ARTWORK
Equipment
- Paint Brush 4" roller, and small paint tray
- FrogTape® Delicate Surface brand painter's tape
Ingredients
- Paint in a variety of colors (for this project, golden yellow, green, deep teal, white, and dark gray were used)
Instructions
- NOTE: In between each coat, cover your tray, brush, and roller with clear plastic wrap, instead of washing everything out.

- Start with a circle of yellow for the center of your flower. This circle was about 1.5' around. It doesn't need to be perfect — you'll be painting over the edges anyway. It took about 20-30 minutes between each coat of paint. The whole project took about four days, painting layers around other responsibilities.

- Once dry, use your Frog Tape to tape off two straight lines sort of opposite of each other, but not quite. Then paint 9" to 12" or so out from that line. Wait to dry, add a second coat. Remove the FrogTape.


- Then add two more strips of FrogTape to start creating the shape of your flower. Paint away from those two pieces of tape, like you did for the first strips. Then keep building your way out, mixing new shades as you go.


- You'll notice that you're covering up large swaths of wall you've already painted, but don't worry about it — that's just what happens with this technique. Continue to build outward, mixing new colors and continuing the gradient. In the beginning, two strips per color painted, but as the design went out a third was added, like in this green layer.


- When you get to the edges, carefully paint up to the adjoining wall and ceiling.

- When you get toward the edge and the darkest of the grays, finish off the wall with the rest of the dark gray. Carefully tape off a geometric shape around the edge of the flower and paint the rest of the wall dark gray.

- Use the regular FrogTape to tape off the baseboard.

- After two coats of gray paint, the masterpiece was done!





Comments & Reviews
Moji says
Hi, I’m Moji, an Iranian boy. When I saw this design, I really liked it, and I said to myself, this is what I was looking for, and thank you very much for the inspiration of this design.
Cori says
You are so welcome!
Denise says
I’m obsessed with this mural and plan on attempting my own take on it this weekend!
Christine says
What brand of paint and colors did you use? It looks amazing!
Saleha says
Wowww!! This is amazing
Cori George says
Thanks so much Saleha!
Kim says
That is amazing! I love it! Well worth the work.
Cori George says
Thanks so much, Kim!
FWIW Jeannie says
I freaking love it too! Wow, well done.
becky says
love this! turned out so wonderful. I have always liked the pillow…so adding the same idea to a wall is brilliant. Might have to try this on a boys room.