Sublimation slate is a really trendy blank that can be a bit tricky to use! Here’s how I sublimate on slate using my Cricut AutoPress. It should work for other auto press heat presses as well!
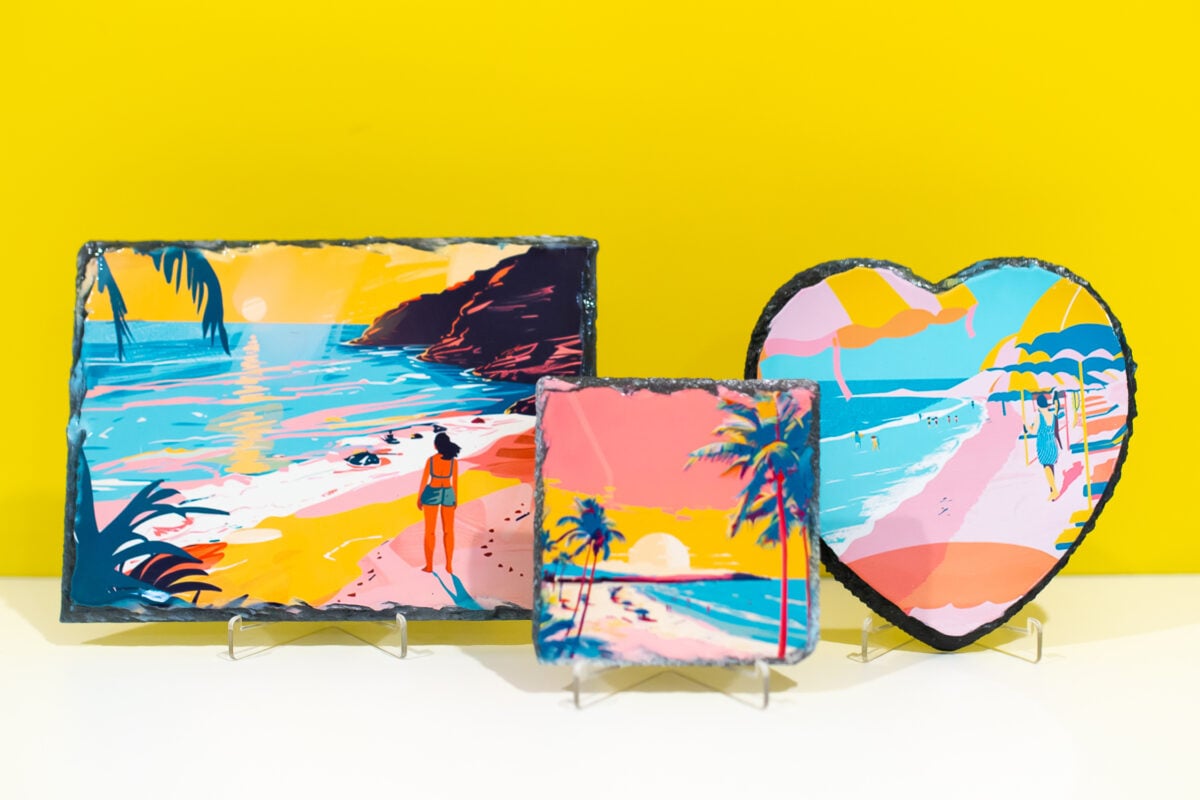
Looking for a fun sublimation project that will really wow people? Sublimation slate might be for you! You can create really beautiful home decor items or gifts by sublimating on slate.
The problem is, a lot can go wrong when sublimating slate. It’s so easy to get ugly blotchy transfers or faded images, in particular. And these are not cheap sublimation blanks! You want to make sure you’re getting your sublimation slates correct the first time.
There are a lot of great tutorials out there for sublimating slate, but in this tutorial I want to tackle one specific process that people have asked me about quite a bit—how to sublimate slate with an auto press.
There are quite a few auto press heat presses on the market today, including the Cricut AutoPress (review), the Vevor Auto Heat Press (review), and the HTVront Auto Heat Press. These presses apply their pressure automatically, which means that you cannot set the pressure manually. Sublimating on slate generally requires heavy pressure, so if you can’t control that, sometimes you can get terrible results.
So in today’s post, I’m going to share how I sublimate slate with an auto press. I’ve done a bunch of testing to figure out how to get great results using the other variables (time and temperature) so you don’t end up ruining your slate blanks!
Watch the Video
Want to see sublimating slate in action? Check out my YouTube video by clicking play below! Or keep reading for a written tutorial.
What Makes Slate Hard to Sublimate?
There are a few reasons you might struggle with sublimating slate. Let’s take a look at them.
Moisture in Sublimation Slate
One of the biggest problems people have with slate is moisture. Slate can hold onto a lot of moisture, resulting in uneven, blotchy images.
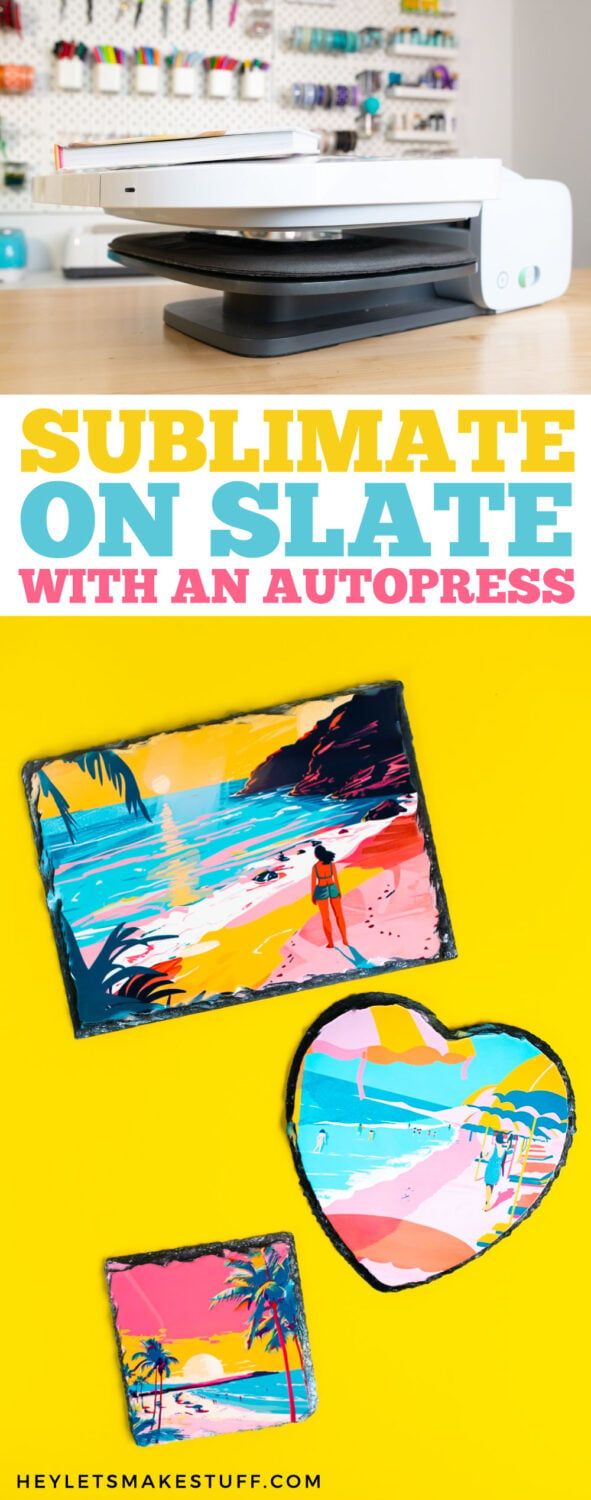
The best practice here is to hover your heat press over the blank slate for at least two minutes. The problem is, it’s hard to do with an auto press! With the Cricut AutoPress, you can hold the top plate down for two minutes, but that can get boring. I actually put a book on top of the press and that allows it to hover without me being involved.
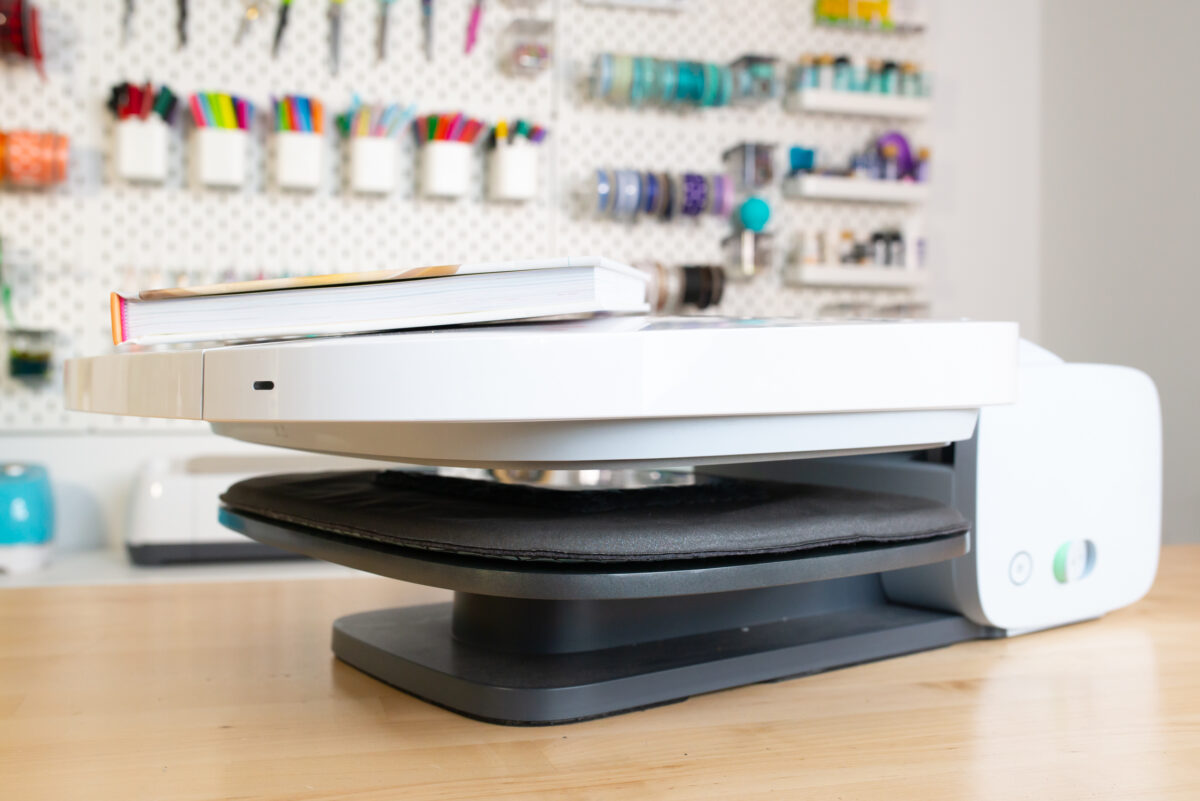
For the HTVront Auto Heat Press, you can just place your blank on the bottom plate, close it, and it will hover. There is NO way to hover the Vevor Auto Heat Press, at least as far as I could tell.
Uneven Edges on a Sublimation Slate
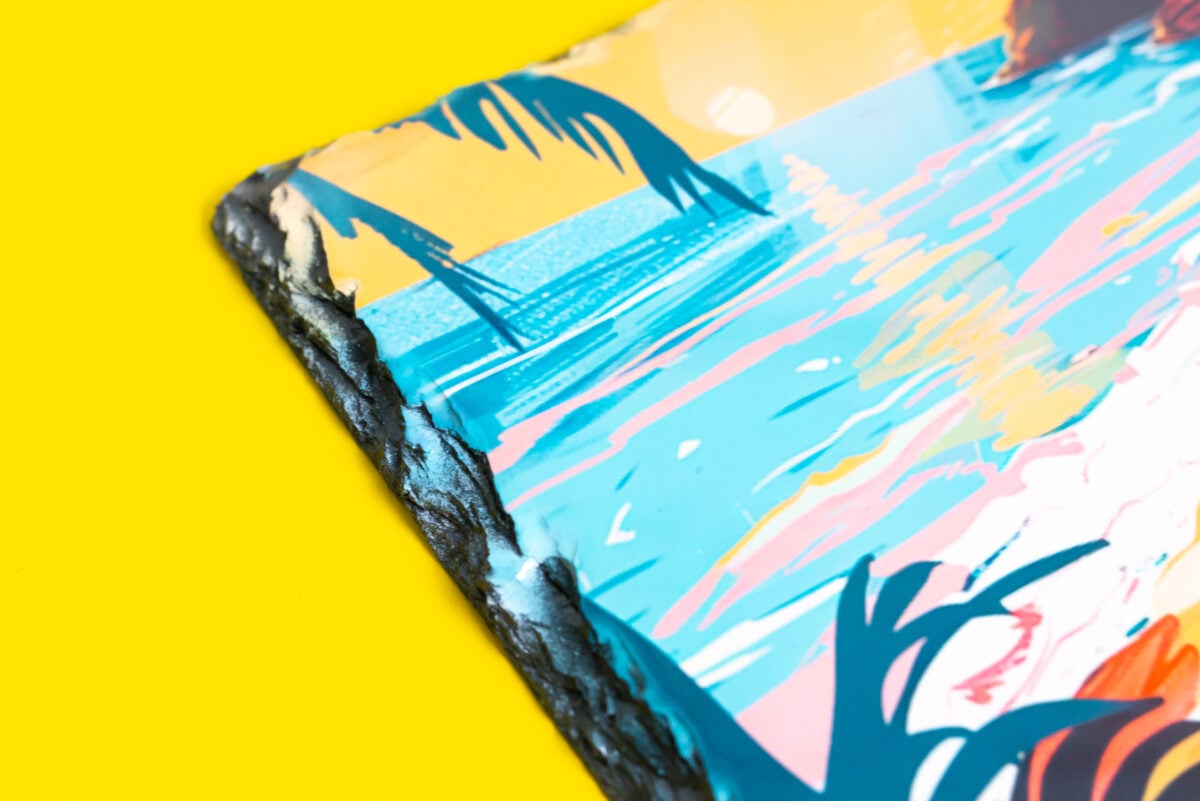
Sublimation slate also has edges that are uneven compared to the flat surface of the slate. These can be hard to sublimate because the plate of the press is only coming in contact with the flat part of the slate, not the rough edges. This can leave you with unsightly white edges.
To avoid this, use a sublimation green pad. While the green pad isn’t cheap, it really is the best option for blanks like slates and tiles. The pad has metal fibers that conduct heat, so the pad gets just as hot as the plate of the heat press. Then the rubbery mat conforms to the contours of the edges of the slate, pressing down and sublimating those uneven surfaces. We’ll use this green pad in the tutorial below.
Pressure Considerations
I mentioned above that the reason that it’s difficult to use an auto press to sublimate slate is because you need heavy pressure…but you can’t control the pressure of an auto press. So we can fake some of the pressure by using a wool mat on the base of the heat press. This wool mat is much more solid than the mat that comes with the heat press, and it can help create more pressure. We’ll be using one below as well.
Testing Time and Temperature
I did quite a bit of testing to figure out how to best and I think these four coasters best illustrate how to vary your temperature to get a better result.
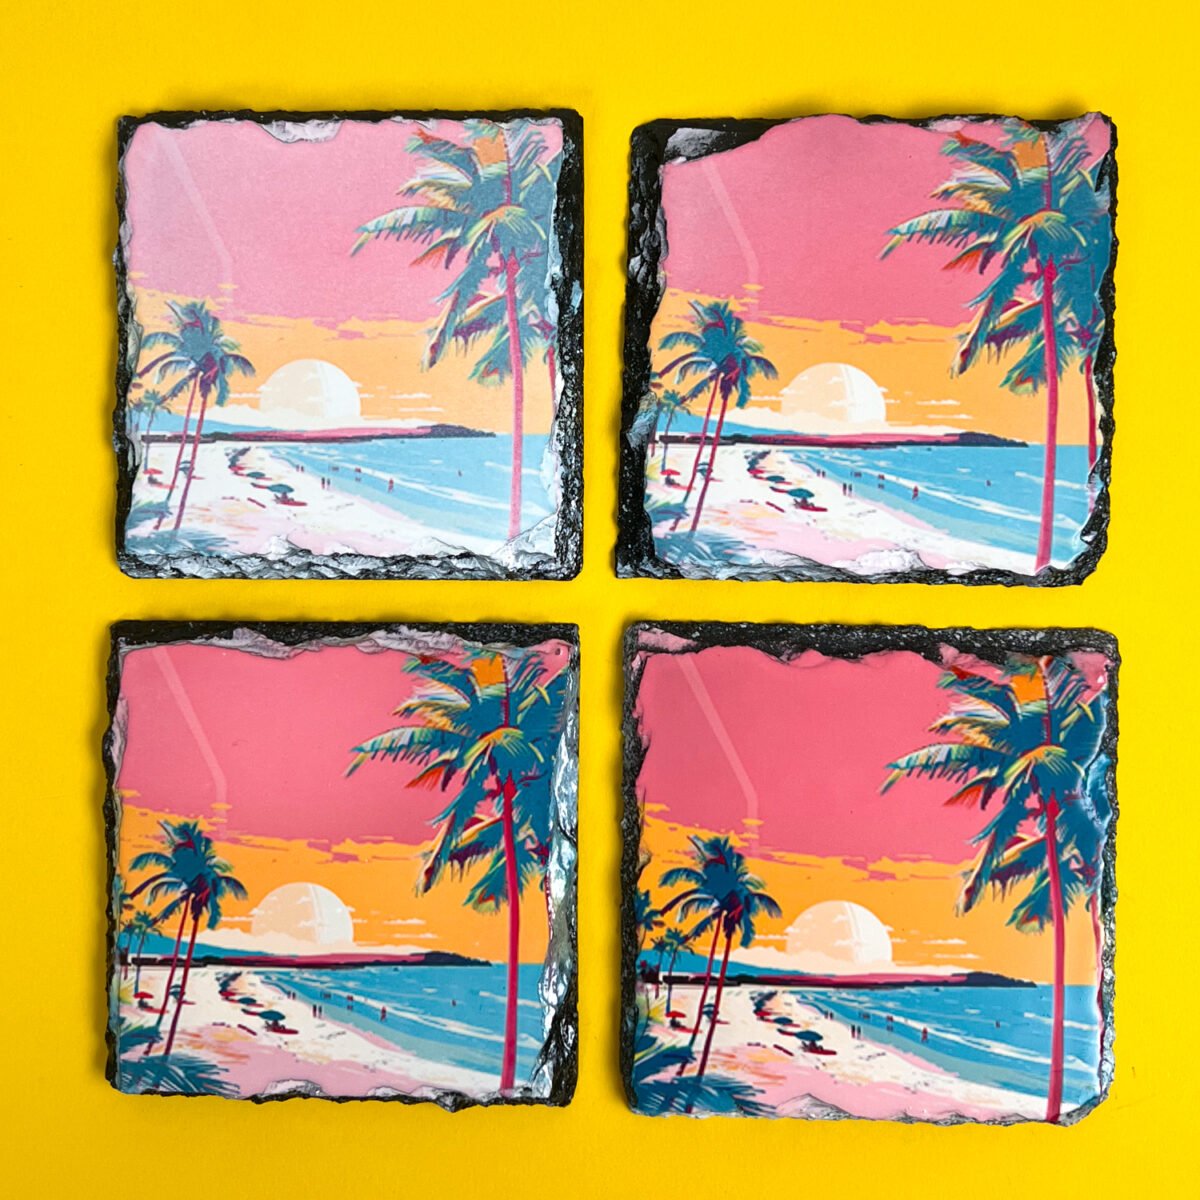
- Top Left: This coaster was done at 400° for 240 seconds using the green pad. You can see that it’s the most faded of the bunch. These are the same settings I would use in a regular heat press with heavy pressure, but clearly it wasn’t enough here.
- Top Right: For this one, I added the wool mat to the bottom of my heat press, and then pressed at 400° for 240 seconds. The wool mat did make a difference, but I still wasn’t happy.
- Bottom Left: I increased the time to 380 seconds at 400° (with the green pad and wool mat) and this was much better. But I still thought I could get a more vibrant image.
- Bottom Right: I increase the time to 420 seconds at 400° (with the green pad and wool mat) and I was very happy with this result!
Supplies Needed to Sublimate on Slate
I have included the time and temperature settings for the three slates I’ve used. If you are using a different type of slate, you may need to do some tests varying the amount of time you are pressing your project as I did above.
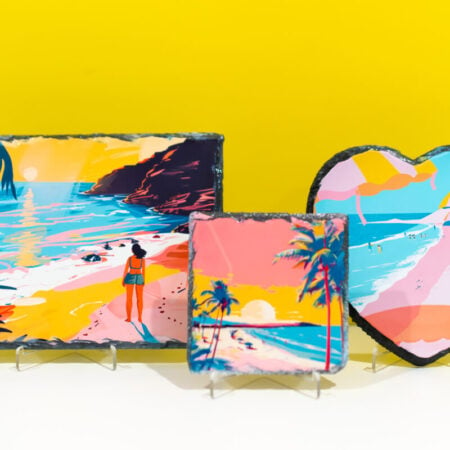
- Small sublimation slate coaster (400°, 480 seconds)
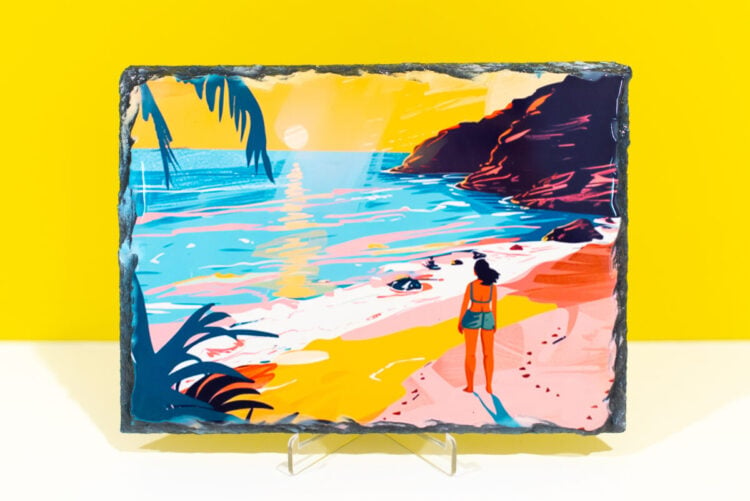
- Large sublimation rectangular slate (400°, 540 seconds)
- Large sublimation heart slate (400°, 540 seconds)
- Cricut AutoPress or other heat press
- Alcohol
- Microfiber cloth
- Wool mat
- Green pad
- Butcher paper
- Heat resistant tape
- Heat resistant gloves
Get the Free File
Want access to this free file? Join my FREE craft library! All you need is the password to get in, which you can get by filling out the form below. The file number is: S29.
Sublimating Slate with an Auto Press
Start by cleaning your blank using the alcohol and microfiber cloth. This will remove any dust or oils from your surface so you get a nice clean transfer.
Once the alcohol has evaporated, tape your slate to your image using heat-resistant tape. You want to make sure your image is slightly larger than your surface to make sure your image bleeds off the edge and you don’t have any unsightly white space.
Now we’re going to create a “sublimation sandwich,” which is basically how we’re stacking things inside the heat press. Here is the order of the layers, from bottom to top.
- Bottom pad of your heat press
- Wool pad
- Butcher paper
- Sublimation slate facing up
- Sublimation print facing down
- Butcher paper
- Green pad
- Butcher paper
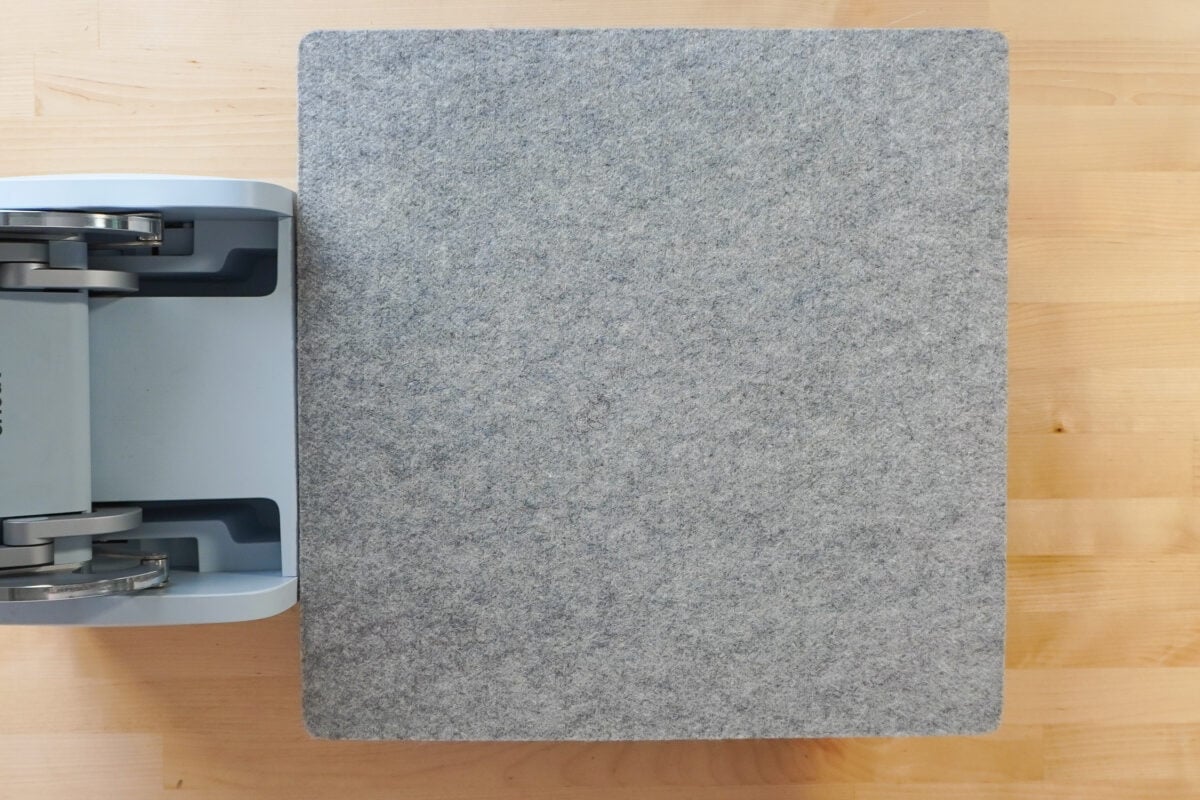
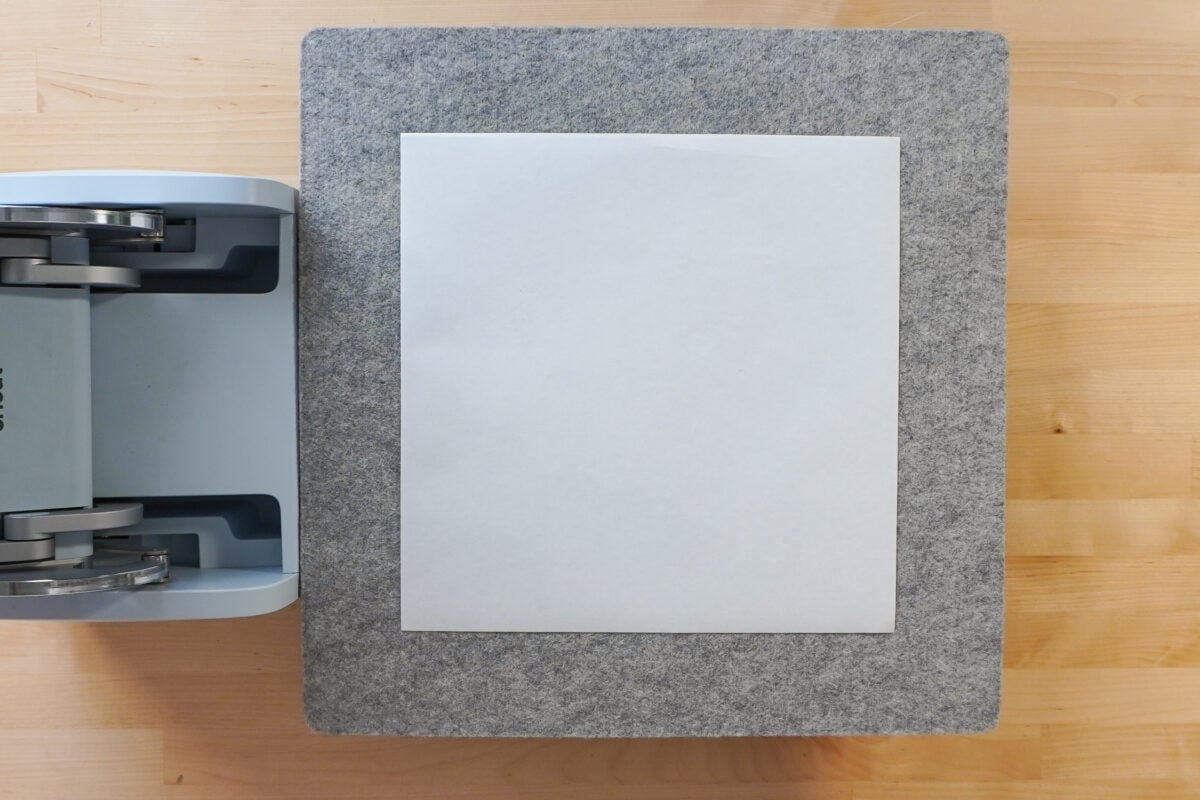
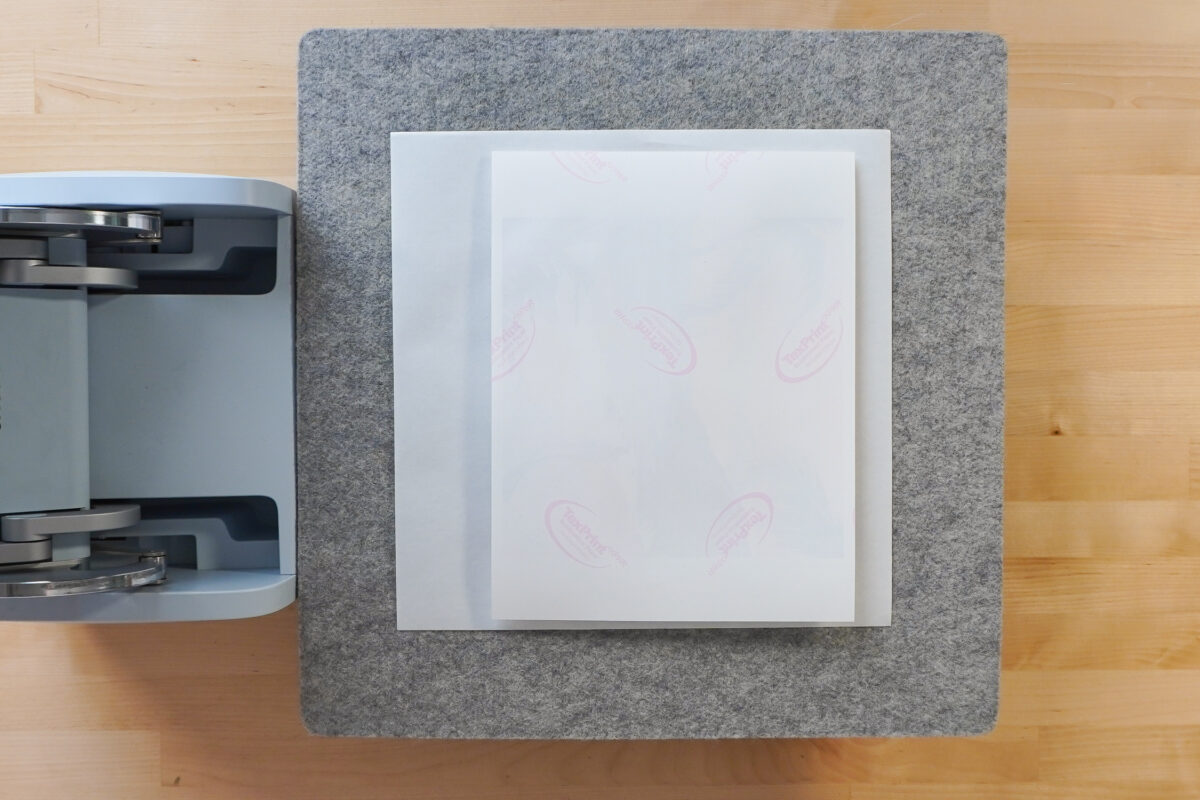
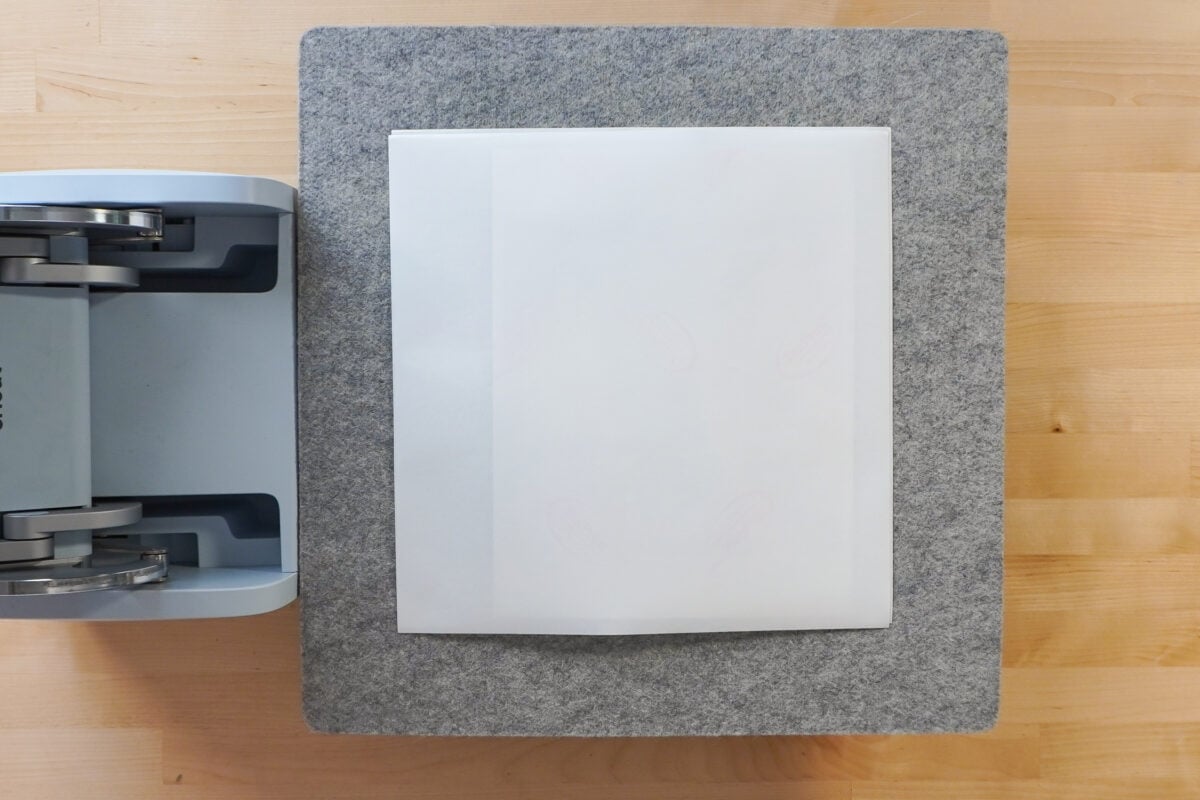
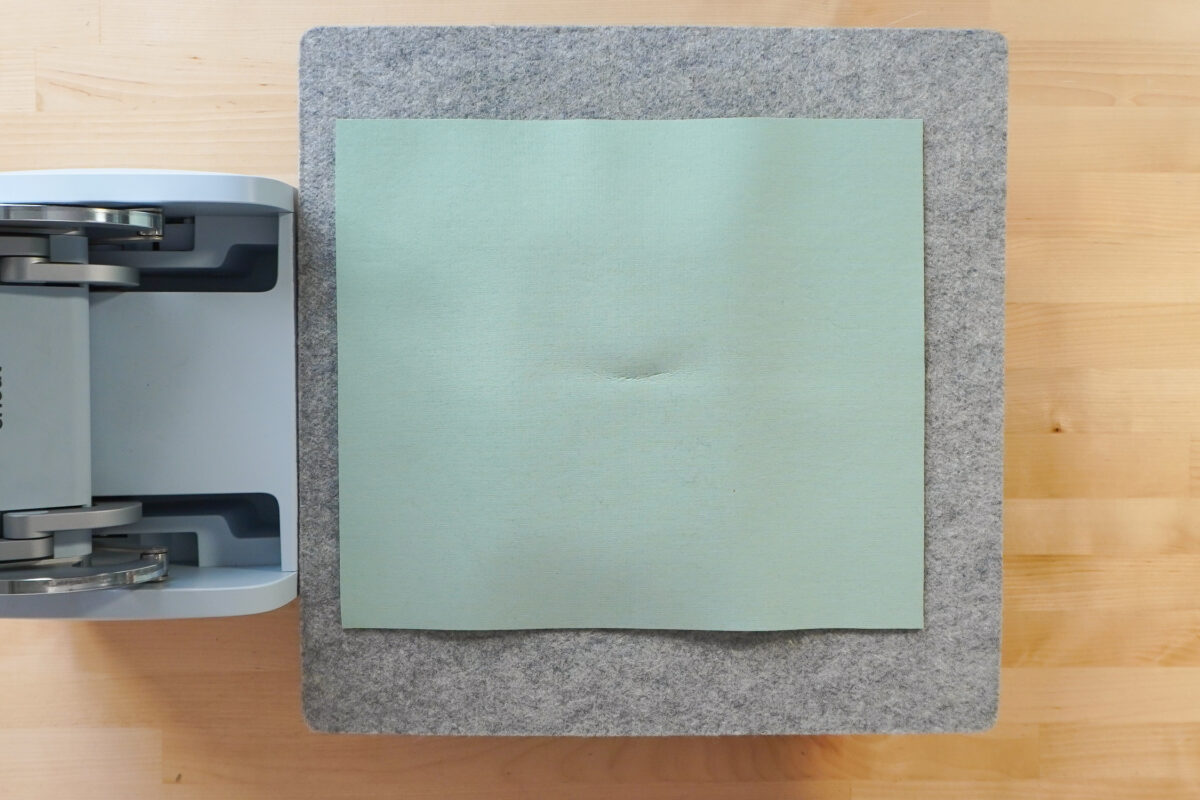
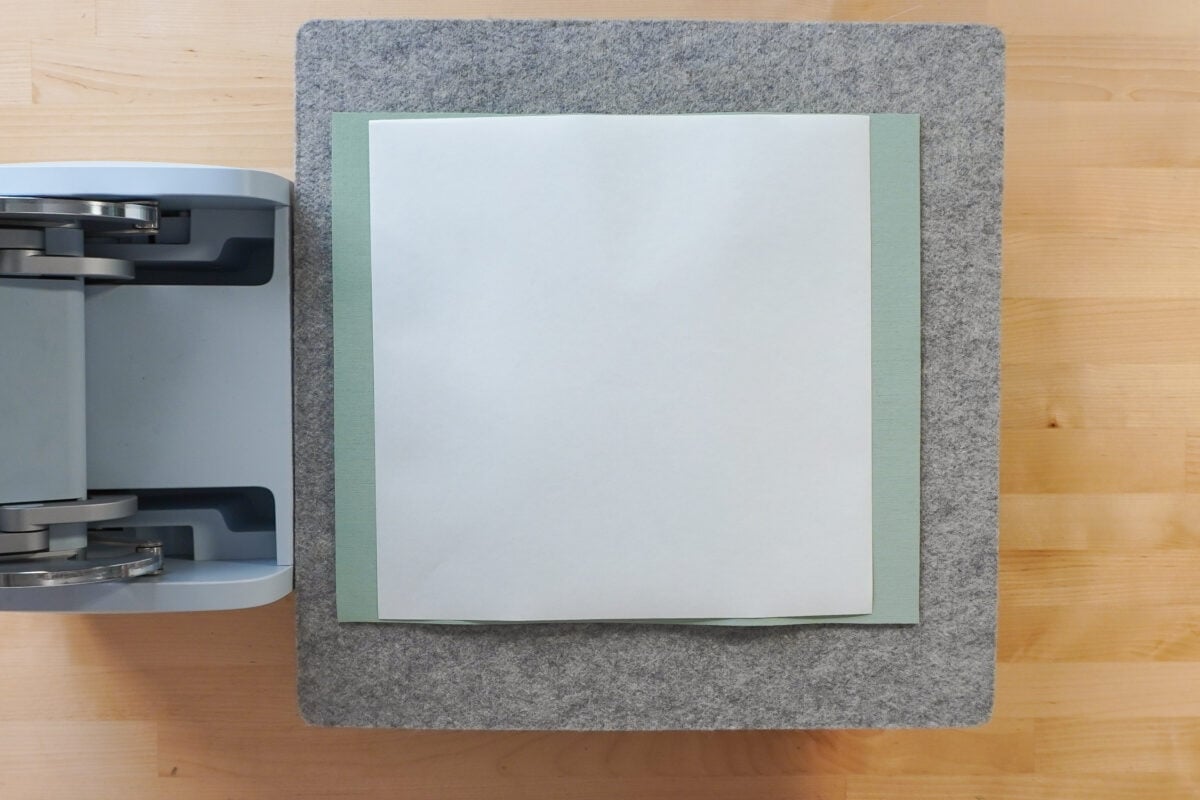
Then press your slate for the time and temperature I recommended in the materials list.
The Reveal
Once your image is done pressing and your autopress opens, know that both the slate and the green pad will be very hot! Remember that the green pad is conductive so it’s basically the same temperature as the plate of your press. Use your heat resistant gloves to remove the green pad and then the slate from your press.
Peel back your transfer to reveal your final image!
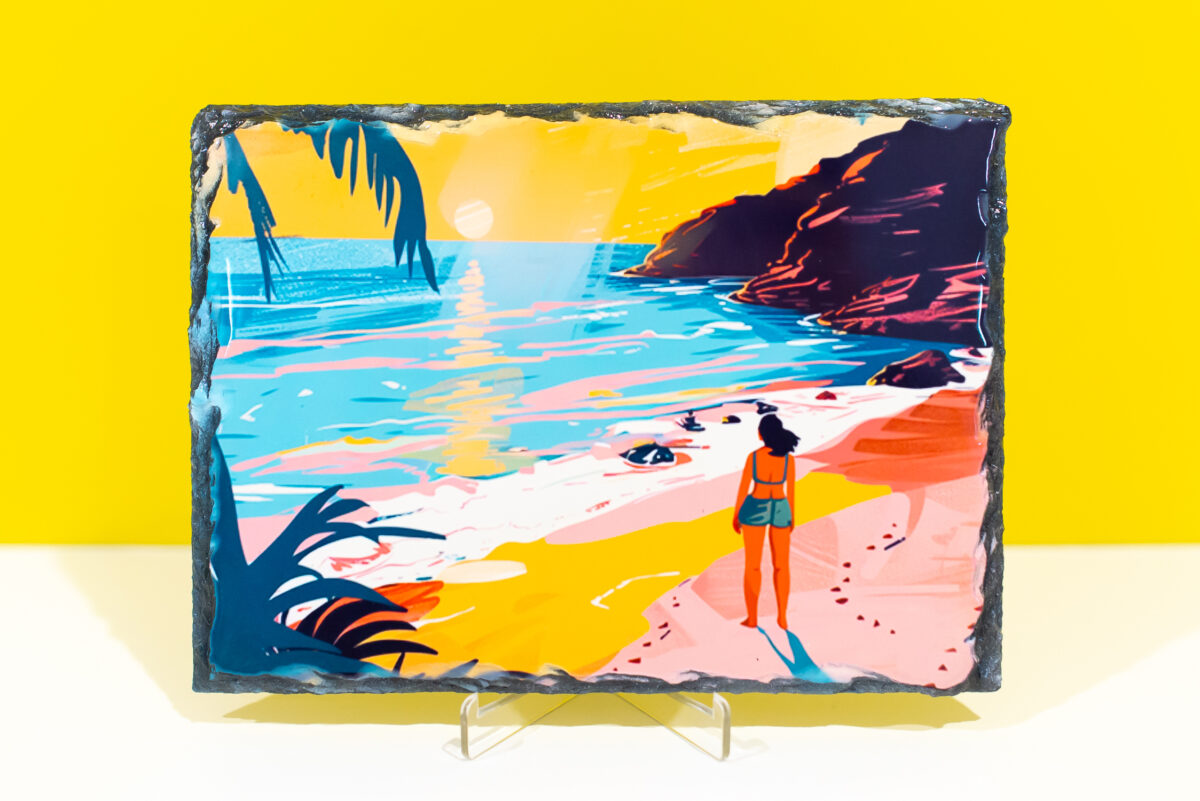
Overall, the settings I mention above should work for slate in your autopress! But sublimation can be affected by more than the blank. Your heat press, your sublimation paper, the humidity in your room, and many other factors can affect the outcome. If you aren’t happy with your first press, try again! Increase the time to see if you can get a better image.
I hope you found this tutorial on how to sublimate slate helpful! If you have any questions or need any help, I’d be happy to answer in the comments below!
SUBLIMATING SLATE WITH AN AUTO PRESS
Equipment
- Cricut AutoPress or other heat press
Supplies
- Small sublimation slate coaster (400°, 480 seconds)
- Large sublimation rectangular slate (400°, 540 seconds)
- Large sublimation heart slate (400°, 540 seconds)
- Sublimation Beach Files #S29
Instructions
- Start by cleaning your blank using the alcohol and microfiber cloth. This will remove any dust or oils from your surface so you get a nice clean transfer.
- Once the alcohol has evaporated, tape your slate to your image using heat-resistant tape. You want to make sure your image is slightly larger than your surface to make sure your image bleeds off the edge and you don't have any unsightly white space.
- Now you are going to create a "sublimation sandwich," which is basically how we're stacking things inside the heat press. Here is the order of the layers, from bottom to top. Bottom pad of your heat pressWool padButcher paperSublimation slate facing upSublimation print facing downButcher paperGreen padButcher paper
- Then press your slate for the time and temperature recommended in the materials list.
- The Reveal: Once your image is done pressing and your autopress opens, know that both the slate and the green pad will be very hot! Remember that the green pad is conductive so it's basically the same temperature as the plate of your press. Use your heat resistant gloves to remove the green pad and then the slate from your press.Peel back your transfer to reveal your final image!

- Overall, the settings mentioned above should work for slate in your autopress! But sublimation can be affected by more than the blank. Your heat press, your sublimation paper, the humidity in your room, and many other factors can affect the outcome. If you aren't happy with your first press, try again! Increase the time to see if you can get a better image.


Leave A Reply!