SUBLIMATING SLATE WITH AN AUTO PRESS
Sublimation slate is a really trendy blank that can be a bit tricky to use! Here's instructions on how to sublimate on slate using the Cricut AutoPress. It should work for other auto press heat presses as well!
Equipment
- Cricut AutoPress or other heat press
Ingredients
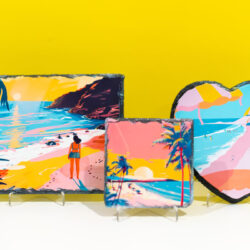
- Small sublimation slate coaster (400°, 480 seconds)
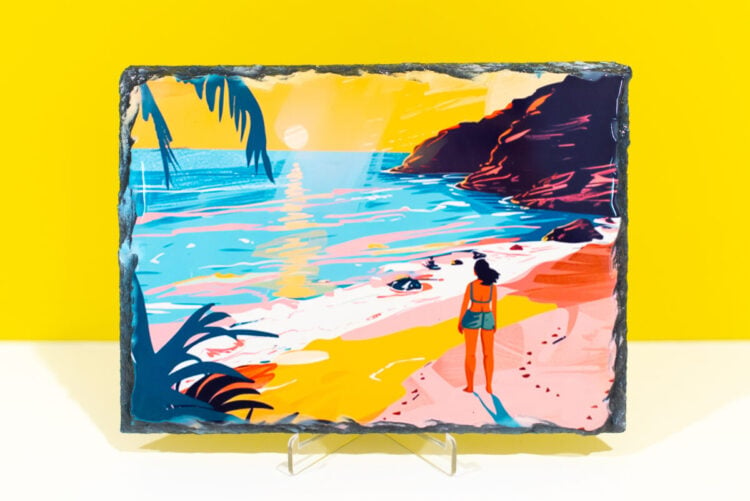
- Large sublimation rectangular slate (400°, 540 seconds)
- Large sublimation heart slate (400°, 540 seconds)
- Sublimation Beach Files #S29
Instructions
- Start by cleaning your blank using the alcohol and microfiber cloth. This will remove any dust or oils from your surface so you get a nice clean transfer.
- Once the alcohol has evaporated, tape your slate to your image using heat-resistant tape. You want to make sure your image is slightly larger than your surface to make sure your image bleeds off the edge and you don't have any unsightly white space.
- Now you are going to create a "sublimation sandwich," which is basically how we're stacking things inside the heat press. Here is the order of the layers, from bottom to top. Bottom pad of your heat pressWool padButcher paperSublimation slate facing upSublimation print facing downButcher paperGreen padButcher paper
- Then press your slate for the time and temperature recommended in the materials list.
- The Reveal: Once your image is done pressing and your autopress opens, know that both the slate and the green pad will be very hot! Remember that the green pad is conductive so it's basically the same temperature as the plate of your press. Use your heat resistant gloves to remove the green pad and then the slate from your press.Peel back your transfer to reveal your final image!
- Overall, the settings mentioned above should work for slate in your autopress! But sublimation can be affected by more than the blank. Your heat press, your sublimation paper, the humidity in your room, and many other factors can affect the outcome. If you aren't happy with your first press, try again! Increase the time to see if you can get a better image.