Epson EcoTank printers that have been converted to sublimation often have issues with clogged printer heads. Here is my method to fix a clog in an Epson EcoTank Printer, plus tips for avoiding them in the future.
If you’ve converted an Epson EcoTank printer for sublimation, you’re probably aware that these printers are more likely to clog than other sublimation printers or other printers with regular pigment ink. This is because sublimation ink is more viscous than regular ink and the print heads in an EcoTank printer aren’t designed for sublimation ink. The sublimation ink dries just a bit, causing it to form a clog in the printhead.
Which unfortunately means, you may be dealing with clogs more often with a converted printer. Other printers may have clogs as well, and you can use these steps to clear those clogs too.
Clogs can be super irritating and sometimes very difficult to clear, so let’s take a look at how to do it.
Watch the Video
You can see my video walkthrough of clearing an Epson EcoTank clog by hitting play, or keep reading for a written tutorial.
Avoiding Clogs in the First Place
With converted Epson EcoTank printers, you’ll want to be printing often, at least once a week. If you know your printer is prone to clogging, print even more often. You don’t have to print test sheets—you can print any sublimation image as long as it has all four colors in it. You can then store and use these sublimation pages in the future!
Additionally, if you have super low or super high humidity in your craft space, you may want to get a humidifier or de-humidifier to help keep the humidity between 35% and 65%.
Get the Free Printer Purge File
Want access to this free file? Join my FREE craft library! All you need is the password to get in, which you can get by filling out the form below. The file number is: S25.
What Does an Ink Clog Look Like?
How do you know if you have a clog? You’ll generally have one of three issues.
Low Ink
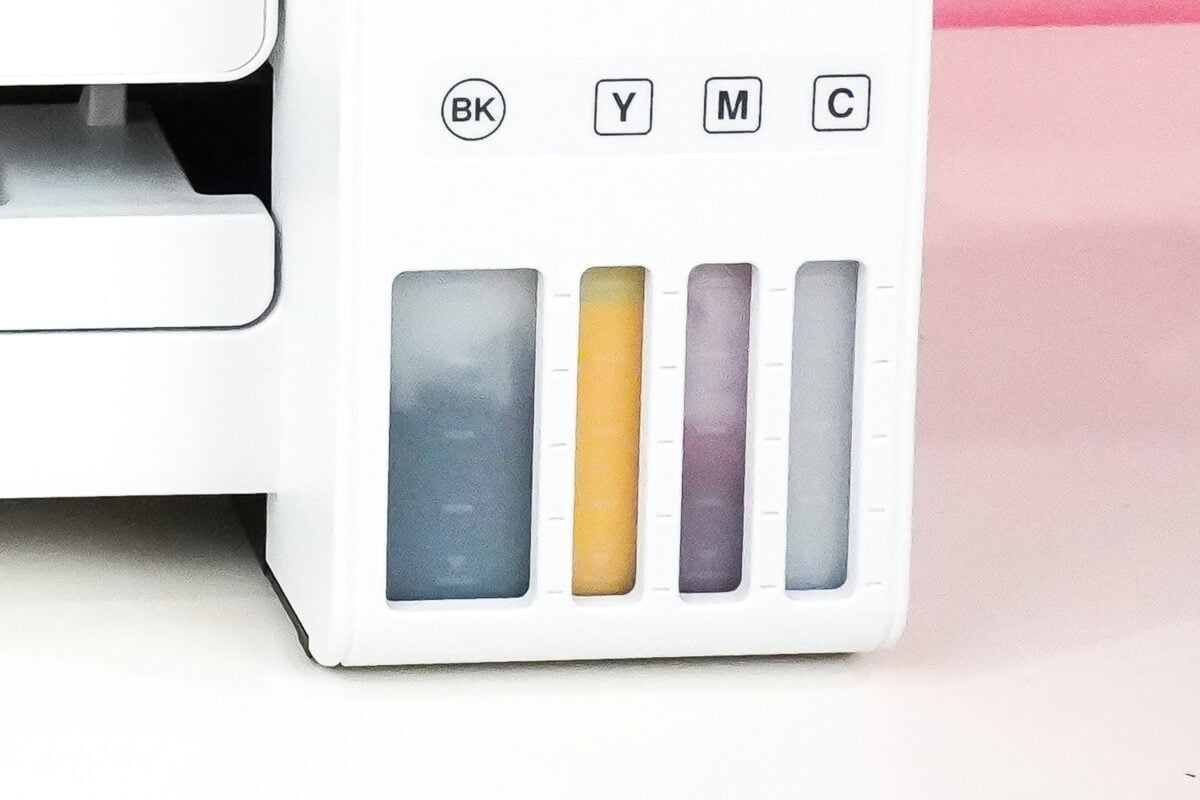
This means you don’t actually have a clog! If your printer all of a sudden doesn’t print one color of ink, check the ink tank first to make sure you aren’t actually out of ink.
White Lines in Your Print
If you are printing and you have white lines going through your print, you probably have a partial clog. If you just see banding (where you can see the printer lines, but all the color is there), check out my post Troubleshooting Sublimation Printing for ways to fix it.
No Color
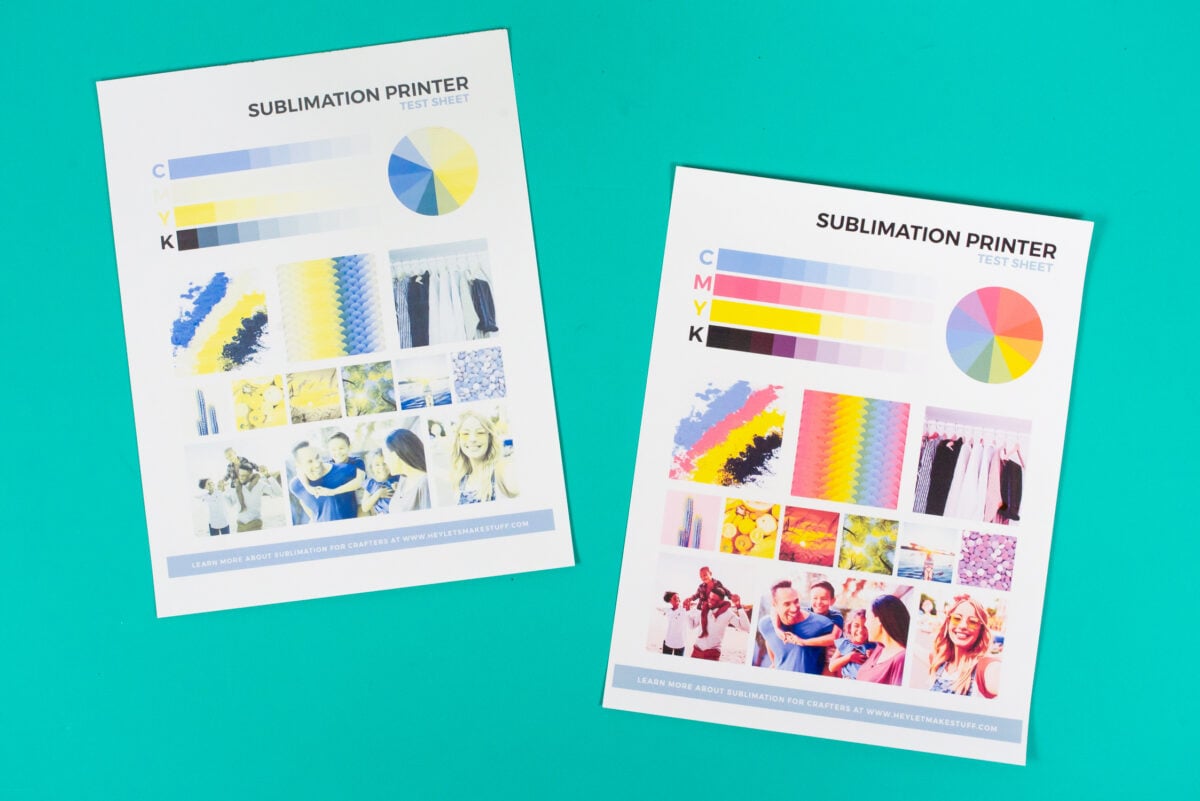
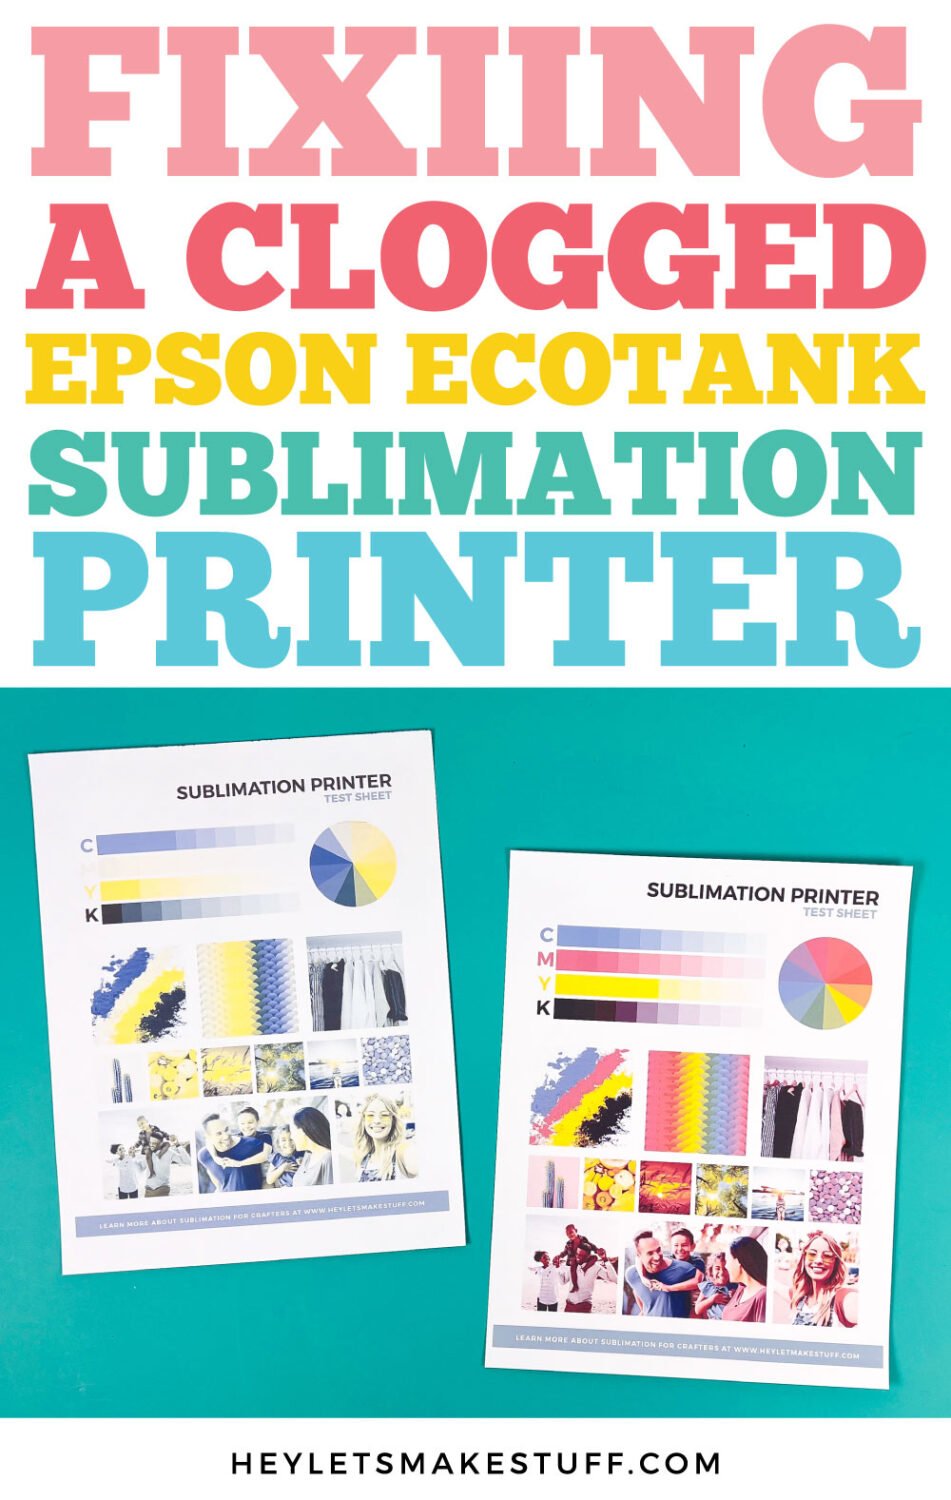
If you are completely missing one or more colors in your prints, you probably have a full clog. So for example, you can see the correct way this printer test sheet should look on the left, while the printer test sheet on the right is clearly missing the magenta. There is nothing in the magenta bar, the color wheel is missing magenta and all of my colors just look yellow and blue (cyan).

How to Fix a Clog in an Epson EcoTank Printer
There is quite a process to run through when fixing a clog in an EcoTank printer. I am going to run through all the steps here, but if your clog is fixed at any point in this process, you don’t need to continue on with the other steps.
You can use regular paper in your printer while fixing an ink clog, you do not need to use expensive sublimation paper.
Step 1: Print a Nozzle Check Page
To start, print a nozzle check page. This will help you see if you have a partial or full clog. To do this, go to the Maintenance screen on your printer and choose Nozzle Check.
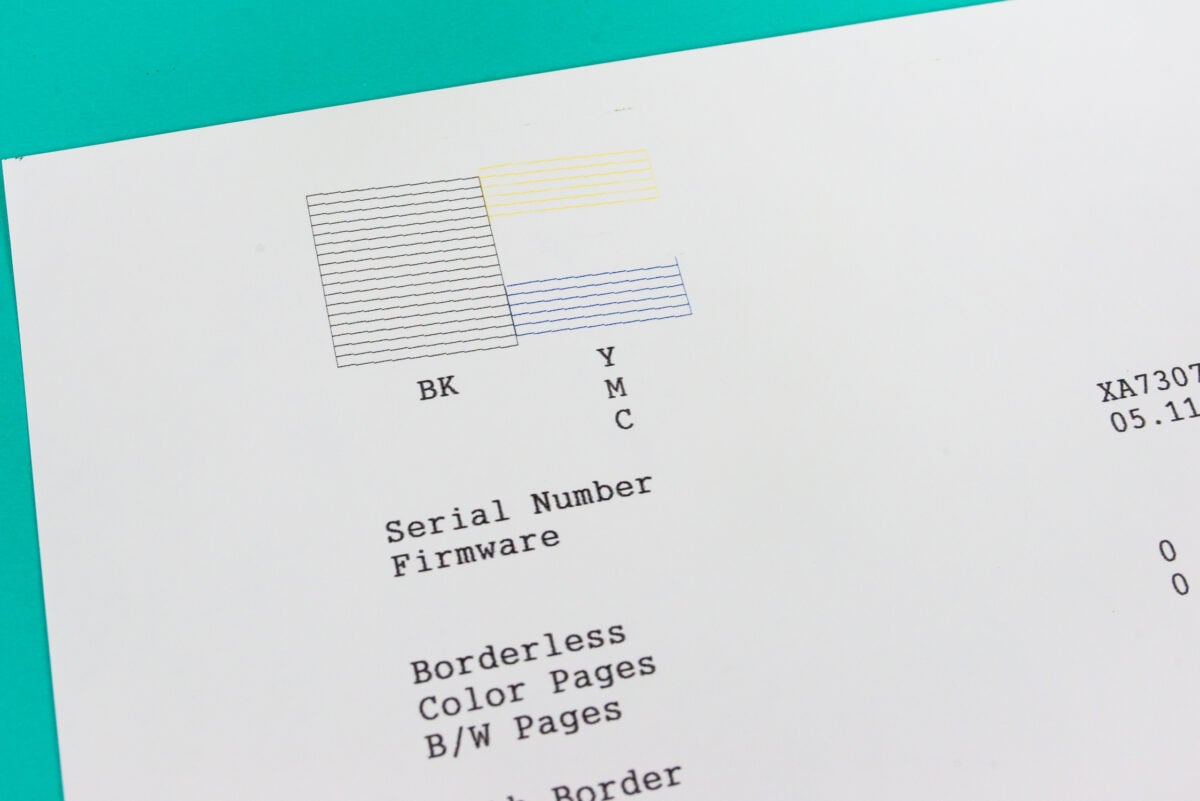
Your printer will print a nozzle check using all four colors. You can see here that my magenta ink is not showing up at all in my nozzle check, which means I have a full clog. If you see some lines but not all of the lines, then it means you have a partial clog (which is generally easier to clear).
Step 2a: Print a Printer Purge Page
There are two ways you can go here. If you are seeing a partial clog, I recommend starting with printing a printer purge page for the color that is clogged. So here my magenta is clogged, so I can print a full page of magenta ink, trying to get the ink flowing through the print head.
This might be preferable to doing a print head cleaning, because it’s only the single color of magenta (vs. all four colors) and the ink is going onto the page vs. into the printer’s waste tank.
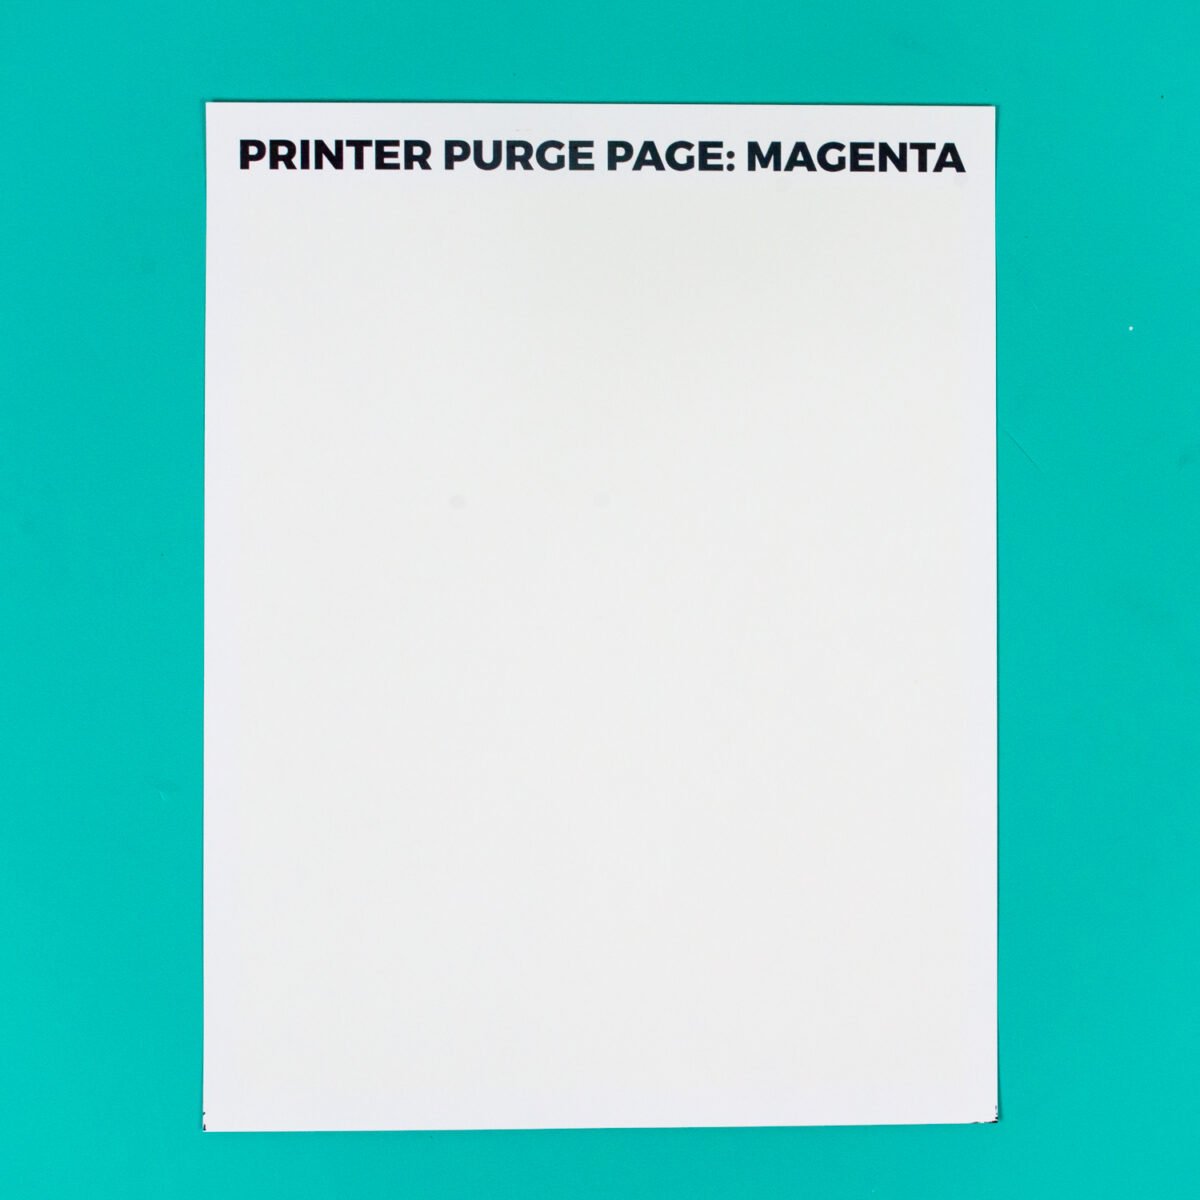
I have found that printing purge pages for full clogs doesn’t work as often as it does for partial clogs, but you can try it if you’d like! You can see here that my printer purge page for magenta showed no magenta ink, so this method didn’t work for my full clog.
Step 2b: Run a Print Head Cleaning
If you’ve run a printer purge sheet and it’s still coming out uneven or blank, or if you have a full clog and just want to skip to this step, the next step to try is running a print head cleaning.
A print head cleaning will push a bit of ink through the print head, trying to unclog it. The extra ink will be pushed into the waste tank. You can access the print head cleaning in that same Maintenance screen of your printer.
After the print head cleaning has run, print another nozzle check. This will help you see if you’ve made any progress in clearing the clog.
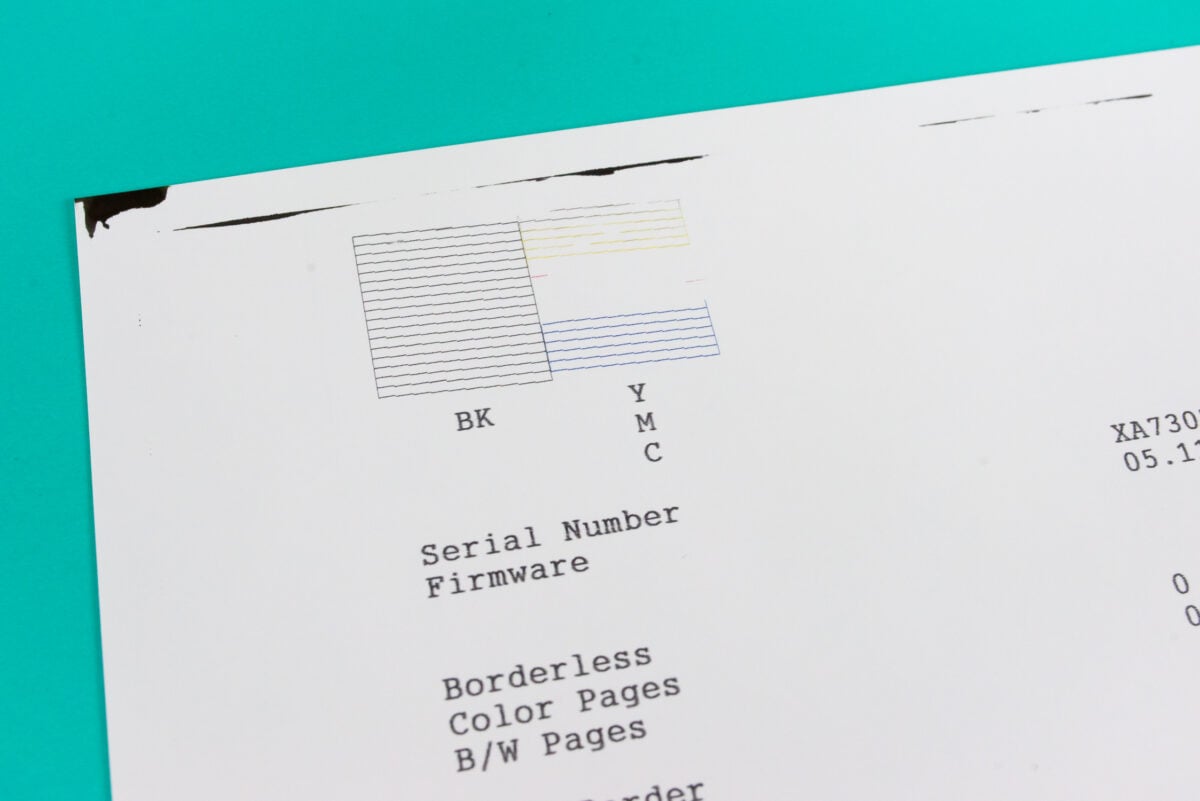
On my nozzle check, you can see that I do have a little bit of magenta trying to work its way through. I also have some ugly black ink marks, which made me nervous. Some black ink must have gotten on the rollers during the head clean.
Step 3: Repeat
The next step is to repeat the process of running a print head cleaning and printing purge pages. I generally will do up to three print head cleanings before moving onto the next step. You can also print more purge pages if you’re starting to see your clogged color coming through. Sometimes this will help push that single color through the print head and clear the clog.
I tried both and still ended up with a blank printer purge sheet and no magenta on a nozzle check, so it was time to move on to a power clean!
Step 4: Power Clean
If you’ve been in any sublimation Facebook groups, you’ve probably seen people warn you away from doing a power clean. But I’m of the opinion that if your printer isn’t working anyway and you’ve done everything else to try and clear a clog, a power clean isn’t going to make your problems worse.
Yes, it uses a lot of ink and yes, it can fill up the waste tank. But you can replace that waste tank and you can buy more ink. It’s better than just having a clogged printer collecting dust in your craft room!
Running a power clean is in that same Maintenance menu. There are a lot of warnings that you’ll have to scroll through and OK before starting the power clean. You’ll hear the power clean sending ink through the lines forcefully, trying to clear whatever clogs may exist.
After the power clean, Epson suggests you to wait 12 to 24 hours for the ink to fill the lines. It’s difficult to wait, but I do recommend it.
Then print some nozzle checks or printer test pages. I was bummed to see that I was still seeing black ink smears at the top of my page, so I printed two more and that issue worked itself out (top to bottom).
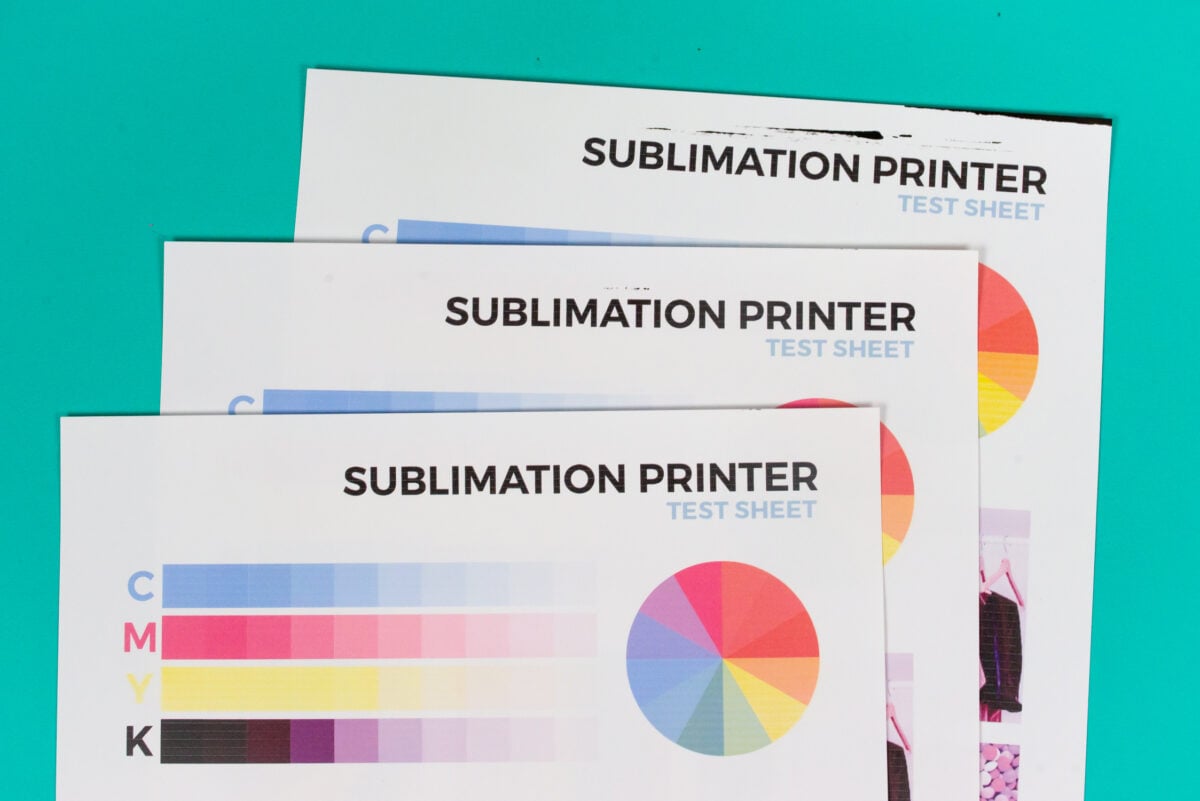
A power clean will almost always clear your clogs. But if you still are having issues…
Step 5: Empty and Clean the Printer
The final step, which I definitely don’t recommend you do unless you are completely out of options, is to empty the ink tanks entirely. This is a very involved process, so next week I’m doing a full tutorial on it and showing how it can fix a clog in an Epson EcoTank printer! Stay tuned!
Hope you found this post on fixing a clog in an Epson EcoTank printer helpful! If you are still having issues after running through all of these steps, let me know in the comments and I’ll try and troubleshoot!


Comments & Reviews
Ruth says
password please and thank you
William (Bill) Warren says
First, I would like to say thank you for your videos. I was having problems printing (ruined 2 tumblers with red tinting), I cleaned my heads with no improvement, so I thought my tanks were empty since they are hard to see in. My cannon is clear as opposed to frosted. I had some a-sub that I tried to fill but nothing was leaving the bottles and assumed they were the problem since they don’t have the long neck (I forgot they were the same that I started with). I ordered and tried the hippo with the long neck and still no luck. I ended up doing 3 deep cleans and 3 print head cleaning. I then used your purge pages to print. Other than streaking all colors printed. I switched my setup to photo glossy paper, standard print, and reprinted the purge pages PERFECTLY. It all now makes sense. I don’t print regularly since it’s a hobby and I also have 3d printing/painting and Laser etching/cutting that I do. I guess I will need to at least print you 4 color page occasionally if I haven’t done anything for a while (start 1 month)