Want to make using your heat press even easier and more versatile? Here are some of my favorite heat press hacks, tips, and tricks that will help you work smarter instead of harder!
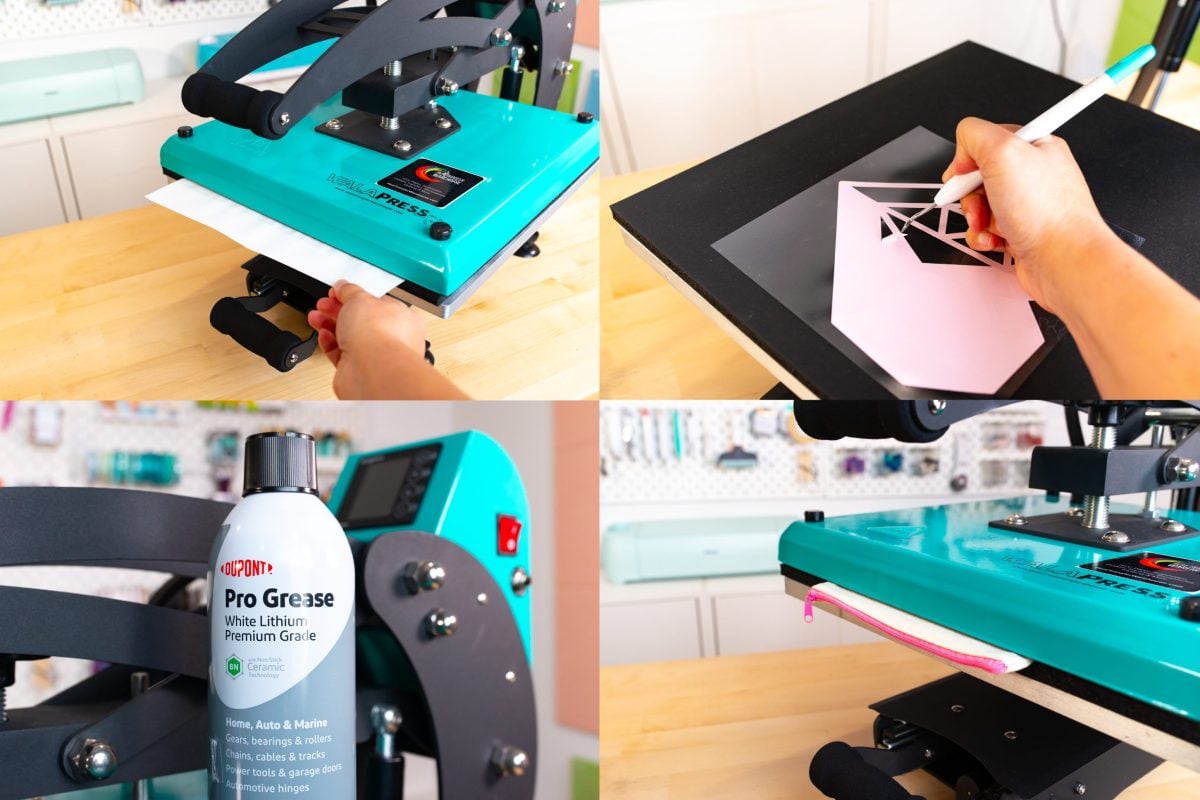
If you have a heat press, you may think it’s pretty straightforward to use. Add your project to the press…and press. And, to be honest, most projects really are that simple! But in today’s post I wanted to share some of my favorite ways to make the most out of your heat press and give you tips and tricks that may make it easier to use your machine.
Not sure which heat press is for you? Check out our e-course Heat Press Roadmap! This extensive course is designed to guide you on your journey to deciding on the best heat press for your needs, space, and budget. Check out all the details about Heat Press Roadmap here!

For this post I’m using my WALApress from Heat Transfer Warehouse (see my review and how to use it here), but these tips and tricks should apply to almost all other flat heat presses, as well as some specialty presses like mug presses or tumbler presses.
Check out my favorite presses on Amazon using my heat press shopping list!
Watch the Video
Check out my heat press hacks over on my YouTube channel!
Testing the Pressure of Your Heat Press
If you have a heat press that does not have a built in pressure gauge, you may be wondering how to know the difference between light, medium, and heavy pressure. My favorite way is to use a sheet of paper.
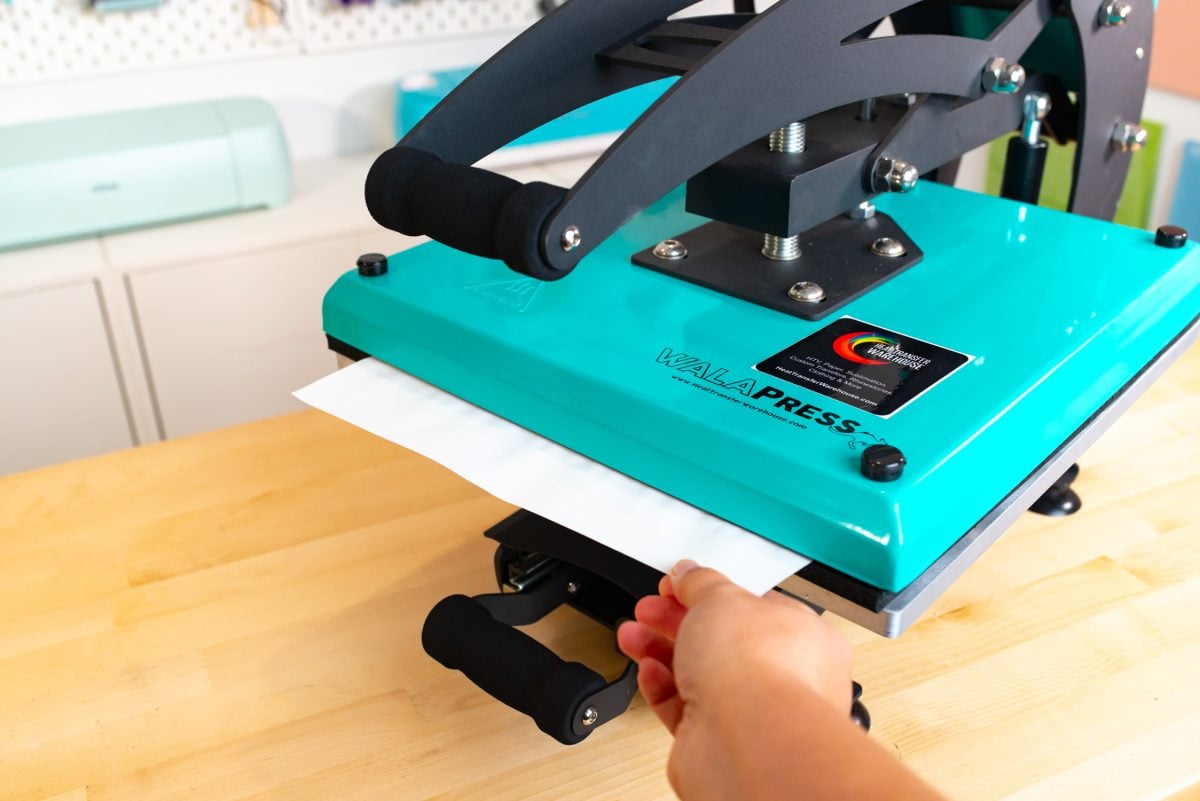
Place the sheet of paper halfway in the press and close. Then adjust the knob for these different pressures:
Light pressure: When you pull on the paper, you’ll get a little resistance but you should be able to pull it out.
Medium pressure: You shouldn’t be able to pull the paper out, but you should still be able to close the press without a lot of effort.
Heavy pressure: Turn the knob on your heat press to the point where you can’t close your machine all the way. Then lessen the pressure bit by bit until you can close it. It should require a bit of effort to close.
Lubricating Your Heat Press
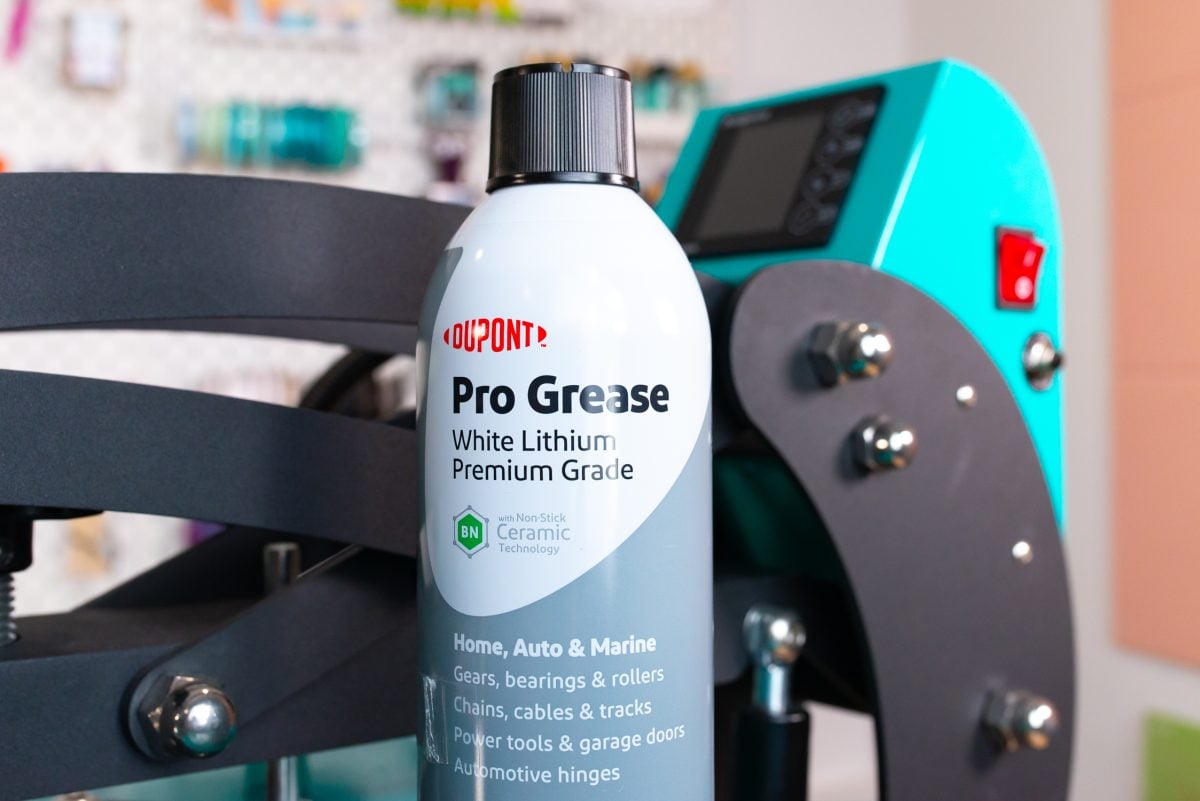
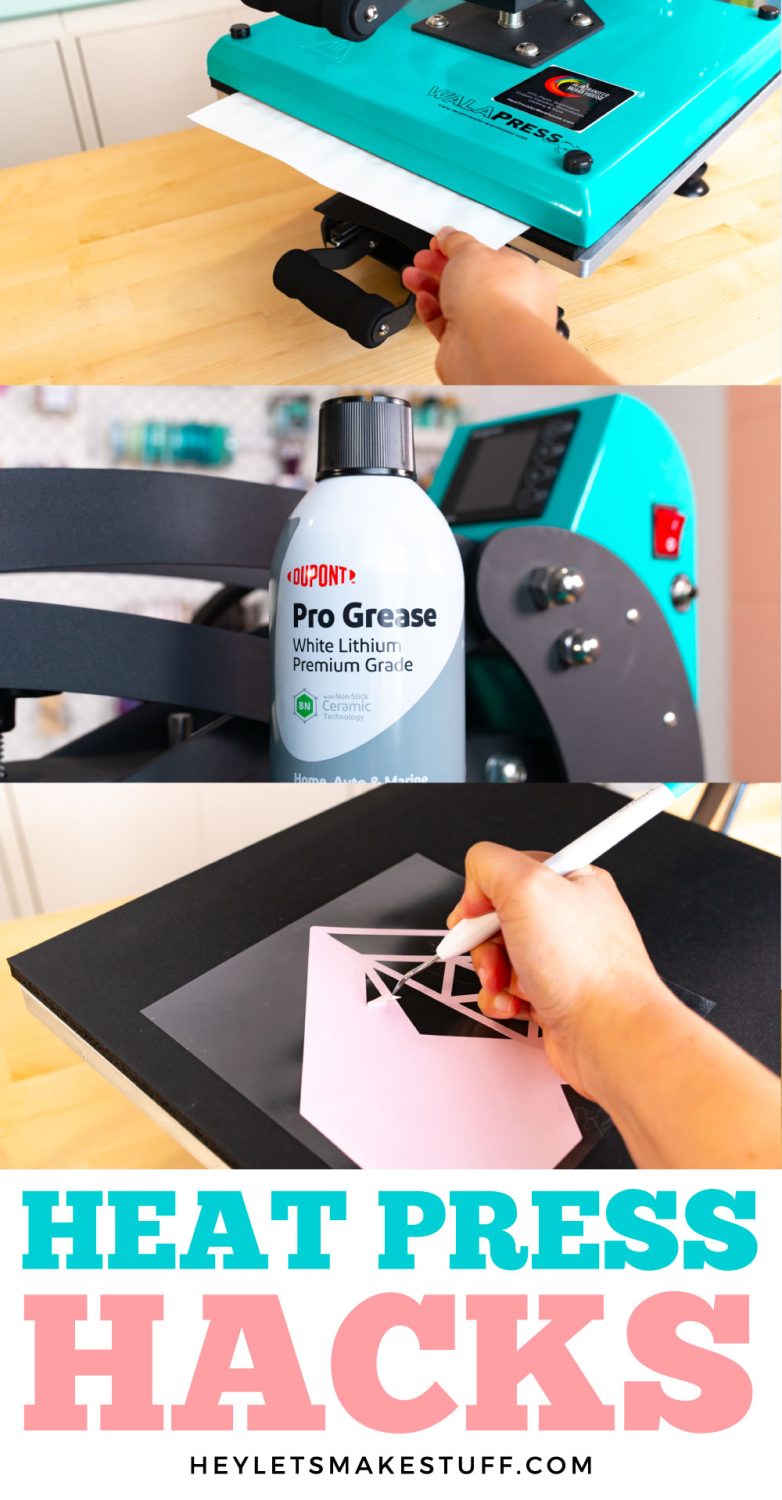
Squeaky heat press? You probably need to oil the hinge! Use a premium grade lubricant and carefully spray it onto the hinge where it’s squeaking. Open and close the press several times to help move the oil around the hinge. Be careful not to over-lubricate your hinge—you don’t want that grease to drip onto any of your heat press projects.
Check the Temperature of Your Heat Press
If you’re getting unexpected results out of your heat press (like your blank seems a bit scorched or your HTV isn’t sticking properly), you may want to check the temperature of your press. An infrared heat thermometer can help you check! Instead of aiming the heat gun at the plate of your press, set your heat press to a certain temperature and then close the press for 5 minutes. This will warm up the bottom pad on the press. When you open the press, immediately point the infrared heat thermometer at the bottom pad and take a reading. This is more accurate than the actual plate!
If your temperature is off, there are a few things you can do…
Calibrating Your Heat Press Temperature
You have a couple options here depending on your heat press.
Internal Calibration: For some higher end heat presses, there is a mode where you can calibrate your temperature. So if your machine is off by 10°, (it should be 300° but it’s actually 310°, for example), you can use the calibration setting to adjust the temperature. That way it will read 300° and it will be 300°, just like it should.
Manual Calibration: If you don’t have any calibration within your heat press, you can write down common temperatures in a notebook so you have them to refer to instead of having to remember to do that math. If your press is 10° off, then your notebook might look like:
- 300° – Set to 290°
- 325° – Set to 315°
- 400° – Set to 390°
HTV Warming Trick
Here’s a fun one! Did you know you can use your heat press to make HTV weeding easier? Set heat press to 315° at 15 seconds. Close your empty press for that 15 seconds, and then place the project you want to weed onto the warm bottom platen of your heat press. It makes pulling up that excess HTV much easier! You may need to adjust your temperature a bit depending on how well your bottom platen holds that heat.
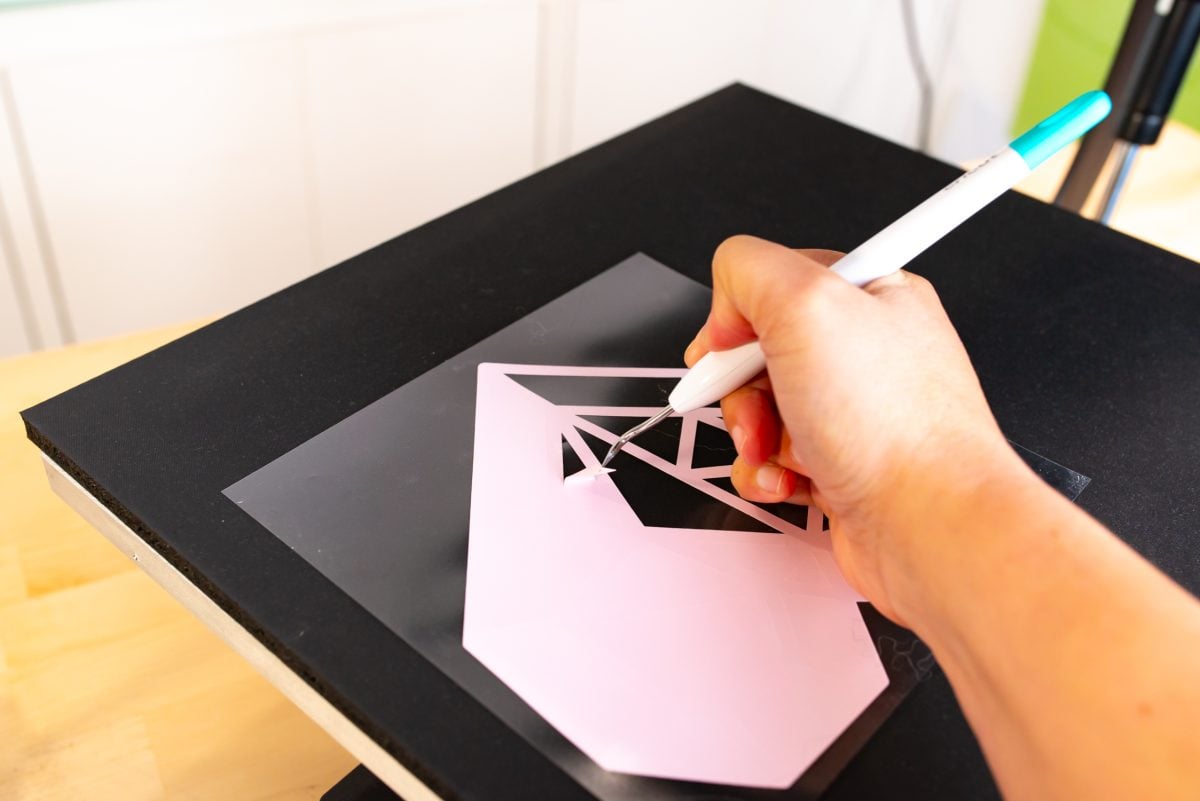
You can also buy an EZ Weeding Table which warms, but it’s not cheap! Then again…if it saves you enough time in your small HTV business, it may be a good investment!
Teflon Sheet vs. Butcher Paper vs. Parchment Paper vs. Wax Paper
There are so many ways to protect your heat press, but they all act a bit differently. Let’s look at when you might want to use each.
Teflon Sheet: A teflon sheet is the best for using HTV in your heat press, protecting it from excess residue or adhesives. I don’t recommend using teflon for sublimation projects, however. Teflon can trap moisture, which can cause issues with your sublimation transfer. Additionally, sublimation ink can blow or bleed through your transfer and onto the Teflon sheet, causing it to ghost images on future projects.
Butcher Paper: Butcher paper is better for sublimation projects. Butcher paper is basically uncoated paper that protects your press from sublimation ink. I like buying butcher paper in sheets because they are so much easier to work with than having to cut pieces off a butcher paper roll.
Parchment Paper: Parchment paper is a specialty paper with a silicone coating, making it very non-stick. I don’t generally use it for pressing my projects, because it can trap moisture as well. I do use it, however, for helping me place both HTV and adhesive vinyl decals on my blanks. You can place the parchment paper between your decal and your blank so you can move it around until you have perfect placement. Then tape down your transfer and remove the parchment paper and adhere.
Wax Paper: Overall, stay away from wax paper for heat press crafting. If you heat wax paper, it can melt the wax onto your projects—not good!
Platen Cover
Speaking of teflon, you can buy a teflon cover for the top platen of your heat press so you don’t need to put the teflon sheet over your project every single time! It’s a lifesaver when you’re making a ton of HTV projects using your heat press. You can even make your own by taking a large teflon sheet and using magnets to hold it in place.
Reusing Butcher Paper
You can totally reuse butcher paper in your sublimation projects. Just hold it up to the light before you use one. If you see any ink at all on your butcher paper, it’s time for the recycling bin. That ink can ghost images on your blanks. But if the sheet looks clean, go ahead and use it as many times as you want!
Pressing Pillows
Use a pressing pillow for soft blanks and garments with zippers, buttons, seams, and pockets. Place the pillow inside your blank to raise the pressing surface above the troublesome parts of the blank in order to achieve an even press. For example, the seams in a kid’s bodysuit can get in the way of a totally flat sublimation print. By inserting a pressing pillow, you can raise the pressing surface above the seams.
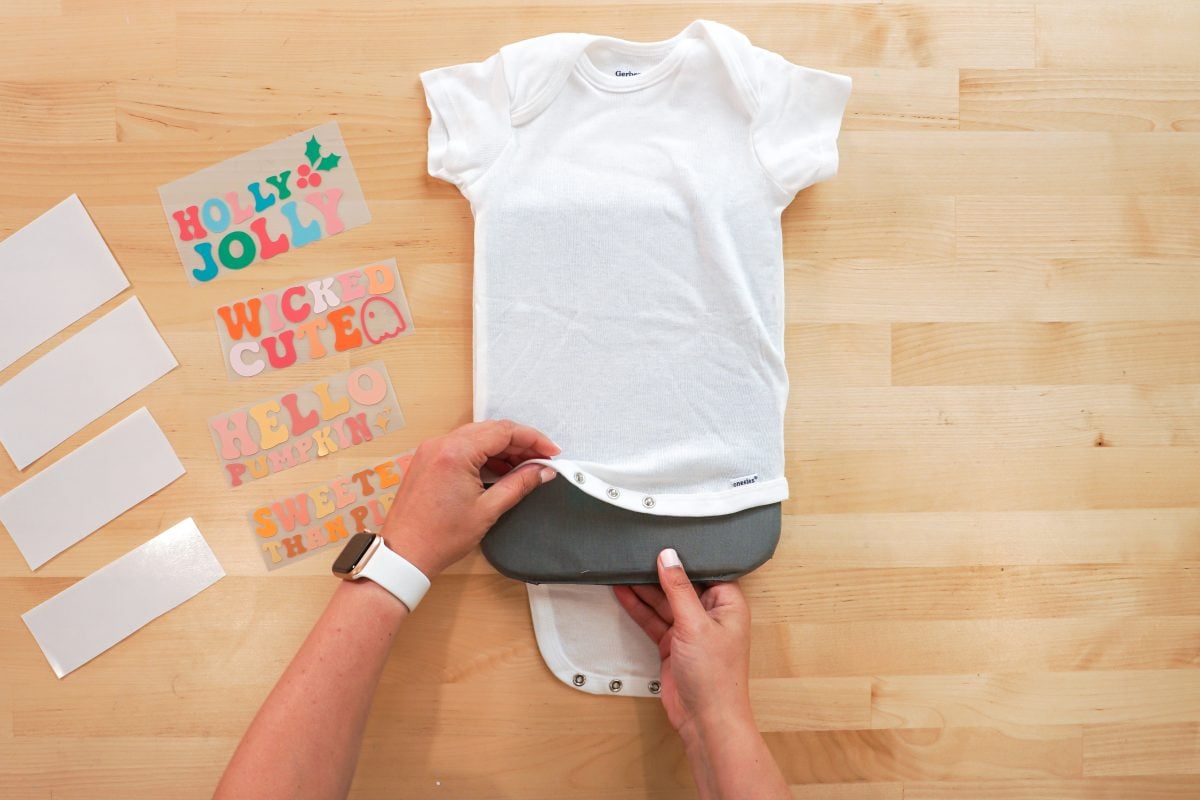
You can also use an EasyPress mat or other white items (white ensures you won’t have any color bleed), such as a folded washcloth, hand towel, or even a cloth diaper. Cotton quilt batting often works as well and is easy to trim down to the size you need.
Avoiding Zippers, Buttons, and Other Problem Areas
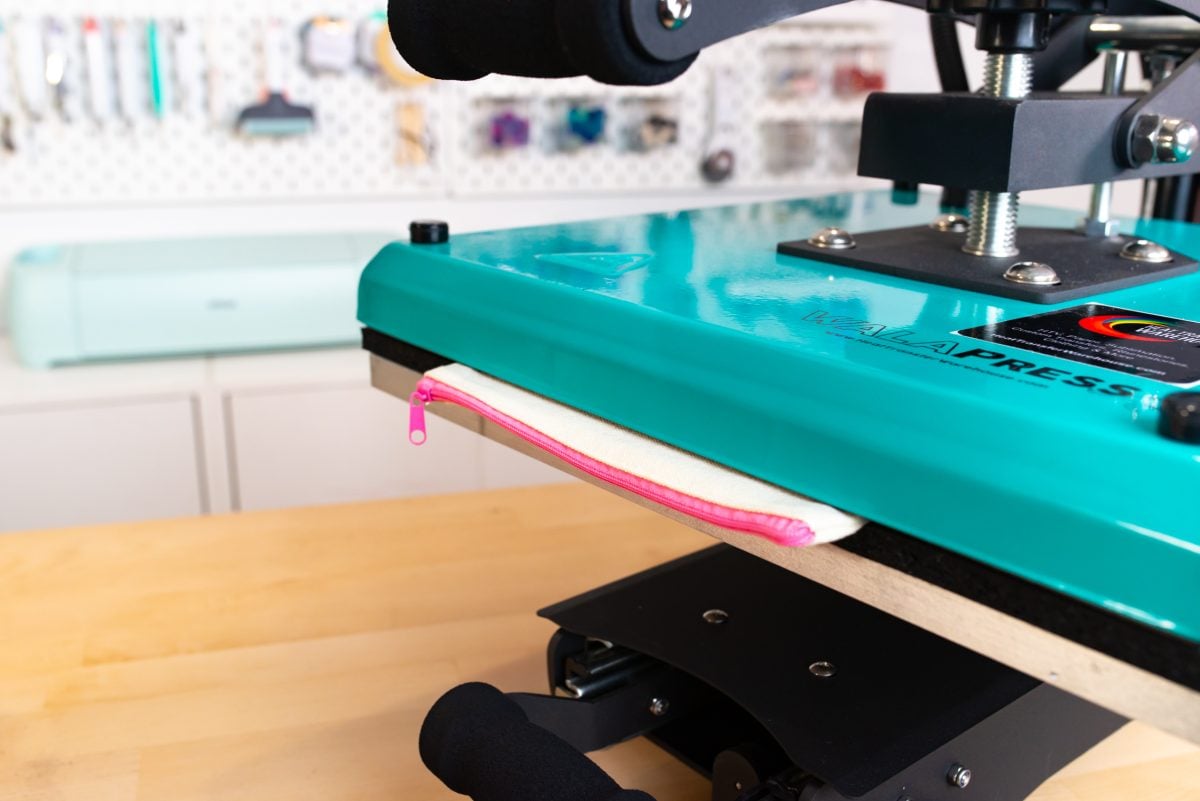
A pressing pillow can help you raise up that pressing surface, but you can also just hang zippers or buttons off the side of your press. For instance, if you’re pressing a zippered pouch, add your decal to the pouch and let the entire zipper hang off the side of the press. You’ll get a really flat press and you won’t have to worry about melting a nylon zipper.
Bath after Pressing
Finally, you can cool off sublimation projects more quickly when the come out of the press by giving them a bath! Set aside a bowl of room temperature water (for ceramic blanks) or ice water (for metal blanks) and just dunk them into the water after you pull them out of the press. The cooler water quickly stops the sublimation process so your images are super crisp, and you are able to remove the butcher paper and image more quickly than if they just cooled down slowly on a heat-resistant map.
Note that you do want to take off any shrink wrap from your project before you dunk them—removing shrink wrap after it’s cooled is much more difficult than removing it when it’s hot.!
For more Heat Press information, check out my blog on How to Use a Heat Press!


Leave A Reply!