
NEW YEAR'S EVE PHOTO BOOTH PROPS
Make any New Year's Eve party more fun with these awesome New Year's Eve Photo Booth Props! Say goodbye to flimsy paper props and make these using chipboard on your Cricut Maker—they'll last well past midnight!
Equipment
- Cricut Purple StrongGrip Mat + Masking Tape
Ingredients
- Cricut Chipboard
- Iron On Vinyl Several Types of Iron On Vinyl (solid, glitter, etc.)
- Wooden dowels painted black
Instructions
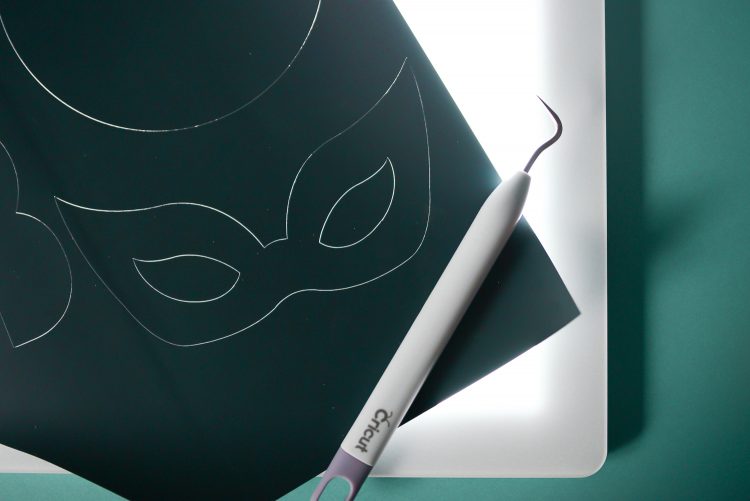
- Start by cutting the chipboard. There is a a group of four shapes that are light brown. Hide the other black, silver, and yellow shapes—those are iron on vinyl. You can cut everything all at once if you'd like, but it is easier to do the chipboard in one go, and then the iron on vinyl separately—that way you're not accidentally mirroring chipboard or cutting iron on with the Knife Blade.Once you have just the chipboard showing, click Make It in the upper right of the Canvas to be taken to the Prepare Screen. You'll see that the four shapes are on two mats. You can actually fit it all on the same piece of 11" x 11" chipboard by clicking on the second mat and then clicking on the shape. Click the three-dot menu drop down and select "move to another mat."
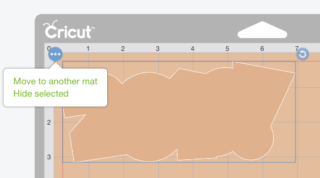
- Then select the first mat and your shape will be moved.

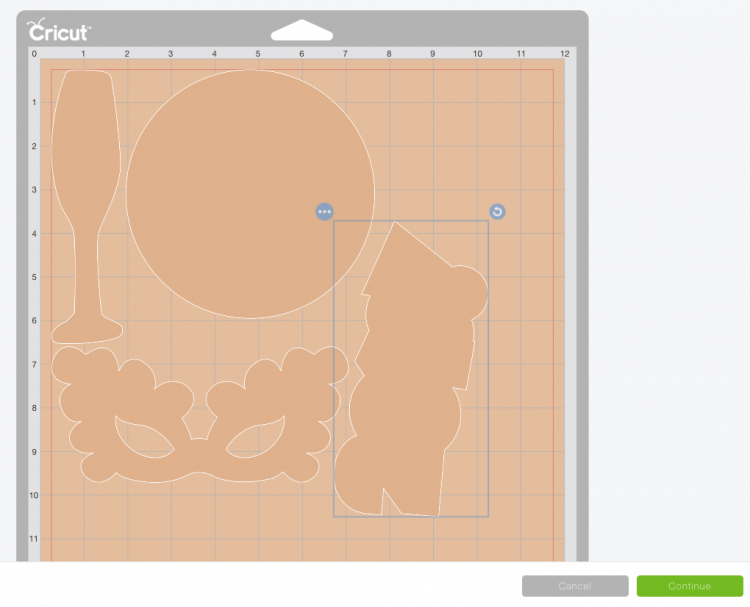
- Rotate it using the rotate icon in the upper right of the shape, and place as shown. Make sure your shape is within the 11" mark—that's the widest chipboard that the Maker will cut.
- Then click "continue" to go to the Make Screen.Using the Knife Blade with chipboard has a few quirks. If you haven't used your Knife Blade yet, you'll want to check out this 10 Tips for Knife Blade Success post. In it you'll learn some quirks of the Knife Blade that you'll need to know in order for your project to cut successfully. There is also an entire post on Cutting Chipboard with the Knife Blade. Give that a read as well.
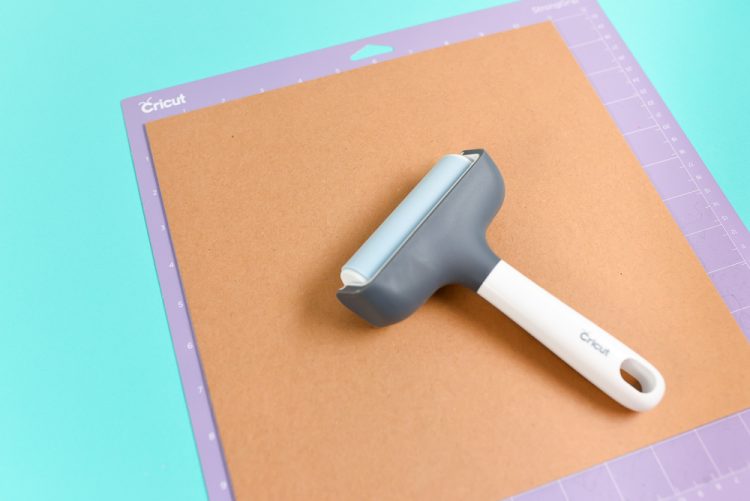
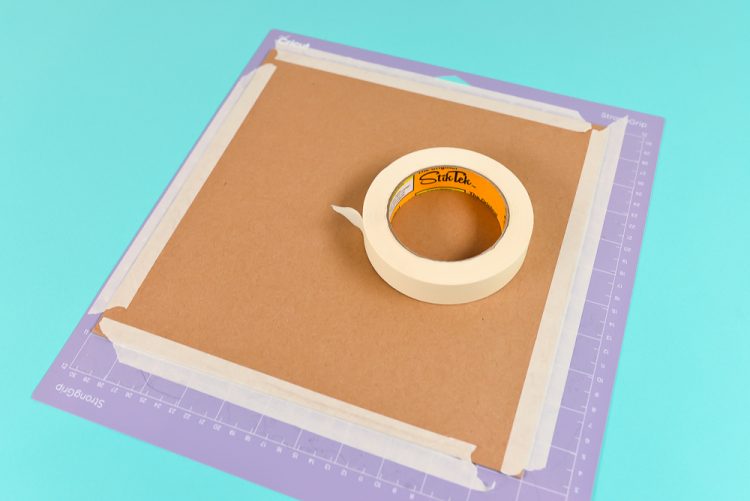
- You'll want to make sure you have your chipboard secured to your mat. Use your Cricut Brayer to get good adhesion, and then masking tape on all four sides.
- Also slide the white "star wheels" all the way to the right. This will keep the wheels from indenting your chipboard.Select Cricut Heavy Chipboard as your material and insert your mat into your machine. Also swap in your Knife Blade if you haven't done so already. Design Space will estimate how long your cut will take—chipboard often cuts faster than the estimate. So make sure you keep an eye on it as it cuts and hit the "pause" button occasionally to see if it's cut all the way through. Peel the mat away from the chipboard to remove! If you find any corners aren't 100% cut, use a craft knife to cut the last of the chipboard.

- Cutting Iron On Vinyl on the Cricut MakerThen it's on to the iron on vinyl layers! Go back to the Canvas and un-hide those layers, and hide the chipboard layer. Then cut out all of your iron on vinyl, making sure to mirror all of the layers, and to change to the correct the material between each cut. Using a Cricut Brightpad to help weed, makes it much easier to see those cut lines!
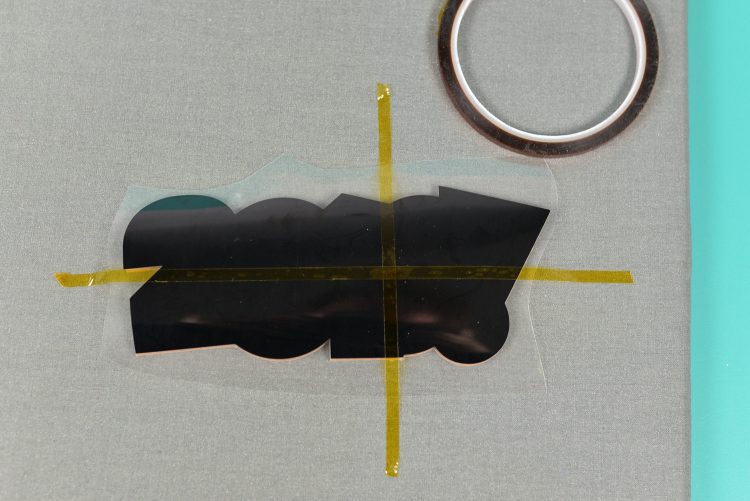
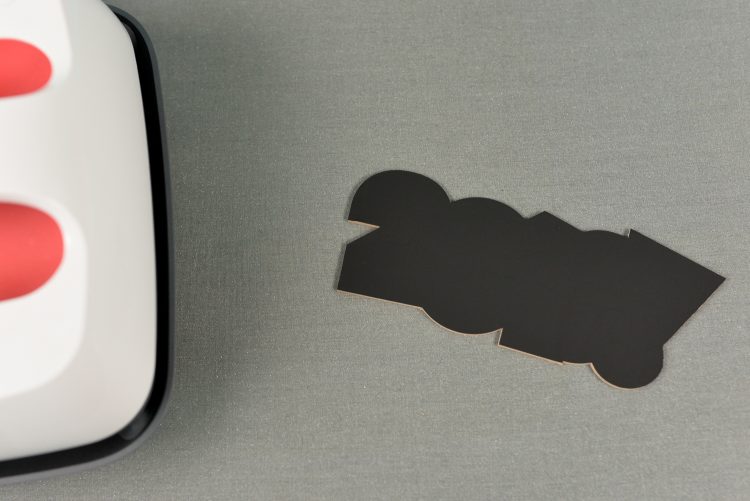
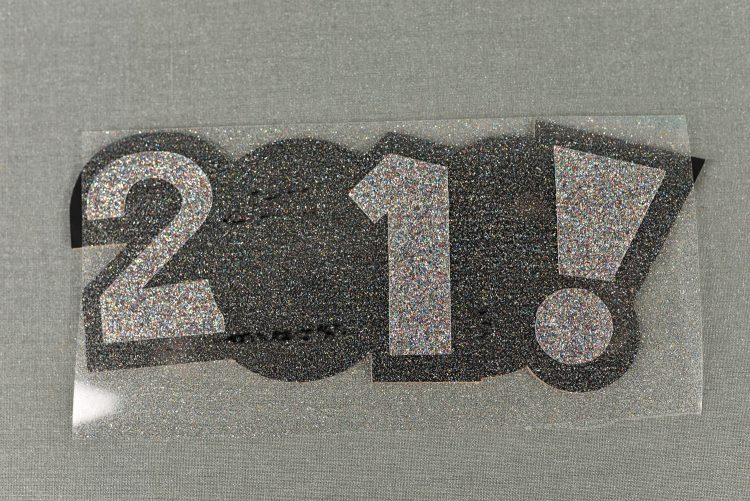
- To layer our vinyl, we're going to start at the bottom and work our way up.Start with the base layer that goes right on top of the chipboard—in all four props, this is black. Use heat-resistant tape to help ensure the image goes right where it's supposed to when putting the Cricut EasyPress 2 on it.
- Cricut Everyday Iron On is warm-peel, but I've had better luck waiting until it's cooled to peel it (learn the difference between warm peel and cool peel).
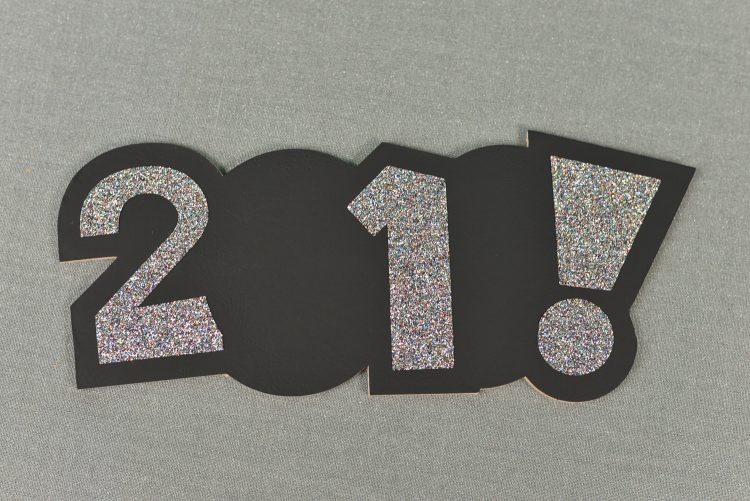
- Then we'll start adding our layers. Start with the "2 1 !" piece.
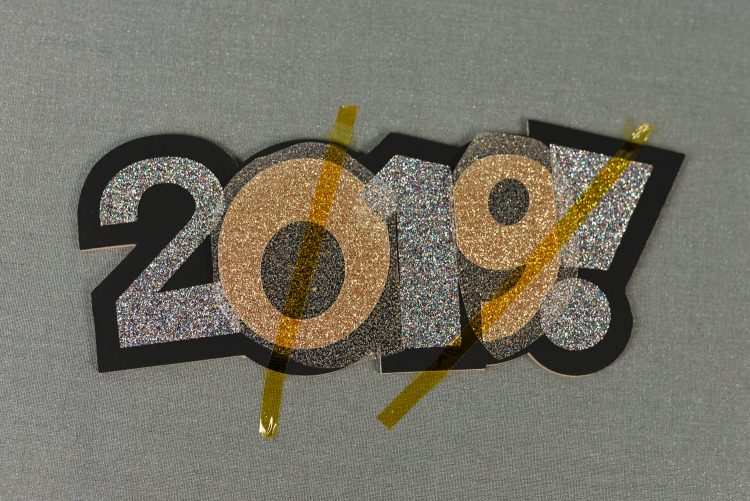
- Then the gold "0 9" layer:
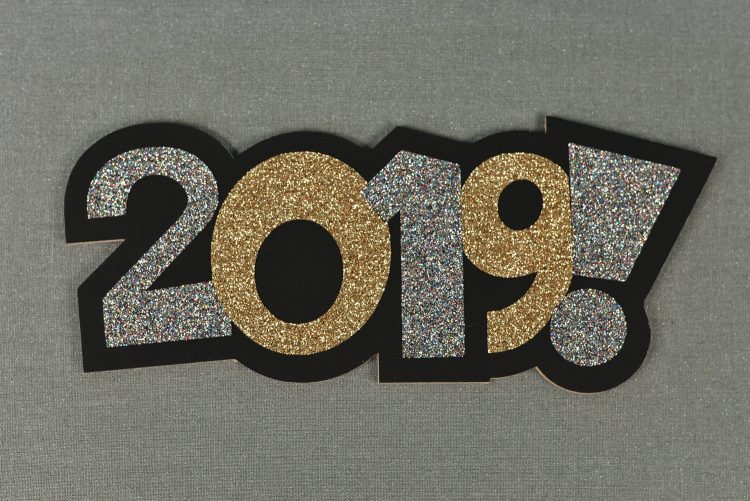
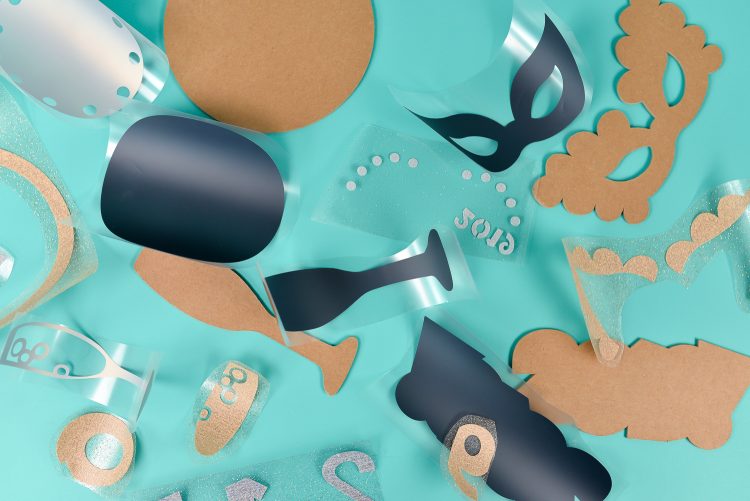
- Glue a wooden dowel to the back and you're done! You can see how all of the different props are layered before. Just make sure you're layering the regular vinyl before the glitter and you should be good to go!

- A Few Tips for Layering Iron On VinylThere are a few things to keep in mind when using iron on vinyl. You, of course, could try whatever you'd like, but knowing these guidelines can help ensure your project doesn't fail or fall apart.To start with, always use a Teflon sheet or pressing cloth (I usually just use a piece of quilting cotton) between your layers. You don't want the hot plate of your EasyPress or iron coming in contact with already-pressed vinyl. It's a recipe for disaster.When pressing, use a little less heat and a little less time than suggested—that bottom layer is going to get several presses and you don't want to overheat the vinyl. I suggest starting with 10° less than what's recommended and a maximum of 15 seconds and see if your iron on vinyl's carrier sheet will peel. If not, press again. Only increase the heat if you really can't get your project to stick to your material.You can technically have as many layers of iron on vinyl that you like, but after about three layers things start to look a little less than ideal. So if possible keep your layers to three or fewer. You can also use the "Slice Method" for creating fewer layers in your project.If you're using glitter, foil, or holographic vinyl, make sure that they are top layer and that no other vinyl is ironed on top of these vinyls. They just don't make the best adhesive surface for more vinyl—keep this in mind when you're designing your project and choosing your materials. Iron on vinyl on top of these materials is more likely to peel up!