HOW TO USE CRICUT IRON ON VINYL
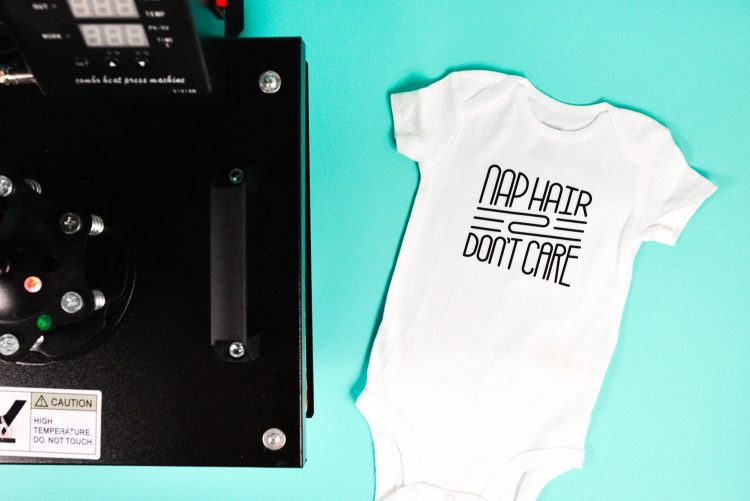
Here are step by step instructions on how to use iron on vinyl (HTV) to make these adorable bodysuits! Learn tips and tricks for getting your iron on vinyl to adhere—updated in 2019 to include iron, EasyPress, and heat press methods.
Equipment
- Cricut Maker or
Ingredients
- Cricut Iron-On Vinyl
- Bodysuit or other base material, depending on your project
- Scrap of fabric at least 9" x 9" (optional)
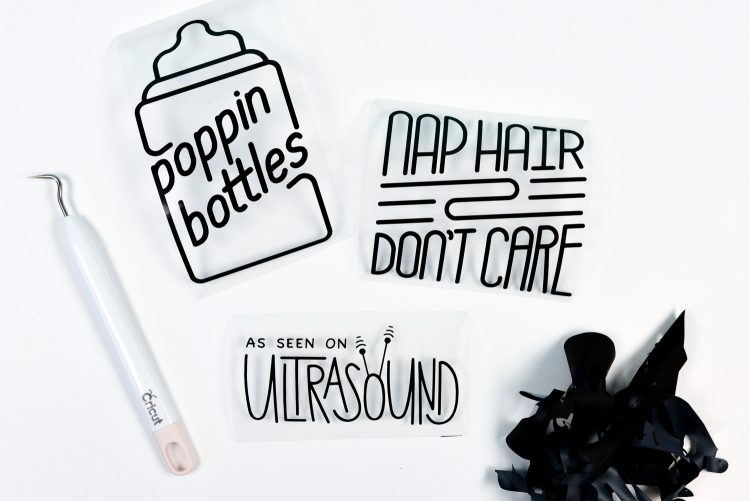
- Files from Cricut Access: Nap Hair Don't Care (#M7042583), As Seen on the Ultrasound (#M70427DA), and Poppin Bottles (#M7042642)
Instructions
- Start by opening Cricut Design Space. We're going to be using images from the Cricut Image Library, so click Images in the Design Panel on the left. From here, search for the following images using the search bar in the upper right. Make sure to include the #:Nap Hair Don't Care (#M7042583)As Seen on the Ultrasound (#M70427DA)Poppin Bottles (#M7042642)Once these are onto your Canvas, resize them using the Edit Toolbar at the top. For this project the size was increased on all of them a little to fit on the bodysuit front. You can also use templates in Cricut design space to help you with sizing.

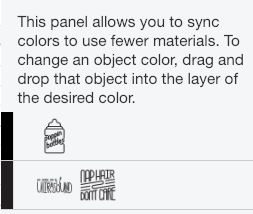
- Even though all of these look like they are black, they aren't. Go to the ColorSync panel at the top of the Layers Panel on the left. From here, you can drag all of your images to be on the same color—this way, they will all cut on the same mat. Learn more about Color Sync.
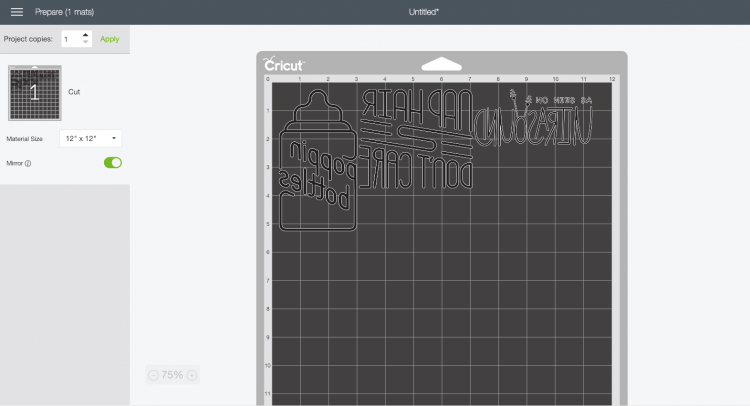
- Then click Make It at the top of the Canvas. The preview screen will open.Important: in this screen, click "Mirror" in the sidebar so it flips your image. If you don't do this, your image will be backward when you go to iron it on! You can see the little slider on the left is green, and your project is backward on the mat.
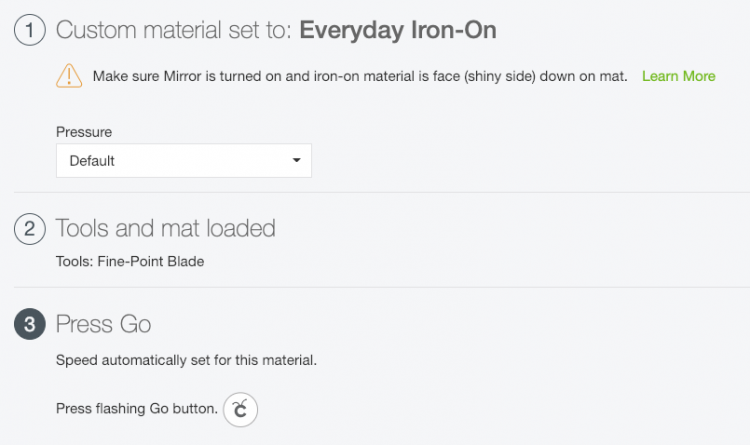
- Then click Continue.In the final Make screen, connect to your Cricut machine. Then select your iron on materials. If you are using a Cricut Explore, you will set your dial.
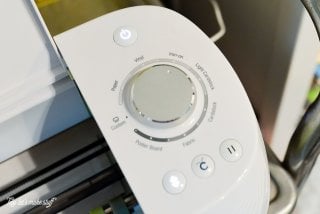
- If you are using a Cricut Maker, you will select from a list of materials.Place your iron on vinyl plastic-side DOWN on your cutting mat. Use your Cricut Brayer to help press the vinyl into the mat, particularly if the mat is on the older side.Insert the mat into the Cricut and press the arrow button on your Cricut. It should grip your cutting mat and bring it into the machine. Then press the blinking "C" button on your Cricut and it will cut your project for you!Once it's finished, press the arrow button on your Cricut and it will release your mat.
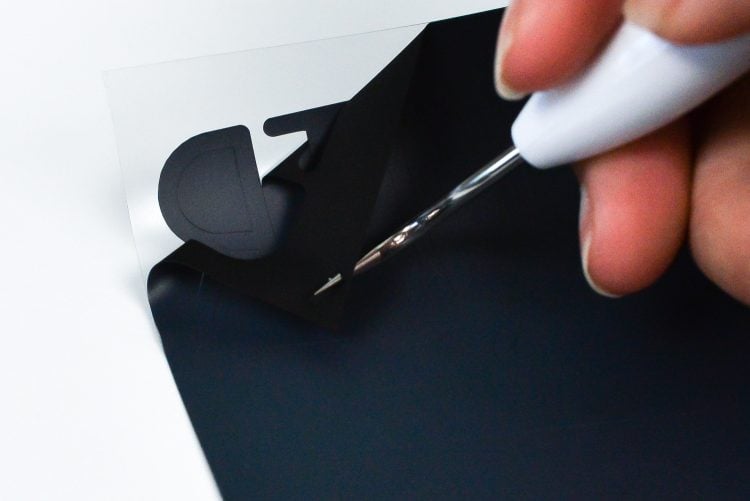
- How to Weed Cricut Iron On VinylWeeding is the process of removing anything that's not part of your design. Start by digging the tip of your weeding tool into a piece of the vinyl that is NOT your design, and gently pull up. Once you get a good chunk going, use your fingers to pull up on the vinyl, and use the weeding tool to get the more difficult bits, including the insides of letters.
- Continue to remove all of the pieces around the image until all that's left is the image.
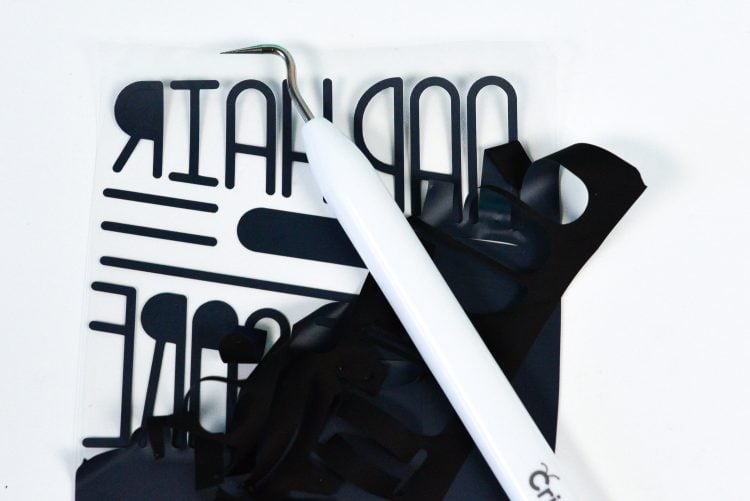
- When you flip over your design, you'll see that it's facing the right way. If you forgot to mirror, everything will be backward and you'll need a good cry and a glass of wine. Double check your work to make sure you don't have any extra bits that need weeding—in this one the inside of the tiny A and O on the bottom image were almost forgotten.
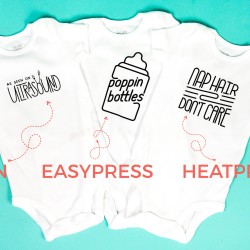
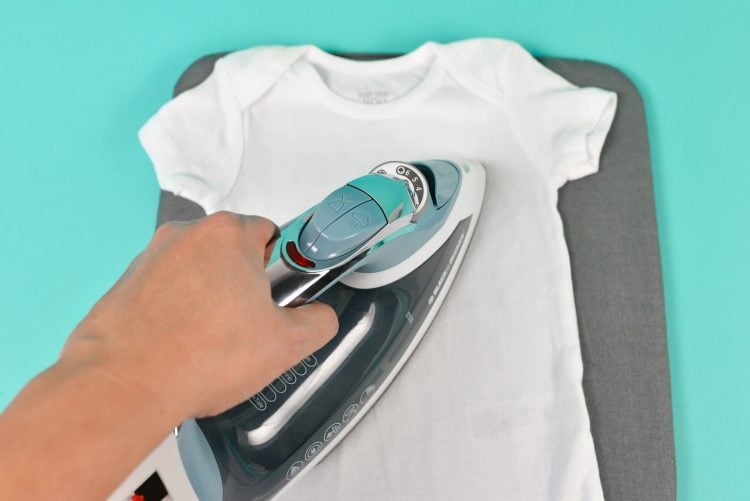
- How to Adhere Cricut Iron On VinylNow we're actually going to adhere the vinyl. Three onesies were created to show how it's done with the three types of heat sources: a regular household iron, the Cricut EasyPress, and a heat press. There is also a post explaining the differences between these three heat sources, using Easypress vs. heat press, how well iron on vinyl holds up, and which the favorite method.Iron On Vinyl with an IronThe mid-level Black & Decker iron is being used for this tutorial. You want your iron set at high heat with zero steam (make sure the basin is completely empty—steam is the nemesis of iron on!).Before you place your decal on your bodysuit, do a pre-press with the iron for about 5 seconds. This pre-press helps flatten the onesie and starts the adhesion process once you add your decal.
- The next step differs depending on who you talk to. Some people iron directly on the plastic, but it is preferred to use a thin scrap of cotton on top of the plastic carrier sheet. Not comfortable ironing plastic, particularly because an iron's plate can have uneven heating—and the hot spots can get HOT. The carrier sheet has been melted more than once.
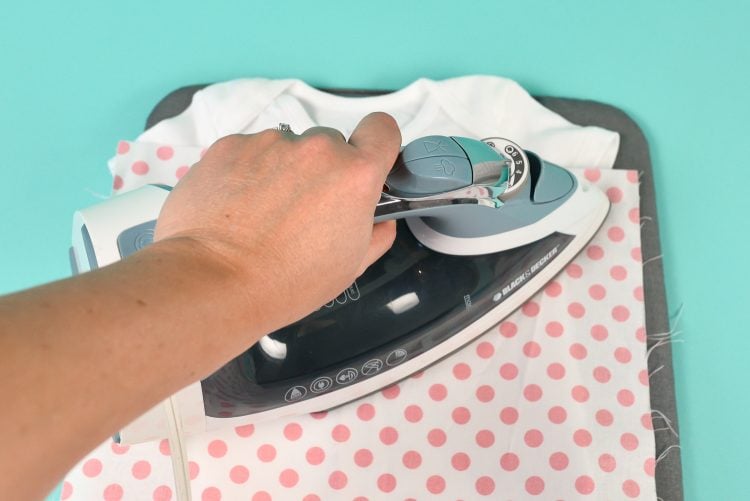
- Press down the iron, holding firmly for 15 to 30 seconds, and then picking it up and moving it if the image is larger than your iron. Do not slide the iron around.Let the decal cool a bit. There is a difference when using cold peel vs hot peel vinyl, but lately prefer most of my iron on projects to be a bit cooler to the touch. Gives the vinyl adhesive a little more time to set.Peel back the plastic carrier sheet from your image. The vinyl should stick. If you find it starts to pull up, put the plastic back down and apply more heat.

- Press again for 10 seconds using a scrap of fabric between the iron and the vinyl and then flip the project over and press for 15 seconds from the back. Once done, you can remove the plastic entirely.

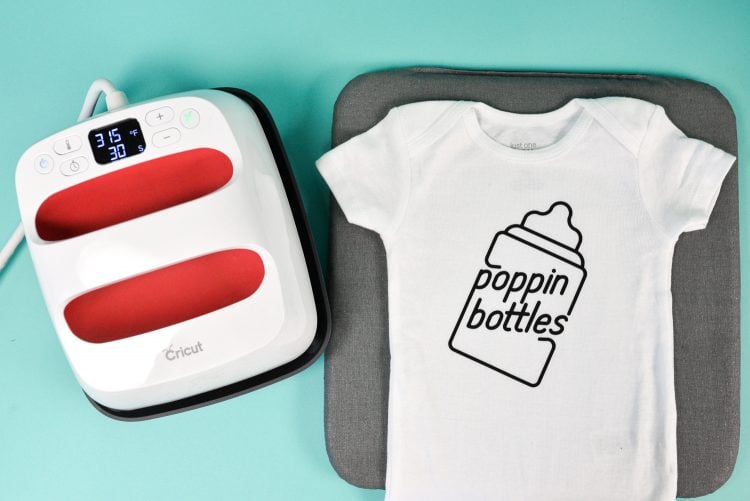
- Iron On Vinyl with the Cricut EasyPressFor this tutorial, the small EasyPress 2 is being used though any of the sizes of the EasyPress will work. Prefer the small one because it fits within the side seams of a bodysuit, so you don't get cold spots where the press couldn't touch because of the seams. You can read this extensive post about using the EasyPress, plus get a free printable chart of the heat settings for the Cricut EasyPress.For Everyday Iron On, the settings are 315° for 30 seconds.Before you place your decal on your bodysuit, do a pre-press with the EasyPress for about 5 seconds. This pre-press helps flatten the onesie and starts the adhesion process once you add your decal.Like with the iron, you can choose to place your EasyPress directly on the plastic, or you can use a pressing cloth.
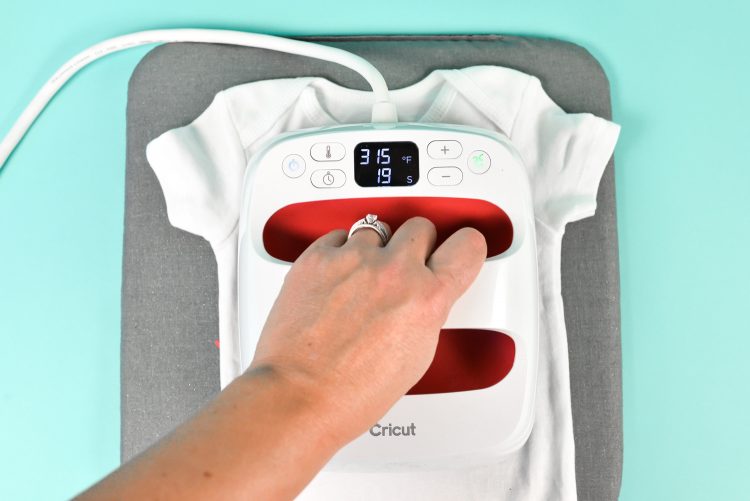
- Press down with the EasyPress, with steady pressure (no need to throw your whole weight on top of it—it's the even heating that is more important, rather than the pressure). Press the green C and the EasyPress will count down your 30 seconds. Return the EasyPress to its base.Like with the iron on decal above, let the iron on cool a bit before peeling back the plastic carrier sheet. The vinyl should stick. If you find it starts to pull up, put the plastic back down and apply more heat.Press again for 10 seconds using a scrap of fabric between the iron and the vinyl and then flip the project over and press for 15 seconds from the back. Once done, you can remove the plastic entirely.
- Iron On Vinyl with the a Heat PressOne more heat source! For this one the CO-Z 5-in-1 heat press is being used. The process is similar to the other two, except you're using a giant mean heating machine, so be extra careful.Set your heat press to 315° and 15 seconds. Found the heat press doesn't need as long as the iron or EasyPress.Like with the others, place your decal on your bodysuit, do a pre-press with the heat press for about 5 seconds. This really does help flatten your project, which is important with a bodysuit since it has all those seams.
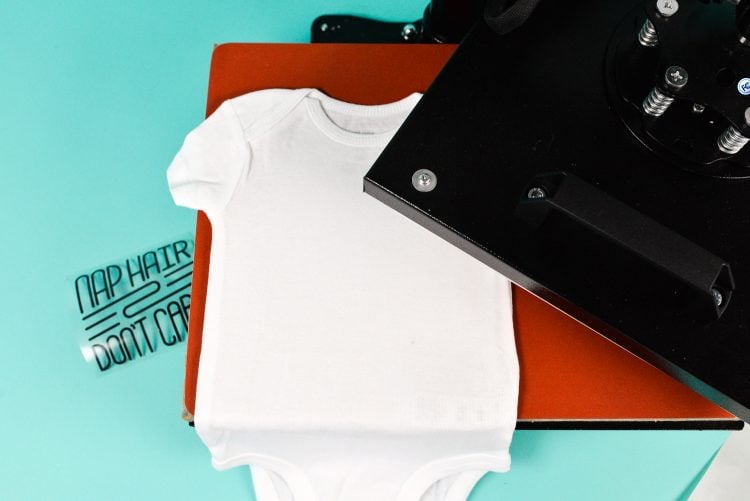
- Then add your decal (being very careful of that top heat plate. With a heat press, you're going to want to use a teflon pressing sheet. This heat press came with one, but you can buy teflon sheets on Amazon.
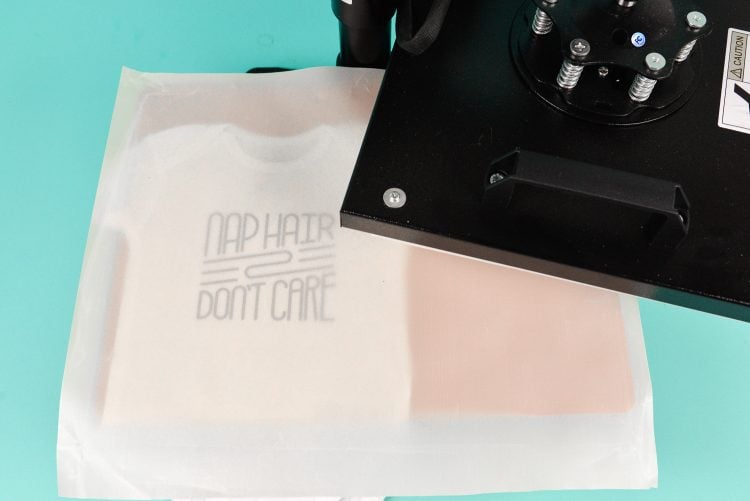
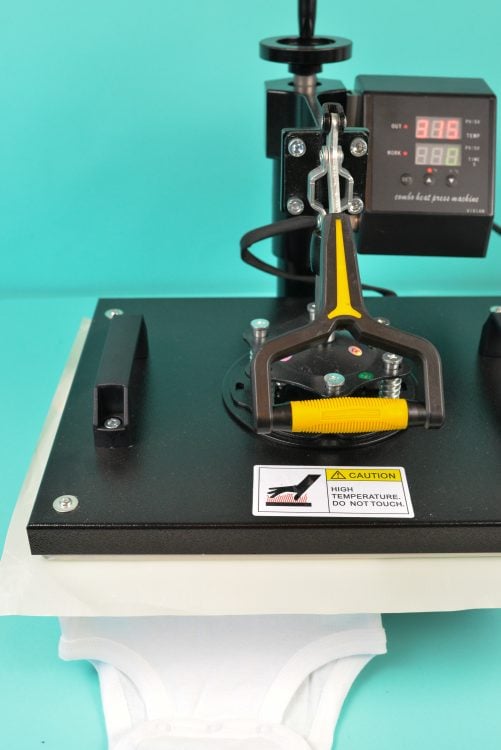
- Press down and lock the heat press. This heat press counts down the time when the down arrow is pressed —yours might be different, or you may just want to keep a timer around.
- Like with the above projects, let the iron on cool a bit before peeling back the plastic carrier sheet. The vinyl should stick. If you find it starts to pull up, put the plastic back down and apply more heat.Flip it over and do a shorter 10 second press on the back and you're good to go! Once done, you can remove the plastic entirely.And there you go! Three different ways to use Cricut Iron On Vinyl (and other types of HTV!). No matter what heat source you use, let your project cure for at least 24 hours before washing, wash inside out, and line dry to help preserve the decal.