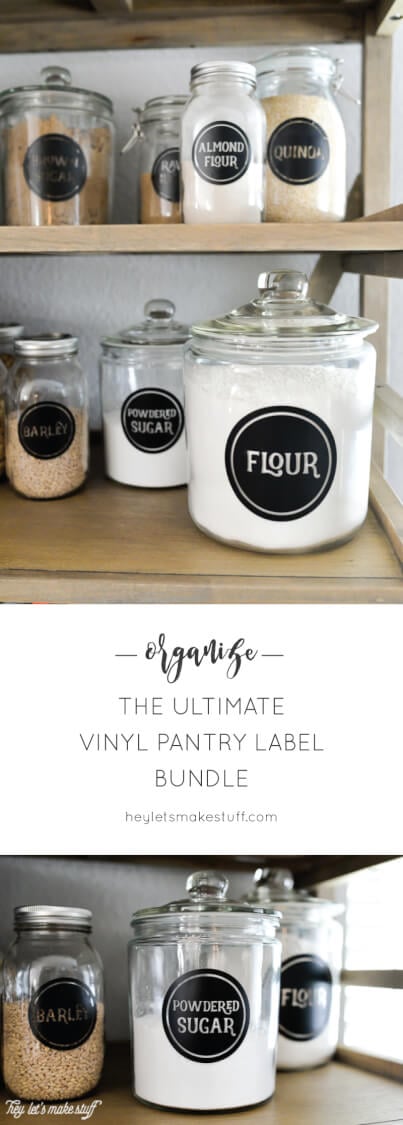
The Ultimate Vinyl Pantry Label Bundle — 72 labels for everything in your pantry to cut on your electronic cutting machine!
![]()
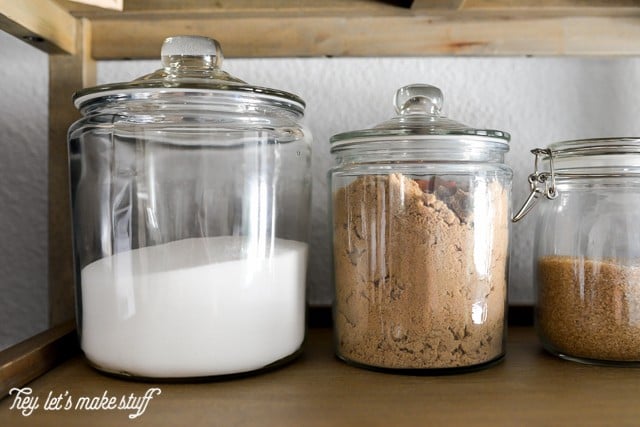
Our house doesn’t have a pantry. It does have a hall closet that we sort of use as a pantry, but it’s far from the kitchen and half the time I forget what’s in there (or that it even exists at all). So I decided to create a pantry using the beautiful Campaign Shelf I got at World Market and a bunch of glass jars. I love the way my pantry staples look on the shelf, and it freed up the closet to be used for small appliances. Which were in the guest bedroom.
This whole house needs a storage makeover, I tell you.
I haven’t finished the entire shelf yet — I want to find a large basket to put at the bottom for tupperware (I figure the boys can get into it and play with everything), as well as some other smaller baskets or boxes for storing packaged food. But the top two shelves are pretty much done!
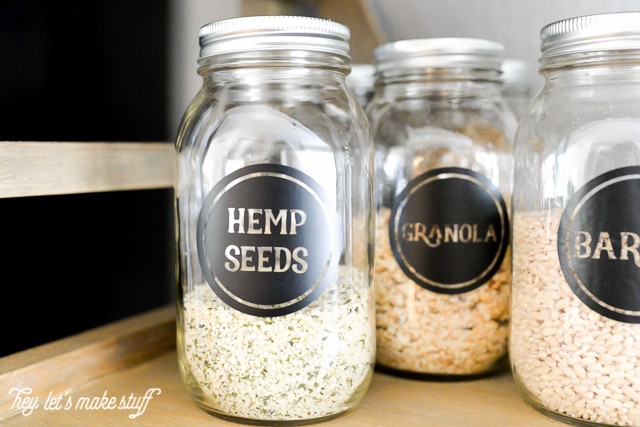
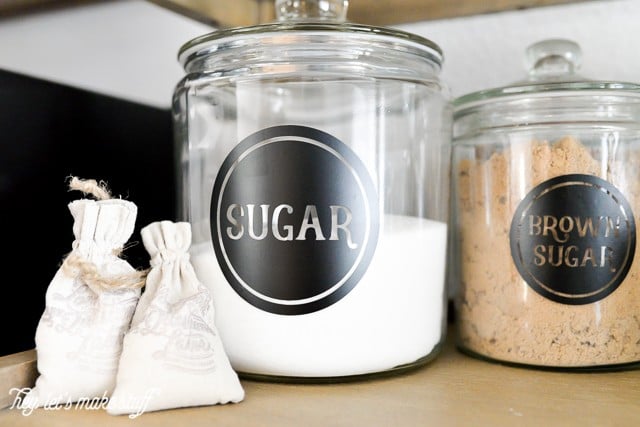
Once I had everything in jars, I realized I need pantry labels. How will I remember that the darker powder is actually almond flour? So I set out to make a set I could cut on my Cricut (or other cutting machine). I also wanted it to be useful for you all, so I came up with seventy two labels that you might need. If you have others that you need, leave me a note in the comments and when I have 12 more, I’ll update the files!

Supplies
Glass Jars
Vinyl (I used black, you can use whatever you’d like)
Transfer Tape
Label Files
Cricut Explore or other cutting machine
NOTE: Based on comments I received, I re-did the way the label cut file is set up. Some people were only getting one sheet of labels. I believe I fixed the issue. If you’re still having problems, please email me at cori@heyletsmakestuff.com and we’ll get it figured out! :)
Directions
Note: These are the directions to use the files in the Cricut Design Space. If you have another cutting machine, the instructions should be similar but you’ll have to modify as necessary.
Download the label files I created. Import the file into the Cricut Design Space using the “Upload File > Vector File” option.
All 72 labels will appear in the Design Space. Using the “eye” icons on the right, hide the labels you do not need.

Once you have only the labels you need visible, click “Ungroup” in the lower right corner.
Click on the “Edit” tab to change the size of each label. Because my jars were a variety of sizes, I made the labels between 2.5″ and 4″.

Cut the files on your Cricut, making sure to select “Vinyl” as your material type.
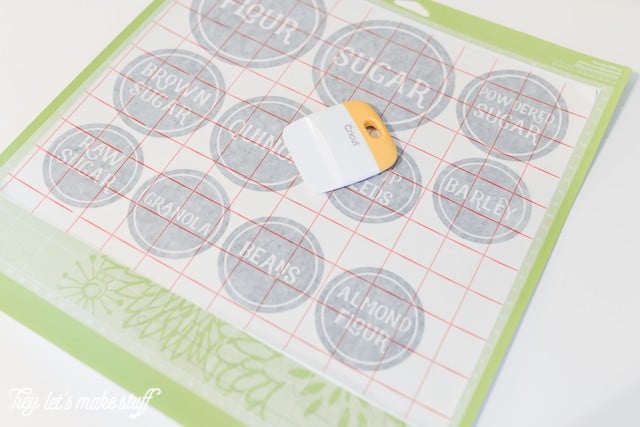
Once the files are cut, weed out everything but the labels — the letters and the white circle. Leave the vinyl attached to the cutting mat to make it easier. This is a little tedious — I find the Cricut Weeding Tool helps a lot. Make sure not to lose the little pieces inside letters like A, P, and D.

Cut a piece of transfer tape the size of your sheet of labels. Peel back the backing paper and place it, sticky side down, on the top of the labels. Press down thoroughly.
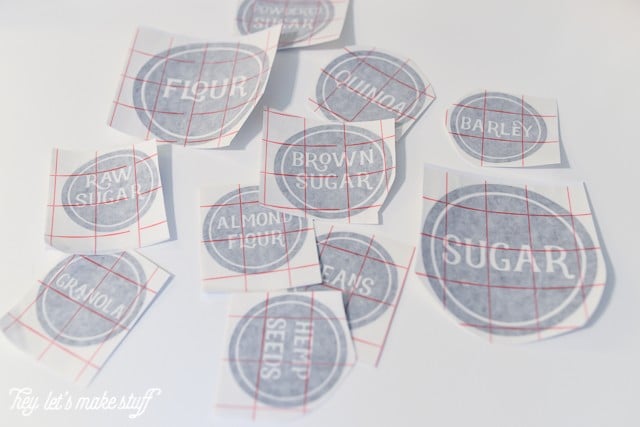
Peel the vinyl sheet off the cutting mat. Then cut around each individual label so you can apply them to the jars.
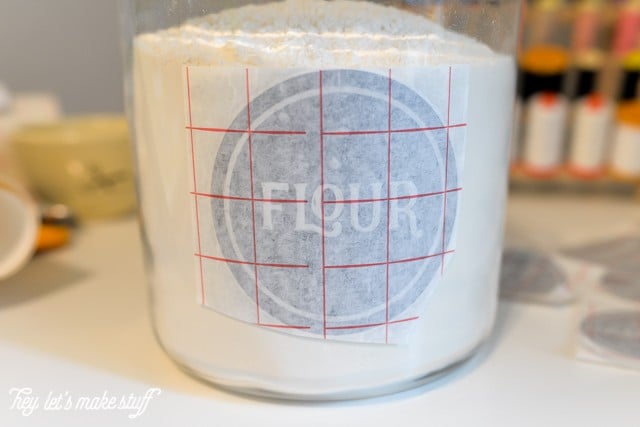
Peel off the vinyl backing, exposing the adhesive side of the vinyl. Line up your label so it’s not crooked, and press hard. Try to get any bubbles out.
Peel off the transfer tape. Push out any remaining bubbles.
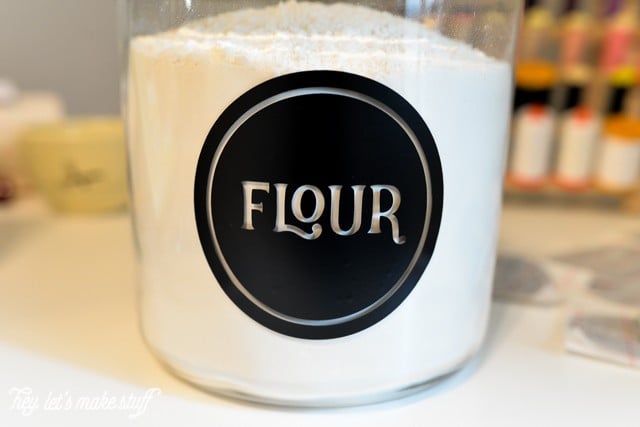
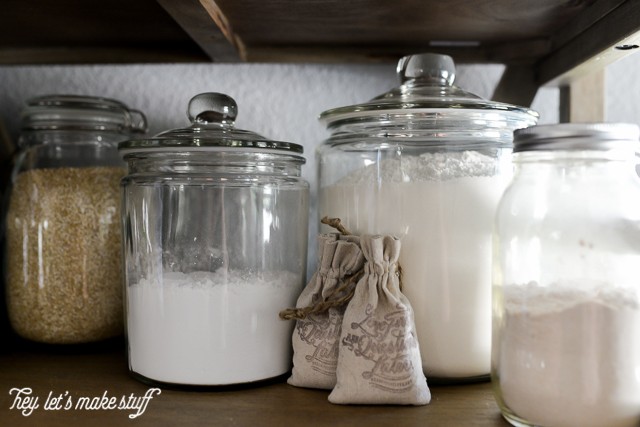
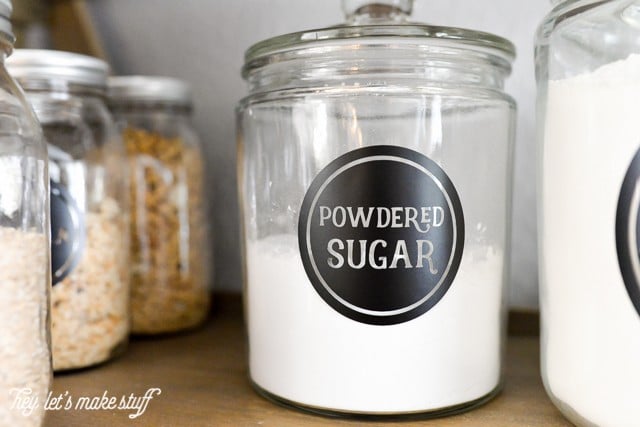
And that’s all! I love how the labeled jars look on my shelf — they are both practical and beautiful!

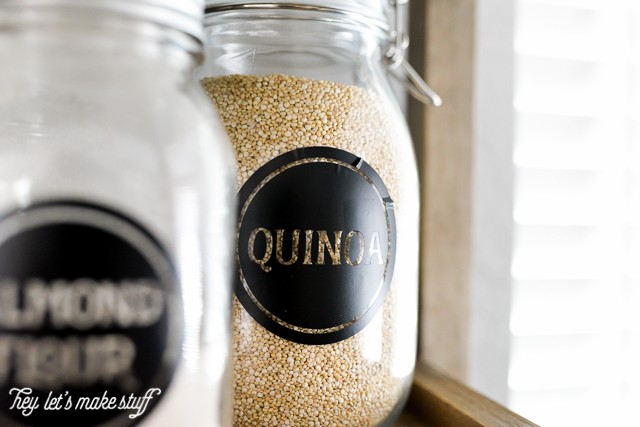
I found that my labels worked the best on flat surfaces — the large glass jars and the mason jars. The clamp-lid jars have a bit of a curve at the top and the vinyl puckered a bit, like on the quinoa jar below. I’m going to replace those few jars with flatter jars — it’ll be a cleaner look.
But overall, I am so happy with how this project turned out!
How do you store pantry staples in your house?

[wpp range=daily header=”TODAY’S TOP TEN POSTS” limit=ten order_by=views stats_comments=0 wpp_start=<ol> stats_views=1 wpp_end=</ol>]


Comments & Reviews
Michelle says
What font are you using? I love it.
Cori George says
Hi Michelle — it’s called Realist and you can get it here: http://crtv.mk/q025Q.
Michelle says
What Font are you using in this. I love it.
Berce says
Thank you! I think I will use this, even if I’m french !
Alma says
Im also getting one page of the labels :(
Becky says
I can not get the other pages of labels as well. Is there a way to get a jpg file?
Michelle says
Hi Cori
Thanks so much for these labels – I just did over my pantry and used your labels and love the look! Sooo happy! I would love more labels if you would make them ~ for hot chocolate, and then the nuts broken down into almonds, cashews, walnuts, pecans, brazil nuts, pumpkin seeds, baking chips. Again, thank you!!
Cori George says
Hi Michelle — I will update the files with these added labels and email you when I do!
Annalee says
Did you ever update the files from this request? I would love those ones too!
Cori George says
Not yet — It’s on my list, though! So sorry for the delay — I haven’t forgotten!
Kaylin says
Thanks for the template! I love these! :)
Marcia Mankin says
I am in love with the font that you used on these. Would you mind telling me what it is?
Cori George says
It’s called Realist! http://crtv.mk/i0Vpb (affiliate link) :)
Megan Zolman says
When I download and unzip the label files, the only label sheet there is the “almond flour” page of labels. Am I missing something?
Rebecca says
Thank you, thank you, thank you! I’ve wanted to do this for a long time but could not find labels that I loved. They are perfect.
Cori George says
You’re welcome!! I’m glad you love them :)