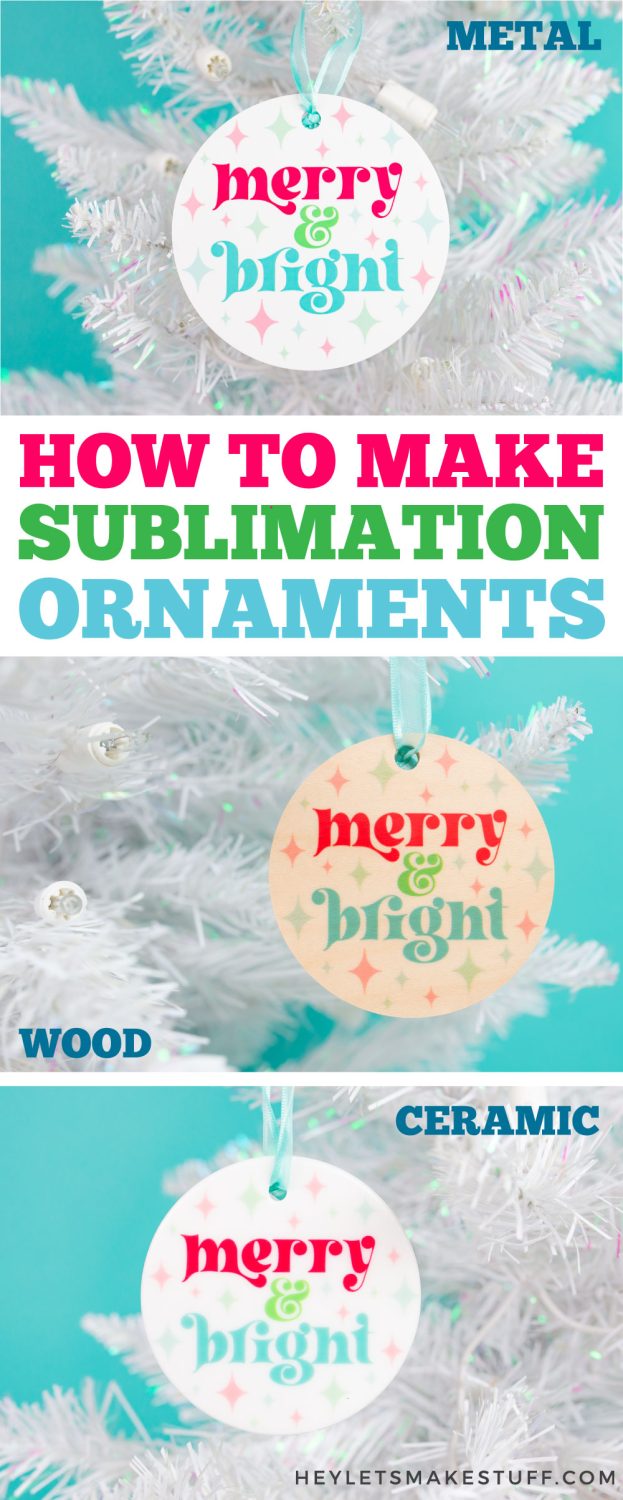
Sublimation ornaments are a festive way to get crafty with your sublimation printer for the holidays. Learn tips and tricks for making three types of sublimation ornament blanks: ceramic, wood, and metal.

We’re headed full-steam into the holiday season, and I’m getting crafty for Christmas by making ornaments! Crafting ornaments is one of my favorite holiday traditions and this year I’m using my sublimation printer. The nice thing about Christmas ornaments is that they are fairly inexpensive to buy and they make fantastic gifts. This is also a great project for beginners!
I have three types of ornament blanks to make this year: ceramic / porcelain, wood, and metal. So no matter what type of sublimation ornament you have, you should be able to make it by the end of this post! I’m going to give you time and temperature recommendations for each material, plus share tips and tricks for getting them right the first time.
For this tutorial, I’m using the same image so you can see how it looks on all three ornaments. Of course, you can use any image you’d like!
Additionally, I’m using my Sawgrass SG500 and Creative Studio to print my sublimation transfers, but you can use any sublimation printer you have.
Watch the DIY Sublimation Ornaments Video Tutorial Here:
Supplies for Sublimation Ornaments
Get everything you need to make these sublimation ornaments on my Amazon shopping list!
Get the Pro Spray, wood ornaments, and green mat below.
- Sublimation printer
- Sublimation paper
- Alcohol + cotton balls
- Adhesive Spray (recommended) or heat-resistant tape
- Heat-resistant gloves
- Wool pressing mat or Nomex pad (see note below)
- Green rubber mat (ceramic only)
- Heat press (I’m using my Cricut AutoPress)
- Ceramic / porcelain sublimation ornaments
- Wood sublimation ornaments
- Metal sublimation ornaments
A note about heat presses: These ornaments require a somewhat sturdy bottom base for pressing. The mat that comes with the Cricut AutoPress and some heat presses might be too pliable. I recommend using a wool pressing mat or nomex pad as the base of your “sublimation sandwich” instead.
Get the Free File
Want access to this free file? Join my FREE craft library! All you need is the password to get in, which you can get by filling out the form below. The file number is: S12.
Instructions for Sublimating Ornaments
Printing Your Ornament Sublimation Design
For this project I’m using Sawgrass Creative Studio because I’m printing with my Sawgrass SG500. If you are using a different sublimation software program, you’ll basically need to upload, resize, mirror, and print your ornament design.
Open Sawgrass Creative Studio and click Start Creating on the left. From here, you’ll see a blank canvas.
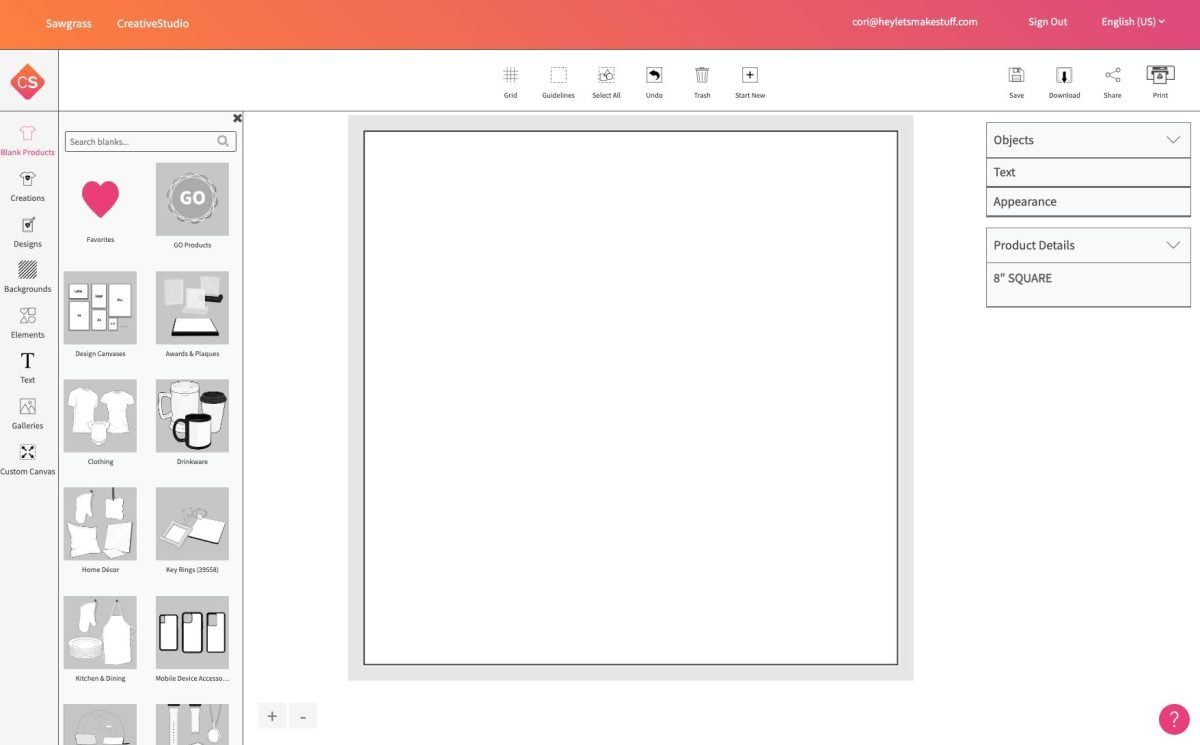
For many projects, I like to start with a canvas the same size as my paper. If you click on Design Canvases on the left, you can search for the 8.5″ x 11″ design canvas.
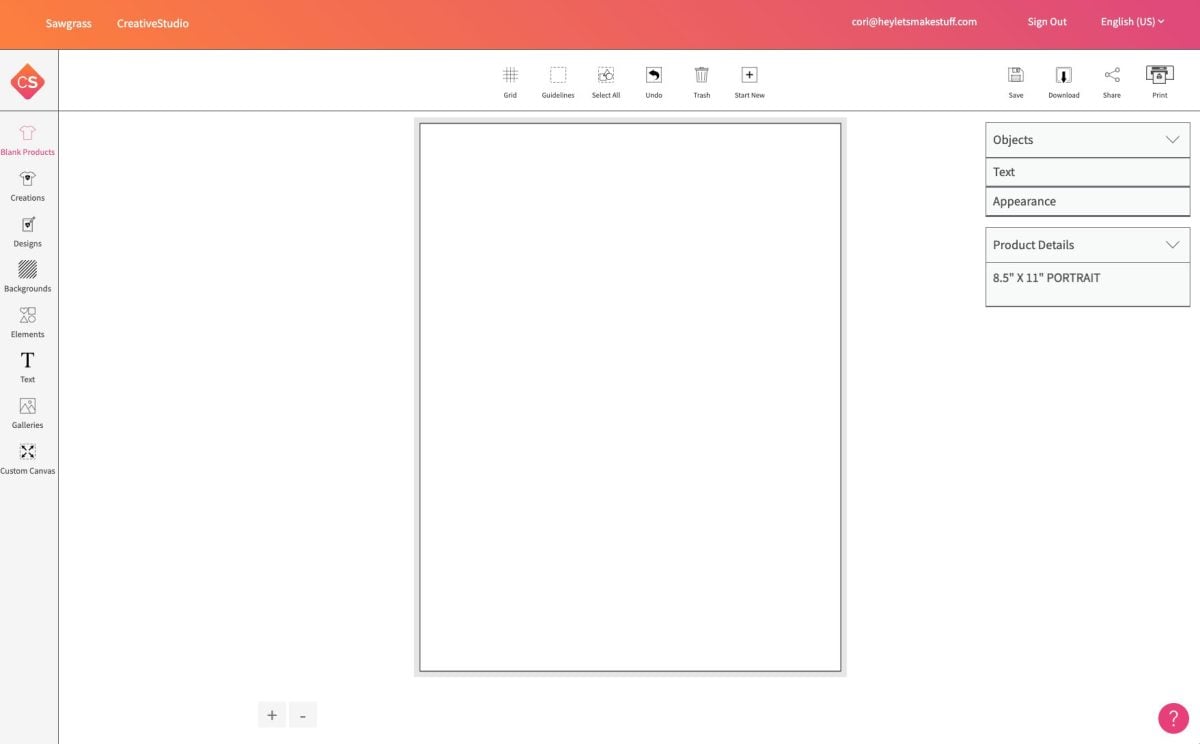
You may want to “favorite” this one so you don’t have to search for it each time!
Now you’ll want to upload your ornament design. Click Galleries > My Uploads and then click the link to upload your own ornament design.
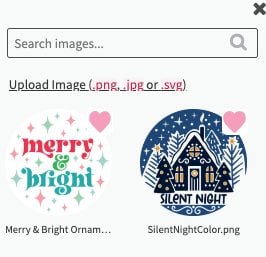
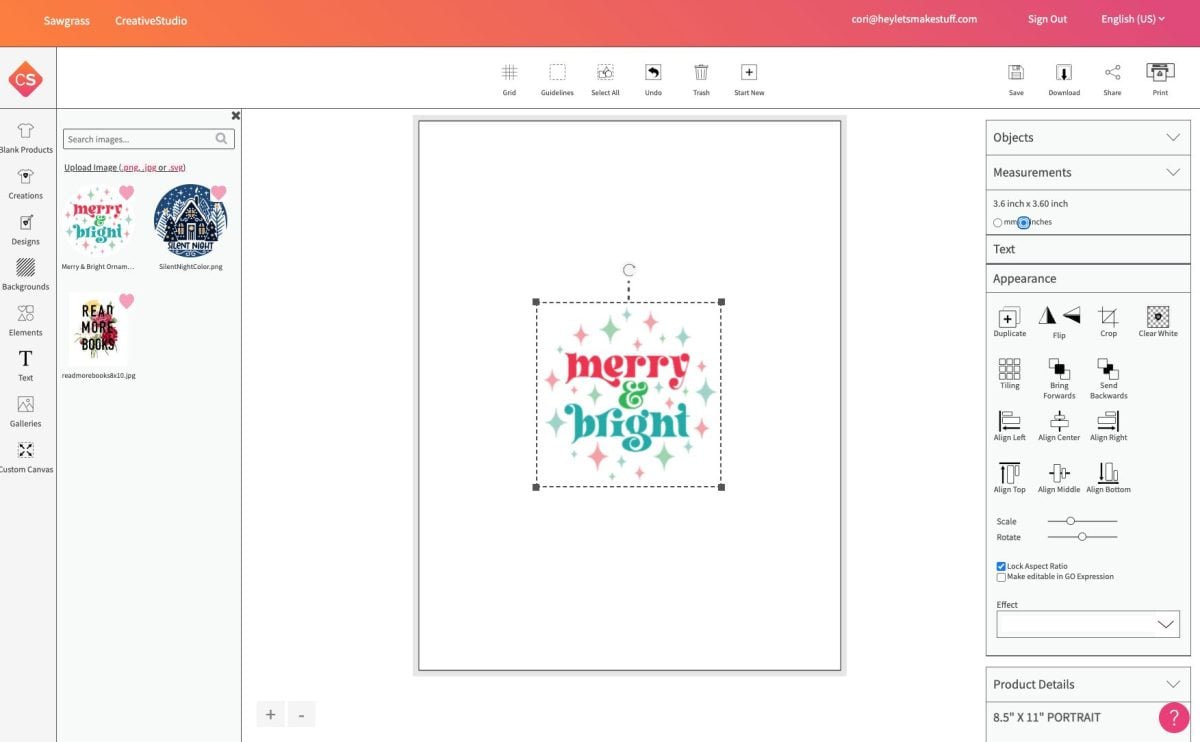
When you click on the image, it will be placed on your Canvas. Depending on the size of the original image, it may be very large, like this one:
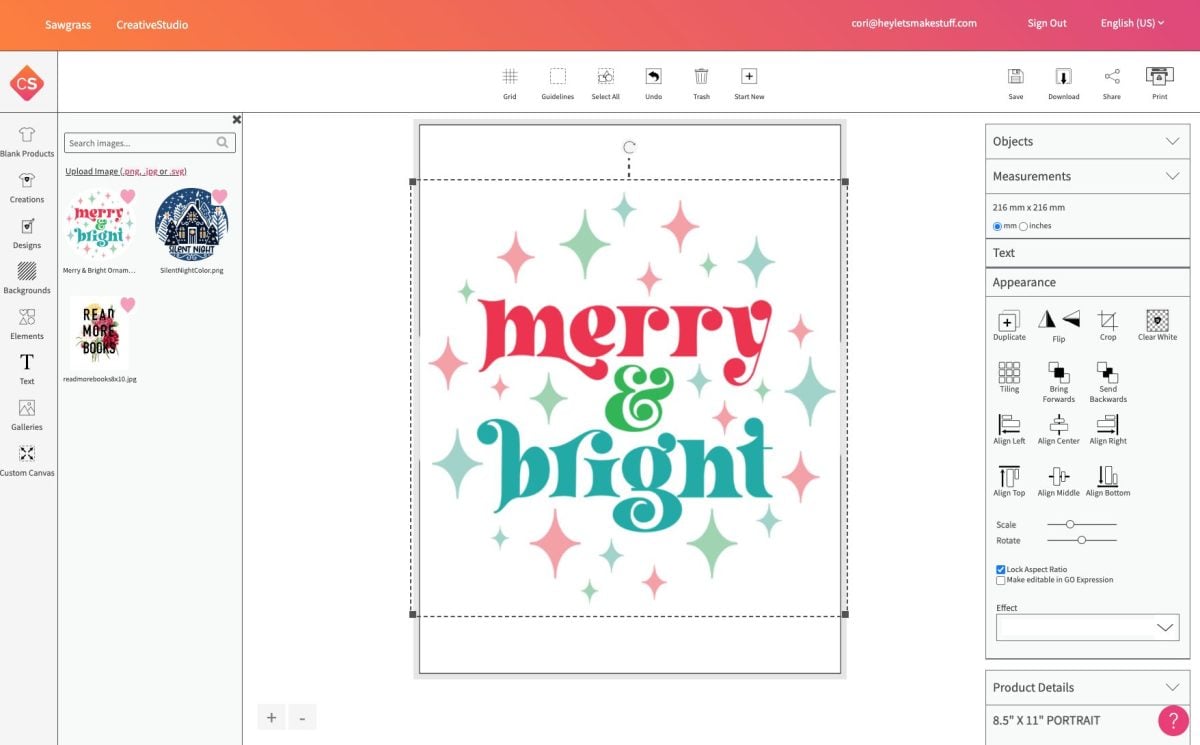
In the right sidebar, you can change the measurements to inches (optional, depending on your preferred measurement increments) and then use the corner handles on the image to resize your image to fit your ornament. I always make mine slightly bigger than the ornament, especially on full bleed images, because I don’t want to risk a white “edge” around my image.
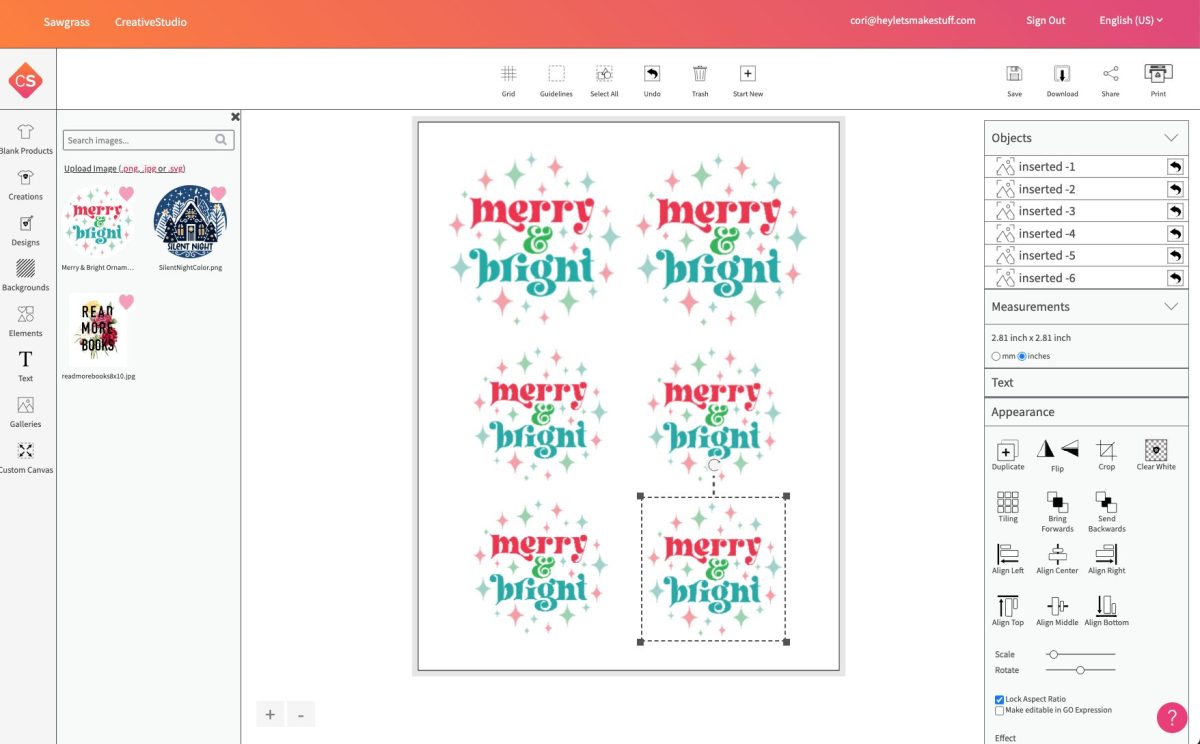
Now use the Duplicate tool on the right to make all of the images needed for both sides of your ornaments. I’m making three ornaments, but obviously this might be different than what you’re doing.
Once your layout is ready to go, hit Print in the upper right.
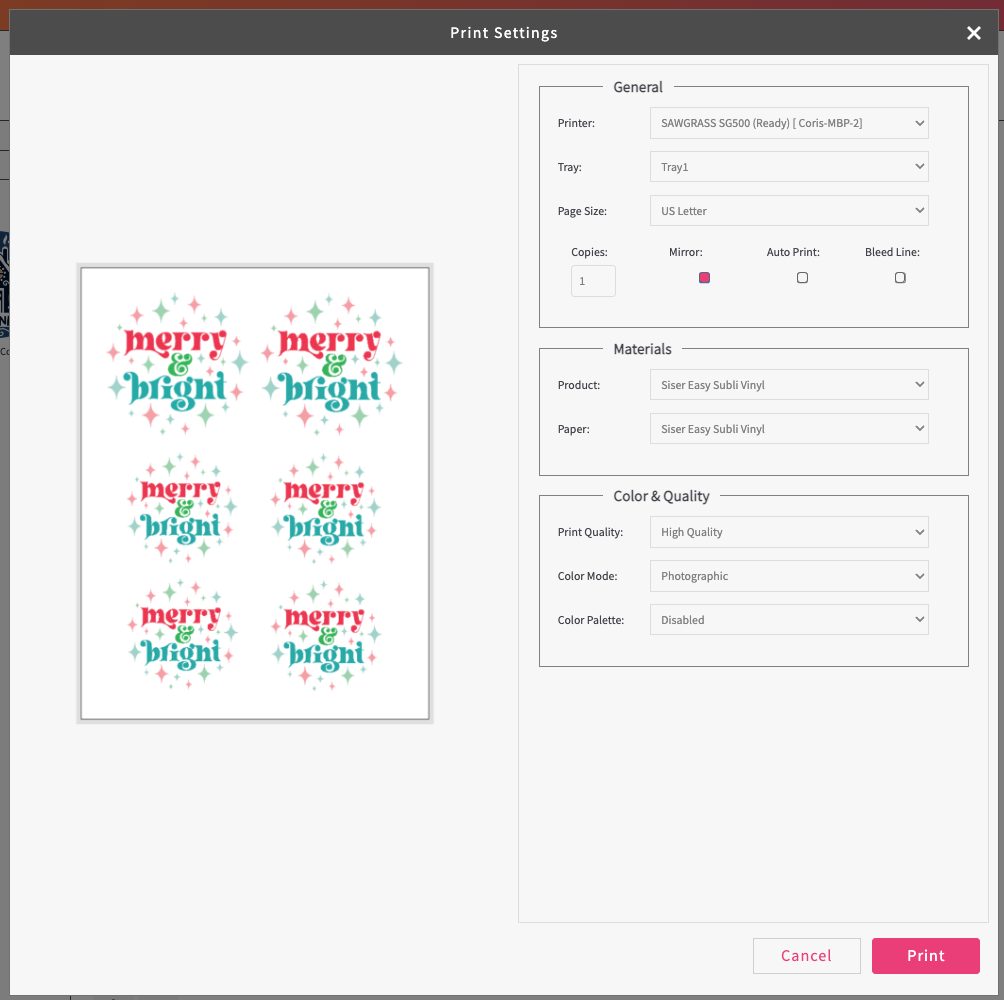
I usually just click Print here without changing any settings, because you’ll have a chance to change these settings in the Print Manager, which automatically opens when you click Print.
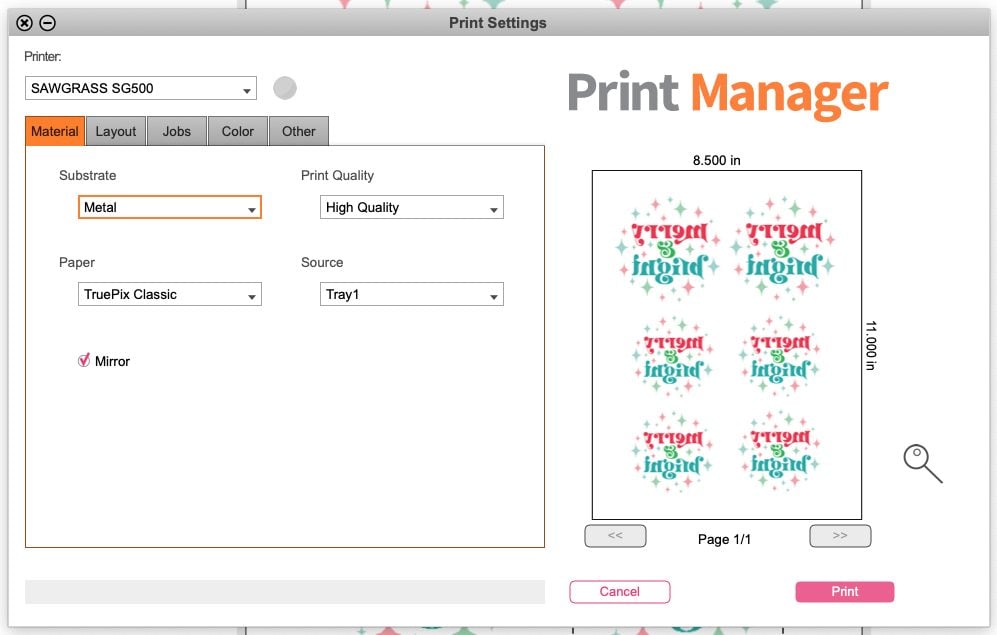
In Print Manager, change your substrate (I chose metal even though I have three substrates because it’s a good middle-of-the-road option), and I also made sure my image was mirrored. Click Print and your Sawgrass will print your project!
Adding the Transfer to Your Ornaments
The way you’ll set up your ornaments is the same for all three substrates.
Start by cleaning your ornaments with the alcohol and cotton balls. I find this works better than a lint roller because it gets any oils or fingerprints off your blank better.
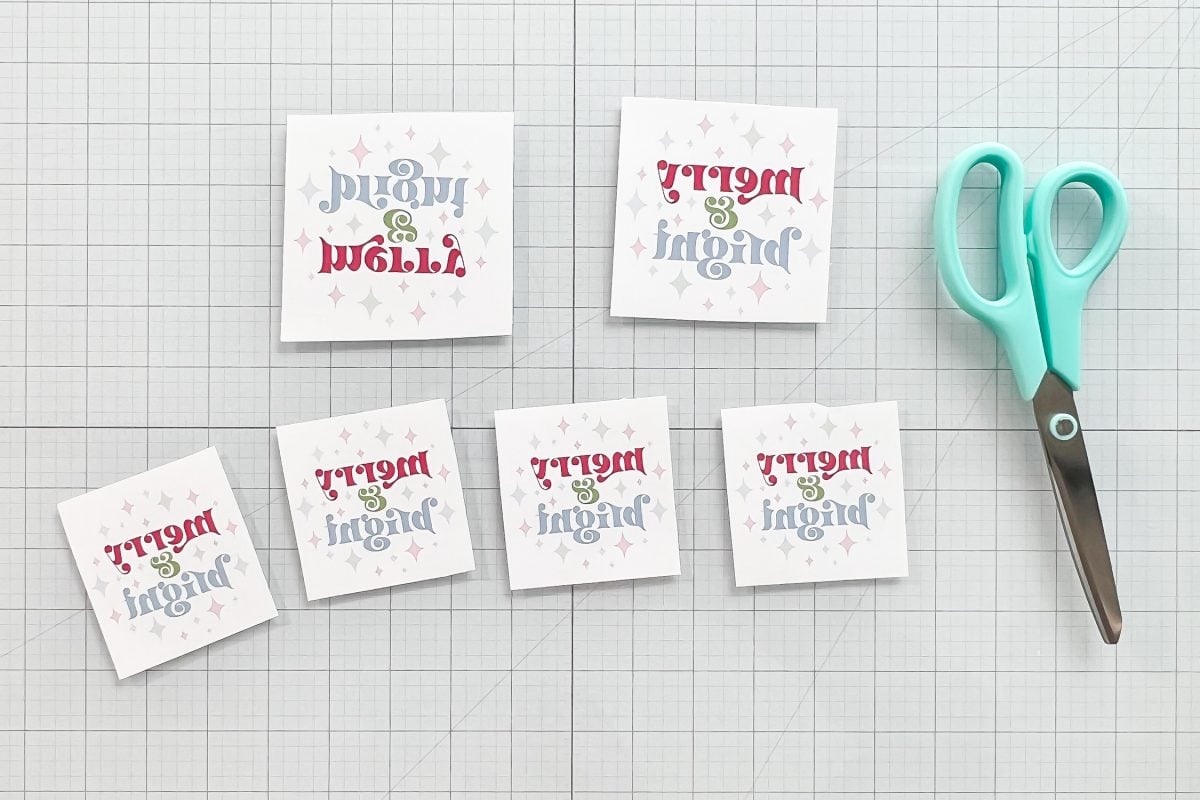
Then cut out your transfers to fit your ornaments.
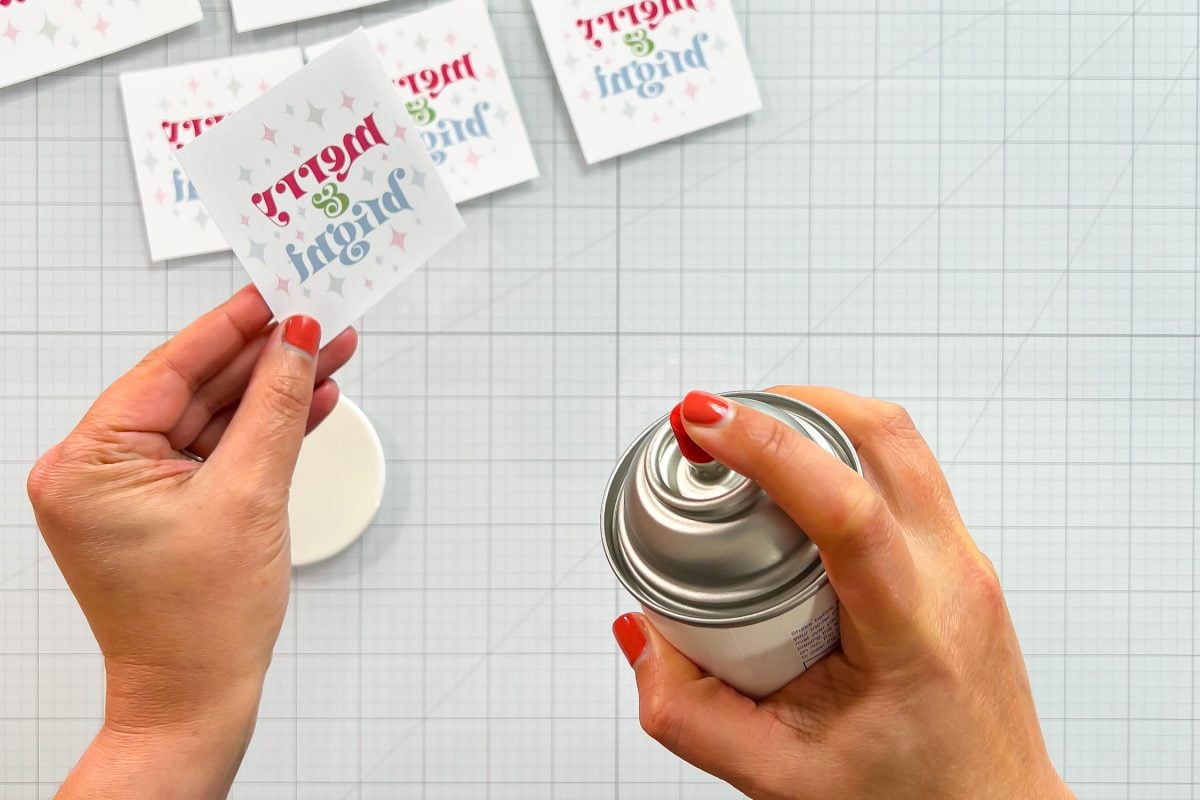
Then use a quick burst of the DyeTrans spray on your transfer (just a bit!). You can also use heat resistant tape, but I think that for this particular project, the spray is a lot easier.
Then place your ornament on the decal, making sure the hole is at the top of the decal image.
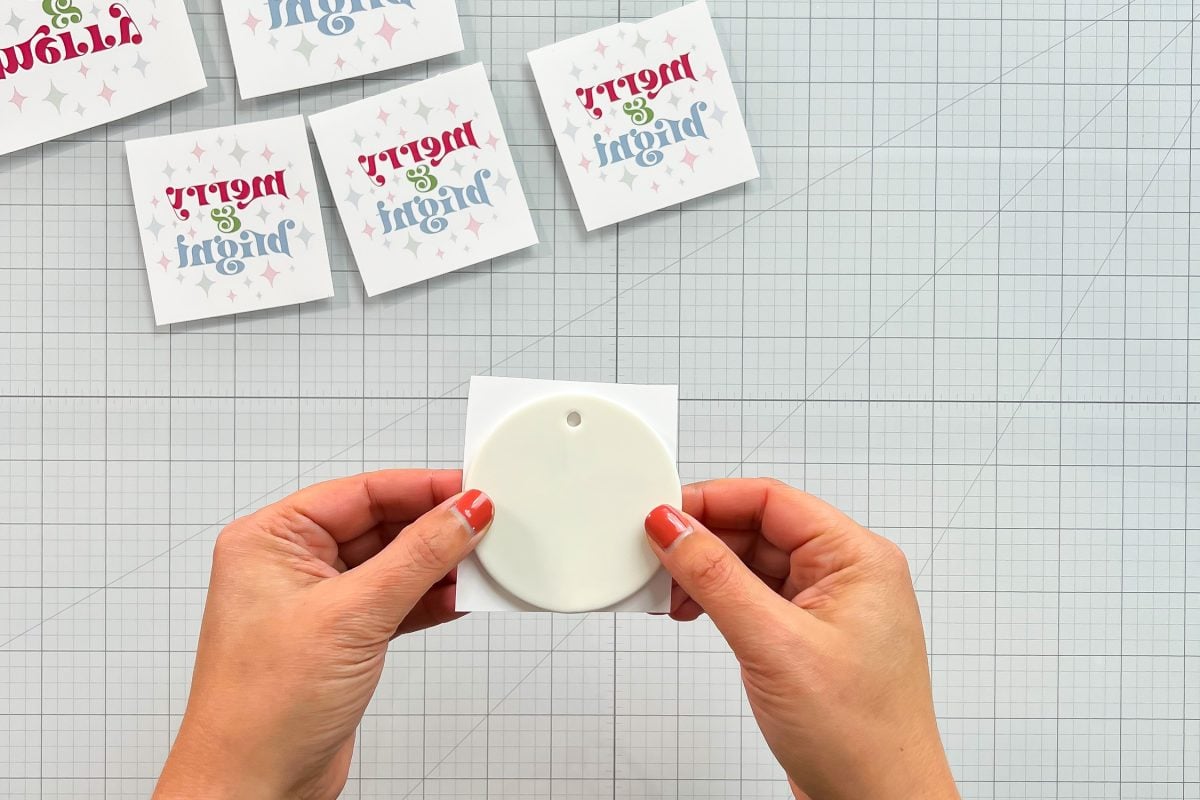
You can do the other side at the same time for the metal and ceramic / porcelain ornaments, but I find it difficult to line up the image so I press them separately. The wood ornament is too thick and doesn’t conduct the heat—you definitely need to press those sides separately.
Now let’s talk about pressing details!
Important: Always check the product page where you purchased your ornaments for the manufacturer’s recommended time, temperature, and pressure settings for your sublimation blanks. This varies from manufacturer to manufacturer and you always want to start with their recommendations and then test more if needed.
Sublimating Metal Ornaments
Let’s start with the metal ornaments. Your sublimation sandwich will look like this, top to bottom:
- Butcher paper
- Transfer face down on your ornament
- Ornament face up
- Butcher paper
- Heat press base mat, wool mat, or nomex pad
The manufacturer’s recommendations say 45 seconds, but I found 60 was better in my AutoPress. This might be a place where you need to test—each press is different!
- Time: 45 – 60 sec
- Temp: 350°
- Pressure: Light – Medium

Sublimating Wood Ornaments
The wood ornaments are similar. Your sublimation sandwich will look like this, top to bottom:
- Butcher paper
- Transfer face down on your ornament
- Ornament face up
- Butcher paper
- Heat press base mat, wool mat, or nomex pad
The manufacturer’s time and temp for these ornaments worked well for me.
- 60 sec
- Temp: 400°
- Pressure: Medium
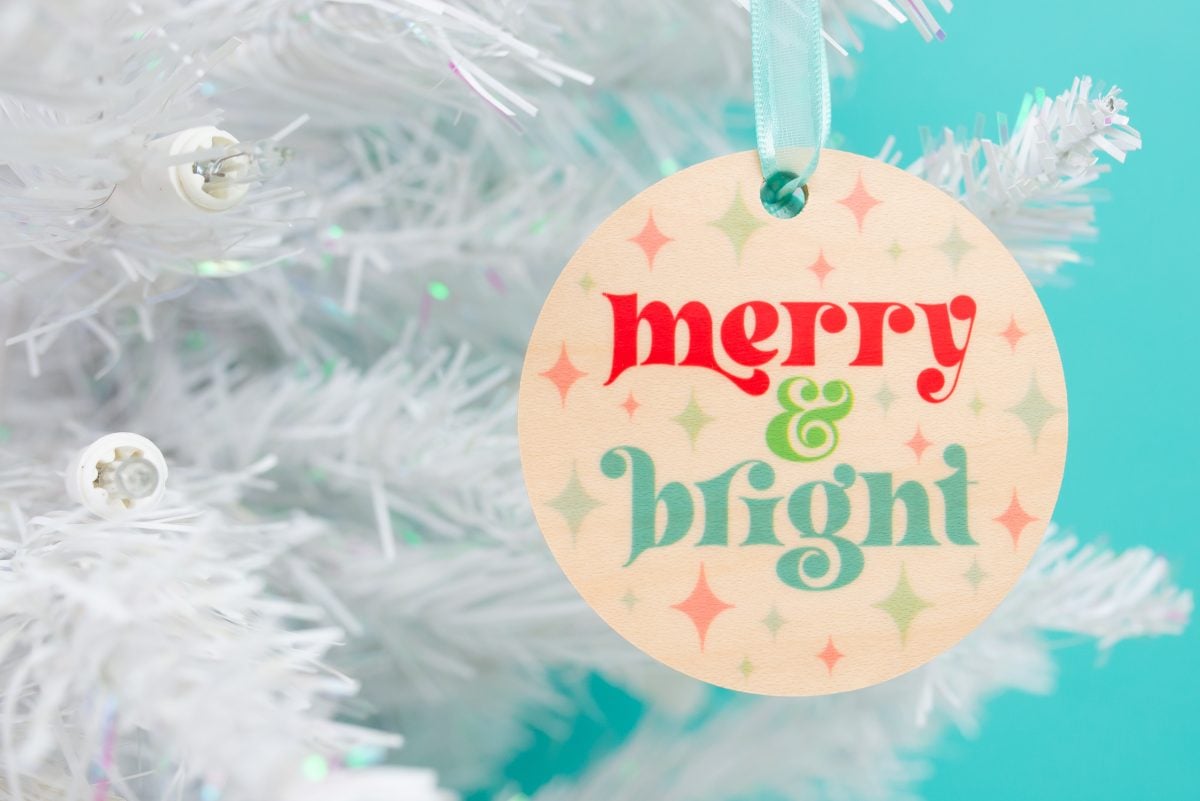
I love how these wood ornaments look—they are particularly good with photos as well! For another wood ornament idea, check out my blog on How to Sublimate Laser-Cut Wood Ornaments!
Sublimating Ceramic Ornaments
Ceramic / porcelain has a few more steps because the blank can crack if you don’t pad it. Your sublimation sandwich will look like this, top to bottom:
- Butcher paper
- Green rubber pad
- Butcher paper
- Transfer face down on your ornament
- Ornament face up
- Butcher paper
- Heat press base mat, wool mat, or nomex pad
The manufacturer’s time and temp for these ornaments didn’t work for me. I needed a full two minutes longer! This is another instance of where you might need to test to get the best results.
- 240 – 360 sec
- Temp: 400°
- Pressure: Medium
If you are doing both sides at one time, I suggest pre-heating your bottom pad for 30 seconds before placing your sublimation sandwich on top.

I have found that the ceramic ornaments are just a little less crisp around the edges than the other types of blanks. I think this is just the nature of the way these are coated and how that coating interacts with the sublimation dye inks.
Most of these come with their own red ribbon or gold string hanger, but I always prefer adding my own ribbon like the teal ribbon I used here.
I hope you found this tutorial for making your own sublimation ornaments helpful and inspiring! If you have any questions, drop them in the comments and I’ll be happy to help!


Comments & Reviews
Marie says
Do you let it cool before peeling off the paper?