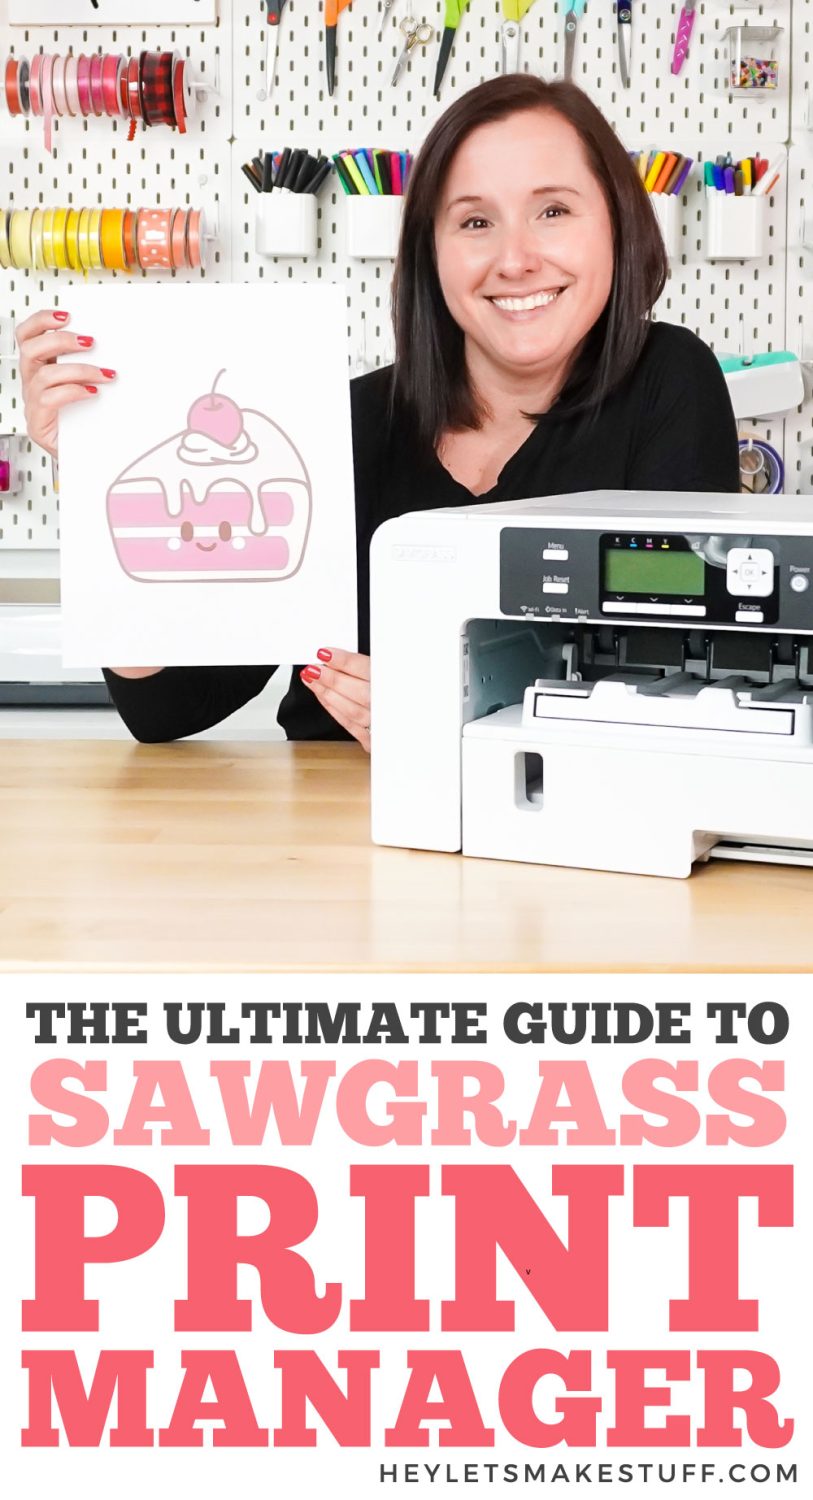
Have a Sawgrass printer? You can easily use Sawgrass Print Manager to print sublimation designs without any other software! Here’s an in-depth look at how to use this easy software, including how to print multiple sublimation designs on a single sheet of paper.
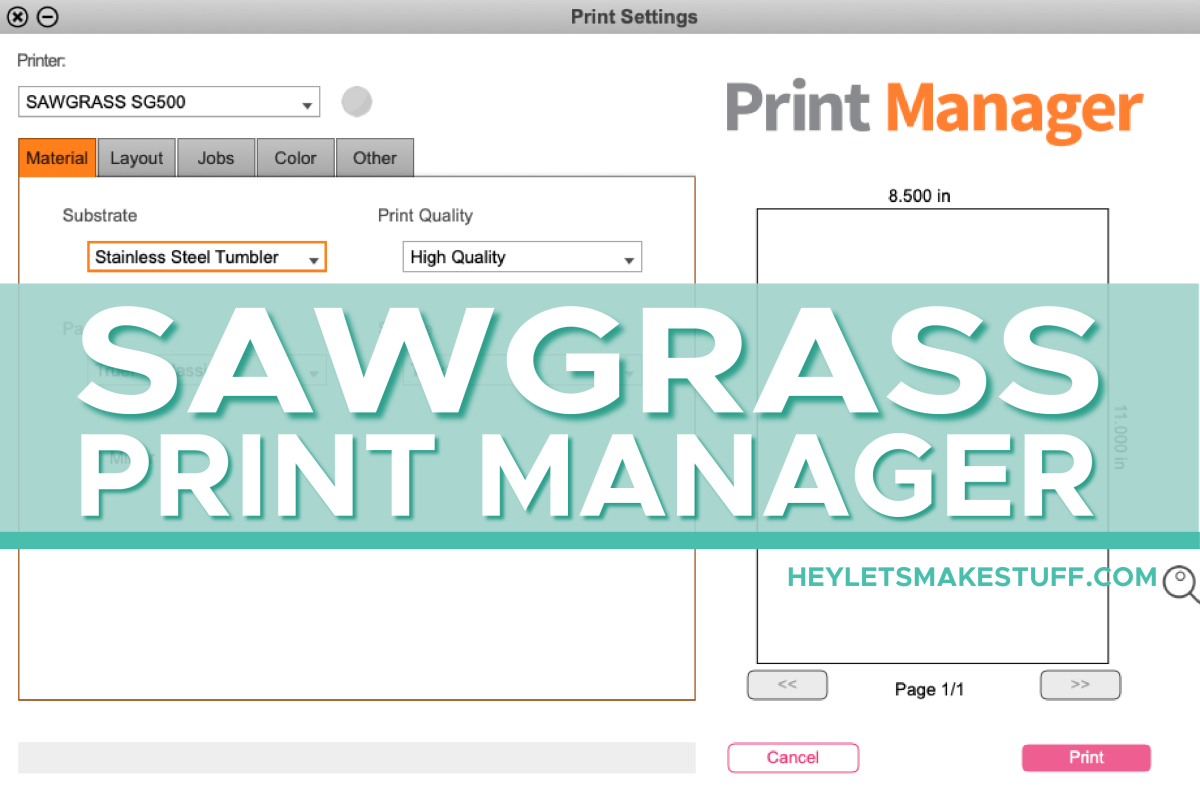
One of the biggest benefits of having a Sawgrass sublimation printer is that its an entire “ecosystem” of products. You get the printer, ink, and software and they are all designed to work together (vs. a converted Epson printer, where you’re basically hacking together all the parts of the printing system). They even have paper if you want!
One of those pieces is Sawgrass Print Manager. Sawgrass actually has two software programs—Print Manager and Creative Studio. In today’s post I’m going to be going over Print Manager and everything it can do, and you can read all about Creative Studio Here.
Print Manager is a simple, easy-to-use software that’s perfect for beginners. No messing with Photoshop or InkScape or another design software program. It’s just a simple way to print your sublimation designs directly to the printer. You don’t even need internet!
Mac and PC programs are very similar. There is just a slightly different way to access Print Manager from the desktop. My post is for a Mac, but if you need PC instructions, you can see this post. Once you’re in Print Manager, the instructions are the same.
Visit my Amazon shopping list to find everything you need to get started with your Sawgrass printer!
Video Tutorial for the Sawgrass Print Manager
Watch this video for an overview of Sawgrass Print Manager, or read on for a written tutorial!
Opening Sawgrass Print Manager
I highly recommend that you schedule an appointment with a Sawgrass onboarding team member so they can install both Print Manager and Creative Studio on your computer (this is a free service!). That way it’s installed correctly the first time and they can troubleshoot any issues.
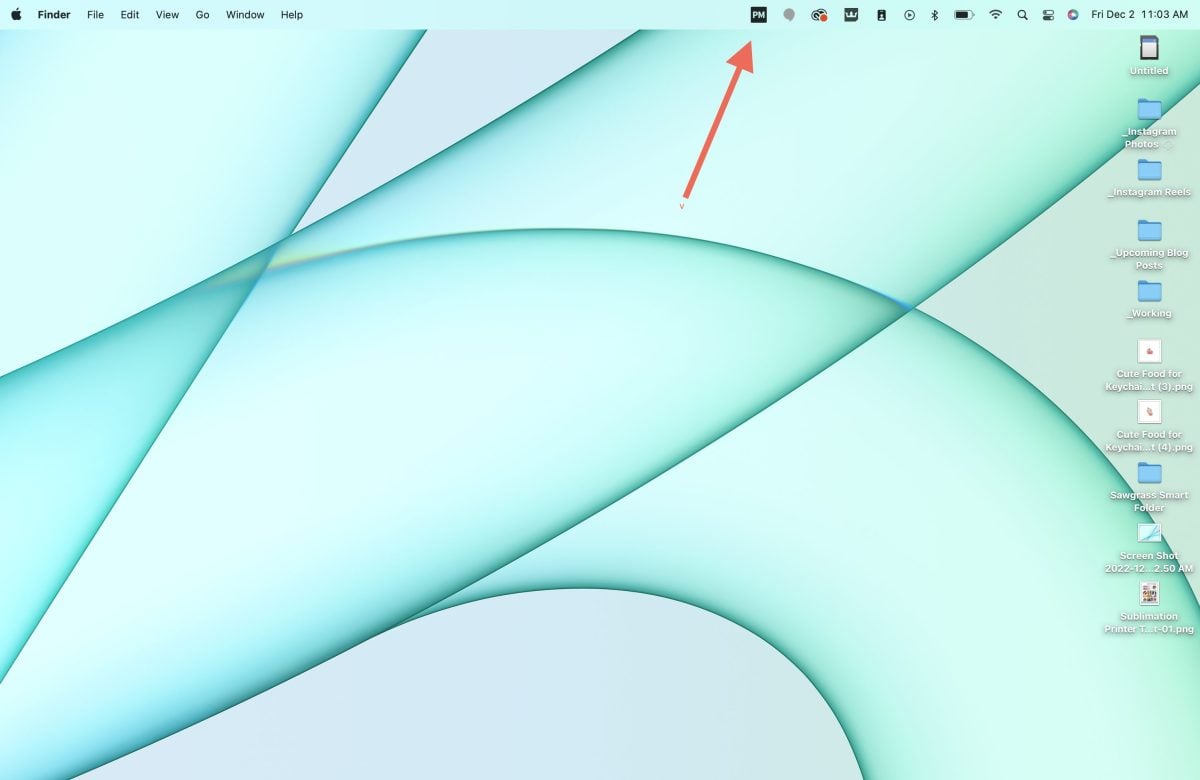
Once Print Manager is installed, you’ll see a “PM” icon in the upper right row of status icons. This means that Print Manager is installed on your computer and open. If you have it installed but you don’t see this icon, go to Applications and click on Sawgrass Print Manager (with the orange PM icon). Then “PM” icon should appear up in that row of status icons.
The Sawgrass Print Manager Dropdown
Once you see the PM icon, you can click it and see a dropdown menu of options.
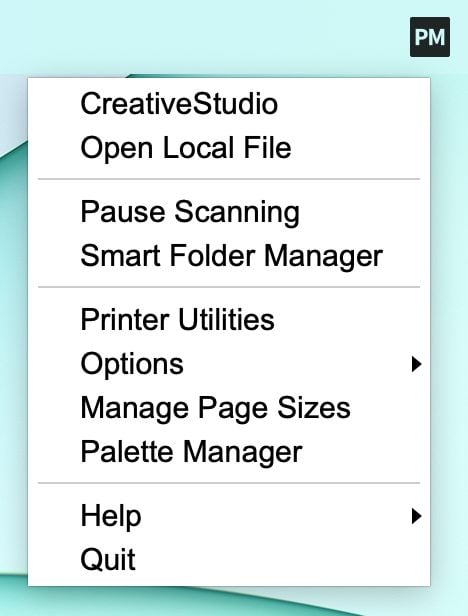
Let’s talk about what each of them do.
CreativeStudio: This is one way to access Sawgrass Creative Studio, which I mentioned before. This is a more robust design program with lots of options that I’ll be going into more in an upcoming post. (New Post: The Ultimate Guide to Sawgrass Creative Studio)
Open Local File: This menu item is how you open a PNG, JPG, or other file type in Print Manager. This is probably the menu item you’ll use the most, and we’ll go into it in a lot more detail below.
Pause Scanning: Pause scanning just stops Print Manager from looking for new files. Generally I don’t think you’ll need this tool.
Smart Folder Manager: In this screen you can create sub-folders within the Sawgrass Smart Folder on your desktop and set defaults. This is actually a pretty robust section of Print Manager but you’ll only need it if you’re working with a lot of files that have a lot of different settings. I am going to do a tutorial on this soon as well.
Printer Utilities: The printer utilities are similar to most other printers. You can check your ink levels, do a nozzle check to see if your printer has lines or gaps, and do a print head cleaning.
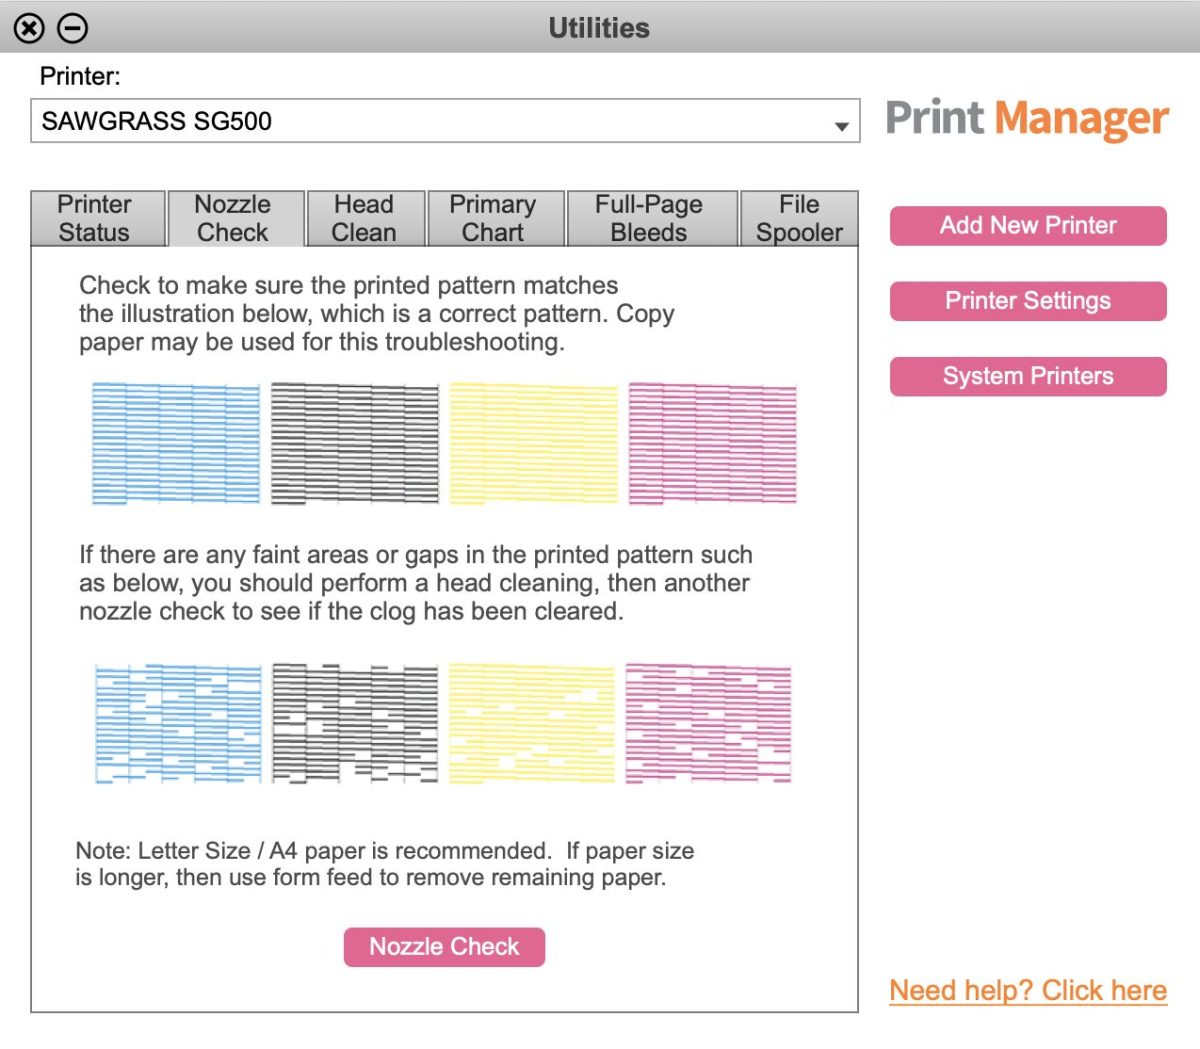
There are also tabs for Primary Chart, Full-Page Bleed, and File Spooler. These three tabs are more than likely only going to be accessed if you’re having issues with your Sawgrass printer and one of their support team members asks you to print of some of these pages to help force more ink through the lines.
You can also add a new printer here, as well as look at basic printer settings and ALL of your system printers.
Options: Next up there are a bunch of options. Two you might want to use are Language and Units. If English isn’t your first language, there are a few other options there. And if you’d rather use metric measurements, you can change that as well.
Manage Page Sizes: As you’ll see, Print Manager has a bunch of standard page sizes in its dropdown menu. I almost always use 8.5″ x 11″ paper since it’s a standard sublimation paper size. But if for some reason you have a page size that’s not listed, you can create a custom page size in this menu.
Palette Manager: This is a tool that’s not applicable to the SG500 or SG1000 printer model—it’s for the larger professional printers. So you won’t use this.
Help: If you need support from Sawgrass, this is an easy way to access their team.
Quit: If for some reason you need to close Print Manager entirely, you can quit using this menu item.
Uploading Images Directly to Print Manager
Okay! Let’s go back to that second option in the dropdown: Open Local File. When you click on it, you can navigate to the file you want to open. Once you click the file, Print Manager will open.
You may or may not get this same red warning: one or more jobs do not fit current page layout settings. If you do get this warning, don’t worry, we’ll fix it!

From here you’ll see a bunch of options, and tabs with even more options. Let’s go through everything!
Material Tab
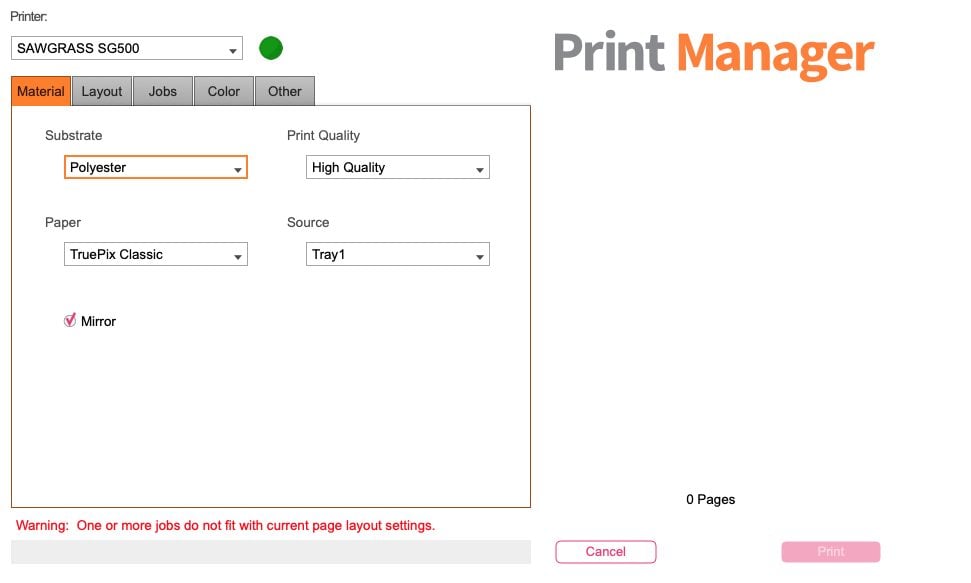
Substrate: One of the cool things about a Sawgrass printer is that you can choose your substrate and the printer will lay down the ink the best possible way for that particular substrate. There are quite a few options here.
Print Quality: The only print quality option is High Quality.
Paper: The only paper option is TruePix Classic. TruePix is Sawgrass’s sublimation paper. You can use other sublimation paper in your printer no problem, even with TruePix selected.
Source: I always use Tray 1 but if for some reason you’re using a different tray you can select it here.
Mirror: Finally at the bottom of this tab, you’ll see the Mirror option. You’ll always want to mirror your image so it’s correct when you transfer it to your blank. So leave this ticked unless you have some reason not to (very rare).
Layout Tab
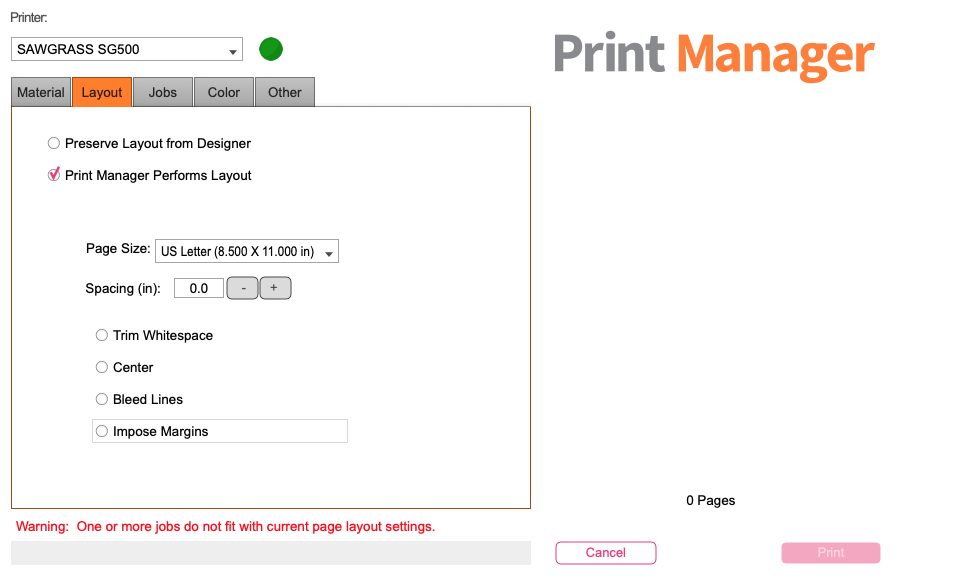
Layout Options: At the top of this tab are two options: “Preserve Layout From Designer” and “Print Manager Performs Layout.”
Preserve Layout From Designer is particularly good when the design you are using happens to be the same size as your paper. So if you have a design on an 8.5″ x 11″ sheet of paper, this option should work nicely and it won’t mess with your artwork at all. You’ll also notice that all the other options on this tab are grayed out and you can’t use them.
But if you select Print Manager Performs Layout, you get all those other options. This is most often what I choose when I’m working in Print Manager because it gives me a lot more flexibility.
Page Size: Here you can select your page size. I would say most users most of the time will use 8.5″ x 11″ (letter) or 8.5 x 14″ (legal) paper, but there are other options here as well.
Spacing: This adds white space back around your image. It’s not particularly useful if you have a single image on a page, but it IS helpful when you have multiple images on a page, which I’ll talk about more after we look at the Jobs tab.
Trim Whitespace: This removes any whitespace from around your image. Notice when I select this option, I can see a preview my image on my paper! This image actually has quite a large amount of whitespace in the original file, and it didn’t fit on the 8.5″ x 11″ paper I have selected. But Print Manager can trim that whitespace around the image, leaving me with just the image itself.
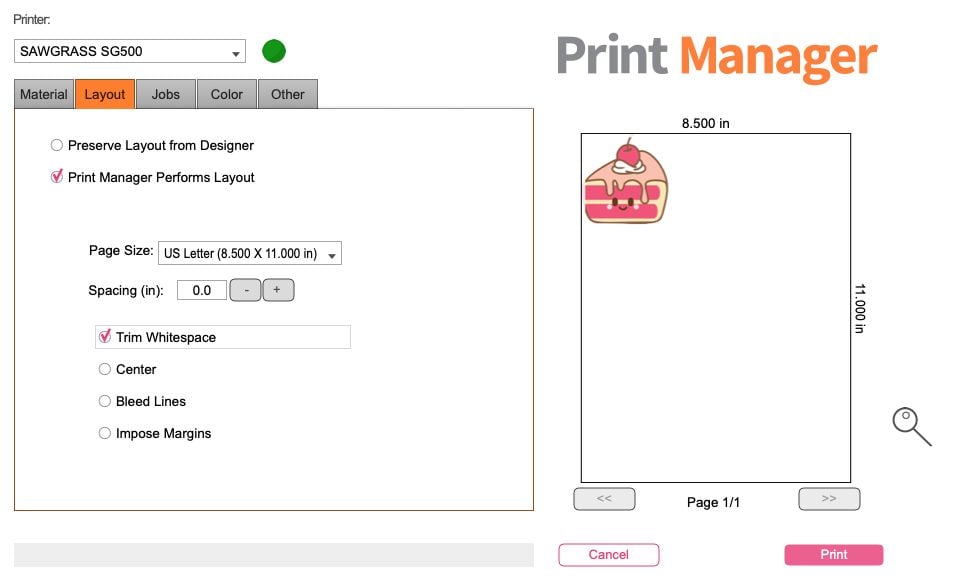
Center: You can center your image on your page if you’d like. Sometimes this makes it easier to cut out.
Bleed Lines: There’s also an option to add bleeds, if that would help you trim your image. Bleed lines are a lot narrower than they look in Print Manager. It basically puts a thin black box right around the edge of your image so you know where to trim.
Impose Margins: And finally, there’s an “impose margins” option, which ads a bit of whitespace around the edge of your paper. This is good to keep checked because the printer can’t print edge-to-edge and imposing margins means that your image won’t be cut off.
Jobs Tab
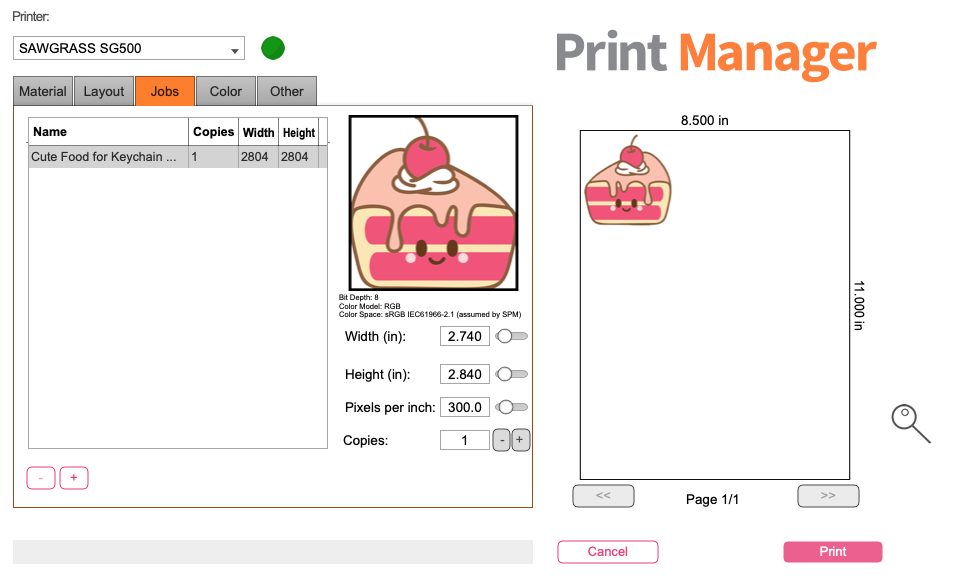
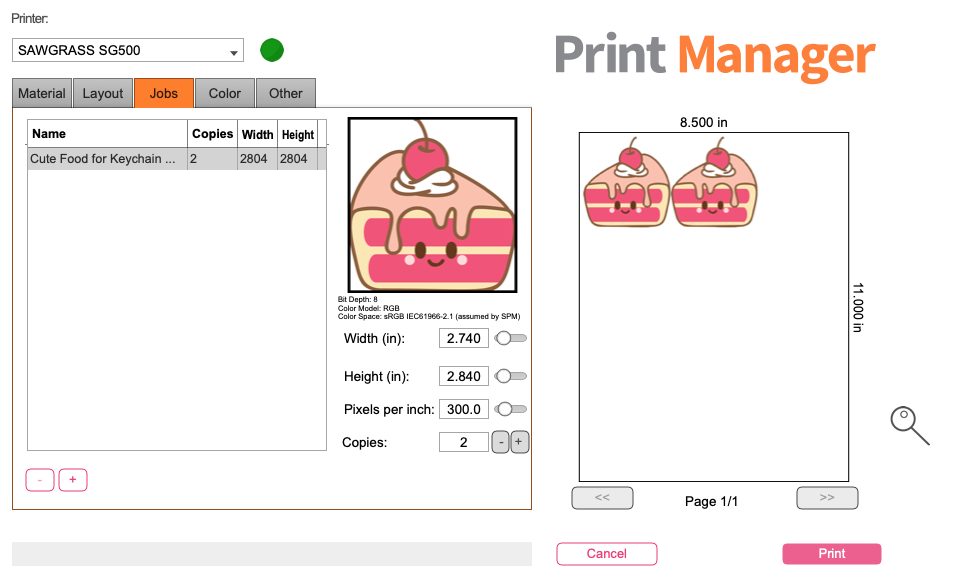
In the Jobs tab, you’ll see all of the images you’re printing. Right now, we just have one image, and its name, width, height, and number of copies is listed in the table on the left.
Size: You can change the width, height, and pixels below the image.
Copies: You can also change the number of copies. So if I make it two copies, I now have two cute cakes.
Add More Images: If you click the plus sign below the Jobs table, you an upload another image to cut on this same piece of paper. Print Manager will rotate the image to try and save as much space as possible on the sheet. So in this instance, I uploaded a bubble tea image and it fit it on the left.
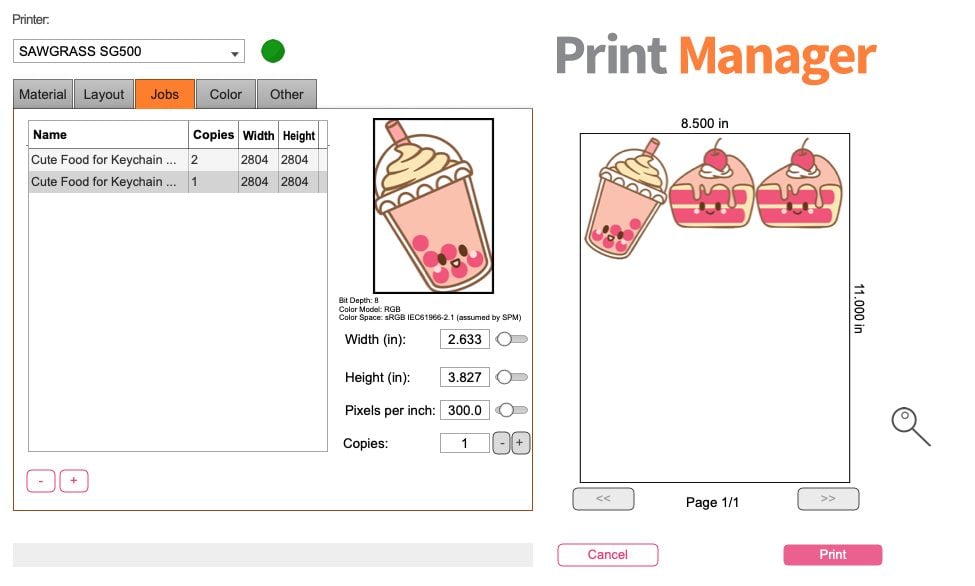
This is GREAT for cutting out lots of small projects. You can upload up to seven different images at a time.
Now one thing I don’t love is that there is no extra space between the images. This makes it really hard to cut accurately for pressing. So you can go *back* to the Layout Tab and increase the spacing just a bit.
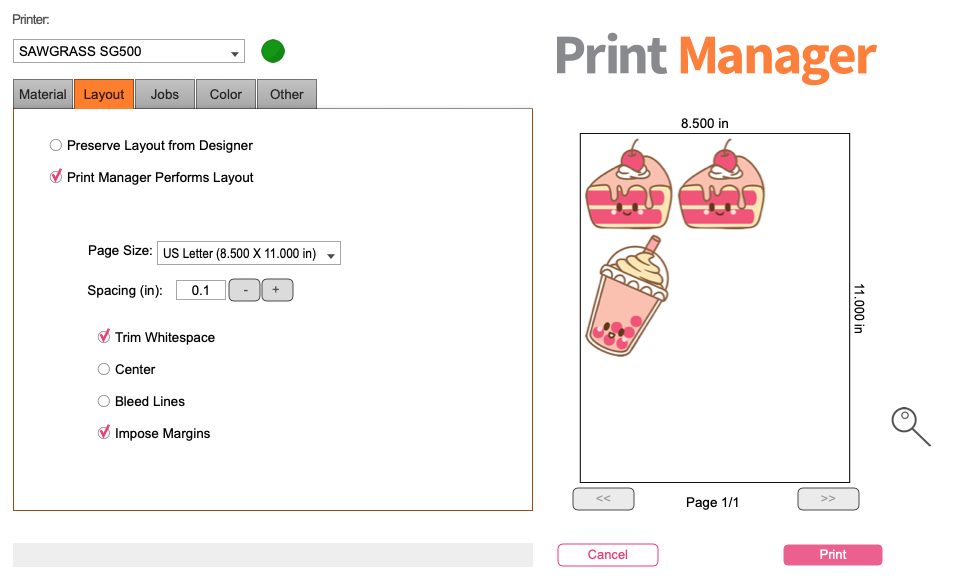
You’ll notice that now there’s some space around each image, making them much easier to cut out. It also had to bump the bubble tea image to below the cakes because there wasn’t enough room to have it up at the top anymore.
Color Tab
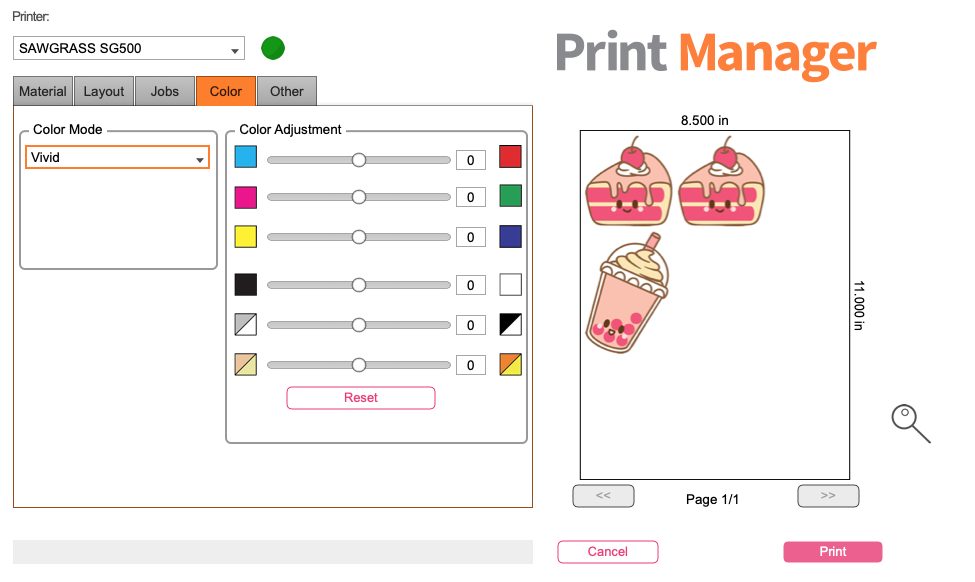
Color Mode: If you are printing photos of people, I suggest using the Photographic color mode. But for all others, I recommend Vivid.
Color Adjustment: Here you can change the “cast” of the colors. It won’t change the colors entirely, but if your image, for example, has a bit too much pink, you can move the slider toward the green a bit to help even out the colors.
There are also contrast, brightness, and saturation sliders that you can play around with if your image needs a bit of adjusting.
Other Tab
Print to File: Unless you are working with a member of the Sawgrass support team, you won’t use this option. It creates a .prn file which is used in diagnostics and troubleshooting.
Print from Print Manager
And that’s it! Once you hit the Print button, your project will be sent to your Sawgrass printer for printing!


Comments & Reviews
Chantal van Greunen says
Good day, I love the Print Manager and cannot seem to find the download link. I managed to find the updated on Printmate I think but really prefer Print Manager. Can anyone assist me with downloading link for it?
Deb says
Can you calibrate your Sawgrass Printer to perform Print then Cut with the Cricut cutting machine?
Michael Reddy says
Excellent Tutorial
Cori says
Thank you! I’m so thrilled you found it helpful!