New to laser crafting? You might wondering what sort of supplies you might want to have on hand in addition to your laser and materials. Here are the must-have laser supplies I think every beginner needs!
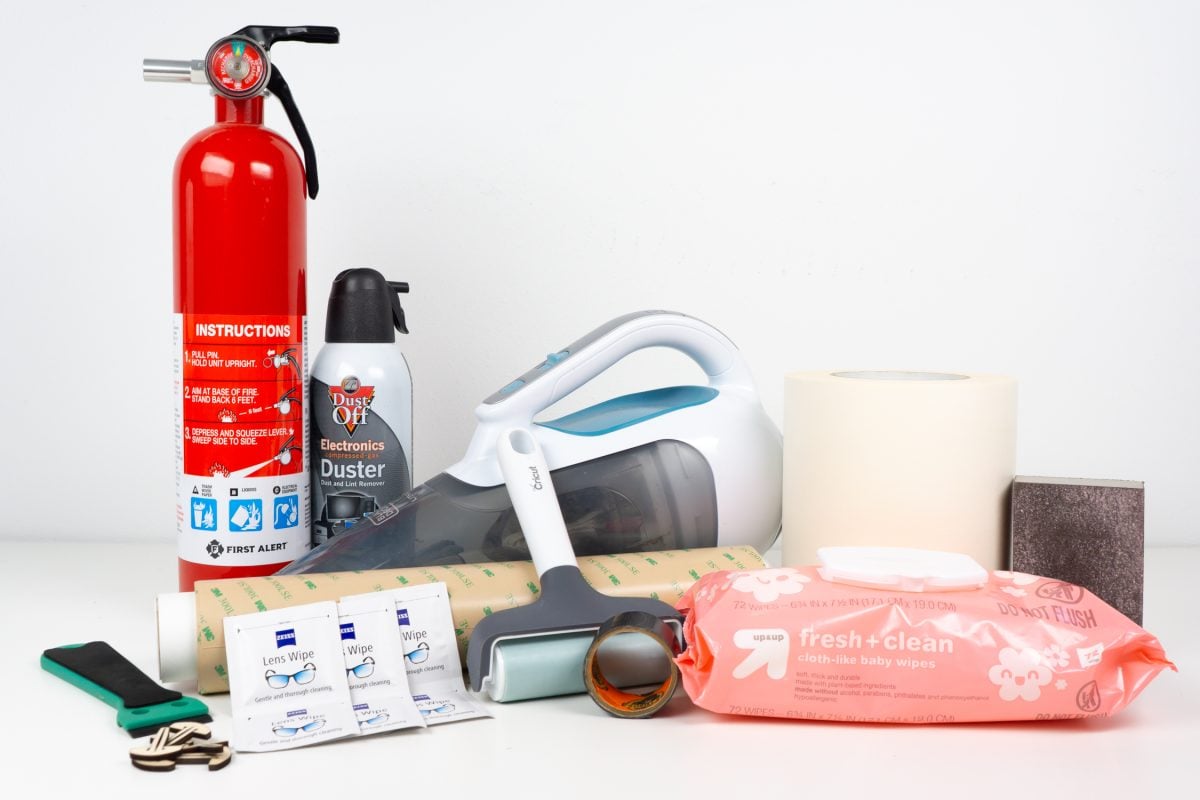
As the owner of three laser cutters (a Glowforge Pro, Glowforge Aura, and xTool M1), I have a lot of laser supplies here in my studio! When you’re first starting out, you may be wondering what you might also want to buy to make your laser crafting easier, better, and safer. So in this post, I’m going to share the must-have laser supplies that I think every beginner should have on hand when they start their laser crafting journey!
Get everything in this post by going to my laser supplies Amazon shopping list!
Watch My Must Have Laser Supplies Video
Watch below to see everything mentioned in this post! Or read on if you’d prefer.
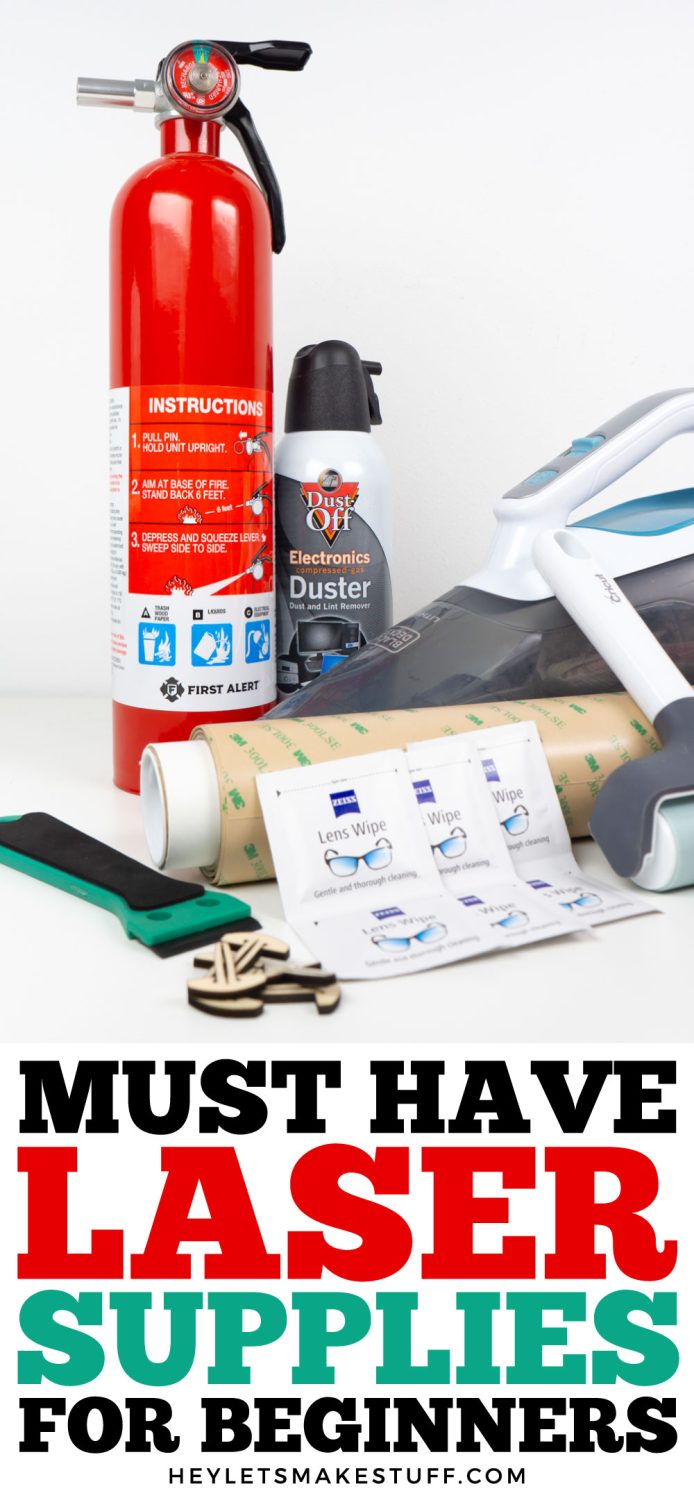
Fire Extinguisher / Fire Blanket
Safety first! I live in a wood house in the middle of the woods. A fire could not only damage my home but it could easily spread to my neighbors, so I take fire safety with my machine very seriously.
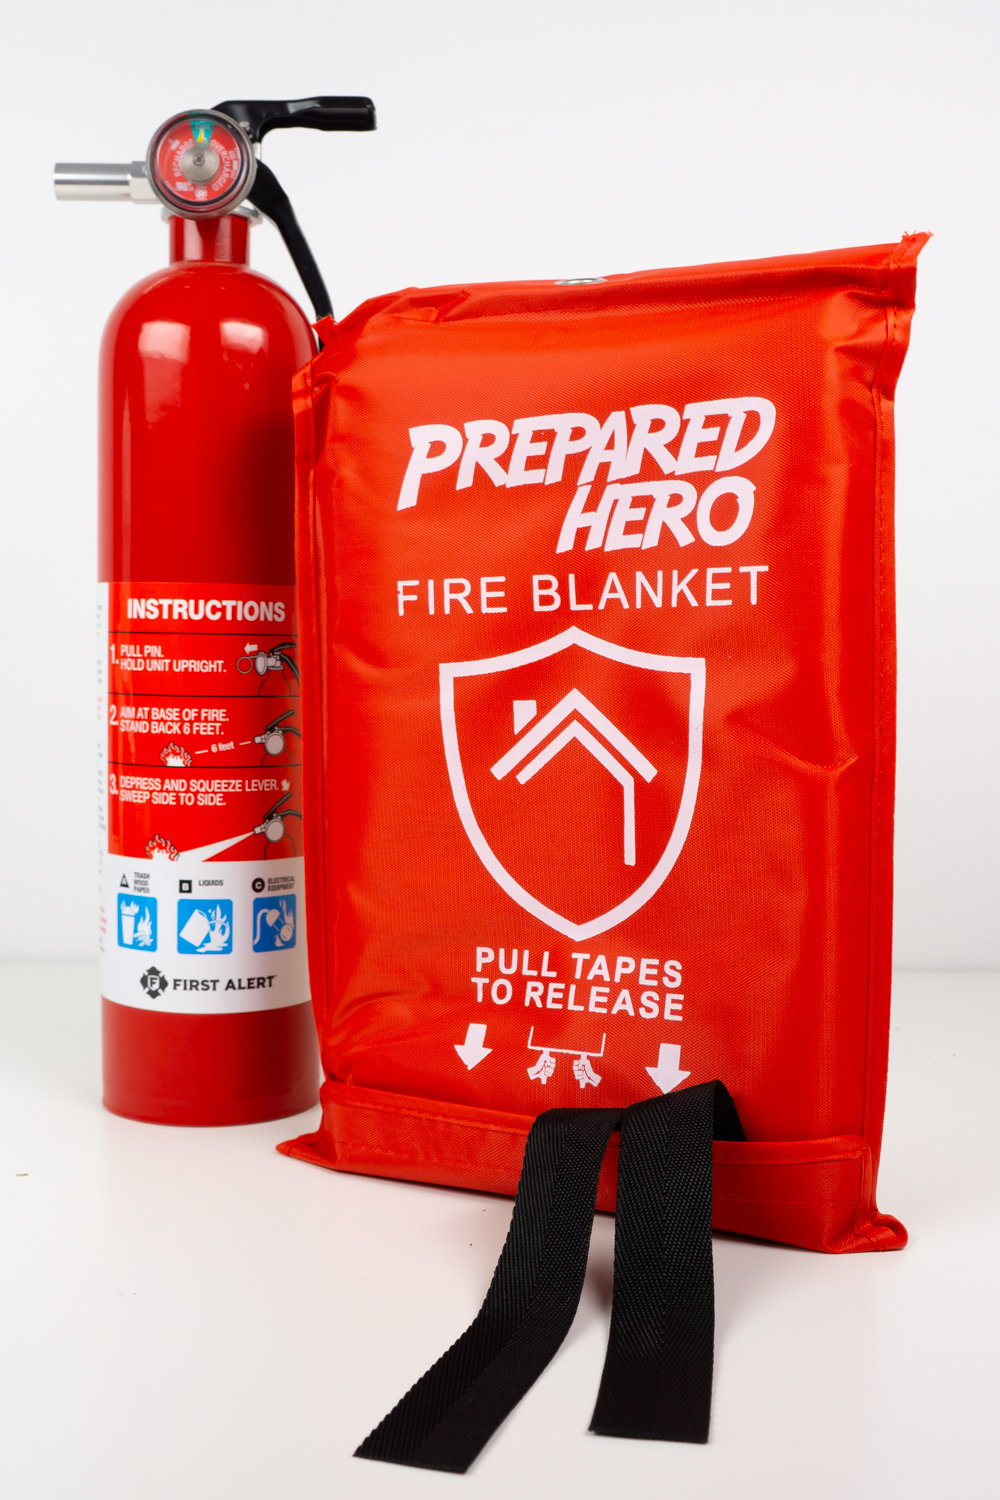
Laser machines have been known to start fires for all sorts of reasons (I’m working on a post about surefire ways to ruin your machine—stay tuned for that!). So my number one supply to have on hand next to your laser cutter is a fire extinguisher. Don’t just buy one and set it next to your machine. Actually take it out of the box, take off the safety tie if there is one, and read the instructions on how to use it. The last thing you want is to have a fire and then have to figure out how to use that fire extinguisher! Be prepared for the worst, from the start.
I also have a fire blanket next to my laser cutter. You can remove the fire blanket from its pouch, unfold it, and drape it over a fire. It’s just another layer of fire safety for my laser.
Air Purifier
While I have all of my machines vented either outside or into filters, I have found that lasers are just…smelly. So whenever I am using my laser cutter, I have an indoor air purifier running near the machine. I leave it running for a good 24 hours after any laser project and I find that it really does cut down on the lingering laser smells in my studio.
Supplies for Cleaning Your Machine
One way to help keep your laser from setting the neighborhood on fire is to keep it clean. Cutting and engraving wood and other materials creates a lot of smoke and debris and the inside of your machine can get dirty pretty quickly.
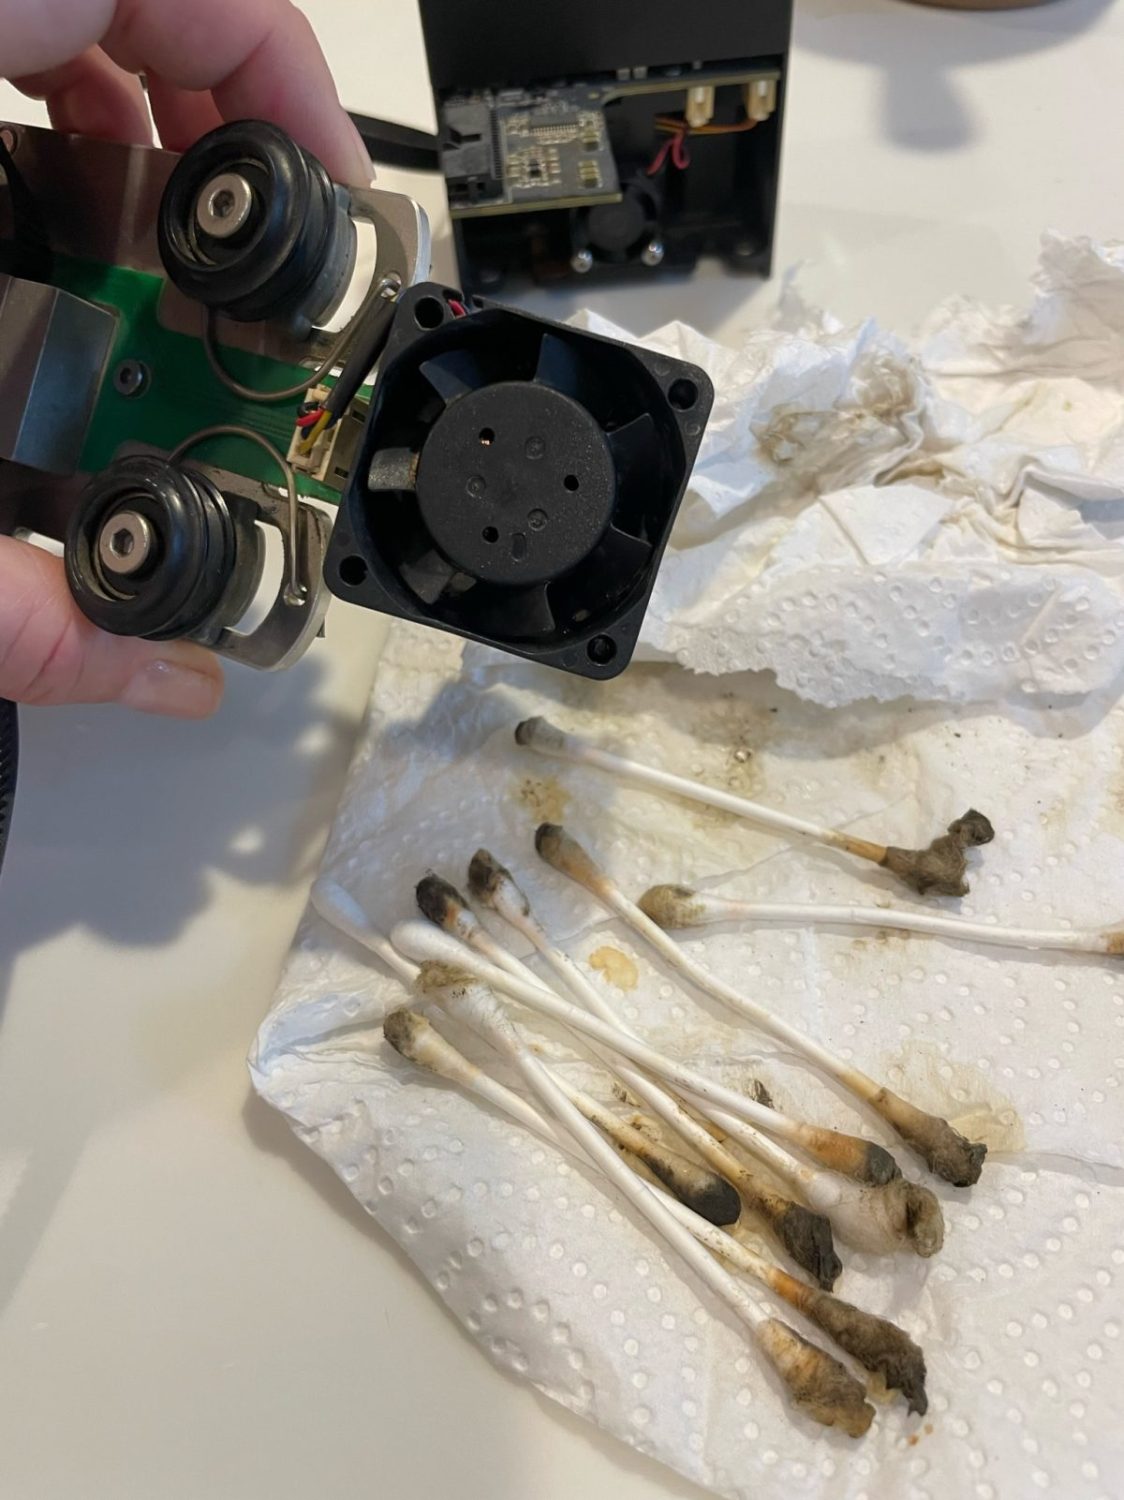
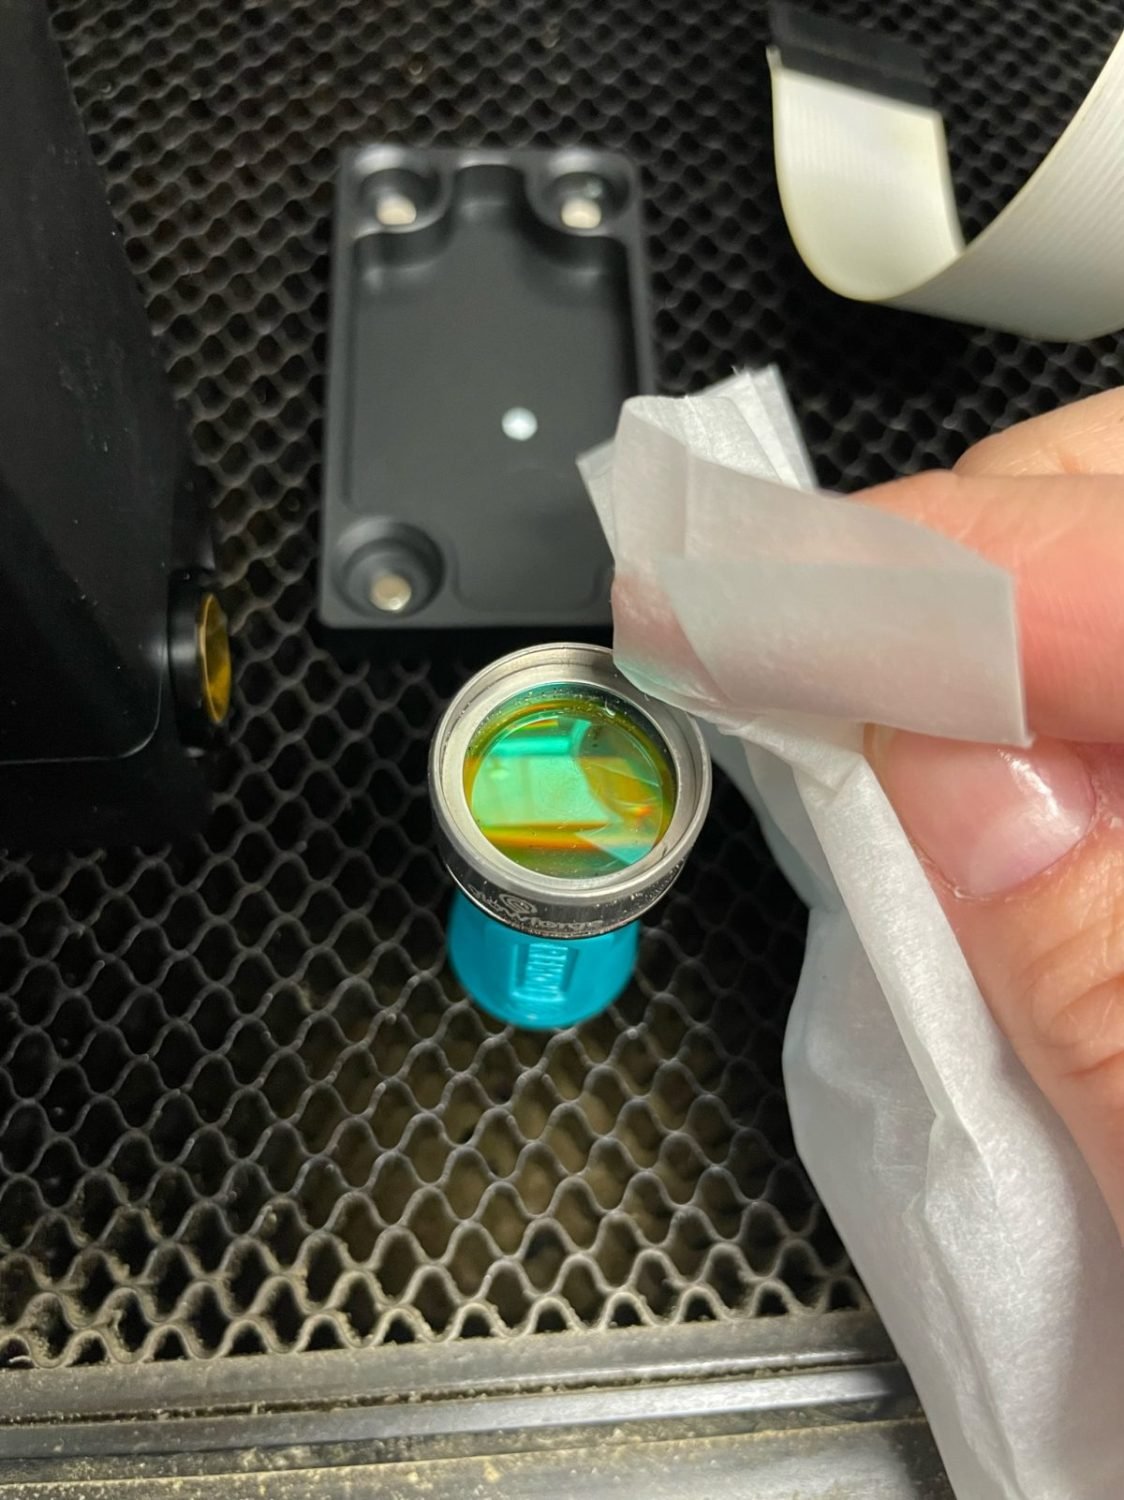
You’ll want to keep the bed clear of debris, the camera and laser lens clean so they can accurately cut and engrave your materials, and you’ll want to clean out other parts of your machine (like the fan and the air assist) periodically to make sure everything is running in tip top shape. Here are my top cleaning supplies:
- Hand-held vacuum: for cleaning out the area below the crumb tray
- Lens wipes: for cleaning the lens and the camera
- Microfiber cloth: for wiping down the inside of the machine and the glass
- Canned compressed air: for getting debris out of tricky spots in the machine
- Q-tips + Rubbing Alcohol: for cleaning out tight places like the fan and air assist
It can get really yucky in there—you’ll definitely want to clean it out. I have a post coming on deep cleaning a your laser, so keep your eyes open for that.
Masking and Brayer
Many laser-ready materials come pre-masked, meaning they have a paper layer that helps prevent any charring or smoke from damaging your material. But some materials aren’t masked and for those, you’ll often want to apply your own masking. For this, you’ll need masking material, which usually comes on a roll. I also find that a brayer helps apply it evenly. (The Cricut Brayer is my favorite and I use it for so many things in my craft room!)
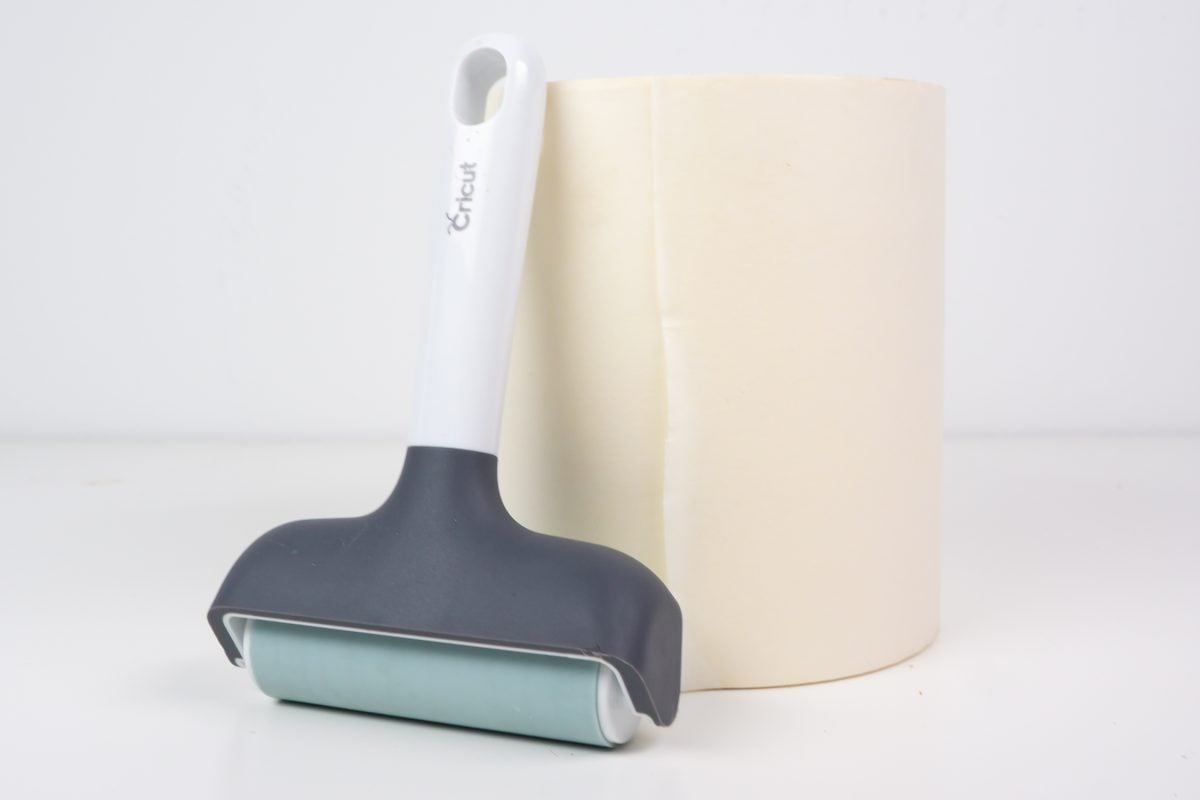
Apply your masking to both sides of your material. Then, after it’s been cut or engraved, remove the masking to reveal the un-charred material underneath. Some materials may not need to be masked (like darker acrylics cut with a diode laser like the Glowforge Aura or the xTool M1), so do some testing to see if you can get away without it on some materials.
3M Adhesive
If you’re going to be putting flat pieces of your projects together, I couldn’t recommend the 3M double-sided adhesive more! I love this stuff and I use it all the time. It comes in both sheets and rolls. If you are making a layered project, replace the masking on the back of your cut pieces with this 3M adhesive. I apply it using that same brayer as above. Cut your project, and then peel back the backing sheet from the adhesive sheet. Then you can stick it to whatever you’d like. For so many projects, this works better than glue—it’s both faster and cleaner.
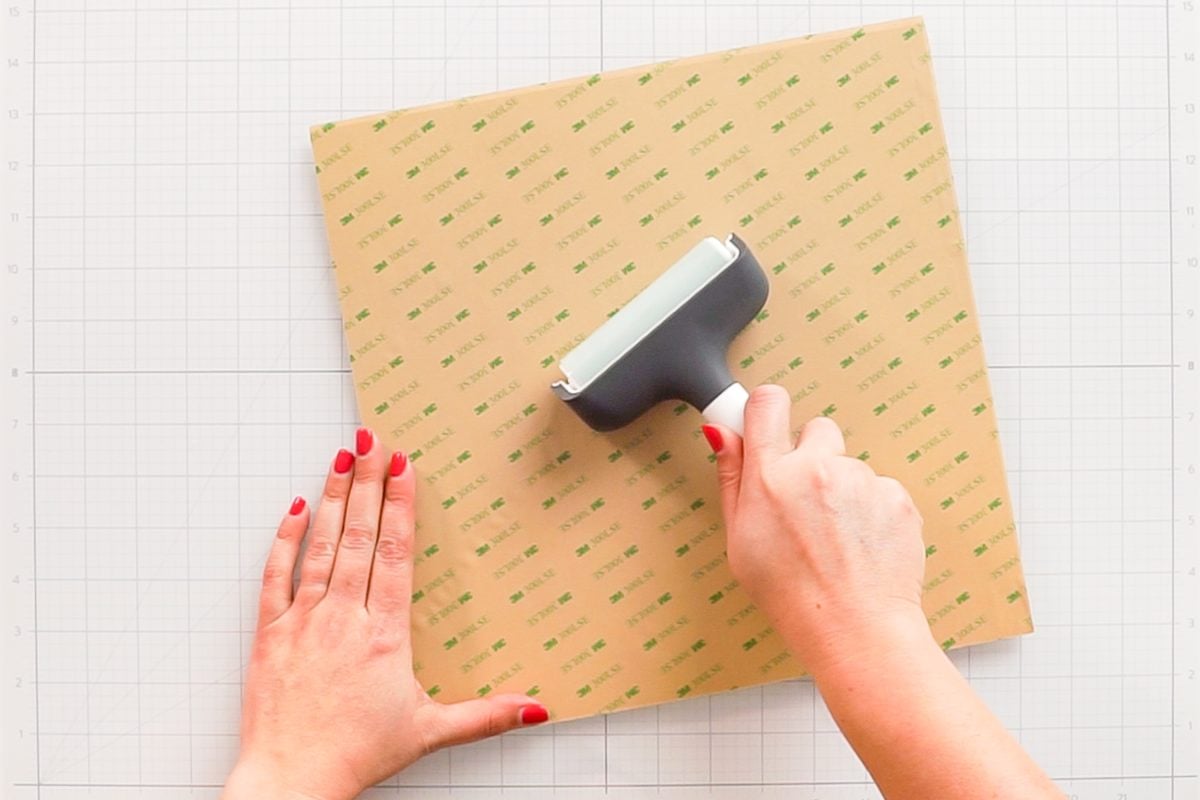
You can see how I used it in my post Laser-Cut LOVE Artwork for Valentine’s Day.
Magnets / Bed Pins
If you find that your material is either shifting in the machine or if your material isn’t laying quite flat, you’ll want either magnets or bed pins (or both!). Whichever you use, just make sure that your file doesn’t overlap the magnets or bed pins—you don’t want to cut or engrave those accidentally.
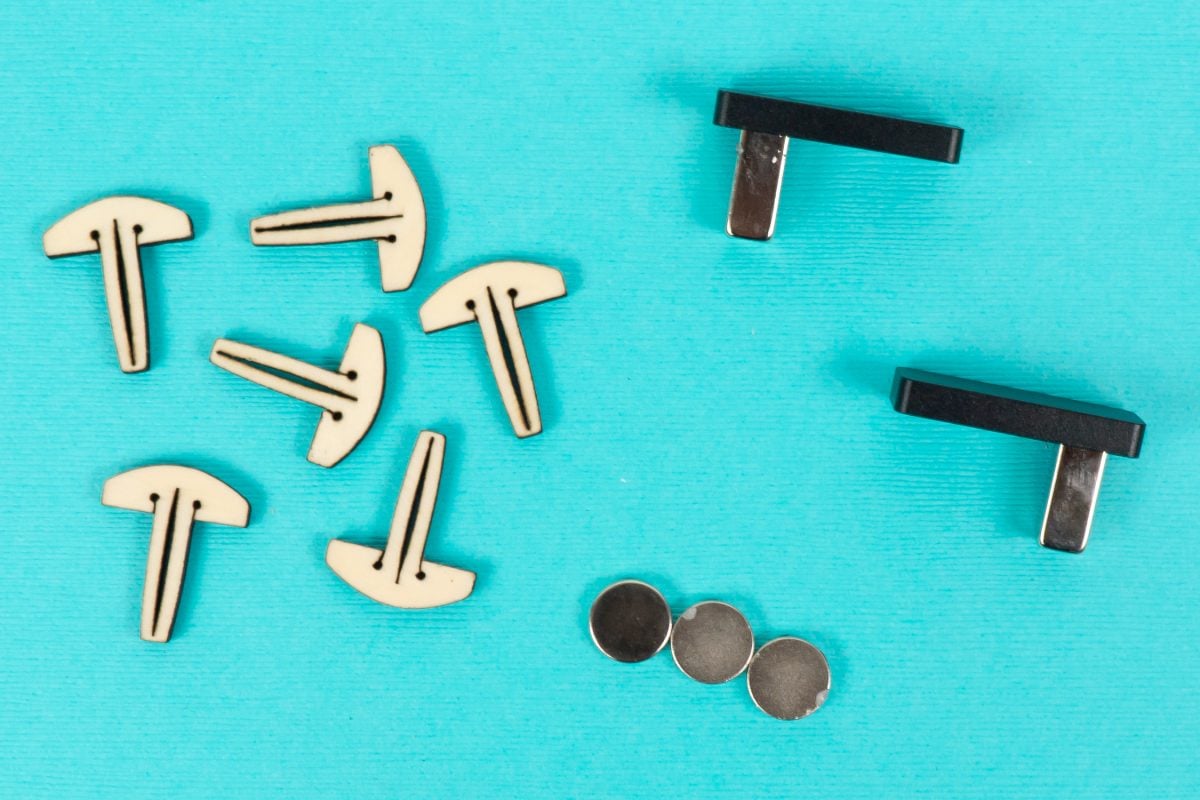
Magnets are better for holding down thinner materials like cardstock, fabric, or laser-ready iron-on materials. The crumb tray is magnetic so they stick great. I have a set of small round magnets I use for this.
Bed pins are wood or draftboard pins that you cut on your Glowforge and can help hold down materials that aren’t laying flat. Place your material in the machine and press the bedpins into the honeycomb crumb tray. The should just barely fit and hold the material down securely.
My xTool M1 actually came with it’s own magnetic bed pins that fit nicely into the crumb tray for the machine. The magnets are SUPER STRONG so be careful not to pinch yourself.
There is a very popular free Glowforge honeycomb bed pin file from user eljefe4 on the Glowforge forums. A while back I tried to cut this file myself and for some reason the Glowforge app kept glitching and sending the uploaded SVG off somewhere off my screen where I couldn’t find it. So I re-created that file that I was able to use. The file is based on eljefe4’s bed pin shape but without the engraving (I wanted to make them more quickly), so start with theirs and if that doesn’t work, try my free version!
Get the Free File
Want access to this free file? Join my FREE craft library! All you need is the password to get in, which you can get by filling out the form below. The file number is: L6.
Plastic Razor Blade
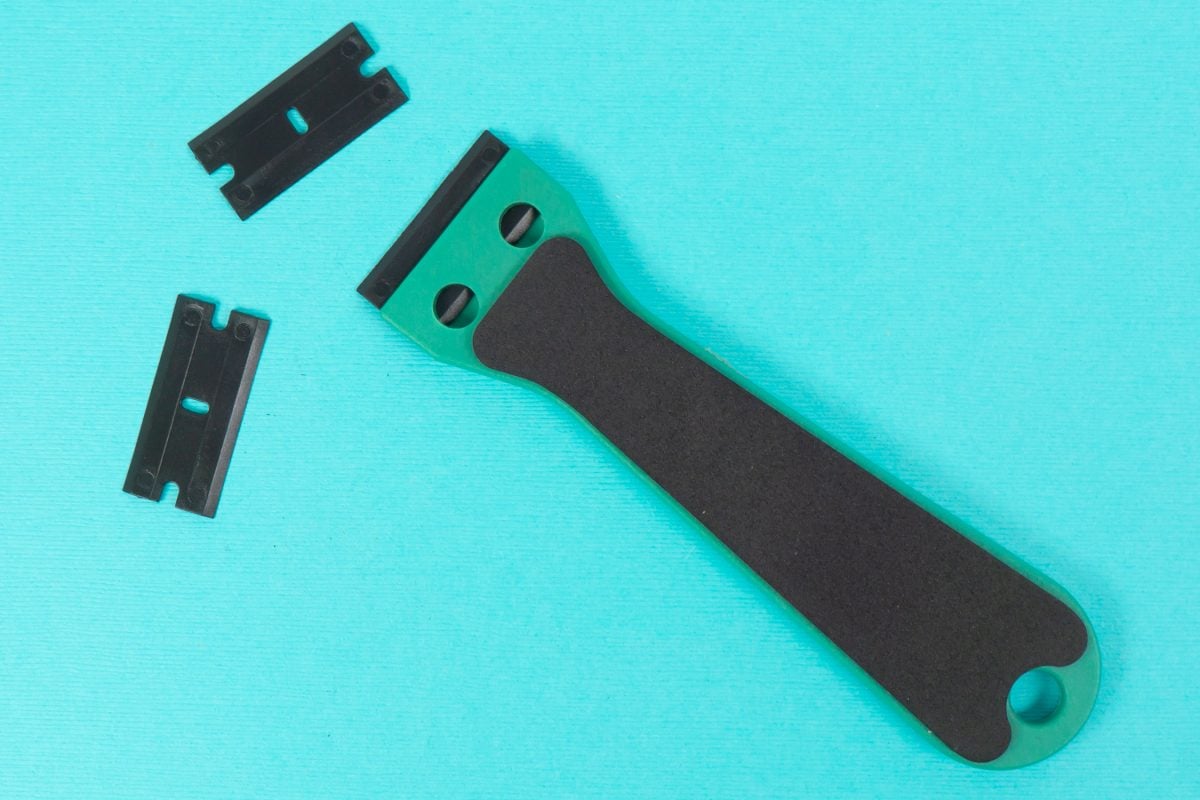
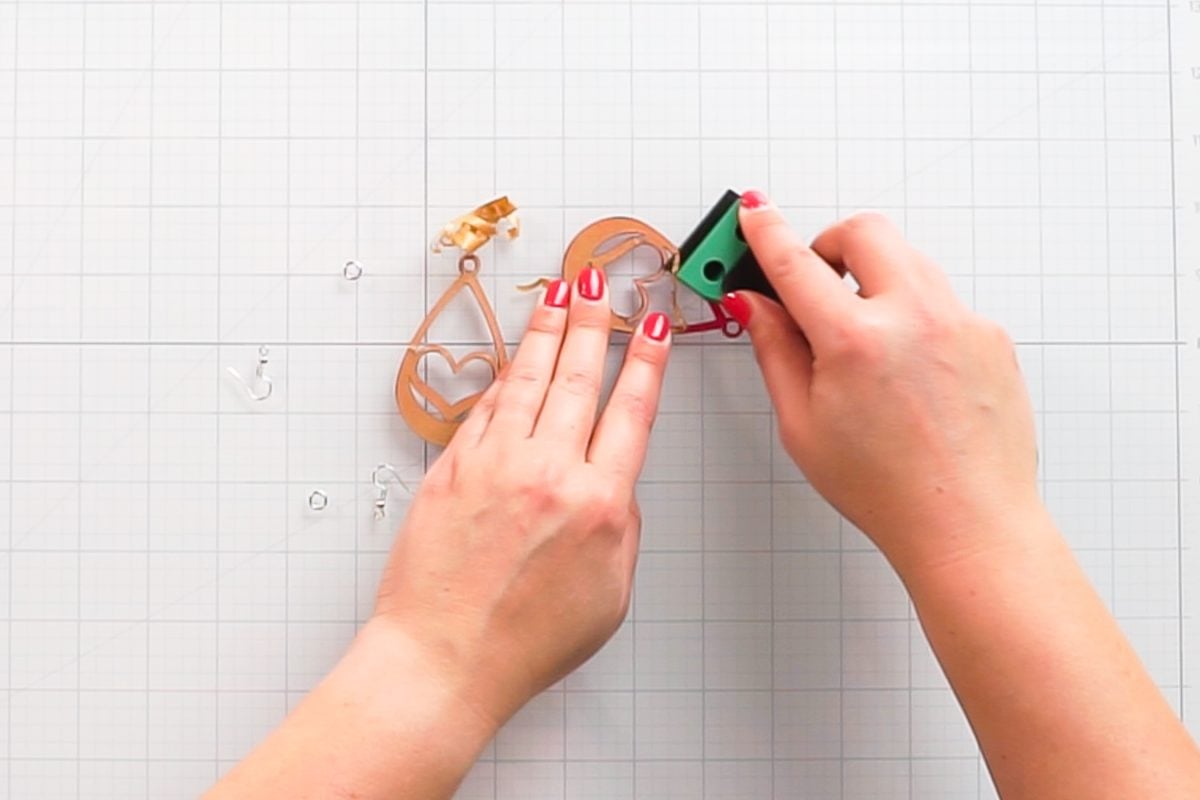
Once your project is cut and/or engraved, there are a few different things you’ll want to have on hand to finish up your project. The first is a plastic razor blade. This is my favorite tool for removing masking from most materials. Just push the plastic razor blade between the material and the mask and it will push it right up so you can peel it off.
Gorilla Tape
Gorilla Tape is another favorite mask remover for a lot of crafters. I like Gorilla tape and it works well, but I find it expensive, especially on larger jobs. That’s why I tend to go back to the plastic razor blade more often than I use the Gorilla tape, but it’s definitely up to personal preference!
Supplies for Cleaning Your Project
Laser cutting and engraving can leave residue on your projects, even with masking. I have found that the sides of some cut projects are a bit tacky or sticky and some wood (like Proofgrade basswood plywood) are just…filmy. I’m not sure how else to describe it.
And sometimes I’ll do a project where I don’t want to mask (like with Engraved Pencils) and I do need to clean up the charring. There are so many options for this!
- Baby wipes: Baby wipes are great for most projects and are easy to use.
- Windex: I’m like the dad in My Big Fat Greek Wedding…I use Windex for everything. I’ve found it to be one of the most effective cleaning sprays for a variety of laser projects, but it works particularly well on acrylic.
- LA’s Awesome Cleaner: I actually don’t have this spray, but half the internet swears by it! It’s much cheaper at your local Dollar Tree where you just have to buy a single bottle for around $1.25. You can buy online through my link but you have to buy a minimum of 12 bottles (omg) or you can get it on Amazon for nearly five times the price at Dollar Tree.
- Magic Eraser: A magic eraser is an abrasive cleaner, so use with caution. I’ve found it to work really well on wood but don’t use it on acrylic or other finishes that may scratch.
- Alcohol and a microfiber cloth: Like with the magic eraser, I’ve found alcohol to be a good fit for wood, but it can cause micro-fissures in your acrylic, so avoid it on acrylic.
Sandpaper Blocks
Finally, I have found sandpaper blocks to be a staple in my laser cutting. These blocks are perfect for sanding down any rough edges or places where glue may have seeped between two layers (that’s the main reason why I use the 3M adhesive above!). I prefer a fine grit, like 120 or 180. Of course you can easily scratch your materials with sandpaper, so use it wisely.
Those are my must-have laser supplies for beginners! If you’ve been using a laser for a while, is there anything else you find helpful? Let us know in the comments!


Leave A Reply!