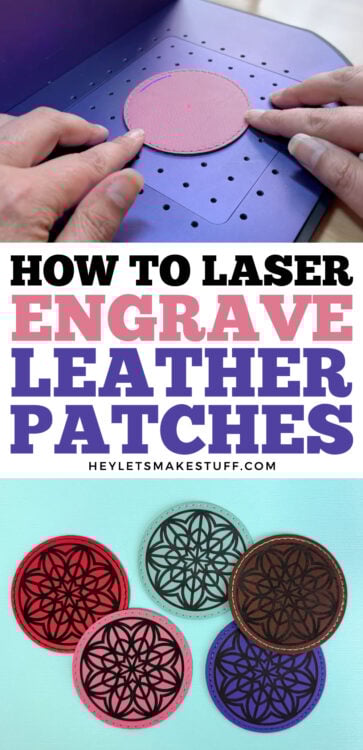
Learn how to engrave leather patches using your laser! This tutorial walks you through choosing settings, testing your materials, and getting a clean, bold black-core finish—perfect for hats, totes, and more.
If you’ve ever wanted to add a leather patch to a hat, tote, or a jean jacket, did you know that you can do that with your laser machine? Heat Transfer Warehouse recently sent me a stack of leather patches to work with and today I’m sharing everything I’ve learned about engraving them using my WeCreat Lumos 10W diode laser. You can, however, tailor this project to your own laser!
In this post, I’ll walk you through exactly how I set up my patches, choose the right settings, and get that super bold black-core look that makes these patches pop.
Watch the Video
Want to get a video overview of how to laser engrave leather patches? Just hit play below! Or keep reading for a written tutorial.
Supplies for Engraving Patches with a Laser
Here’s what I’m using for this project:
- WeCreat Lumos 10W Laser: I’m loving this compact laser for small craft projects, but you can use another type of laser as well.
- Leather Patches from Heat Transfer Warehouse: – I have both square and round ones in a bunch of different colors. Get a few extras for testing!
- Simple Designs: I got mine from Creative Fabrica: round and square designs.
- Heat Press: These patches have a sticky adhesive on the back that sets with heat.
- Embroidery snips: I found these worked well for trimming the stitching on the patches if it wasn’t neatly cut.
Best Designs for Laser-Engraved Patches
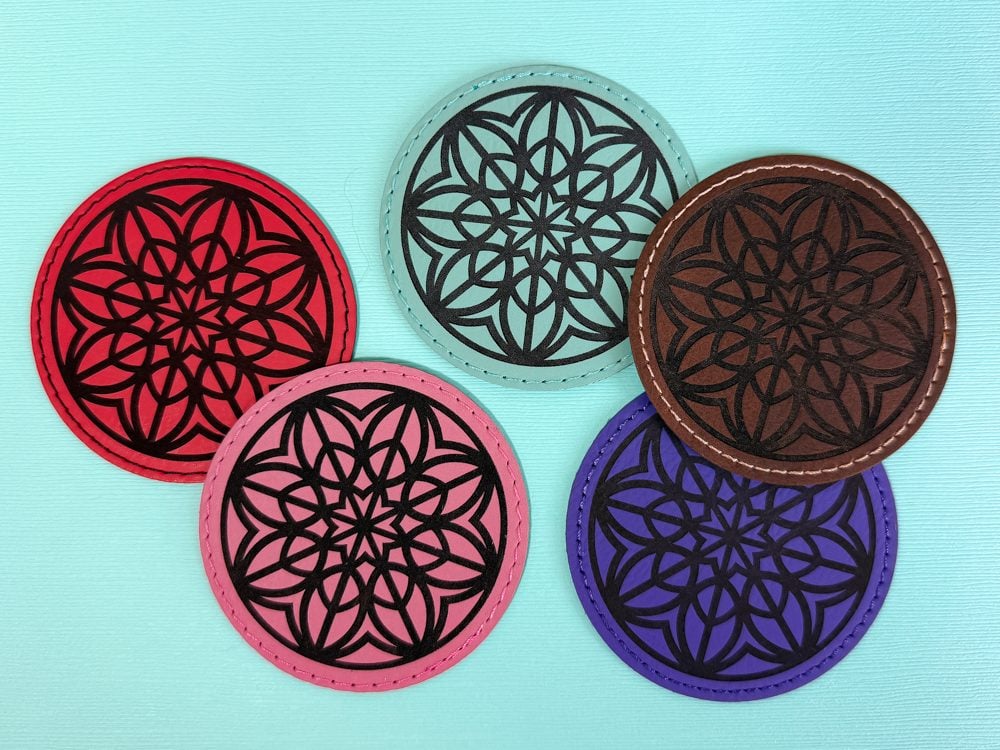
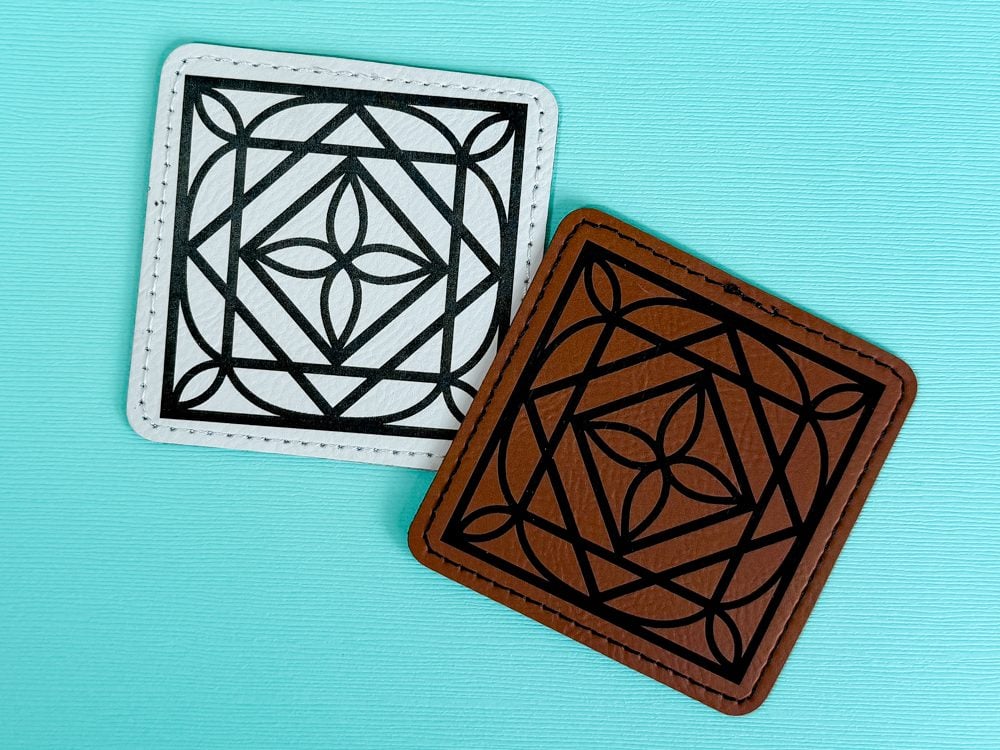
The best designs for engraving leather patches are bold and simple with a lot of contrast. If you think about classic embossed leather patches, you think cowboy. Thick text, monograms, logos, stamping—nothing too fine or detailed.
Choosing the Right Patch & Settings
The leather patches from Heat Transfer Warehouse have a colored top layer and a black core underneath. The goal is to engrave deep enough to hit that black core—it’s what gives your design that bold finish with a lot of contrast.
In the WeCreat MakeIt software, I choose the material setting that’s the closest match to the patch I’m using. For example, if I was using a light brown patch, I’d start with the tan or brown leather setting and go from there. You want your power and speed to engrave through the top layer, not just etch it a bit (though that can potentially give a cool look too!)
Centering Your Design
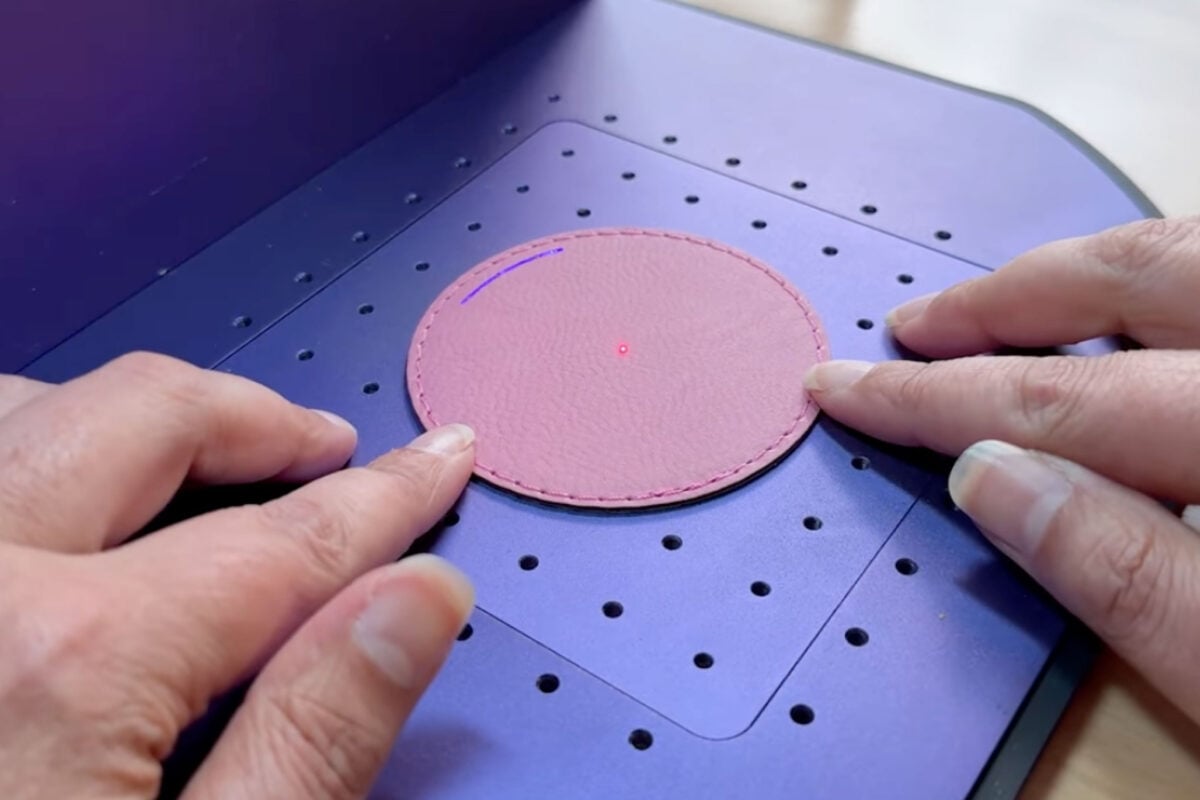
If you have a WeCreat Lumos, centering your design is so easy. Instead of aligning your design on the patch in the software, choose “framing” in the processing screen. This will outline where your image is going to engrave. Move your patch so that your design is aligned within the edges of the patch. You can learn more about this framing feature in my overview of the WeCreat Lumos.
If you have a different laser, you’ll have to align your design using the camera or other positioning system like you do for other projects.
Testing Your Settings
I highly recommend having some extra patches on hand to do some testing. You may or may not get it right on the first try. These patches all engrave a little differently depending on the color and finish.
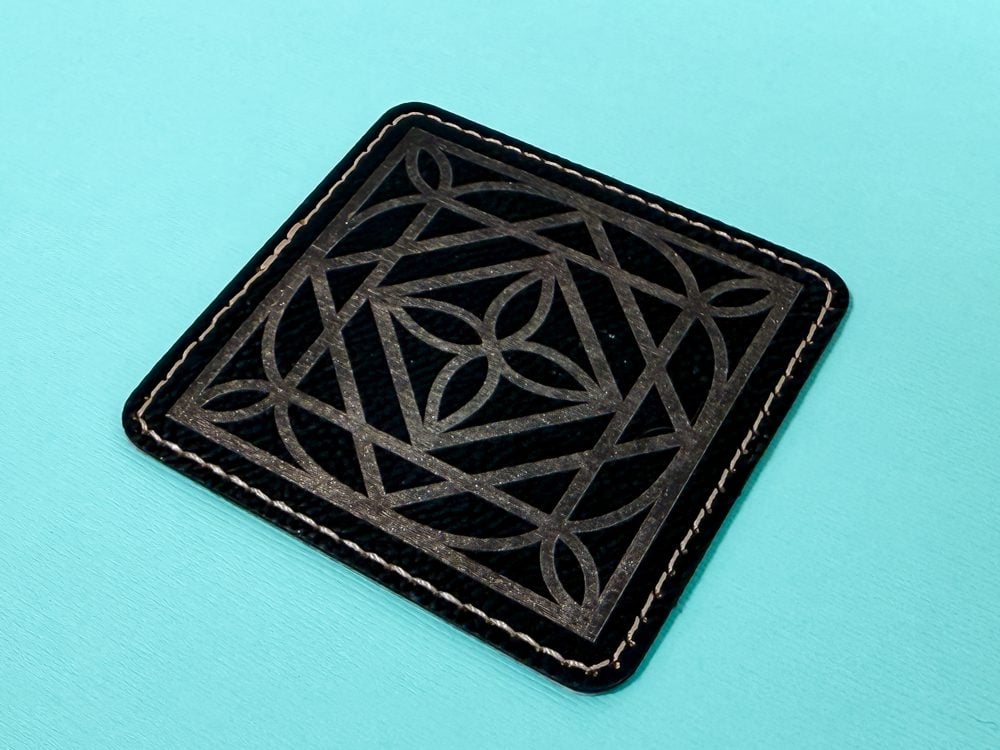
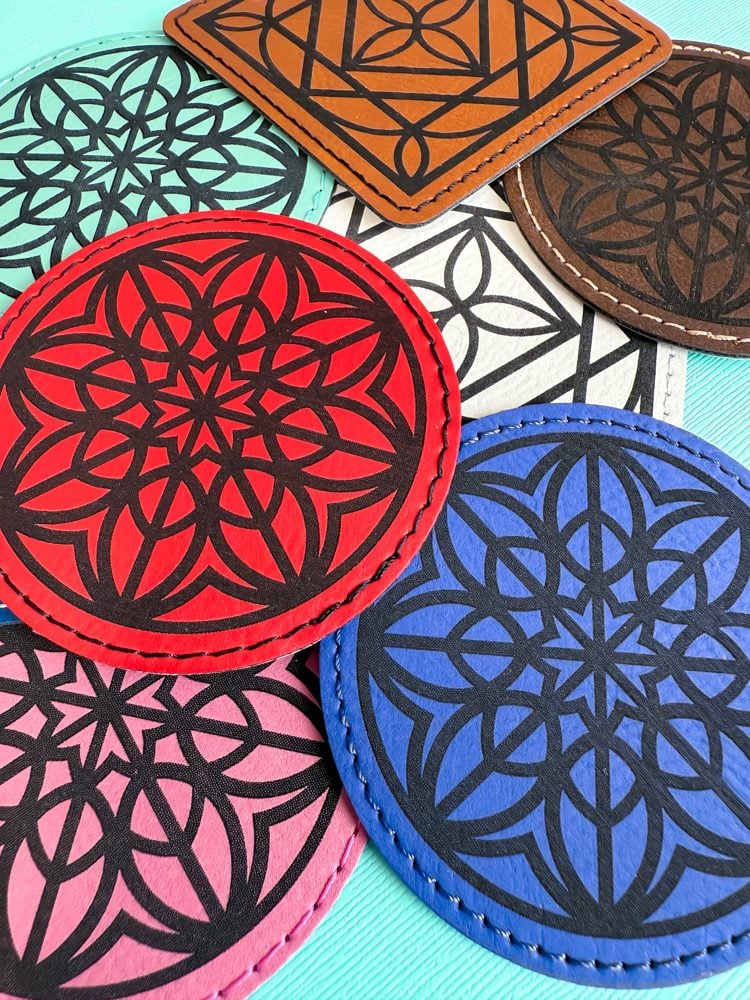
If your engraving reveals a gold or other lighter tone, it means you didn’t quite get through to the black core. But that’s not always a bad thing! Some of these colors give off a cool metallic look if you stop short of the black core. Totally up to you and the vibe you’re going for! You can see here that I didn’t make it to the black core with this brown patch, but the gold looks good in its own way.

Keep reading for tips on getting to that black core!
Engraving the Patch (Don’t Move It!)
If it doesn’t engrave deep enough the first time—do not move your patch. You can run the job again right on top of your patch if it’s in the same place! I had to do this on several patches and it worked perfectly. I even ran it three times on the white patch!
And again, if your first pass gives you that shimmery gold look and you like it? Keep it!
That’s It!
Laser-engraved leather patches are a fun, easy way to level up your DIY projects and add a touch of custom goodness to just about anything. I’m really enjoying using my WeCreat Lumos for projects like this—it’s simple to use, powerful enough to get clean engraves, and perfect for smaller craft studios like mine.
Let me know if you give this a try—or tag me @heyletsmakestuff if you post your patches online. I’d love to see what you create!


Comments & Reviews
mikasabaggins says
This tutorial is a clear and practical guide that makes laser engraving leather patches feel approachable, while offering useful tips for achieving clean, bold Retro Bowl results even for beginners.