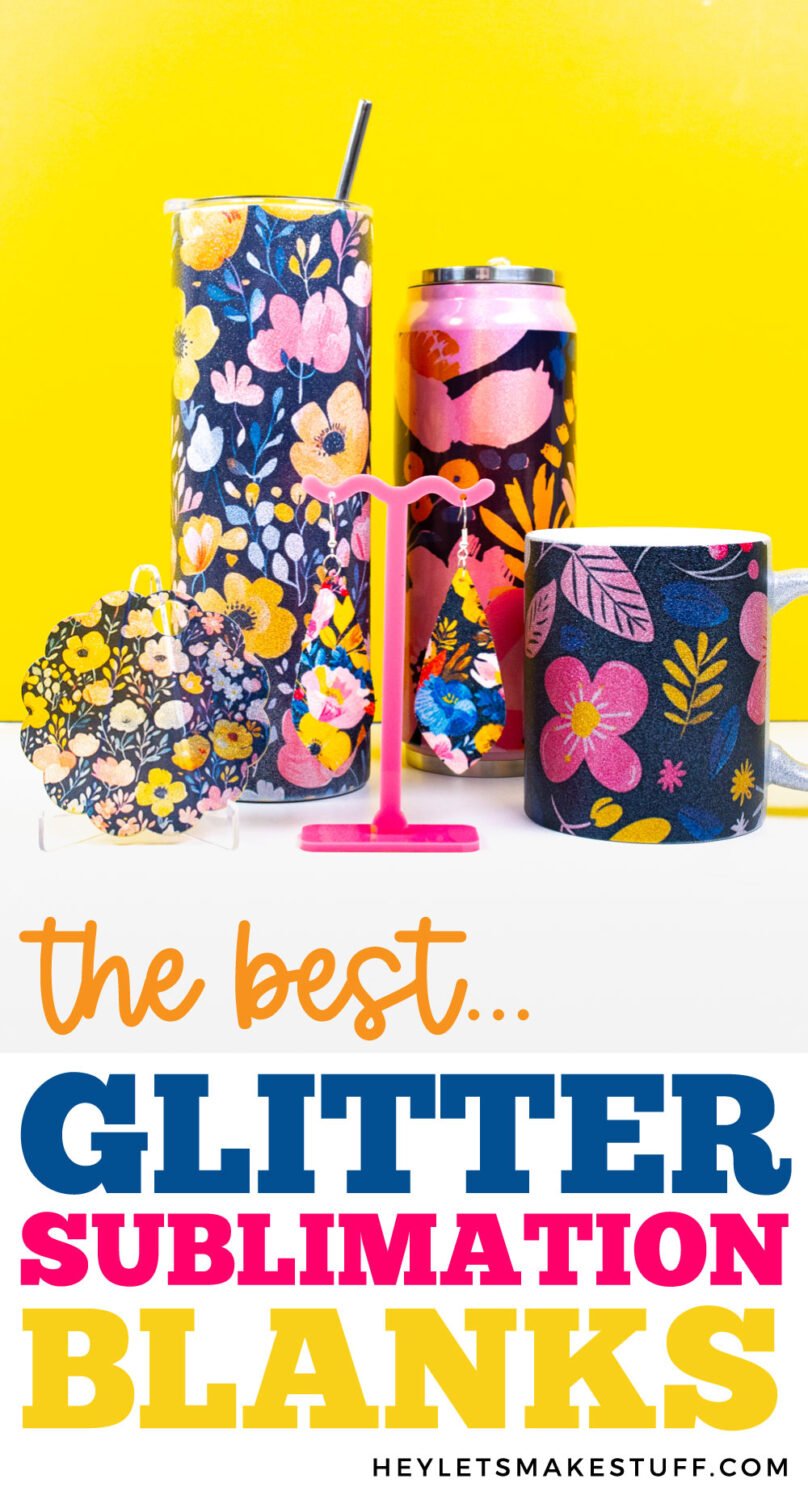
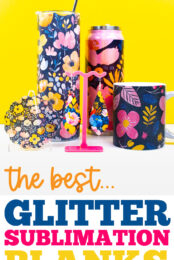
Add a little sparkle to your sublimation crafting with some of my favorite shimmery blanks! I tested five glitter sublimation blanks to see what was the best—plus get a free floral sublimation bundle!
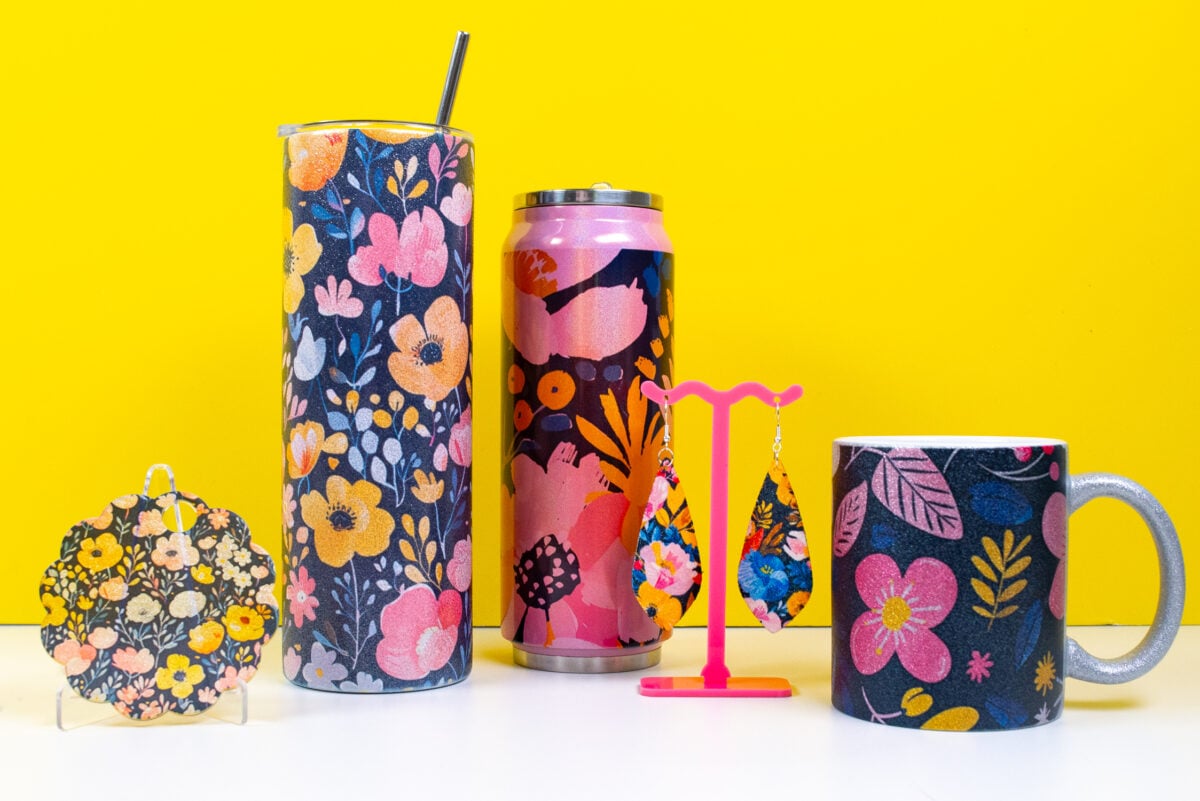
Let’s make some glitter projects without the glitter mess! Glitter sublimation blanks are a fun way to add a bit of sparkle to your crafting, and today we’re making give different projects!
I feel like glitter blanks come in two categories. The first is like the blank is actually covered in glitter—it has a texture you can feel, but thankfully it doesn’t leave glitter everywhere. The mug, the tall 20oz tumbler, and the earrings fall into this category.
The other is more of a shimmer than a glitter. The surface is smooth but when it catches the light, it has a really nice shimmery shine to it. The tumbler topper and the can tumbler fall into this category.
I’m not going to go into the details of how to make each of these projects individually, but I will link to other tutorials on my blog for more information.
Here’s what I picked up:
- Glitter Sublimation Earrings
- Glitter Sublimation Tumbler Topper
- Silver Glitter Sublimation Coffee Mugs
- Glitter Sublimation Can Tumbler
- Glitter Sublimation 20oz Tumbler
Get everything I used to make these glitter sublimation blanks in my Amazon Store!
If you need more information about sublimation in general, I recommend my extensive ebook The Ultimate Guide to Sublimation!
Watch the Video
Want to see how these projects turned out on video? Just click play below!
Get the Free File
Want access to this free file? Join my FREE craft library! All you need is the password to get in, which you can get by filling out the form below. The file number is: L35.
Glitter Sublimation Earrings
- Glitter Sublimation Earrings
- Image size: varies per earring style
- Time: 120 seconds (for both sides) / 60 seconds (one side at a time)
- Temperature: 395 degrees
- Pressure: Medium
- Tutorial: Sublimation Jewelry
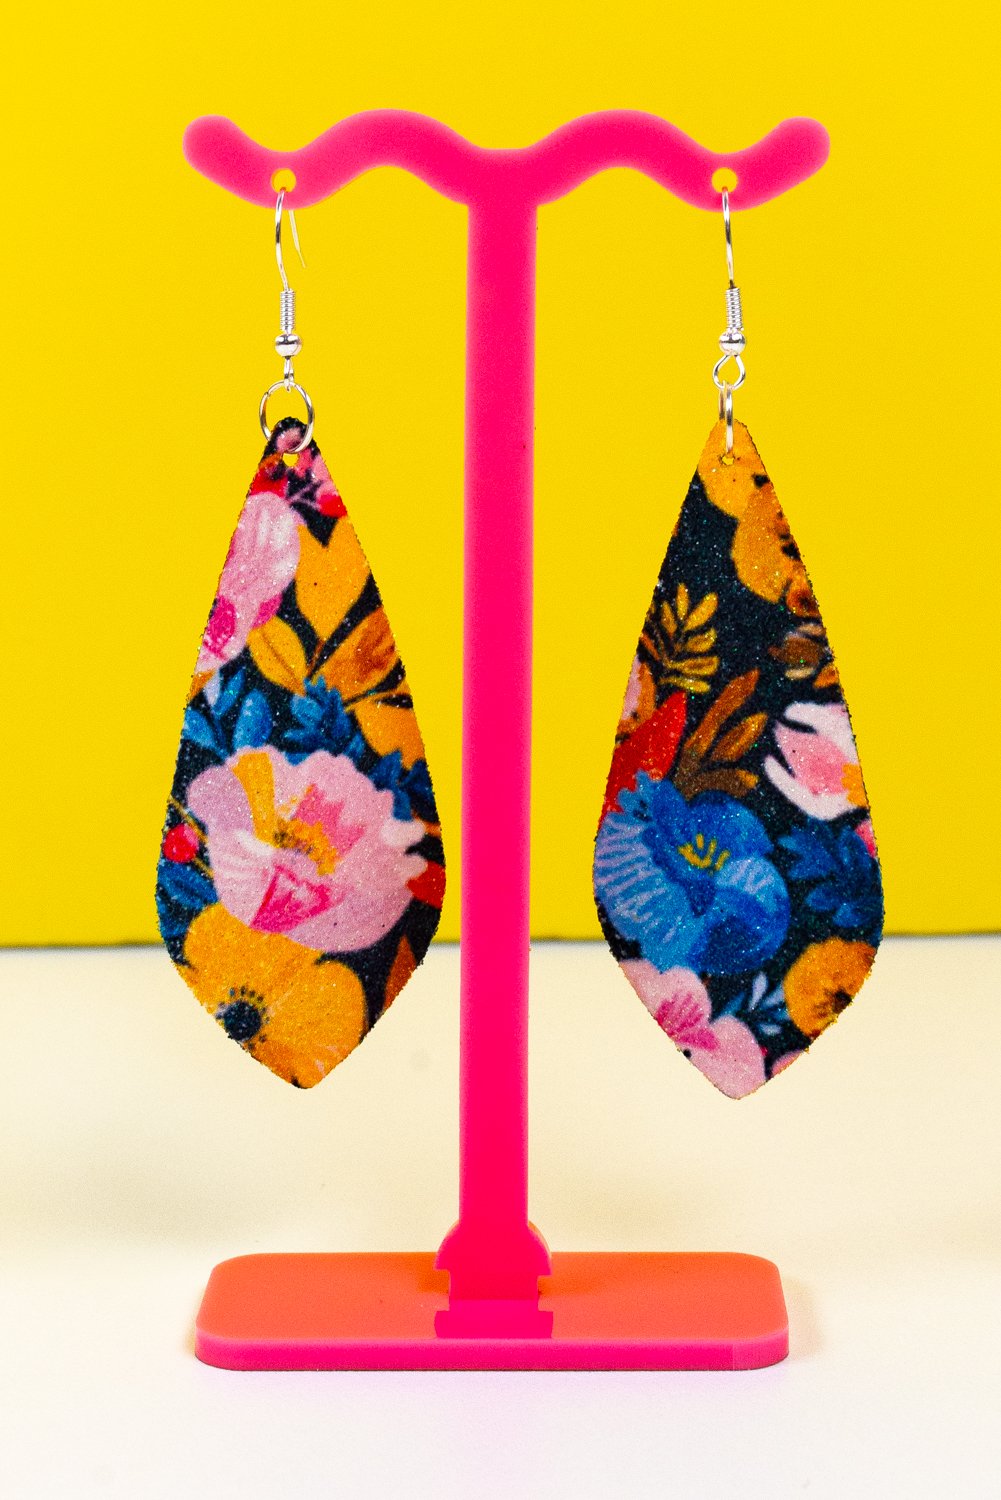
These earrings are very light and I believe they are made out of a heavy glitter cardstock. Overall, I think the quality is decent for being basically paper and they sublimate beautifully. But I am concerned that the small hole that holds the earring finding might tear, especially over time.
For these, I actually pressed both sides at one time. Instead of heat-resistant tape, I used spray adhesive and sandwiched the earrings between two printed transfers. I doubled the pressing time to 120 seconds so that the heat would have enough time to work through the earrings and sublimate the back. You could also do these earrings at 60 seconds per side if you’d prefer.
I think these turned out SO cute. The color is so rich and vibrant. I love sublimation jewelry because it’s not expensive to make and you can make things to match your various outfits. This particular set comes with a bunch of different shapes, so you can make a wide variety of glitter earrings!
Glitter Sublimation Tumbler Topper
- Glitter Sublimation Tumbler Topper
- Image size: varies per topper style
- Time: 60 seconds
- Temperature: 356 degrees
- Pressure: Light to Medium
- Tutorial: Sublimation on Acrylic
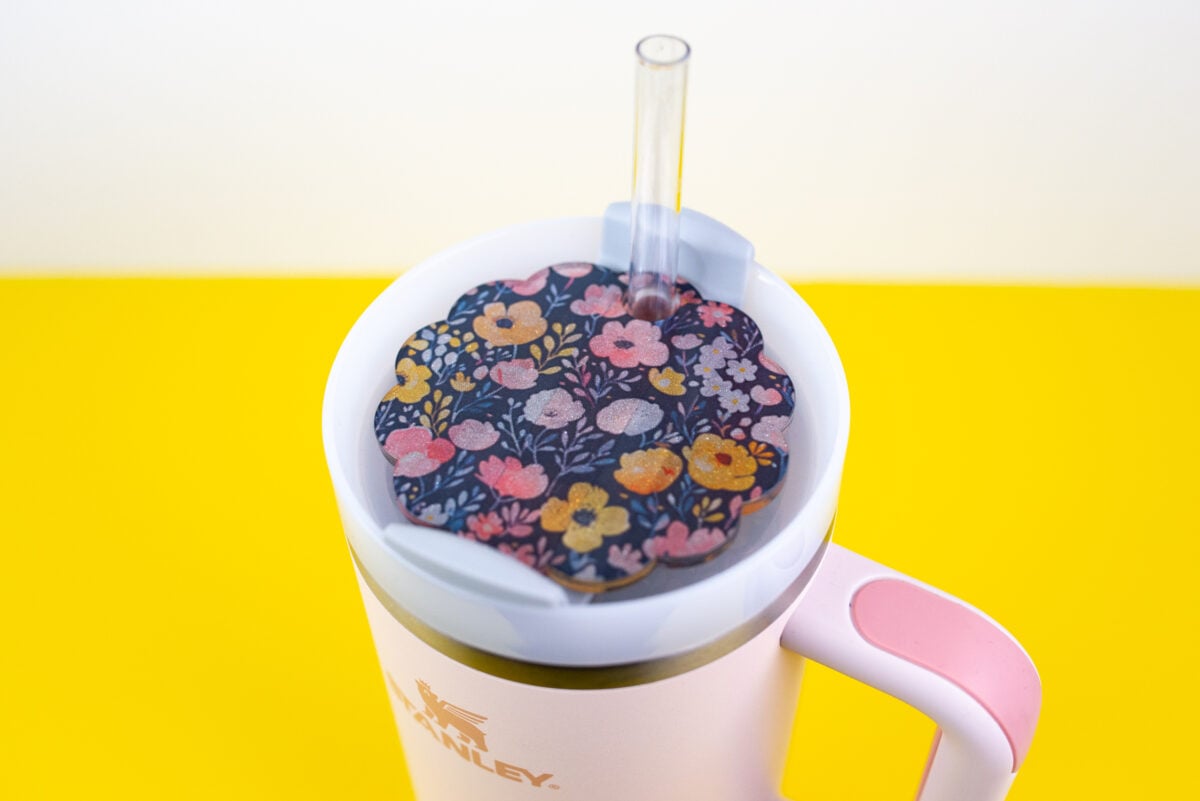
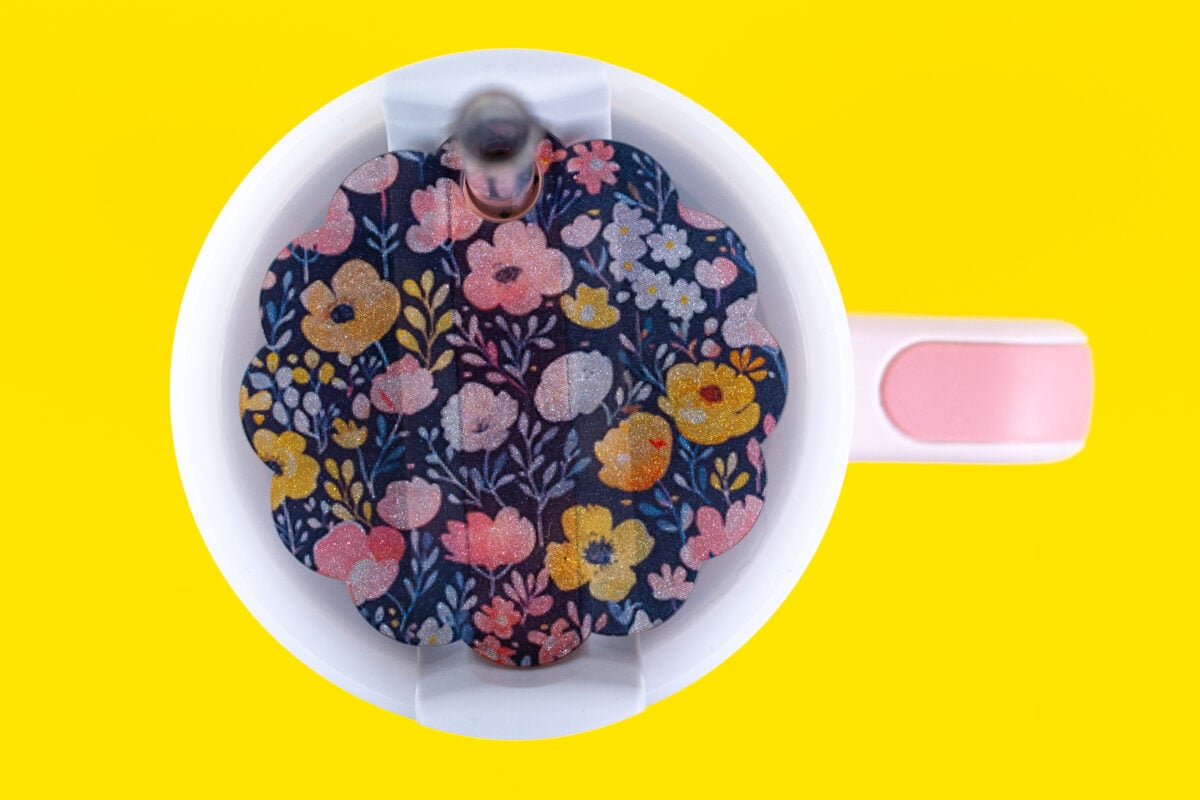
While I used the flower shaped version, these glitter cup toppers from PYD life come in a ton of different shapes! I love how this one turned out—because the blank itself is acrylic and transparent, you get a cool sort of see-through look when sublimated, especially with a darker image.
There are two sides to this blank. One has a sticker that says “non-printable side.” You’ll need to remove the protective film from both sides, meaning that you’ll lose that sticker. So after you remove the film on that side, just put a post-it or piece of tape on it so you know which side to place face down on the transfer. Then you can remove your reminder.
This is another blank where I like to use the adhesive spray. Tape can create unsightly indentations in the acrylic. If you are using tape, make sure to use lighter pressure.
When you pull the blank out of the press, set something heavy, like a stack of books, on top if it. The acrylic likes to warp and you need the weight of the books to keep the acrylic flat while it fully cools.
Silver Glitter Sublimation Coffee Mugs
- Silver Glitter Sublimation Coffee Mugs
- Image size: 3.75″ x 9″
- Time: 480 seconds
- Temperature: 385 degrees
- Pressure: Medium
- Tutorial: How to Use a Tumbler Press
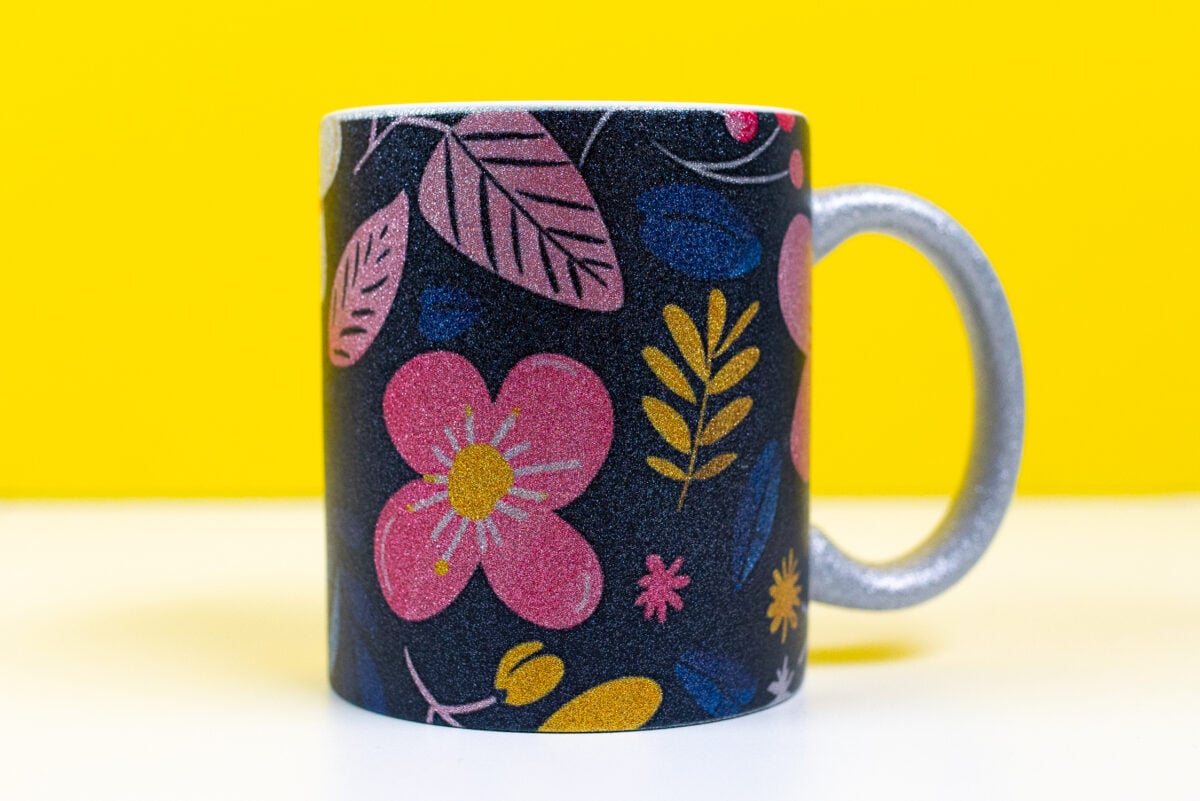
If you read my post on testing blanks from Michaels, you’ll know that the glitter mug was one project that didn’t turn out for me. I barely got any sublimation print at all. I got a few similar mugs from Craft Express through Amazon and spent some more time testing. In my first test, I got probably 80% of the way there when I set my heat press to 240 seconds (vs. the 80 seconds recommended on the packaging from Michaels).
I decided to just give it at go at a full 480 seconds. That’s a full eight minutes! I was a bit afraid I was going to have a burned result, but I’m actually really happy with it! The color is really vibrant and you can see the glitter throughout the image.
The only thing I don’t love about the mug now is that the glitter texture on my bottom lip when drinking coffee isn’t pleasant to me and might not be the best for other folks with sensory issues.
Glitter Sublimation Can Tumbler
- Glitter Sublimation Can Tumbler
- Image size: 9″ x 6.25″
- Time: 60 seconds + rotate
- Temperature: 365 degrees
- Pressure: medium
- Tutorial: How to Use a Tumbler Press
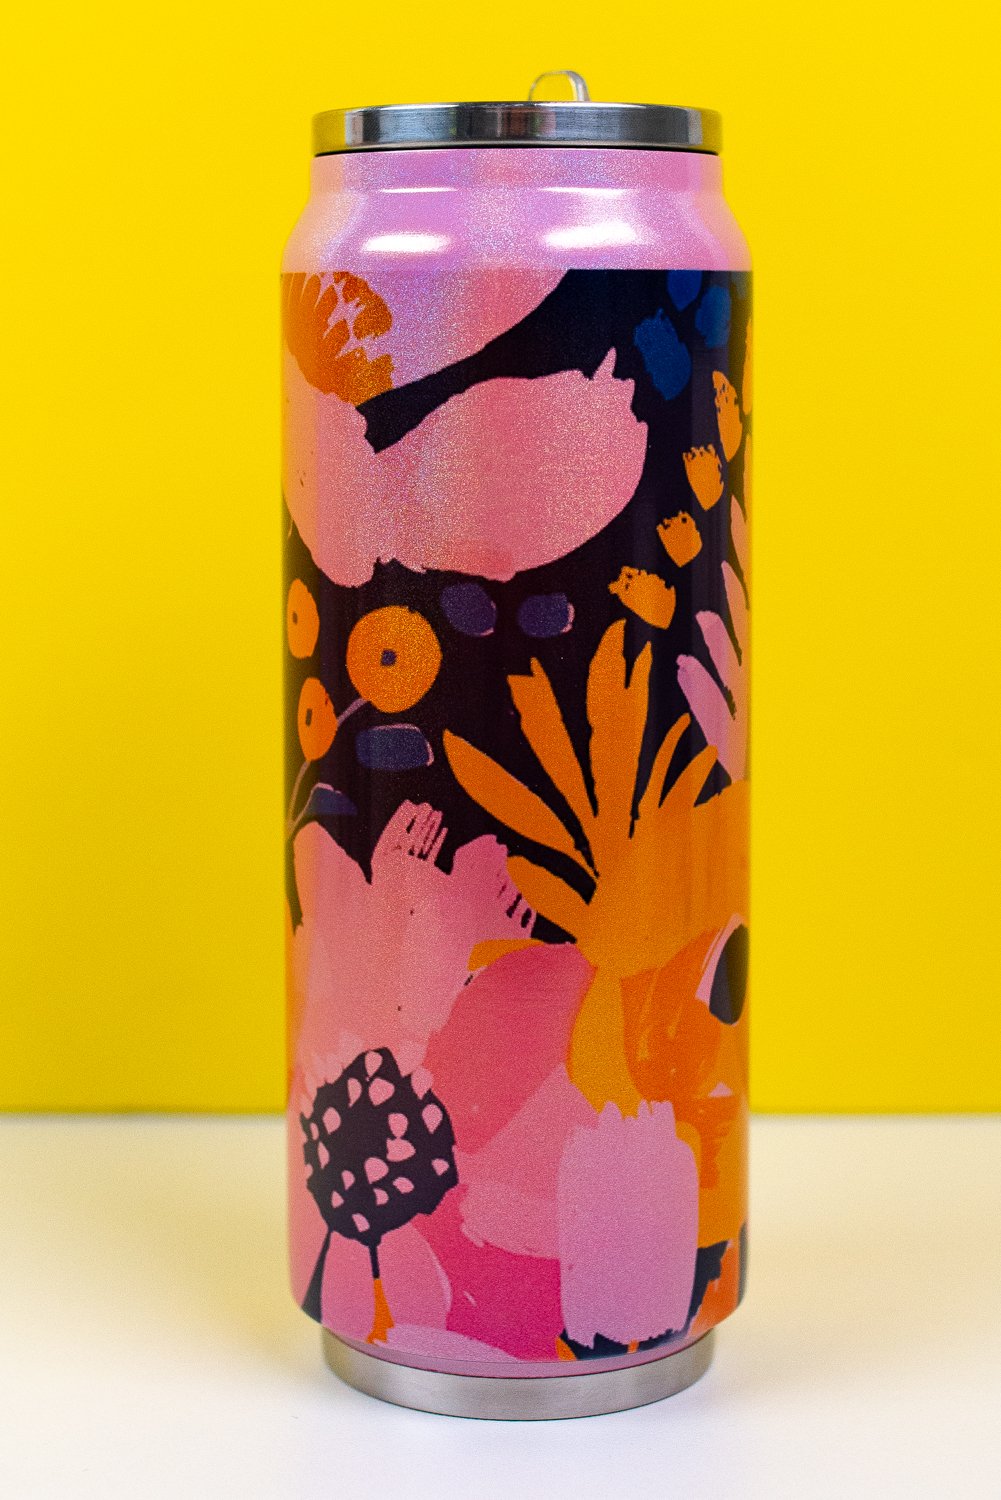
This set came with a pack of six different colors. I tried the pink out for this post and I like it…okay. I feel like personally I’m just not the biggest fan of many colored sublimation blanks because it really does affect the image a lot. Maybe my brain just associates sublimation blanks with having that bright white background and vibrant images, so a colored background looks just a bit off to me.
However, the blank itself? I think it’s great. It’s more shimmery than glittery. I love how it’s like a big can and it’s unique and fun. I have a white version that I used in the video above and I like that a lot more than the pink!!
These would make great bachelorette gifts or girls’ trip swag.
Glitter Sublimation 20oz Tumbler
- Glitter Sublimation 20oz Tumbler
- Image size: 9″ x 9.25″
- Time: 60 seconds + rotate
- Temperature: 365 degrees
- Pressure: Medium
- Tutorial: How to Use a Tumbler Press
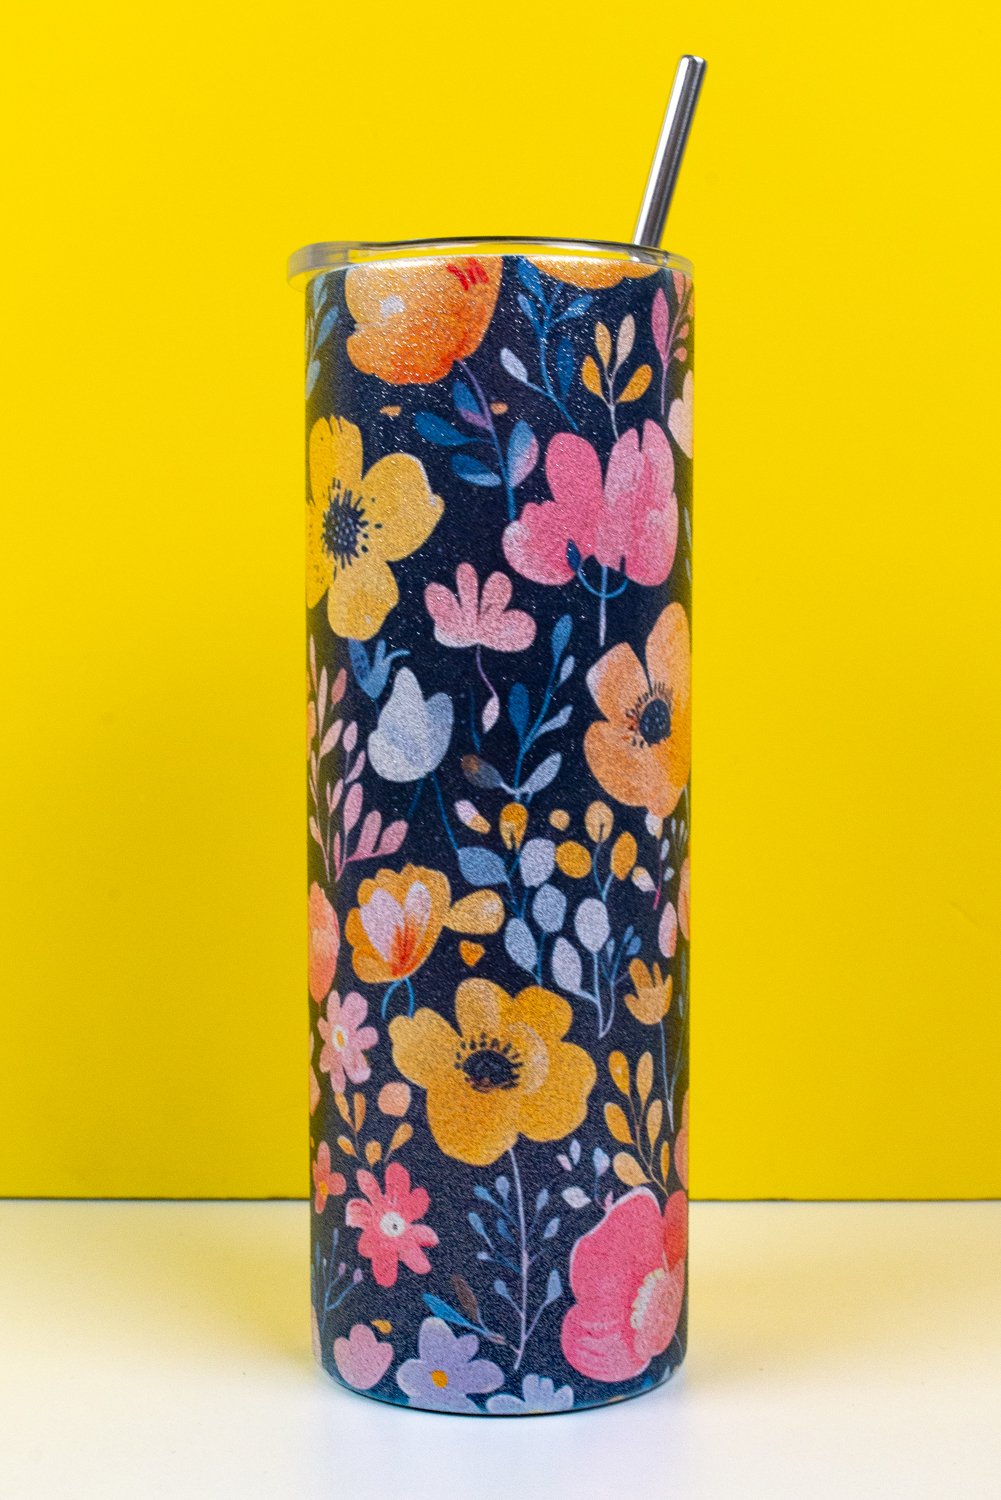
For my fifth and final blank, I used a 20oz skinny glitter tumbler. I love how this one turned out! You get all the fun of glitter without having to touch your mouth to it like the mug above.
These sublimated beautifully and I really like how vibrant the colors are. This is just another fun take on the 20oz tumblers that we’re all familiar with and love to make!
There you have it! I think all five of these glitter sublimation blanks are worth it. All of them sublimated beautifully and allow you to add some sparkle and shine to your crafts—without the mess of real glitter!


Leave A Reply!