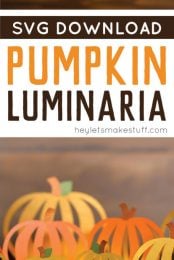
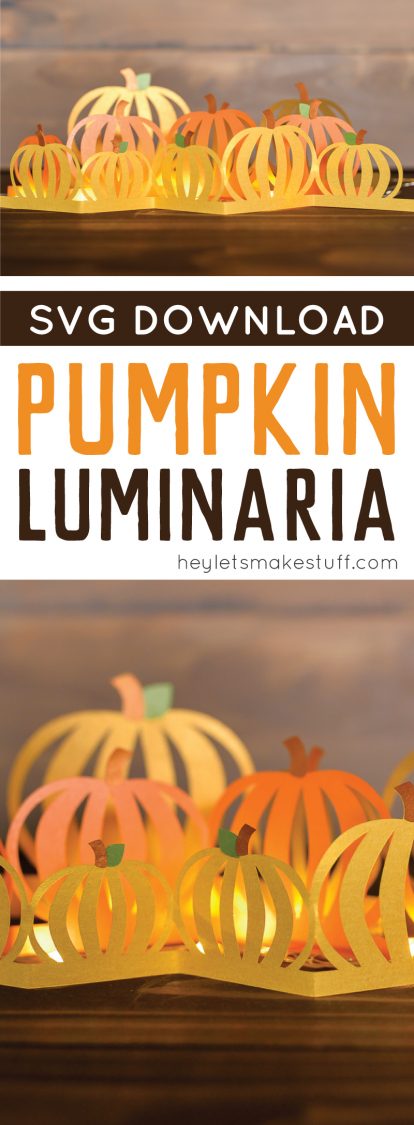
Looking for a fall decorating idea? Download the free SVG cut files for this gorgeous pumpkin luminaria! Cut the three layers on your electronic cutting machine and add twinkle lights!
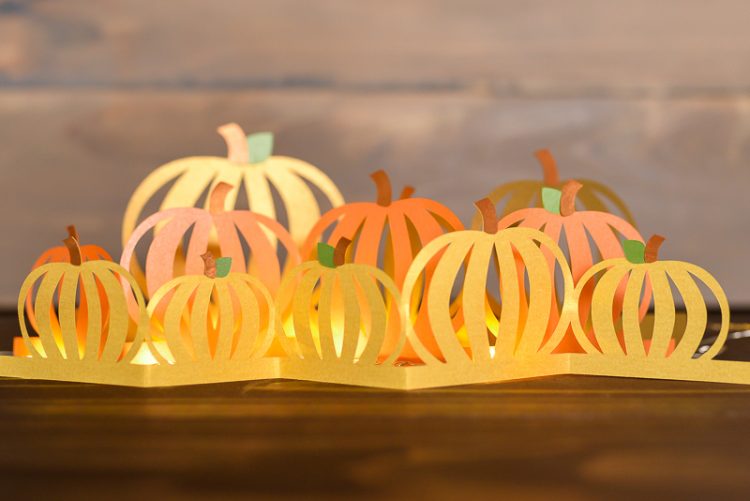
This weekend we’re headed to our local pumpkin patch. The boys are almost two and a half and we haven’t actually been to one yet, so we decided it was high time for hay rides, the petting zoo, and pumpkins galore. Someday we’ll head back to explore the giant corn maze, too! If you’re looking for a way to bring that pumpkin patch feeling home to your fall decorating, this pumpkin luminaria is just the thing! It’s perfect on your fall mantel, adorning your Thanksgiving table, or looking festive wherever you need a little extra autumn decor.
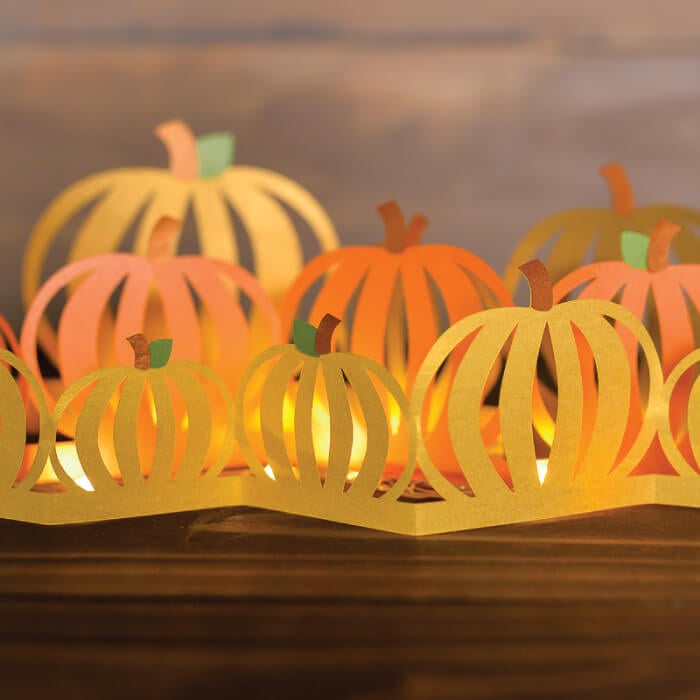
Pumpkin Luminaria Supplies
- Paper in five colors: yellow, orange, dark brown, light brown, and green.
- Glue
- Twinkle lights
- Cricut or other cutting machine
- SVG Cut Files
Get the Free File
Want access to this free file? Join my FREE craft library! All you need is the password to get in, which you can get by filling out the form below. The file number is: C65.
Pumpkin Luminaria Instructions
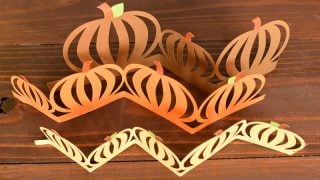
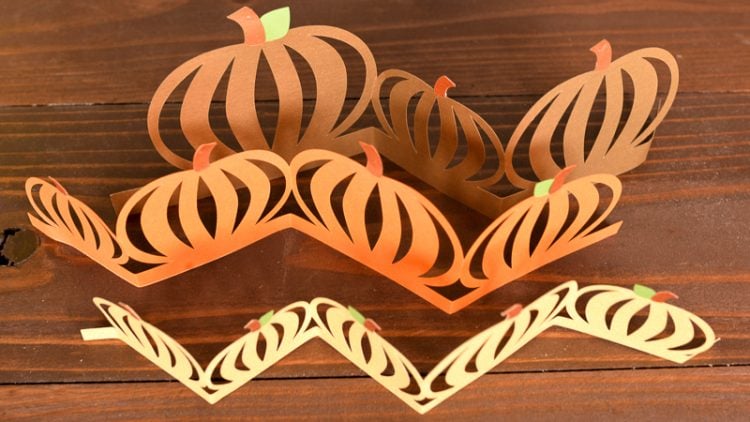
Start by cutting out all the luminaria pieces on your electronic cutting machine using the SVG you downloaded. There are three main pumpkin pieces, and stems and leaves. Note that the SVG will load sideways. I used 8.5″ x 11″ paper and my cutting machine wanted to cut the pieces vertically. You can always rotate them to get them to fit any size paper you have and the constraints of your cutting machine.
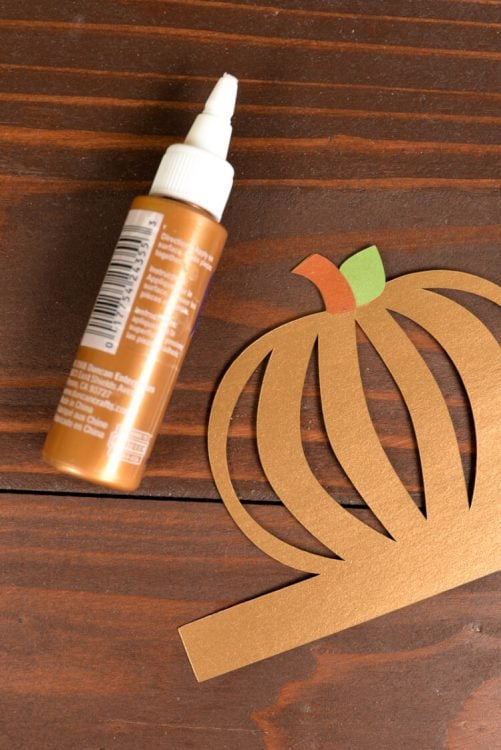
Once you have all of your pieces, glue the stems and leaves to the top of the tops of the pumpkins. You can use the SVG cut file as a guide to see which stems and leaves fit on which pumpkins:
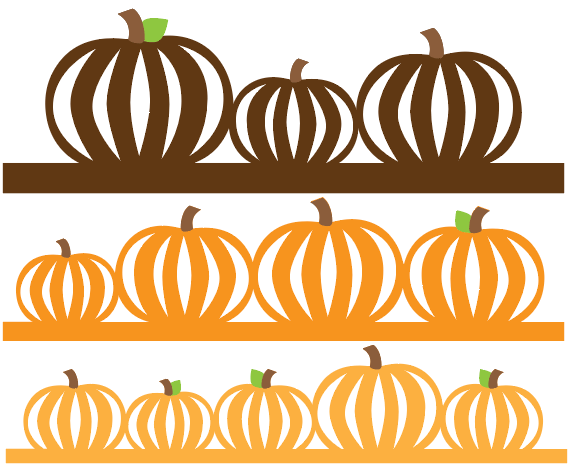
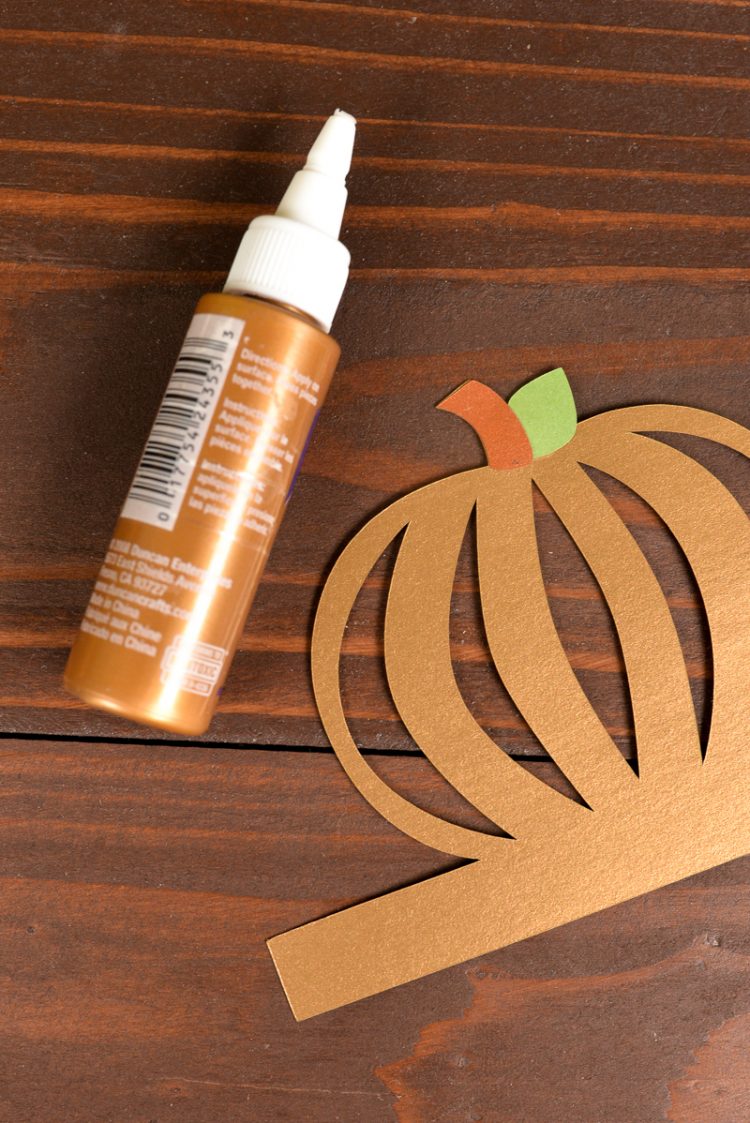
Once you have the stems and leaves glued on, just fold each piece to create an accordion effect. I folded in between each pumpkin, making sure the bottom connecting piece always remained level with each fold.
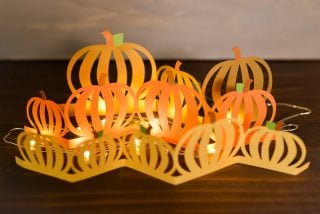
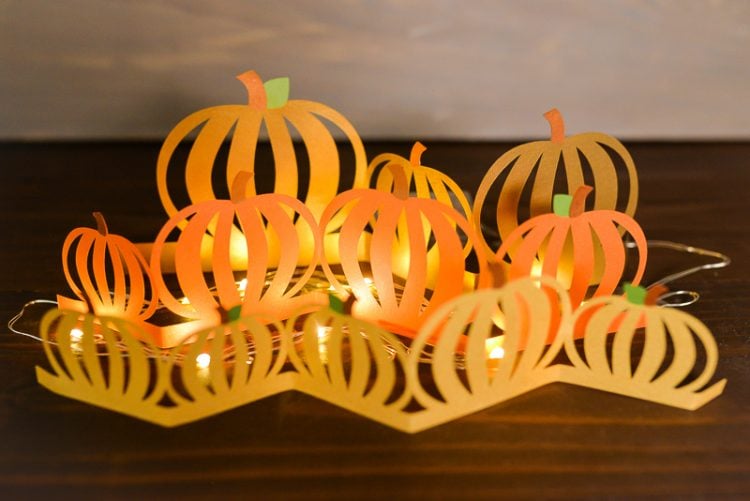
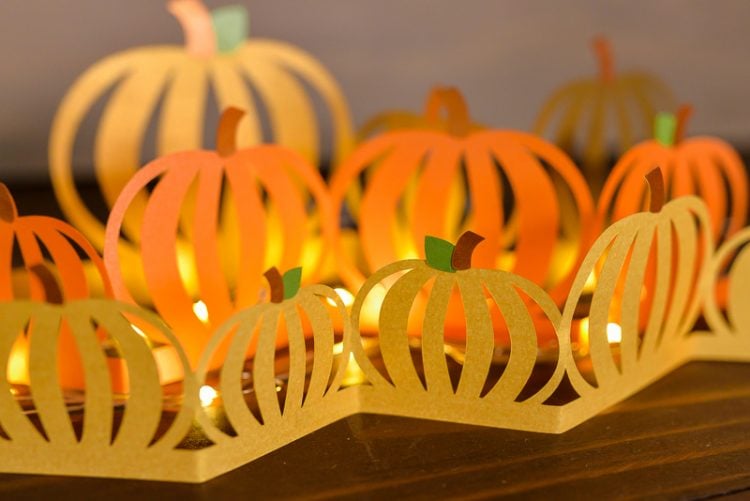
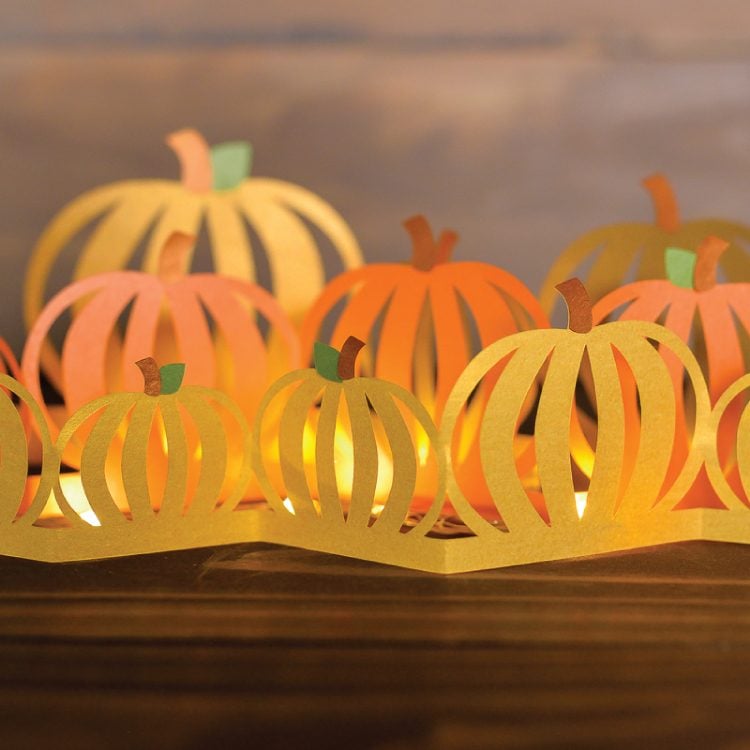
Then weave your fairy lights in between each layer of the luminaria. I used tape to help hold everything in place, which made it a lot easier. A gorgeous fall luminaria that makes me want to drink pumpkin spice lattes and wear scarves.
You might also love my 3D paper pumpkins! Or for another luminaria design, check out this Papercut Christmas Village!
PUMPKIN LUMINARIA
Equipment
- Cricut Maker or
- Scotch Tape
Supplies
- paper in five colors: yellow, orange, dark brown, light brown, and green
- Twinkle lights
- Free Pumpkin Luminaria File #C65
Instructions
- Start by cutting out all the luminaria pieces on your electronic cutting machine using the SVG you downloaded. There are three main pumpkin pieces, and stems and leaves. Note that the SVG will load sideways. You can always rotate them to get them to fit any size paper you have and the constraints of your cutting machine.Once you have all of your pieces, glue the stems and leaves to the top of the tops of the pumpkins. You can use the SVG cut file as a guide to see which stems and leaves fit on which pumpkins:

- Once you have the stems and leaves glued on, just fold each piece to create an accordion effect. Fold in between each pumpkin, making sure the bottom connecting piece always remains level with each fold.

- Then weave your fairy lights in between each layer of the luminaria. Use tape to help hold everything in place.


