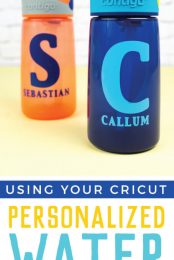
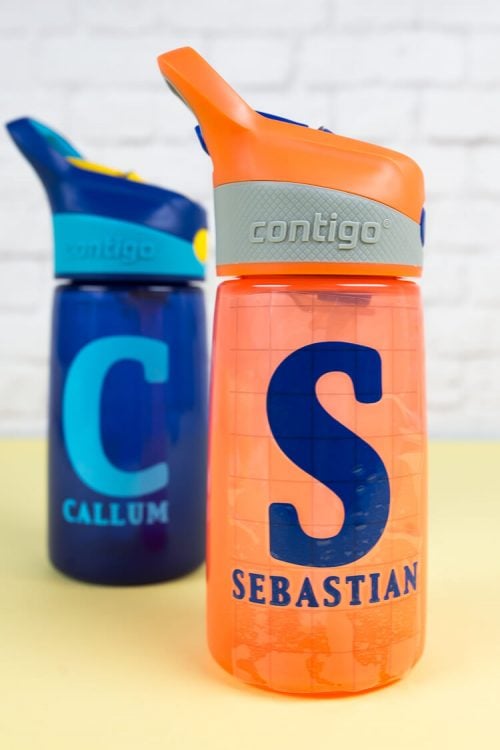
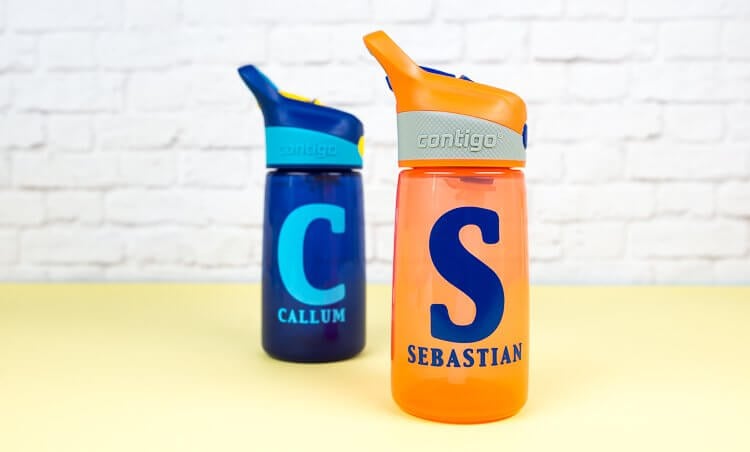
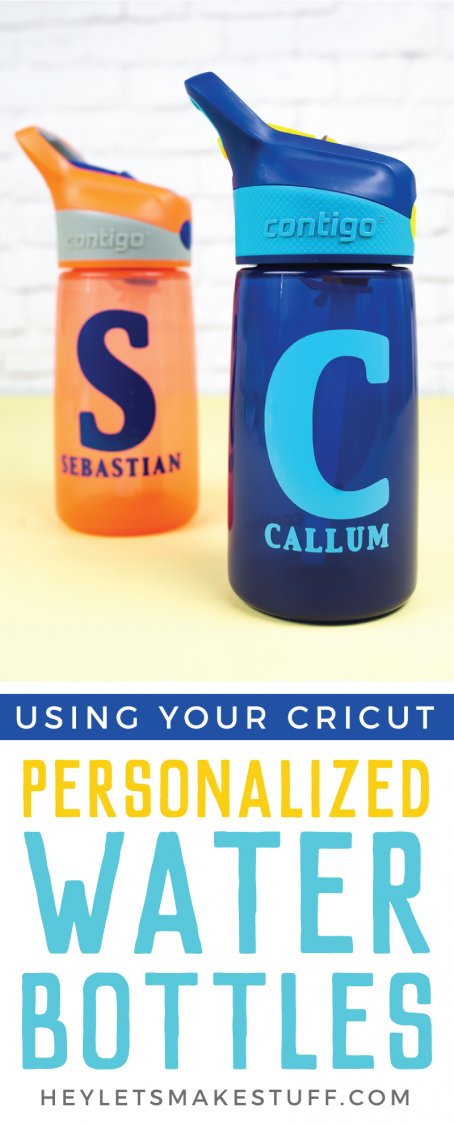
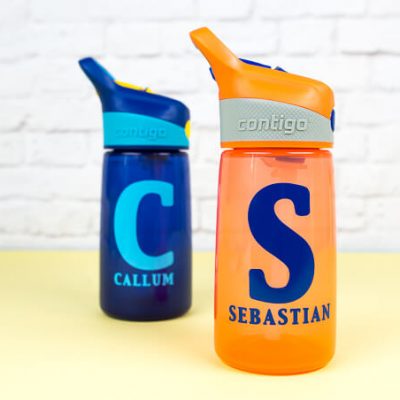
Send the kids to school, sports practices and summer camp with their very own personalized water bottles! They are easy to make using your Cricut and the kids will love having something just for them.
A big thank you to Expressions Vinyl for providing the vinyl for this project.
I can’t believe how quickly time is flying! A few weeks ago, my boys started preschool prep. They turn three in May (omg!), so preschool prep is basically glorified daycare at the same school where they’ll be attending preschool. Two days a week, they don their most adorable backpacks with their water bottles and we head off to school.
It’s freaking adorable.
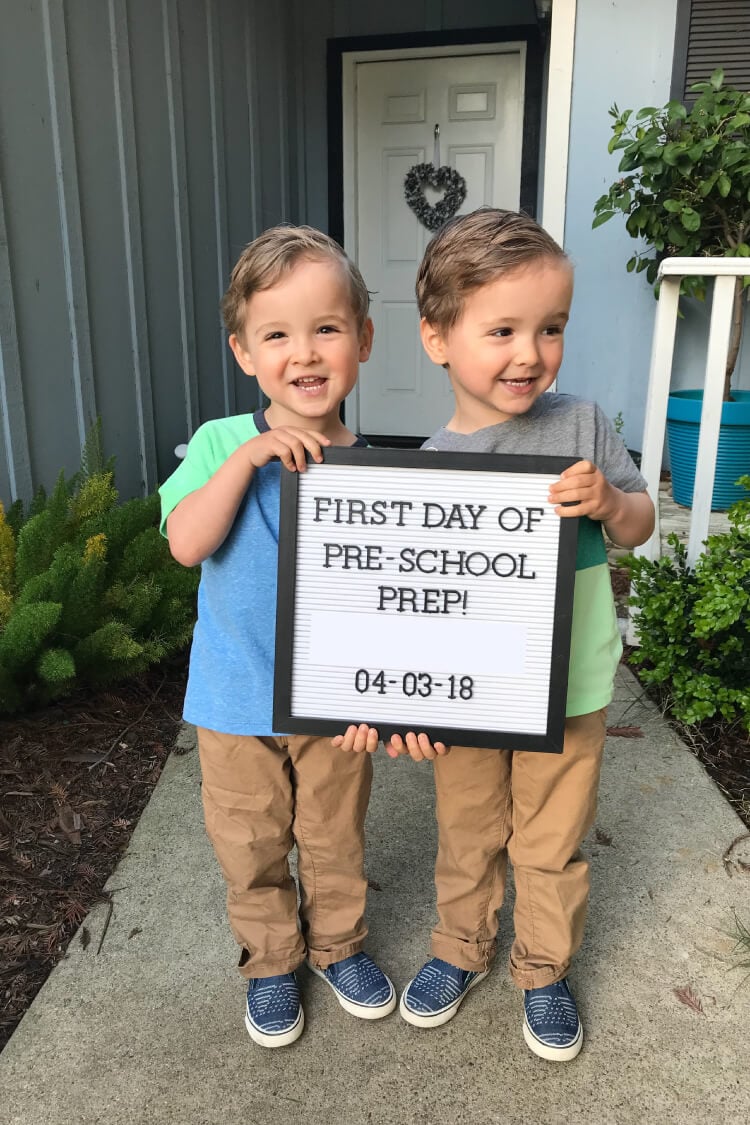
When I learned that the boys were going to need their own water bottles, though, I found myself in a conundrum. Having identical twins means that almost everything is communal between the two of them. The only things that really are “theirs” are their knitted blankets. So how was I going to teach them that water bottle #1 belongs to Cal and water bottle #2 belongs to Seb? And not to drink out of the other 20 water bottles in the baskets at school?
Thankfully, they are learning their letters.! So I decided not only to personalize their water bottles with their names, but to emblazon them with their first initial. Cal knows his letter is C, and Seb knows his letter is S. Easy! I headed over to Cricut Design Space to whip up this project—it came together so quickly!
Personalized Water Bottles: Supplies
- Water bottle with smooth surface
- Outdoor vinyl (I like Oracal 651)
- Transfer tape
- Scraper or brayer
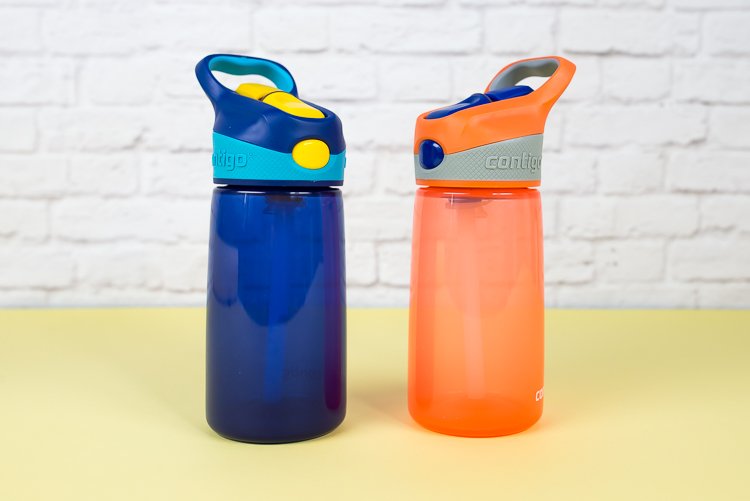
Personalized Water Bottles: Instructions
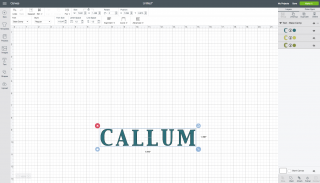
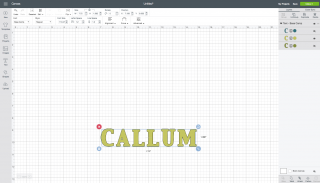
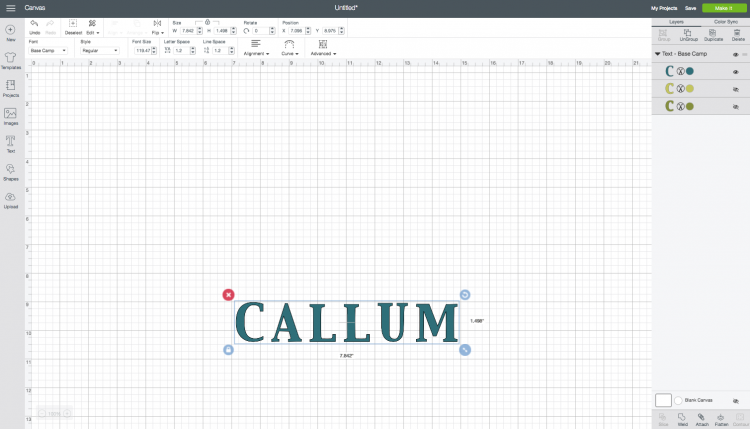
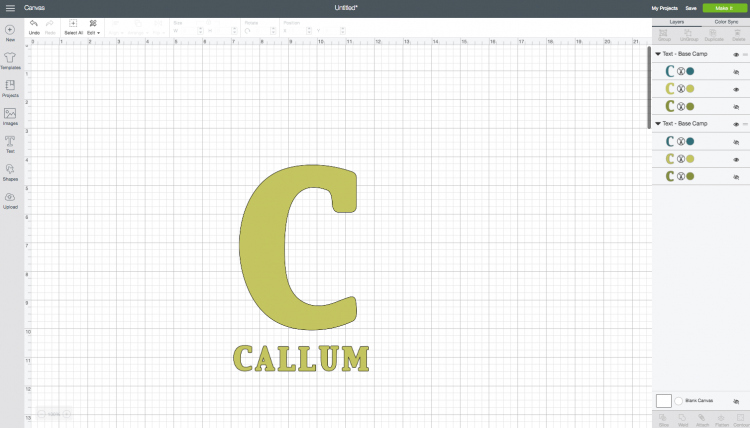
This really is such an easy project to make. Open Cricut Design Space and design your text. I wanted a chunkier font, so I actually used the “outline” for the Cricut Base Camp font. You can see it’s a narrower font here, but when I hide the blue layer and show the green layer (using the eye icons in the Layers Panel on the side, I get the chunkier version.
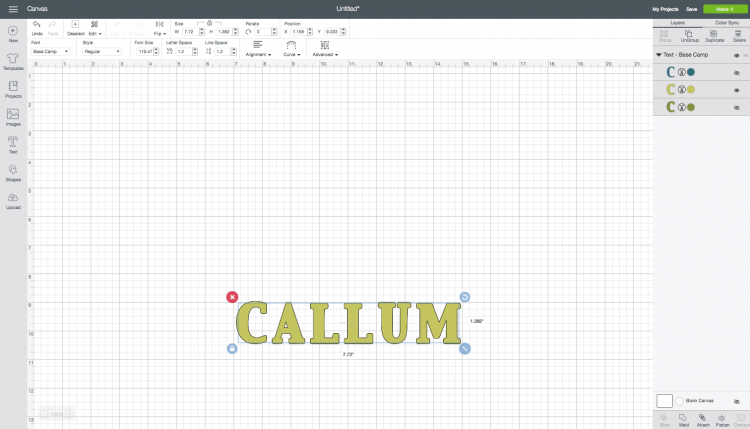
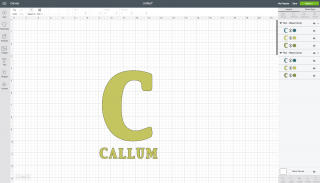
Then create a second text box and make your initial HUGE! Attach the two layers together so that your inital and name cut together, and resize to fit your water bottle.
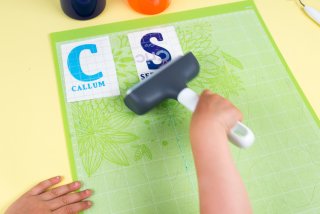
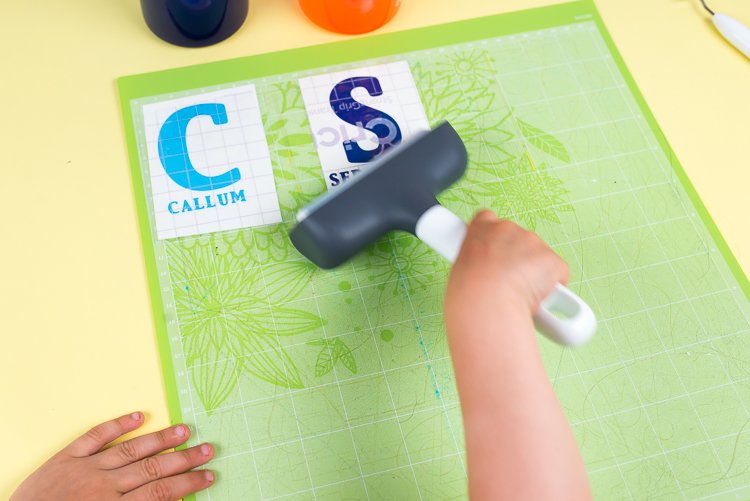
To adhere to your water bottle, you’re going to want to use transfer tape. It’s super easy and you can learn all about the process here. I got my boys in on the action by letting them use my Cricut brayer to help press down the transfer tape (a scraper or even credit card work great here too).
Then when you’re adhere to the bottle, start in the center of your letter and work out. Smooth out the bubbles as much as you can. I had a few bubbles, but they have worked themselves out over the last few weeks and everything is nice and smooth now.
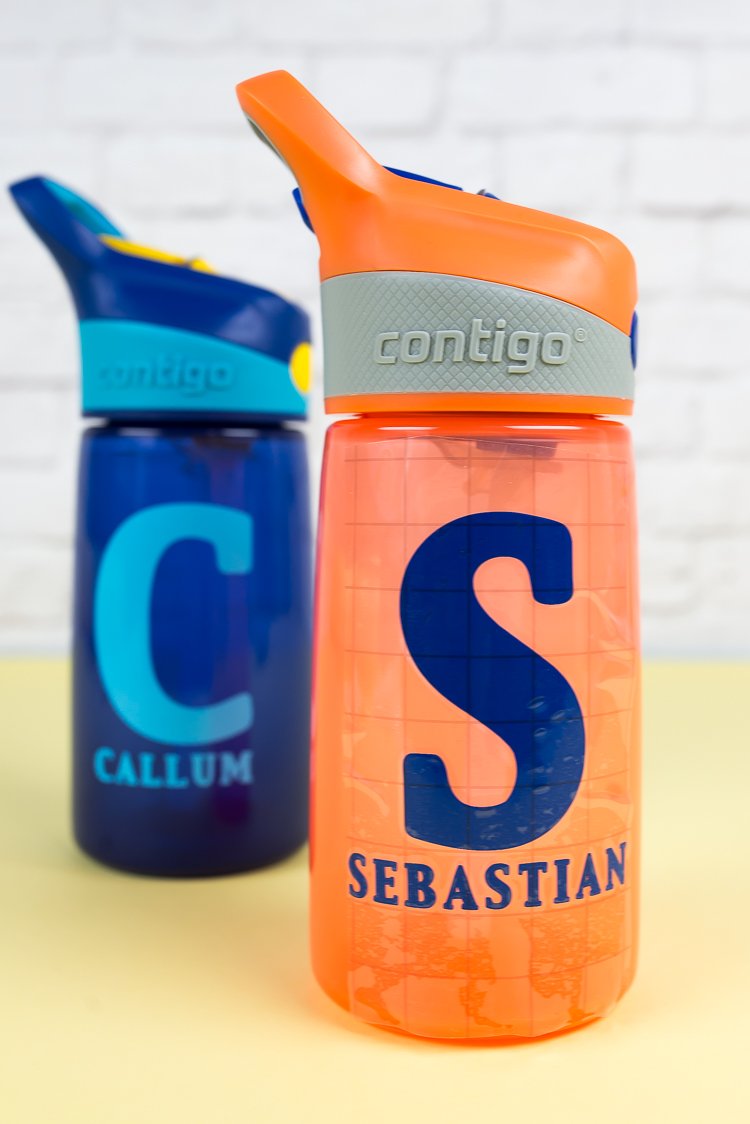
Carefully peel off your transfer tape and you’re done! Even though I’m using outdoor vinyl, I am handwashing the bottles — I want to make sure these personalized water bottles last as long as possible!
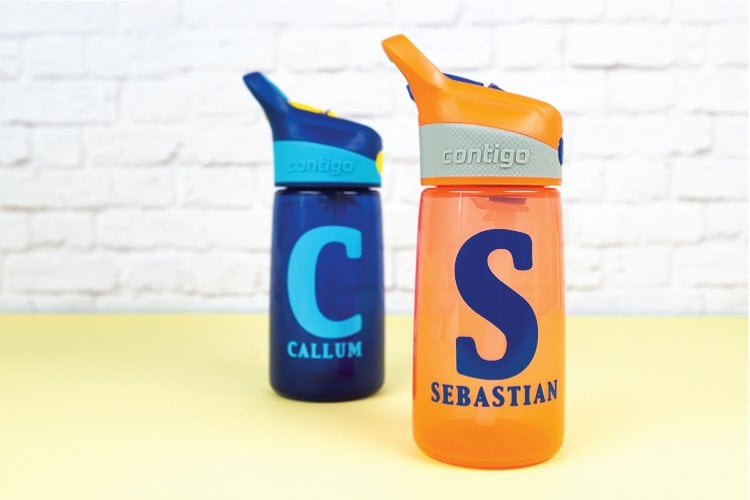
Easy Personalized Water Bottles
Equipment
- Cricut Maker or
Supplies
- Water bottle with smooth surface
- Outdoor vinyl
Instructions
- Open Cricut Design Space and design your text.


- Then create a second text box and make your initial HUGE! Attach the two layers together so that your inital and name cut together, and resize to fit your water bottle.

- To adhere to your water bottle, you're going to want to use transfer tape. It's super easy and you can learn all about the process here. Use a Cricut brayer to help press down the transfer tape (a scraper or even credit card work great here too).

- Then when you're adhere to the bottle, start in the center of your letter and work out. Smooth out the bubbles as much as you can. There were a few bubbles, but they have worked themselves out over the last few weeks and everything is nice and smooth now.

- Carefully peel off your transfer tape and you're done! Even though outdoor vinyl was used here, the bottles will be hand-washed to make sure these personalized water bottles last as long as possible!

