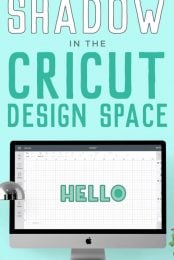
Cricut Design Space has no built-in way to create a shadow, but it’s possible to hack! Here are a few different ways and hacks to create a shadow, outline, or offset on text within Cricut Design Space!
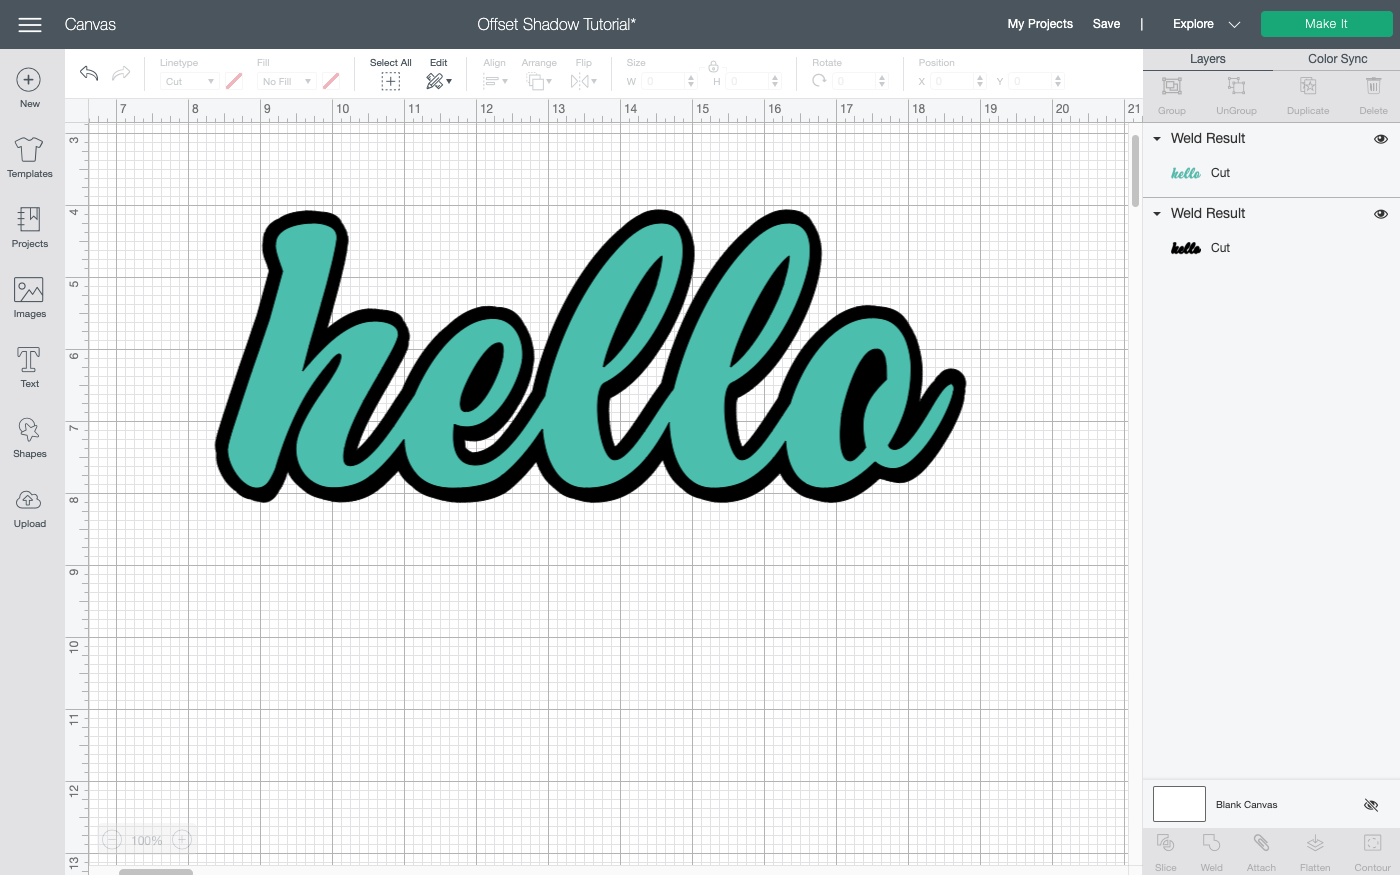
> > > UPDATE: You can now create an offset natively in Cricut Design Space!
One of the most-requested features for Cricut Design Space is to create a shadow / outline or an offset for text. Unfortunately, Cricut hasn’t yet added this feature despite these requests. So today I wanted to share a few ways to hack a shadow/outline/offset in Cricut Design Space.
If you have access to Adobe Illustrator, check out my tutorial How to Create an Outline / Shadow in Illustrator. It’s so easy in Illustrator so if you have that option, go for it!
I’m going to share a few ways to hack a shadow/offset in Cricut Design Space. None of these hacks are perfect or will work with every font, but it should give you a good place to start when trying to create your shadow/offset.
Stop pulling your hair out and start creating confidently with your Cricut! Finally understand how to use your Cricut with my Learn Your Cricut eBooks!
Creating a Shadow/Offset/Outline in Cricut Design Space
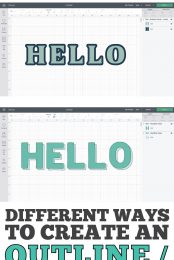
Here’s are different methods for creating an outline that we’re going to cover in this post:
Multi-Layer Fonts
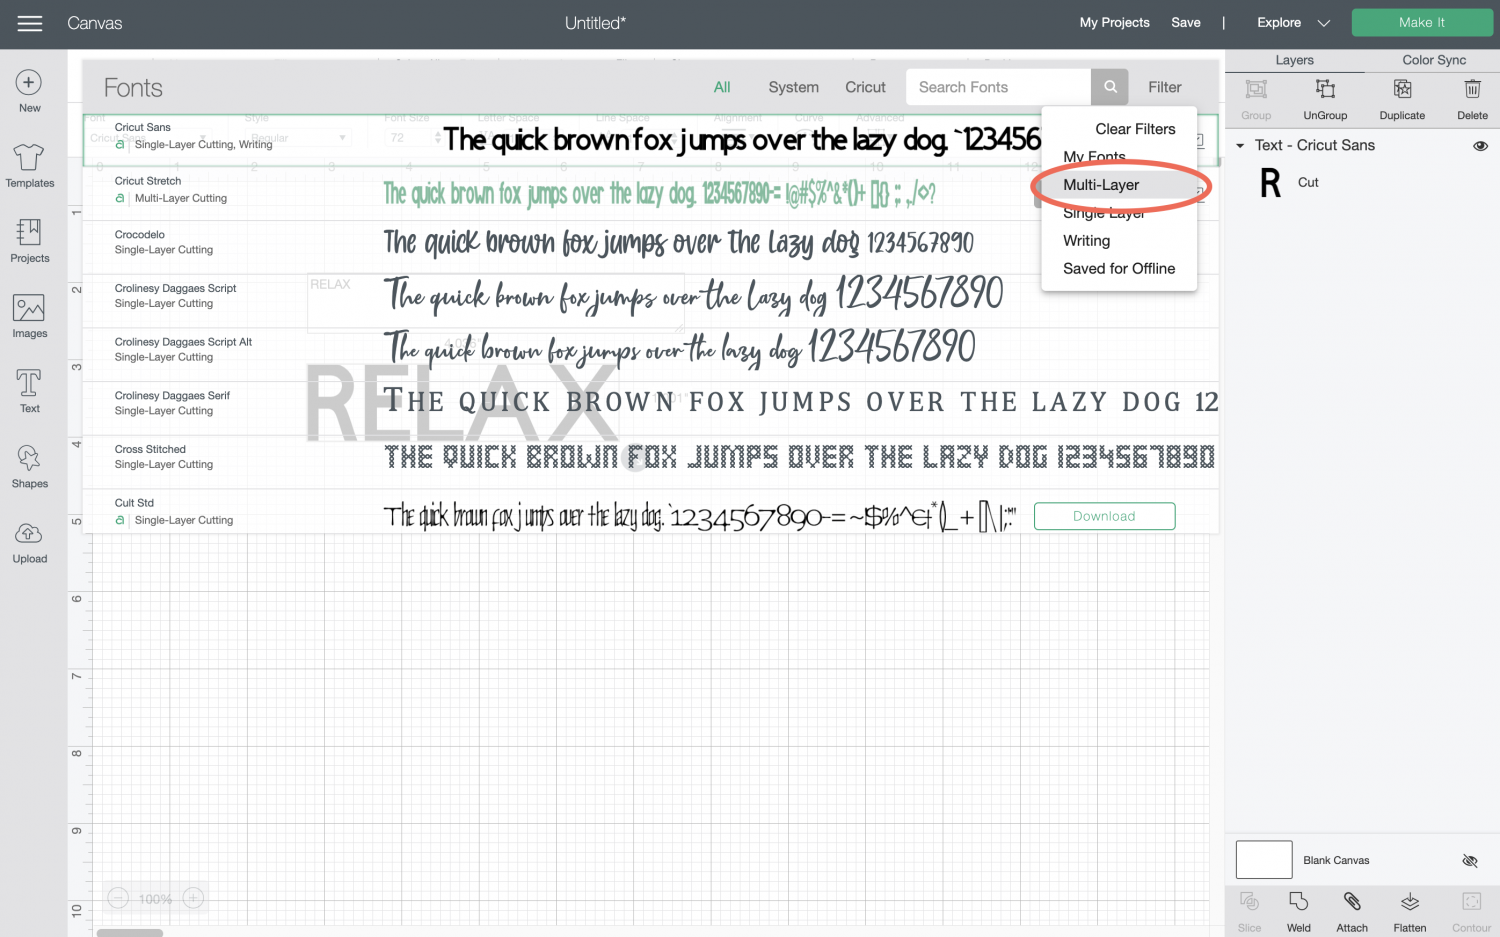
When you are searching fonts in Cricut Design Space, there is an option to filter your fonts by “multi-layer” fonts. This is the easiest way to make a shadow for your fonts since the shadow is built in!
For example, here’s the Cricut font “Extreme Fonts – Junior.” It has two layers, as seen in the Layers Panel on the left. You may need to click the “eye” to show the shadow layer.
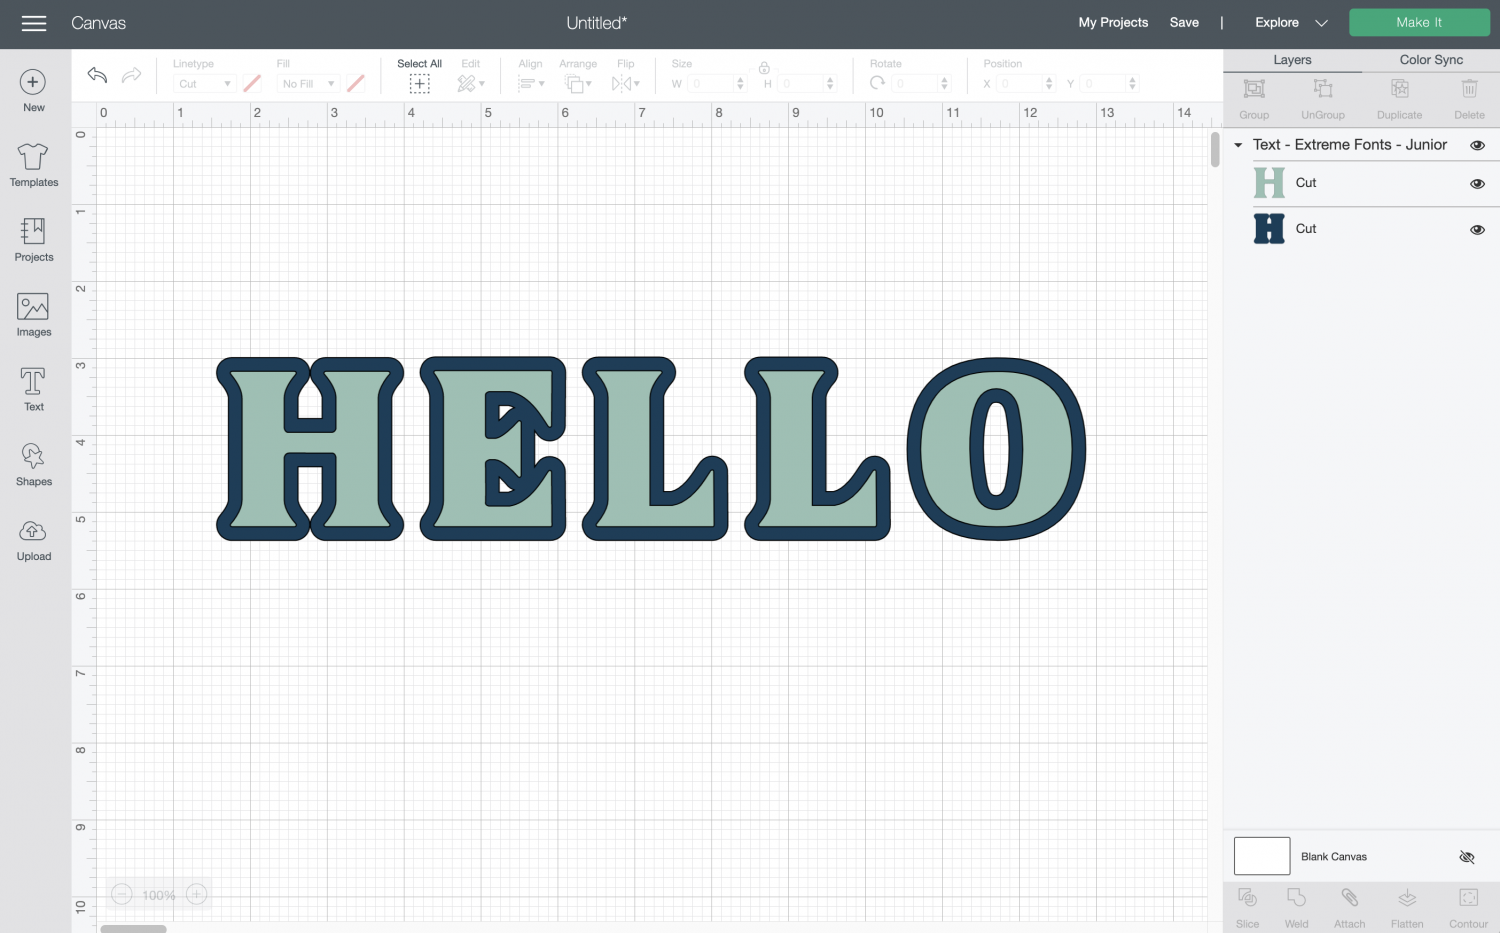
This is, by far, the easiest way to create an offset/outline in Cricut Design Space. It’s not really adjustable, but it works well for scrapbooking and party decorations in particular.
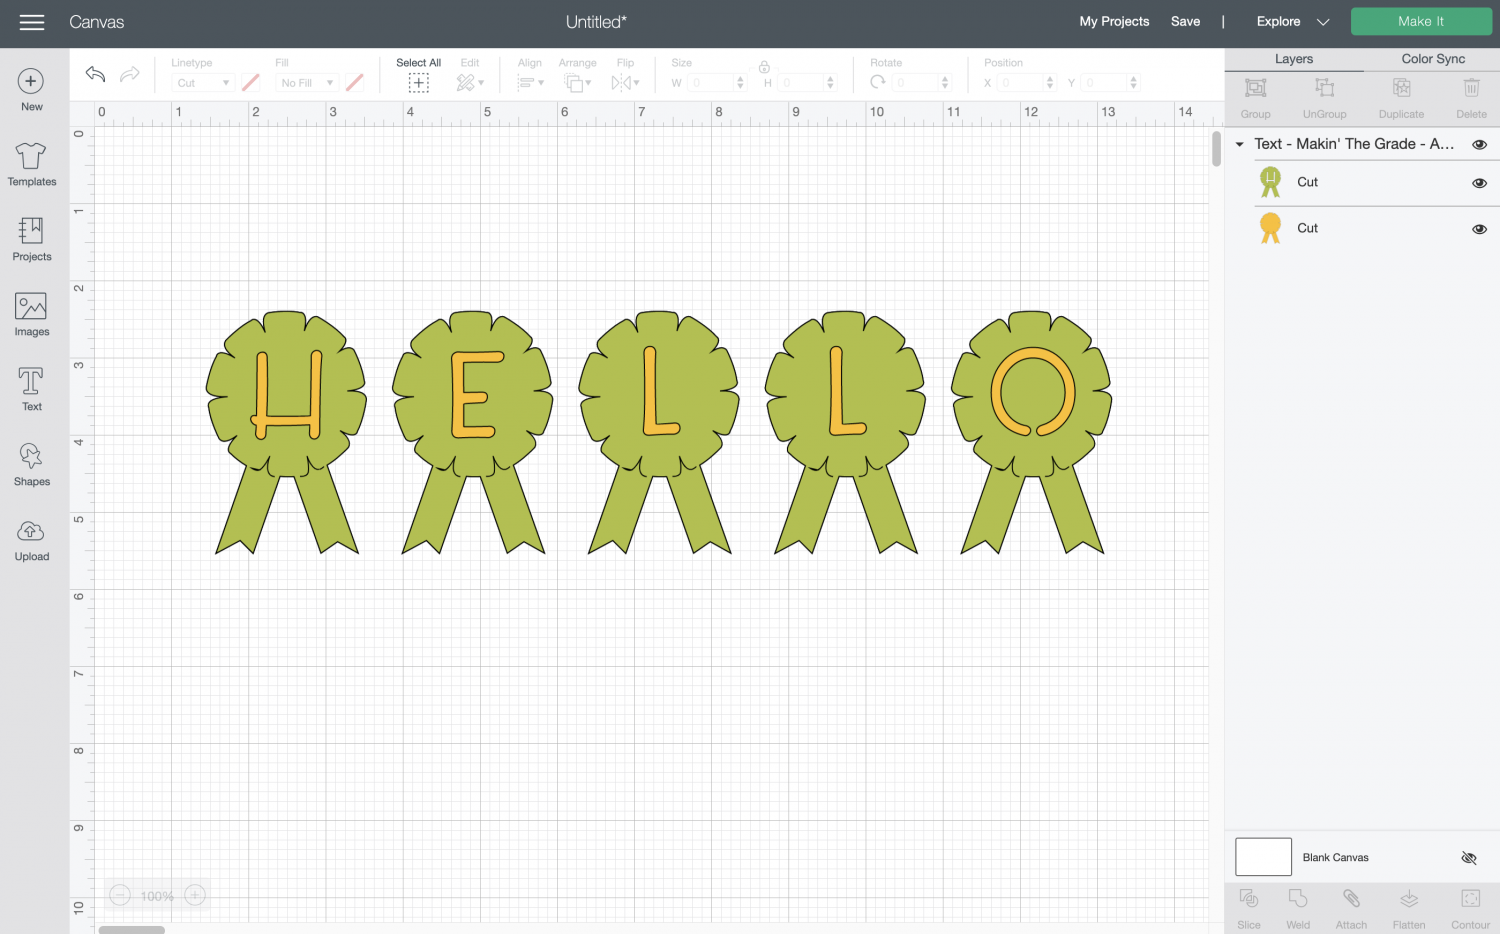
Note that some multi-layer fonts may not have a shadow layer—their additional layers may be other coordinating elements, like Makin’ the Grade, which has ribbon shapes instead of a shadow.
Searching the Cricut Image Library
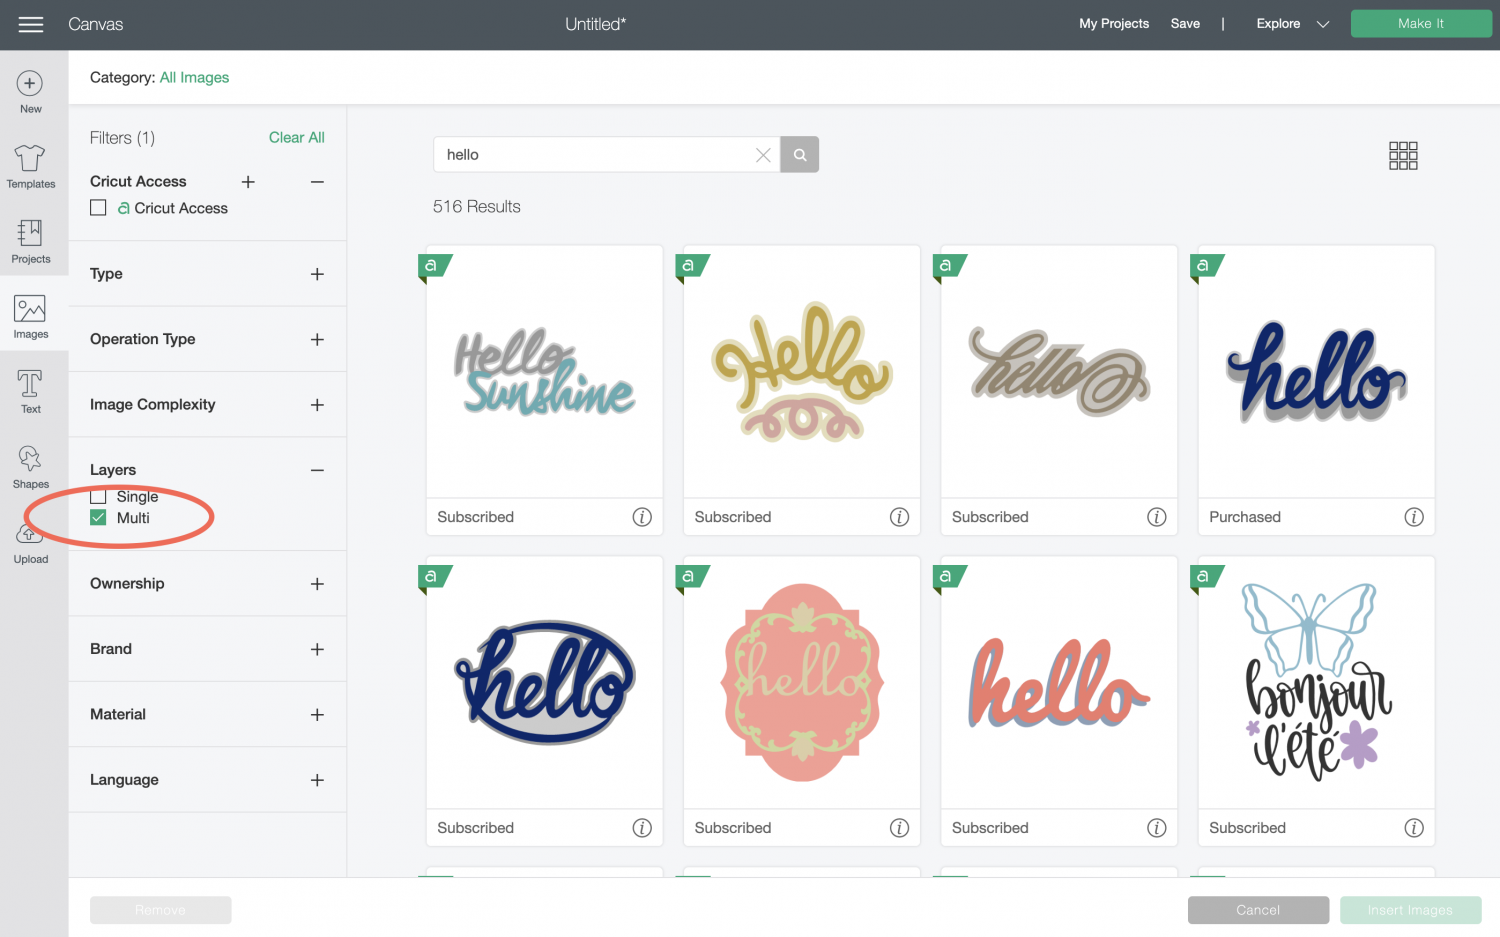
Take a peek in the Cricut Image Library to see if there’s an image in there that will work for your project, particularly if it’s a simple word. You can filter by Multi-Layer on the left to make it easier to find images that have a shadow layer.
Creating an Offset Shadow
I believe most crafters want an outline that surrounds the entire text, but I also wanted to share how to create a simple offset shadow. Using the text tool, simply write your selected text in whatever font you choose (this works for both Cricut fonts and System fonts).
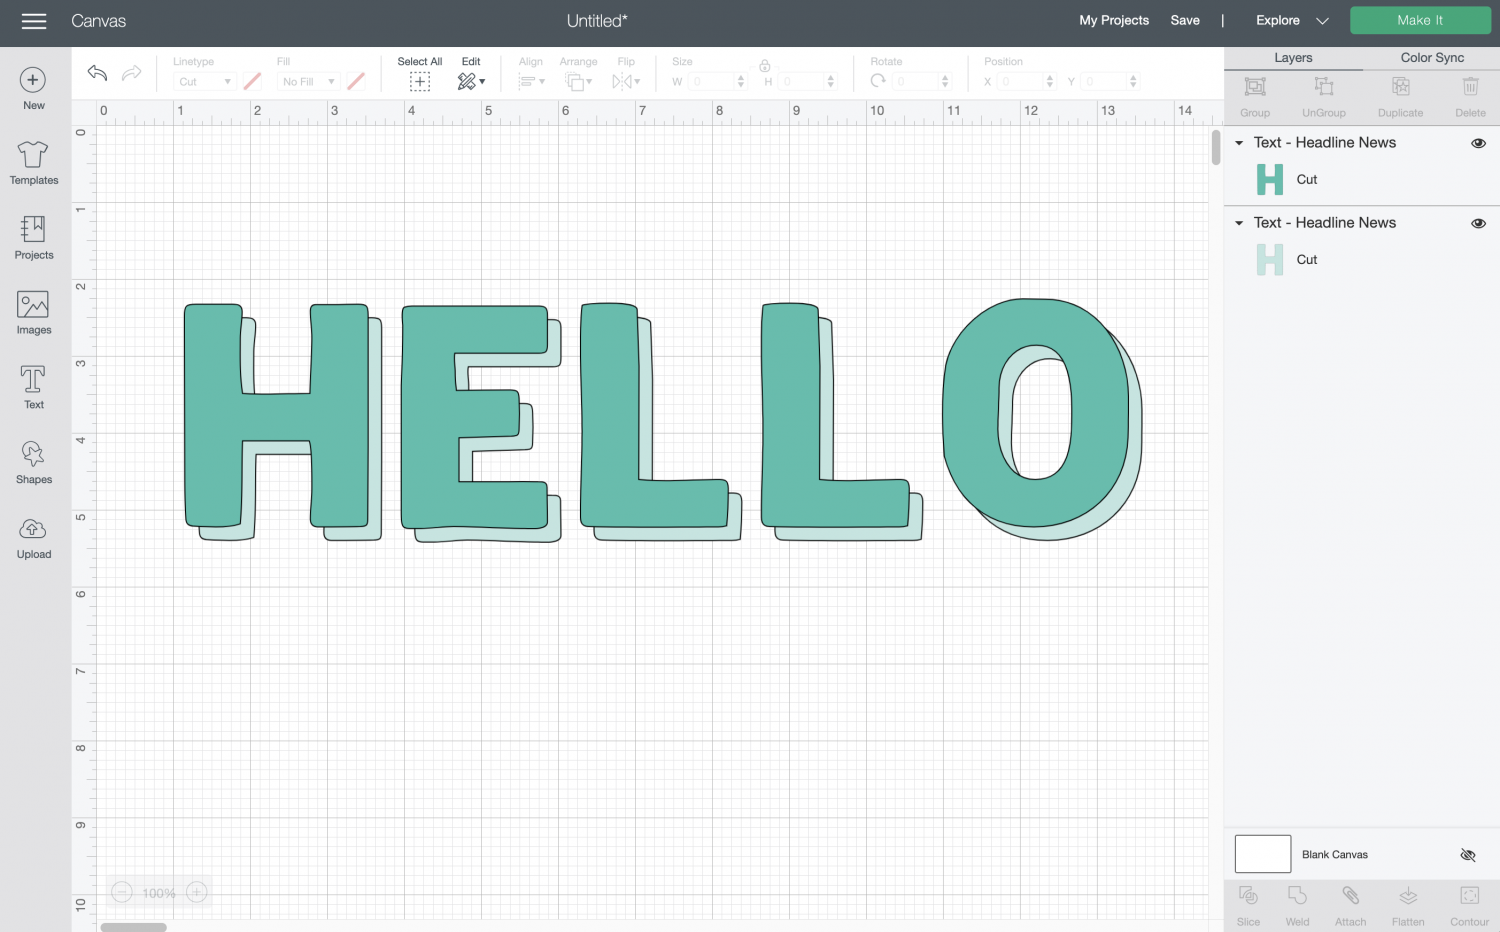
Select your text box and copy it, creating an exact duplicate. Then offset the top layer over the bottom layer. You can offset it in whichever direction makes the most sense for your project. I used the Cricut Headline News font for this example.
Cricut Print then Cut Outline Hack
2021 UPDATE: there used to be a Print then Cut hack that you could use to create a shadow. In a recent update, Cricut removed the bleed from the Print then Cut preview (it still prints), which makes this particular hack impossible to use anymore.
Layering an Outline in Cricut Design Space Hack
Okay, we’re down to the final way to create a shadow in Cricut Design Space. This hack is fussy and takes a while, but it does create an outline around your whole word or image.
Start by typing your word in Cricut Design Space and changing the font, and making it quite large so you can see it easily. You can resize it later if needed.
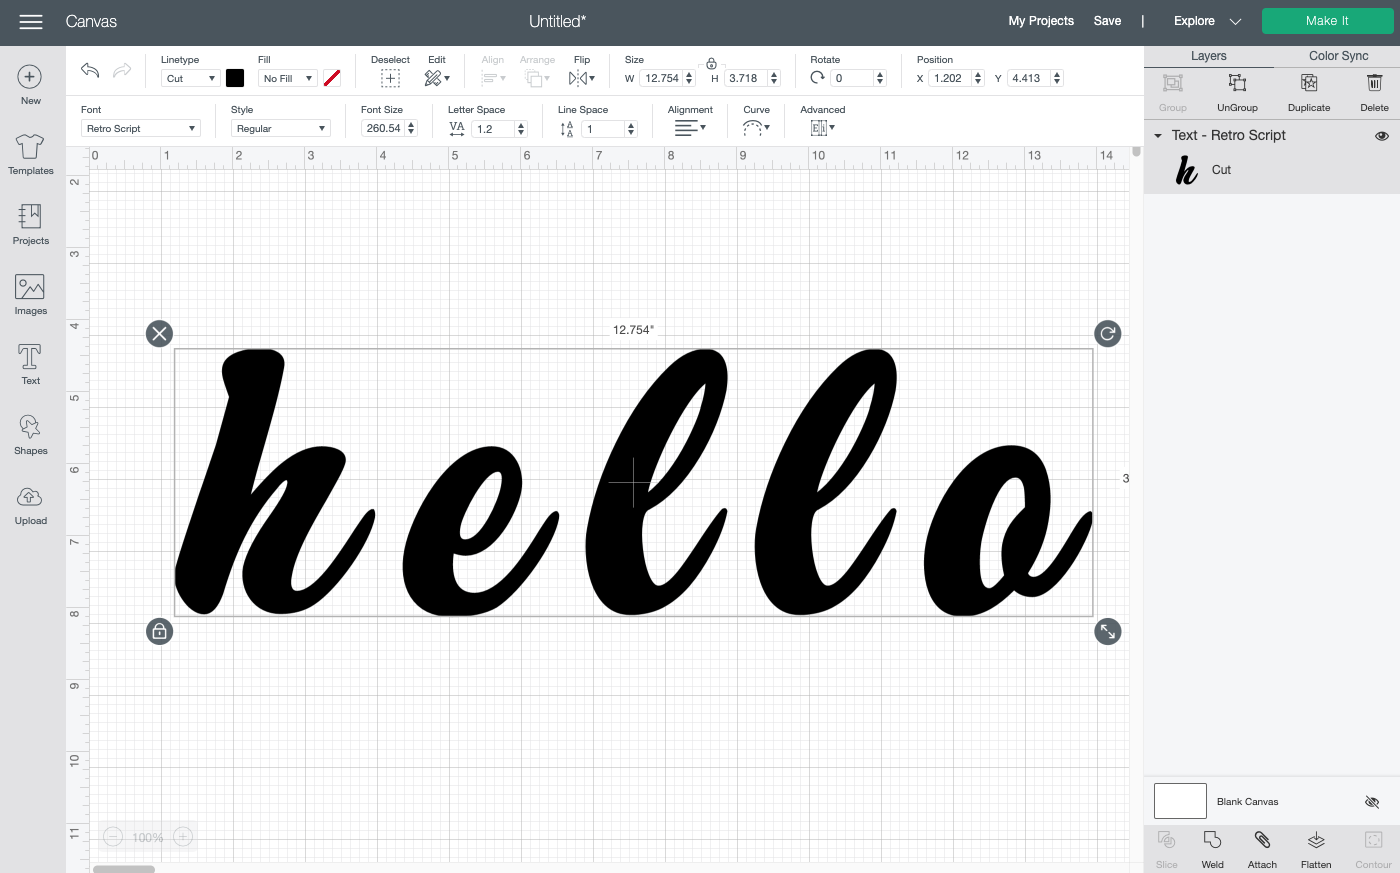
If your font is a script font with overlapping pieces, use the text tools to move your letters so they overlap. Read more about Working with Script Fonts in Cricut Design Space.
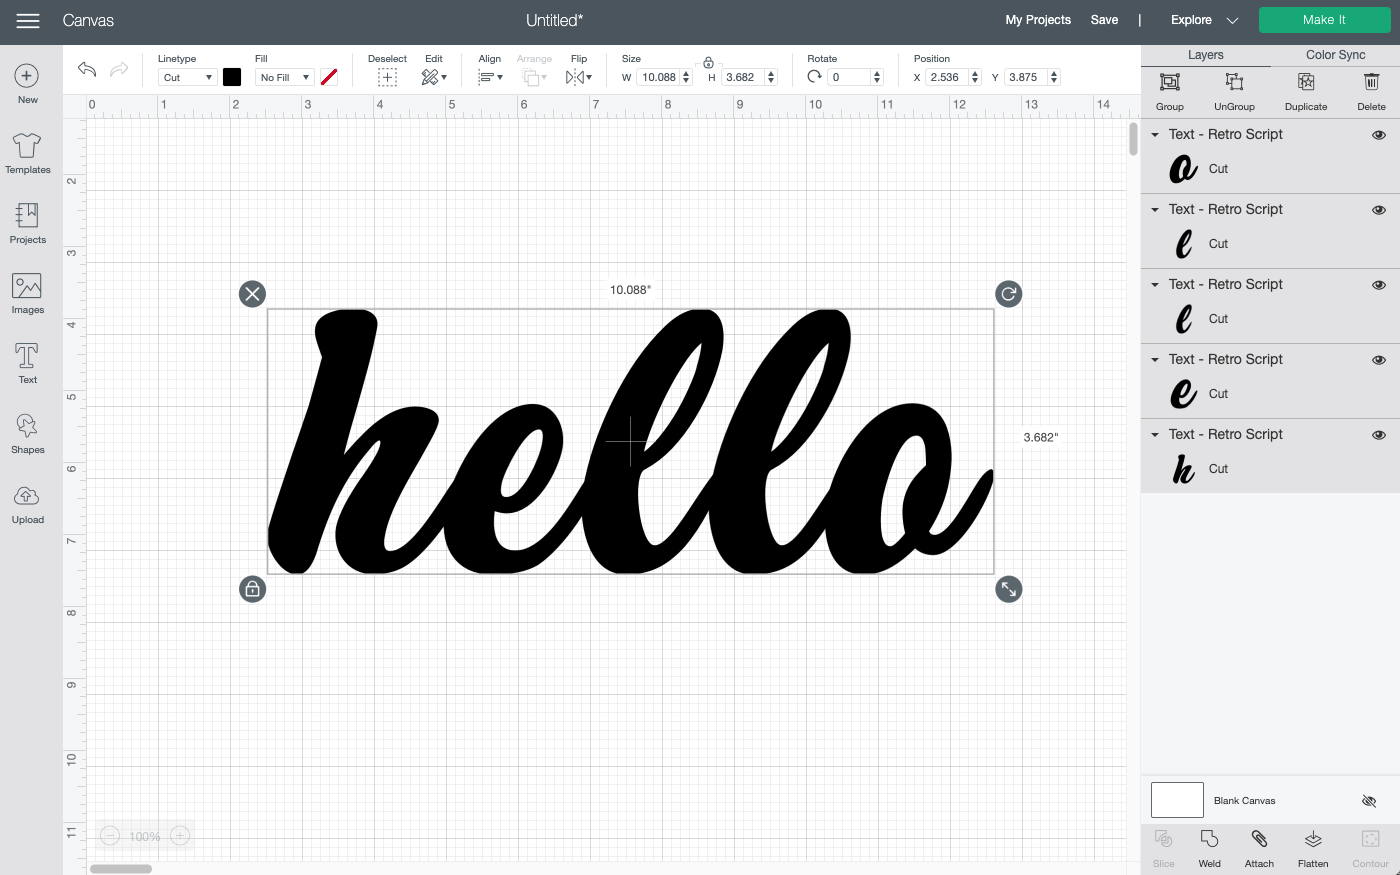
Select your word and click Weld in the bottom right to make your whole word one piece. Lear more about Using Weld in Cricut Design Space.
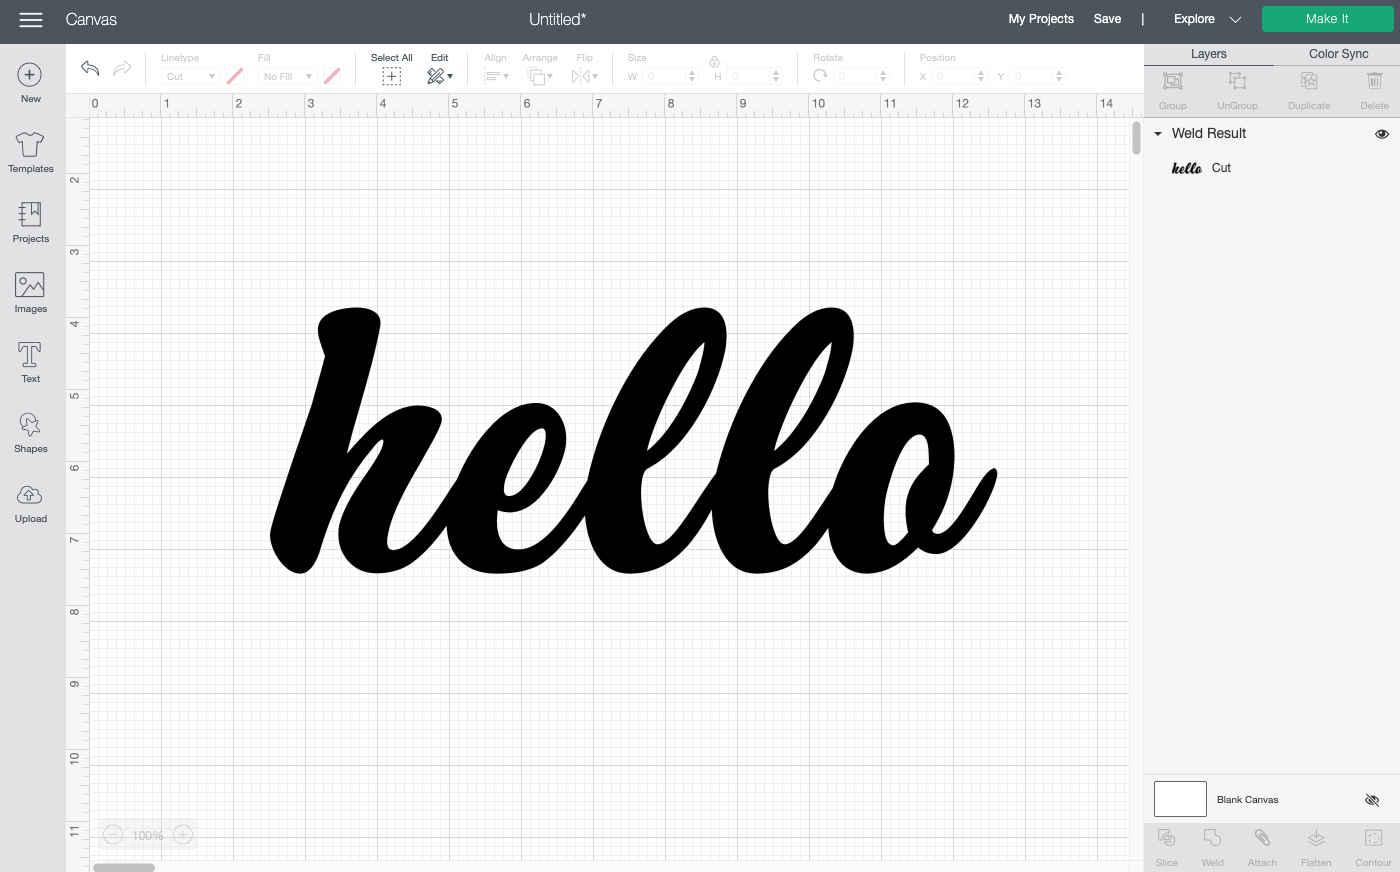
Next, create a bunch of copies (10 or more) of the word. Once you have your copies, select the top word at the top of the Layers Panel on the right and change the color. This will be your word and the copies will create the outline.
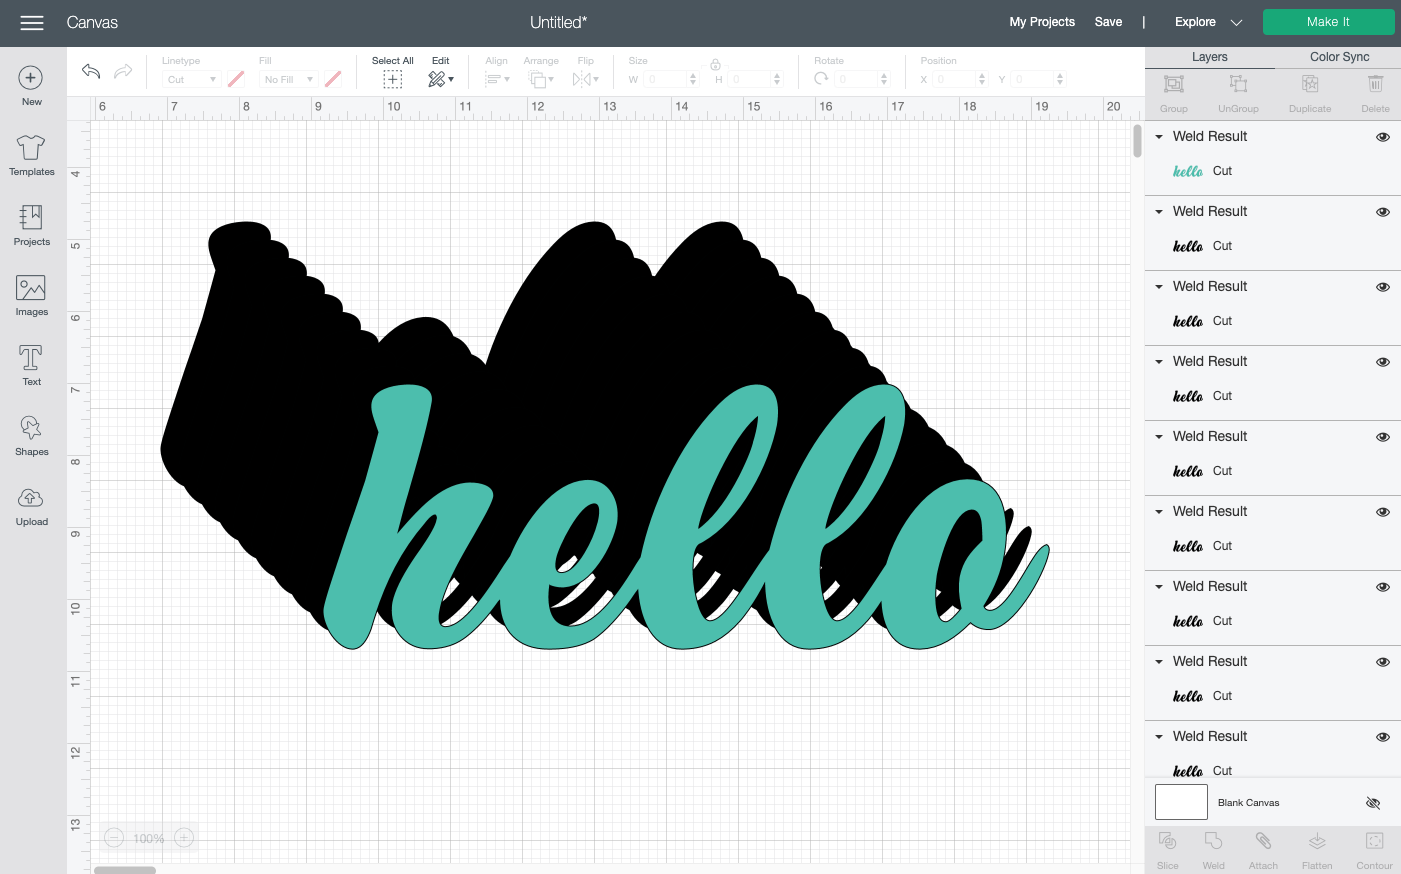
Move your word and all the outline copies away from each other so you can work on them separately.
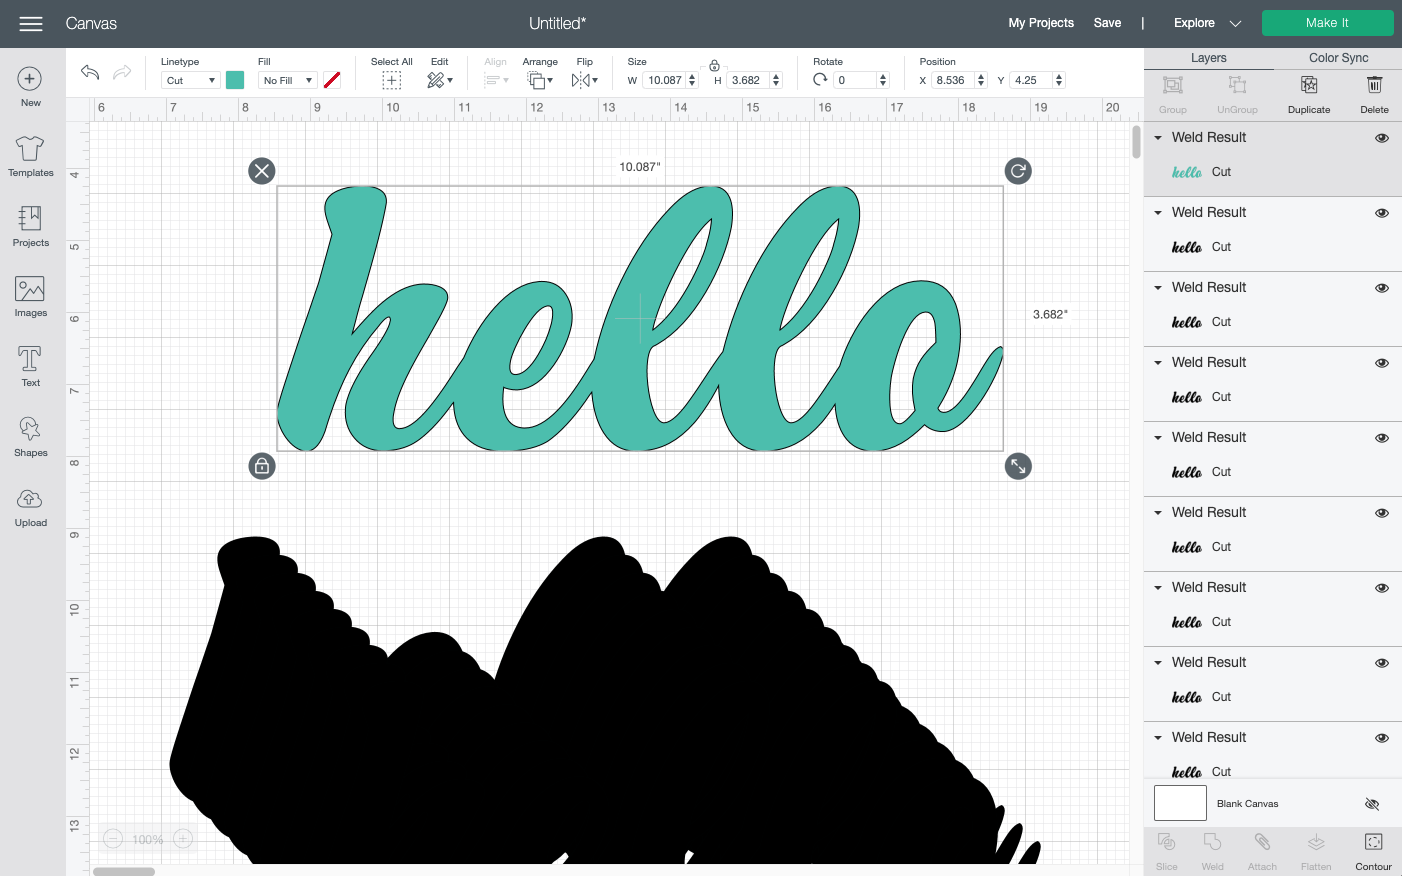
Now it’s time to build your outline. Take one of the black copies and put it offset behind your word.
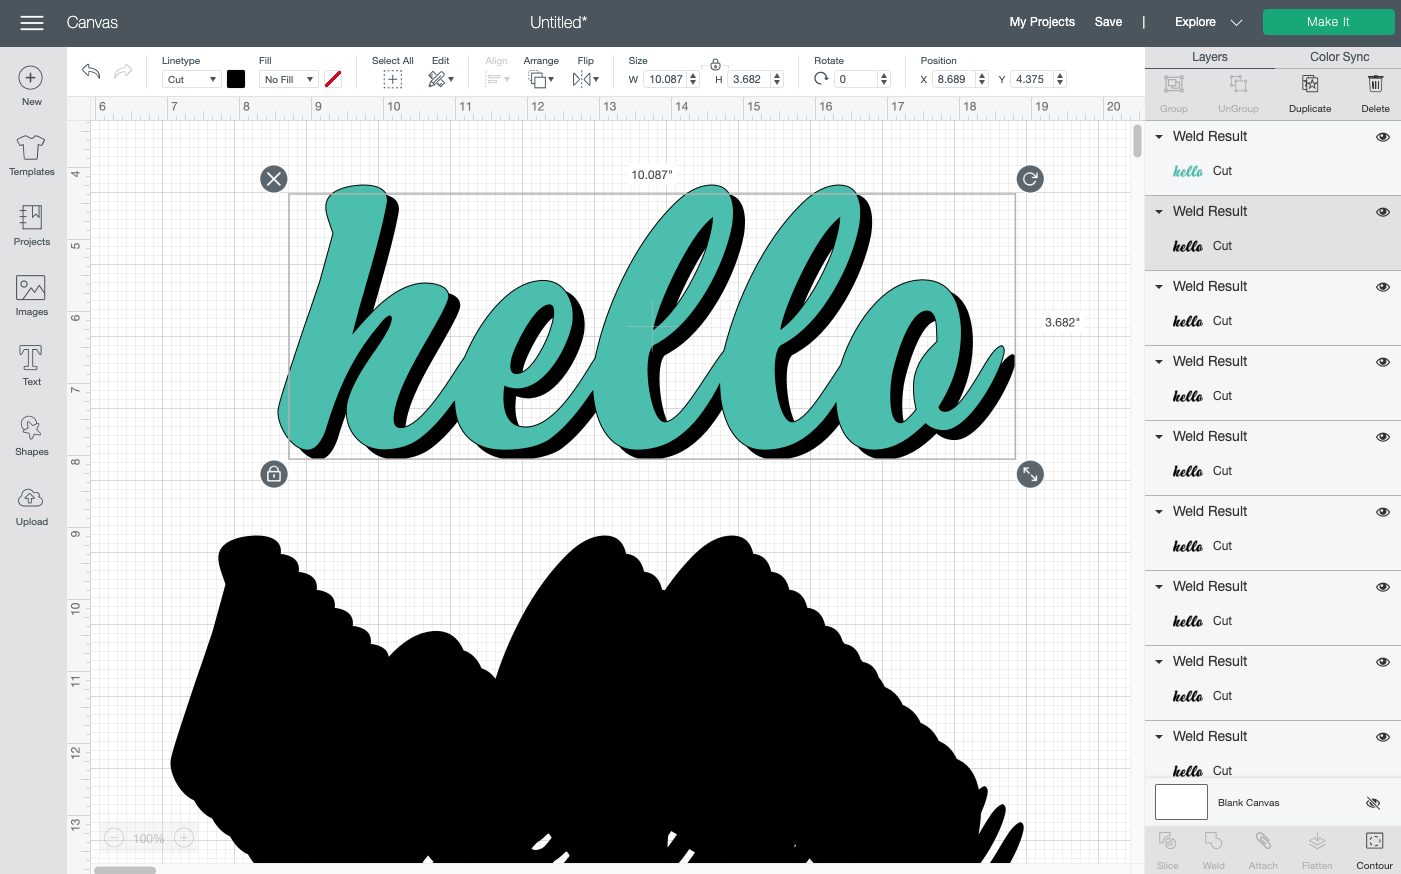
Then do the same with the next copy, but offset it in the other direction.
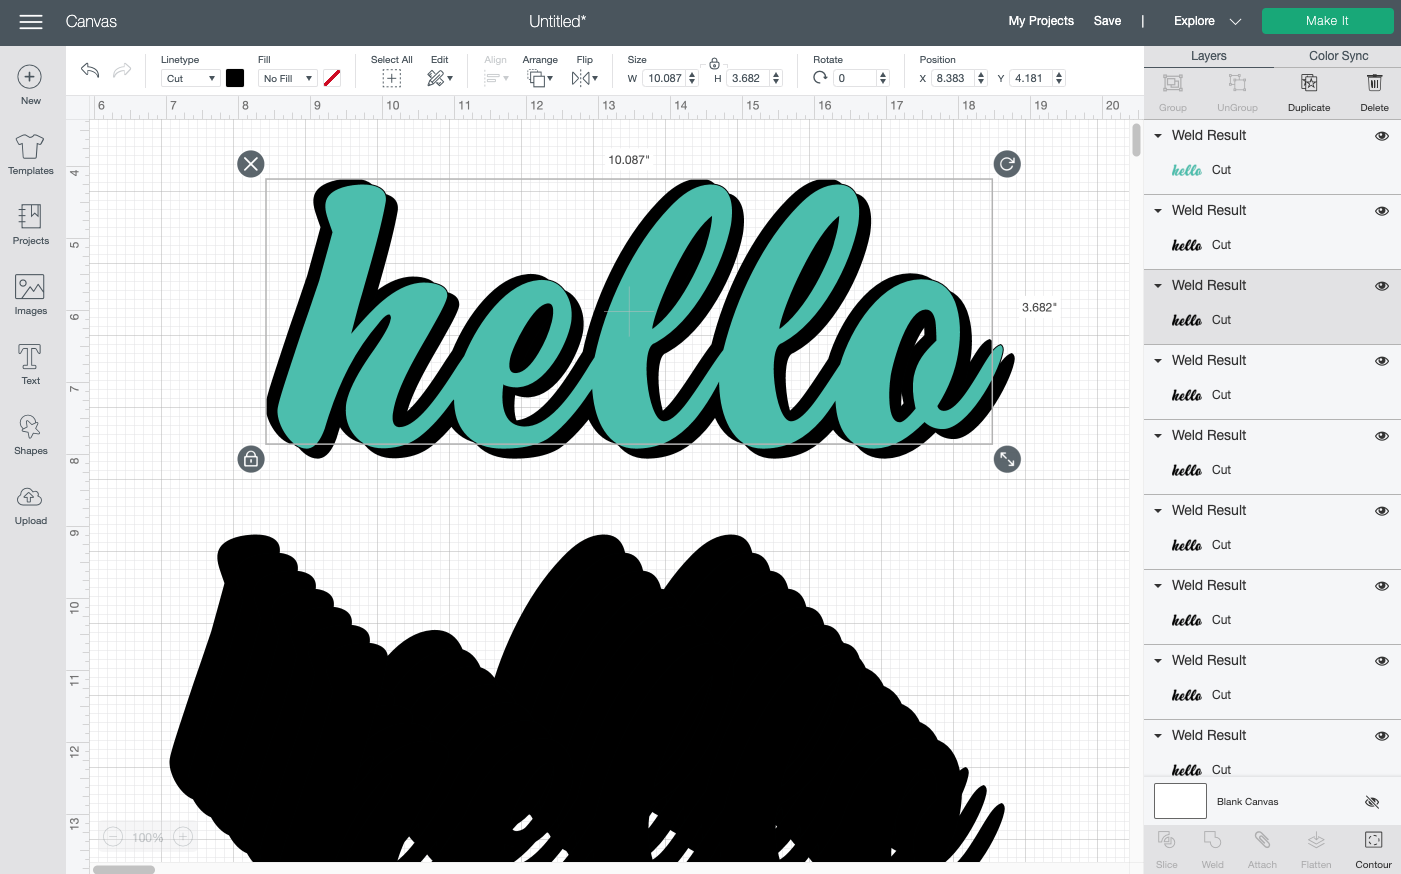
Continue to layer copies of the word behind your main word until you have a general outline.
Then you can use the shapes tool to help refine the edges of your outline. For instance, I used a couple ovals on the tail of the “o” to help smooth everything out. I also used them on the top of the “h” and the top of the “l”s.
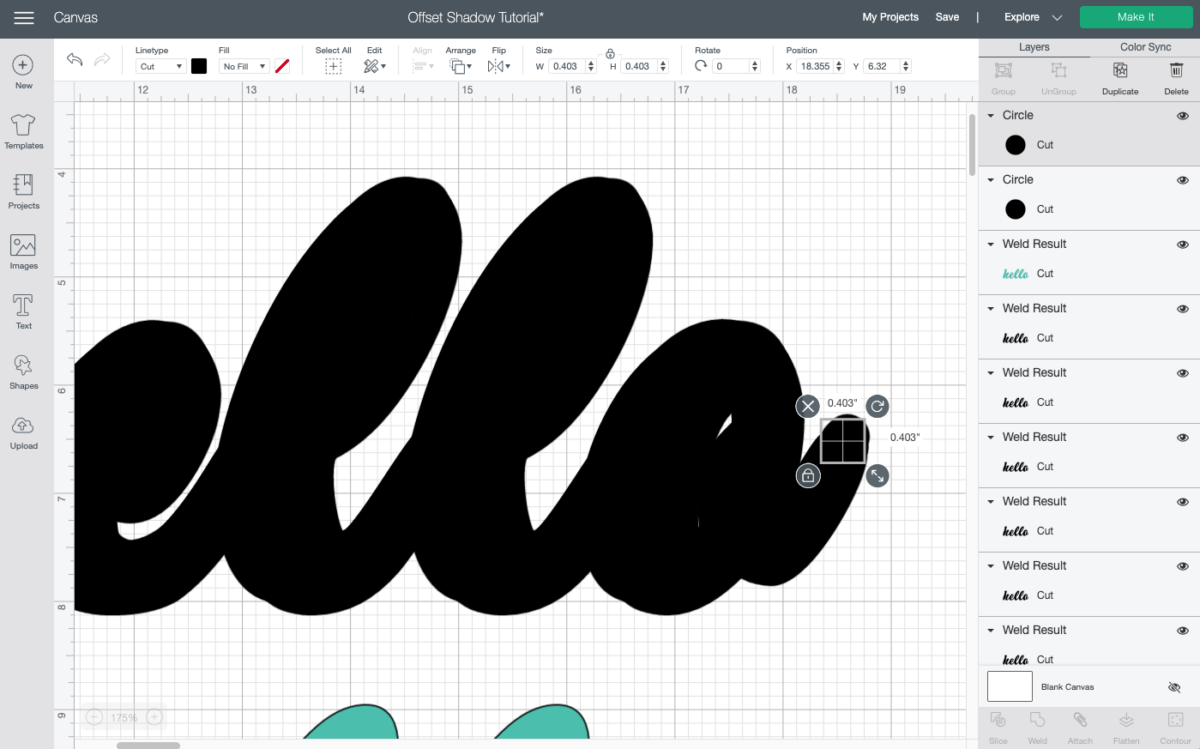
Don’t forget you can stretch shapes if you click the little lock to unlock the proportions. An oval is often better than a circle, a rectangle is often better than a square when it comes to this. Zooming in helps, too.
Once you’re happy with your outline, move the colored word out of the ay and select all of the outline layers and click Weld in the bottom left to make them a single piece.
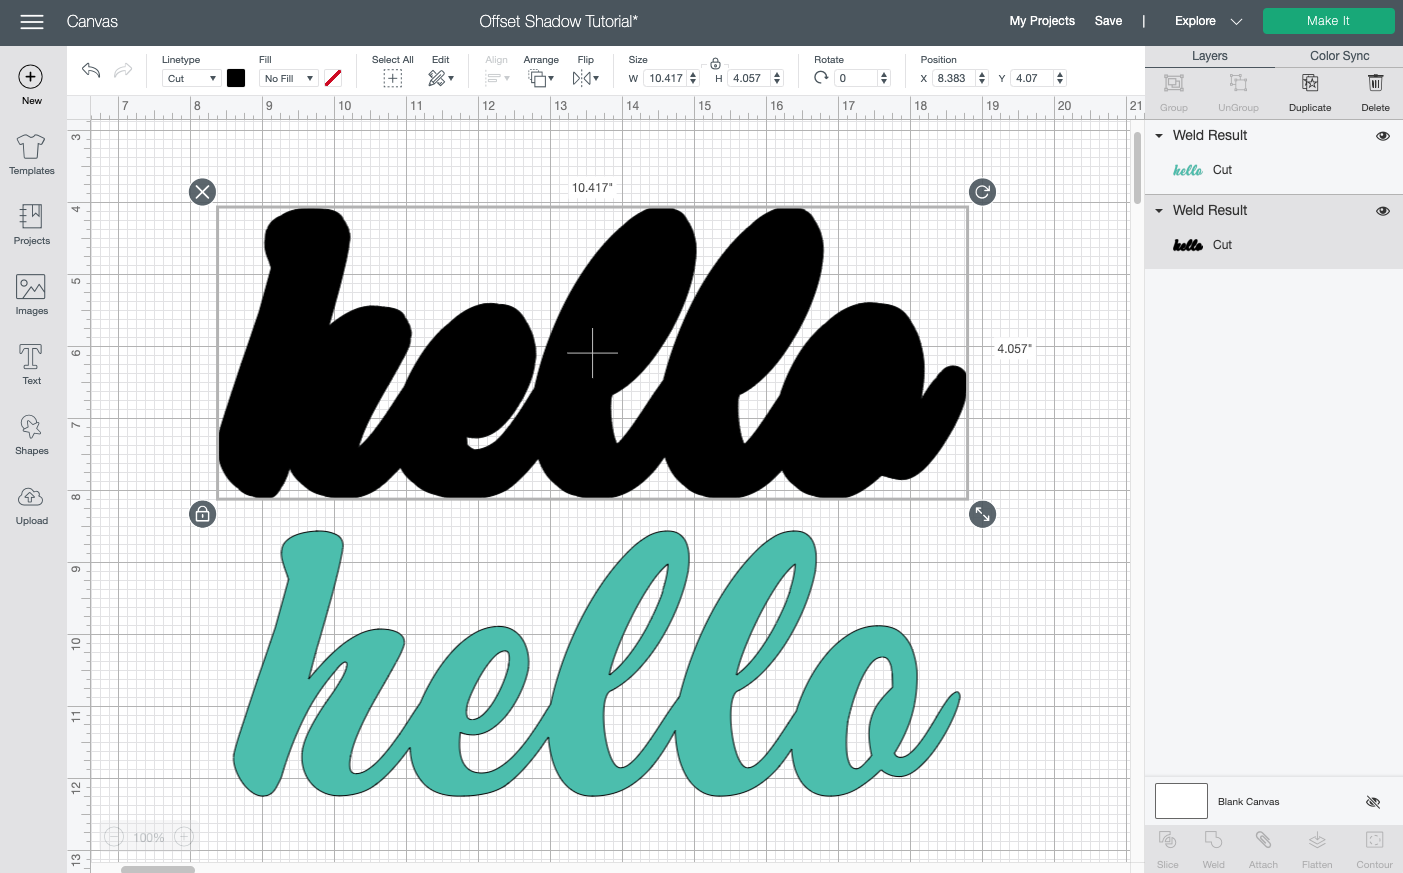
Then, finally, place your word over the outline once more to see the final project!

I will be the first to admit this is sort of a pain in the rear. I really wish Cricut had this feature…it would make things a lot easier! If you have any questions about any of these methods of making an outline or shadow in Cricut Design Space, please let me know in the comments!


Comments & Reviews
Erin says
There is now an offset button that makes this process so much easier!
Crystal Summers says
Yes! They have added that and it’s definitely so much easier!
Crystal, HLMS Community Manager
Antonio Wallenbrock says
Hi mates, its wonderful post regarding tutoringand entirely explained, keep it up all the time.|
Stacey McCarty says
Hi! I am trying to do a simple three letter shadow monogram with cricut sans and not ending up with the same results!
Do you a tutorial for a shadow (thinking the Mark & Graham ones as an example) for upper case simple letters?
My goal is to cut vinyl and apply to a canvas bag and use the reverse of the outline to paint the letters on then add the shadow the same way. Thank you for any suggestions!
Crystal Summers says
Hi Stacey,
Sorry you are having trouble. Could you send us a screenshot to hello@heyletsmakestuff.com? We can help you troubleshoot if we are able to see what exactly you’re seeing when you add the outline.
Crystal, HLMS Community Manager
Susan Dubose says
What a great post! Thank you for sharing this useful information.
Long says
your site is awesome! I have learned so much!!! Thanks u so much