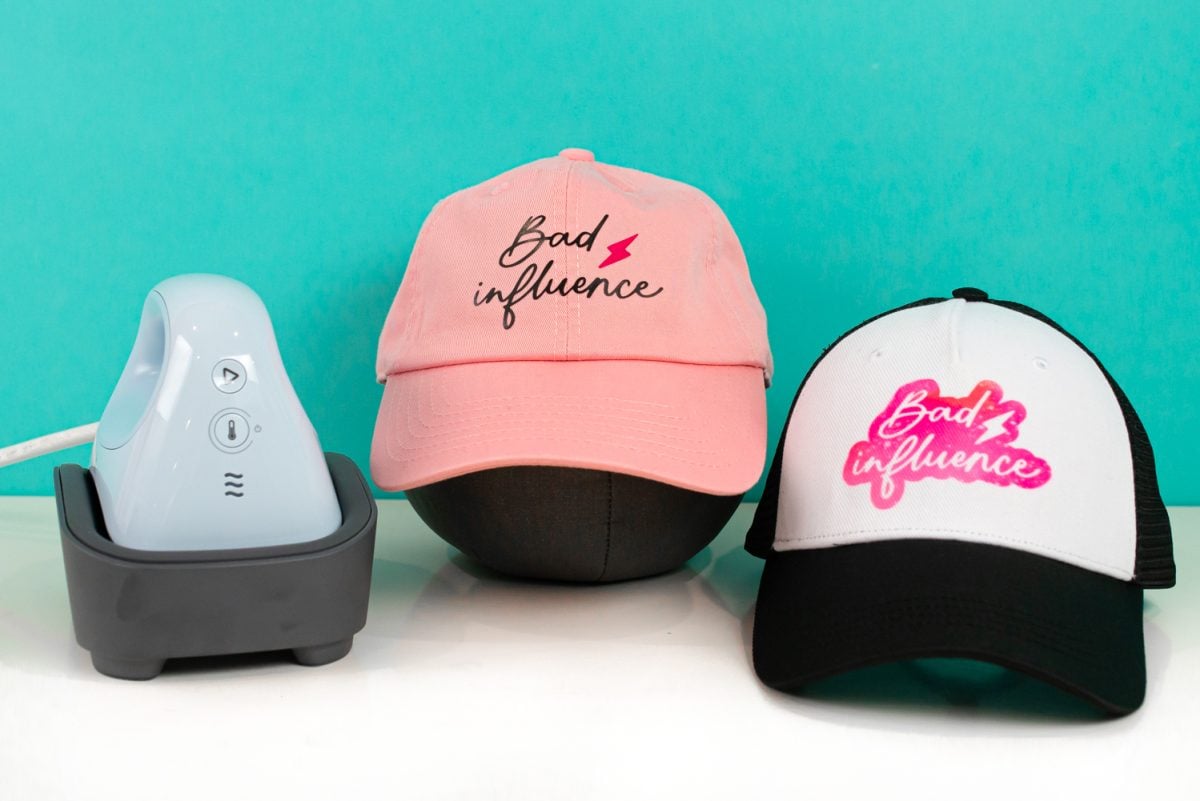
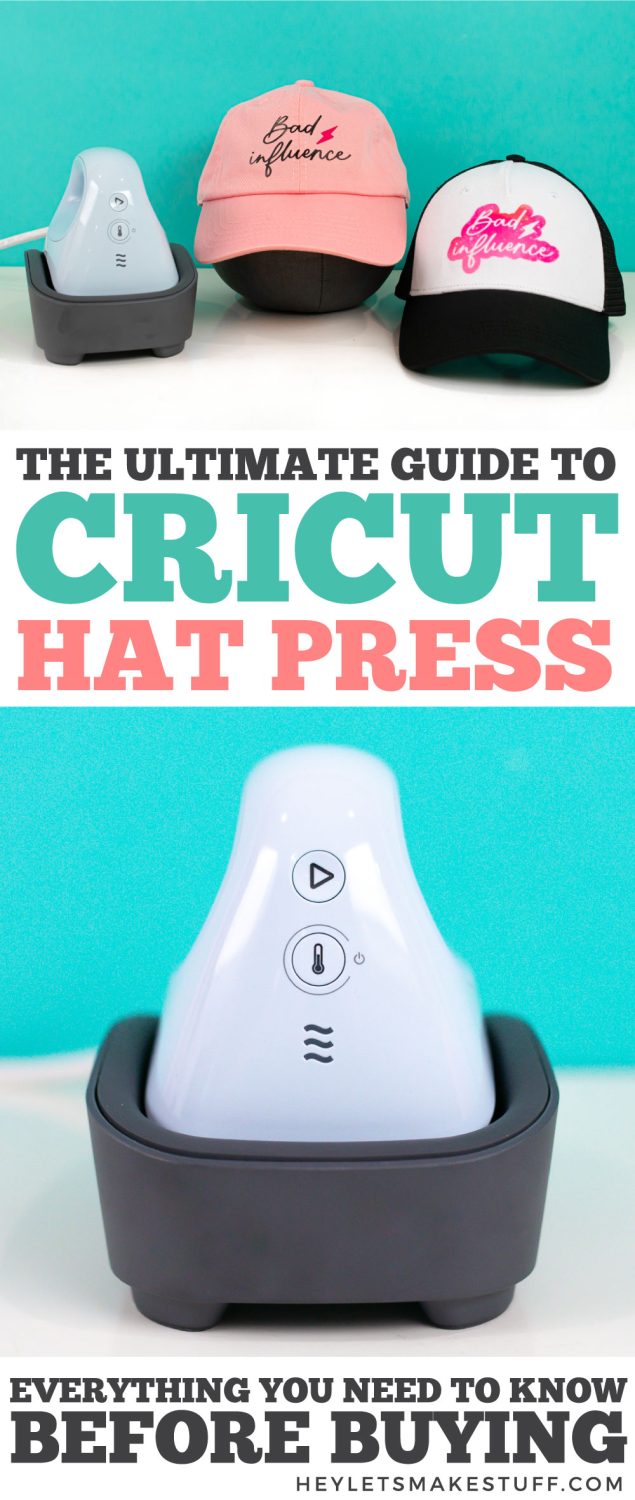
Add another tool in your Cricut toolbox with Cricut Hat Press! This innovate hat press is specifically designed for crafting all sorts of hats using iron-on vinyl, Cricut Infusible Ink, and sublimation!
This post is sponsored by Cricut. All opinions are my own!
Hats have become a very popular craft in the last few years, but making them isn’t the easiest. Until now, you had two options. The first is a big, bulky hat press (or a heat press with a hat press attachment), which takes up a lot of room and can be confusing to work. Or you could use a small iron with a flat plate, like the EasyPress Mini, which doesn’t have a hat form or a curved plate for even heating—particularly useful for Cricut Infusible Ink or sublimation.
Enter Cricut Hat Press! This is a completely new way to look at pressing hats. Cricut Hat Press marries the ease of a small iron with the consistency of a larger hat press. In this post, I’ll be sharing the features of Cricut Hat Press as well as how to use it!
The launch of Cricut Hat Press is just one of the newest heat presses from Cricut. Also make sure to check out my new posts on Cricut EasyPress 3 and Cricut AutoPress!
Not sure which heat press is for you? Check out our e-course Heat Press Roadmap! This extensive course is designed to guide you on your journey to deciding on the best heat press for your needs, space, and budget. Check out all the details about Heat Press Roadmap here!
What is Cricut Hat Press?
Cricut Hat Press is Cricut’s version of a traditional hat press. A hat press is used for adhering iron on vinyl, Cricut Infusible Ink, and sublimation prints to a variety of hats, including ball caps, trucker hats, visors, sun hats, bucket hats, and more.
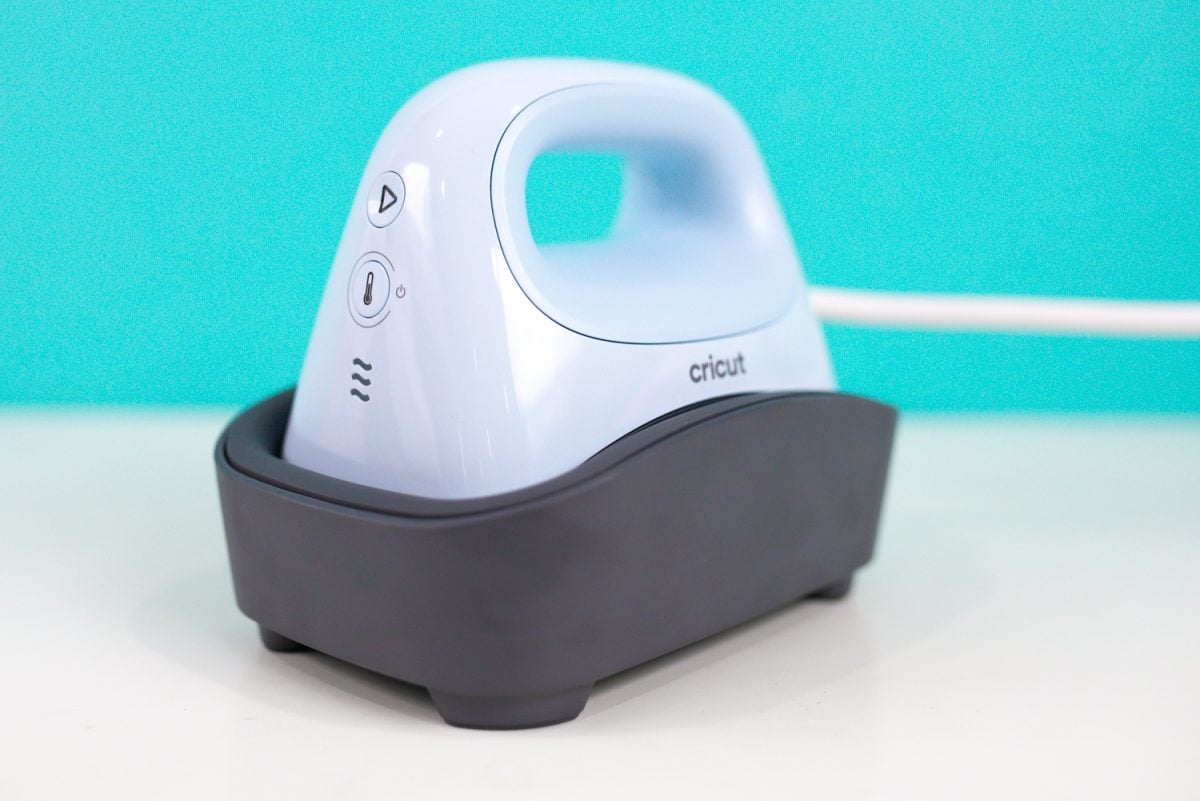
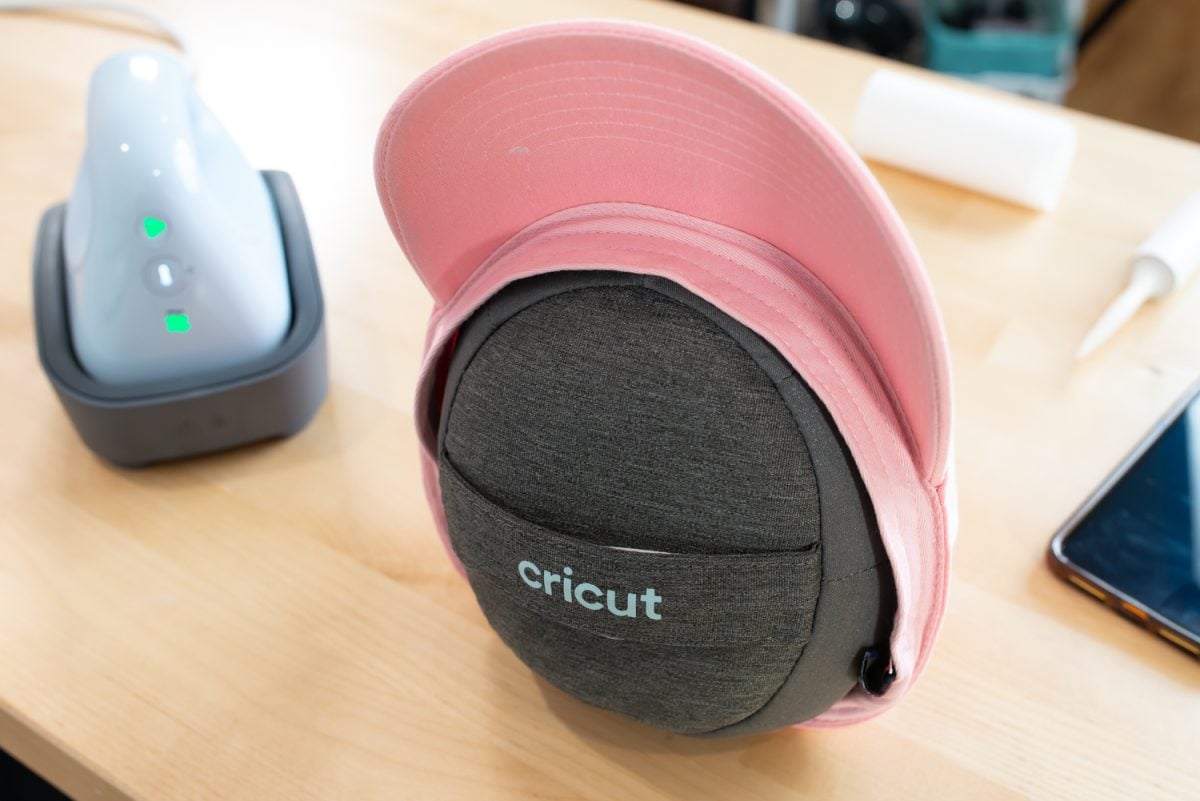
Instead of using a hat form attached to the press itself, Cricut Hat Press has a separate round hat form, giving the press something solid to press on. It’s both firm and flexible and molds to most hat shapes.
Cricut Hat Press also works with a new smartphone app called Cricut Heat. I’ll go into Cricut Heat more later in this post, but the app helps makes using the Heat Press even easier!
What’s in the Cricut Hat Press Box?
Inside the box are the Hat Press itself, a round hat form, and the quick start guide and warranty information. Note that the hat form does contain walnuts, so if you have a nut allergy, be aware!
Anatomy of Cricut Hat Press
Cricut Hat Press itself is a bit larger than Cricut EasyPress Mini, and has a curved plate with even heating. The base has a curved surface as well and you can return the Hat Press to the base when not in use.
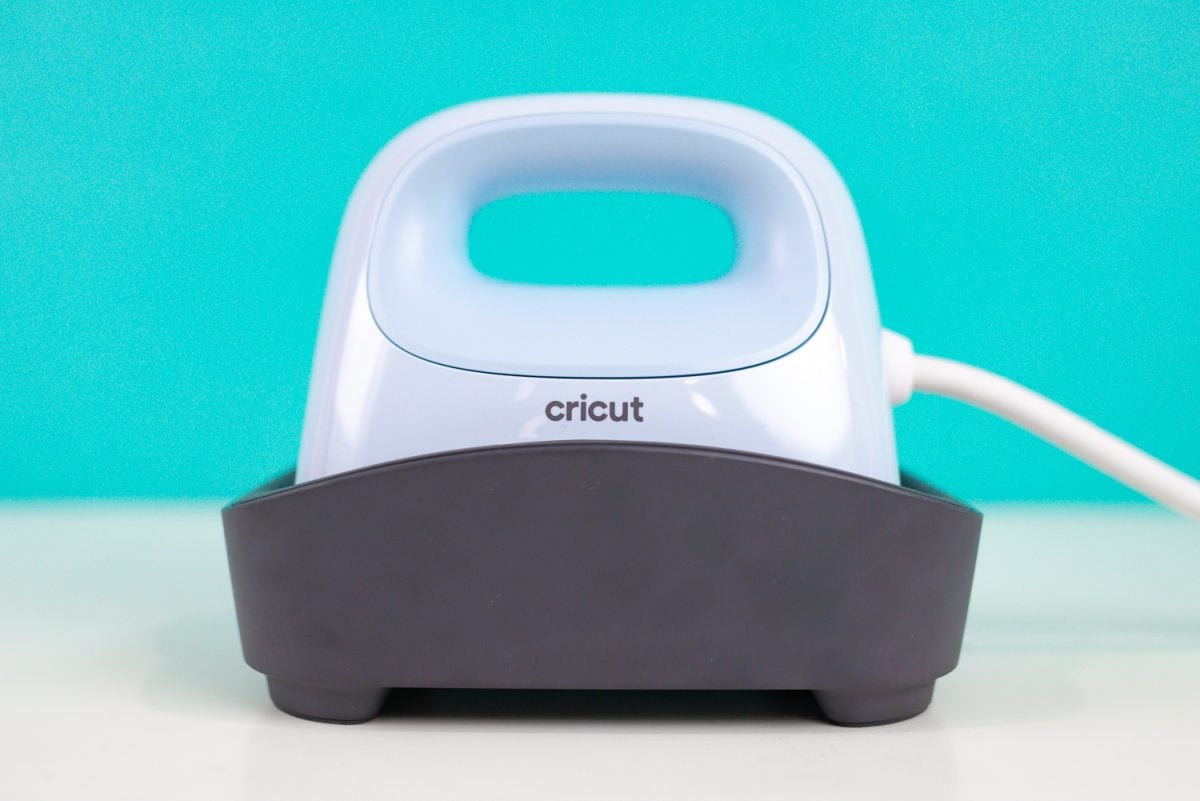
There are several things you’ll see on the press.
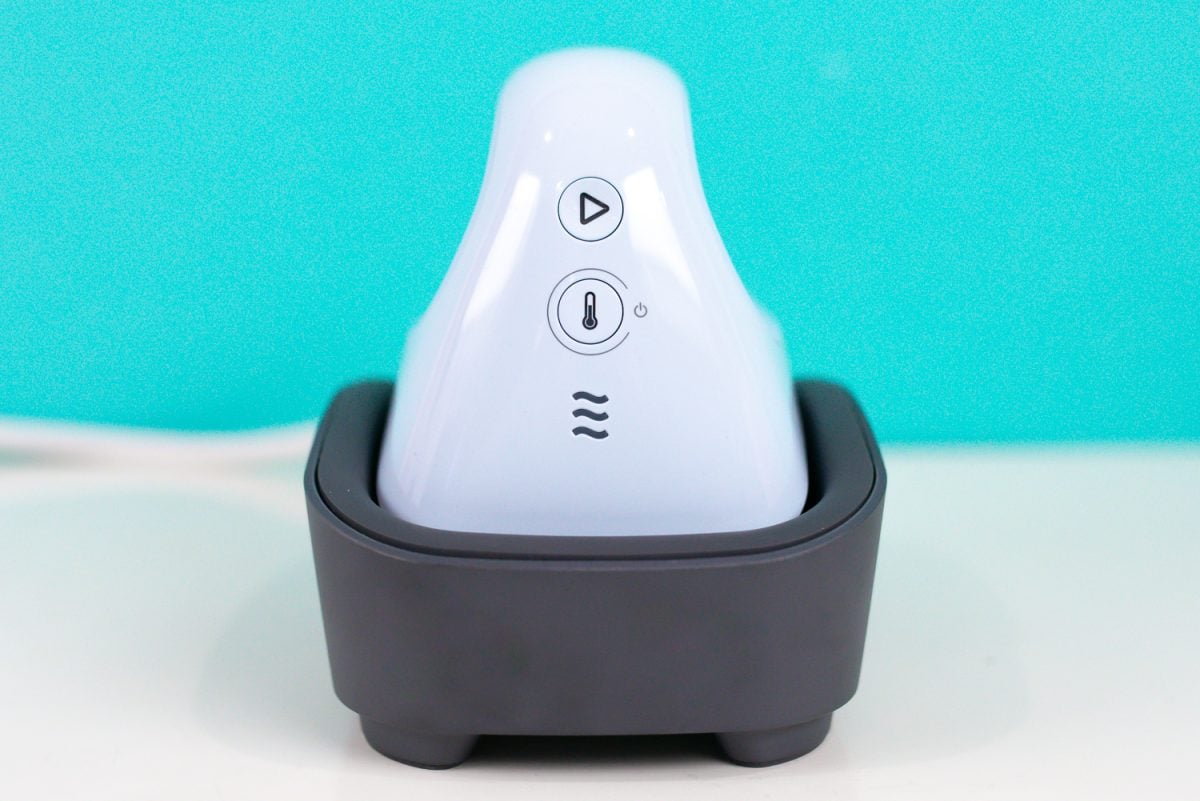
From top to bottom:
Play Button: Press this button to engage the countdown timer. This button has two colors—orange is when your EasyPress is still heating up, and green when it’s ready to go.
Power Button: Press the button to turn on the press. You can set the temperature within the Cricut Heat app, but you can also choose from three settings of heat by pressing the power button—low, medium (for iron-on vinyl) and high (best for Cricut Infusible Ink and sublimation).
Three Wavy Lines: These lines show you what heat setting you have selected—low, medium, and high. These lines also blink when counting down if you’re using the Cricut Heat app.
Cricut Hats
Along with Cricut Hat Press, Cricut is also launching a few Cricut-branded hats. Both work with iron-on, Cricut Infusible Ink, and sublimation.
- Cricut Ball Cap (link coming soon)
- Cricut Trucker Hat
You can also use non-Cricut hats! I have tried it with visors and bucket hats and it’s worked really well. If you want to use Cricut Infusible Ink or sublimation, make sure your hat has a polyester count of at least 75% so your colors are vibrant.
What is Cricut Heat?
Cricut Heat is a free smartphone app that connects via Bluetooth to your Cricut Hat Press. This app is designed to take the guesswork out of pressing your projects!
Setting up Cricut Hat Press and Cricut Heat
To start, you’ll want to download the Cricut Heat app. This app is required to set up your Hat Press, but after it’s set up, you do not need to use it if you already are confident with your time and temperature settings. Even as a seasoned Cricut user, I do find it helpful, since pressing hats is entirely new to me and it’s nice to have the detailed instructions right there in front of me.
Sign into the app. Make sure your Bluetooth is turned on. Then plug in and turn on your Hat Press.
In the app, tap Set Up New Heat Press and then follow the on-screen instructions to connect your Hat Press to your app. If you have issues, reach out to Cricut Help.
Now let’s make a couple projects so you can see Cricut Hat Press and the Cricut Heat app in action!
How to Make a Hat with Iron-On Vinyl using Cricut Hat Press
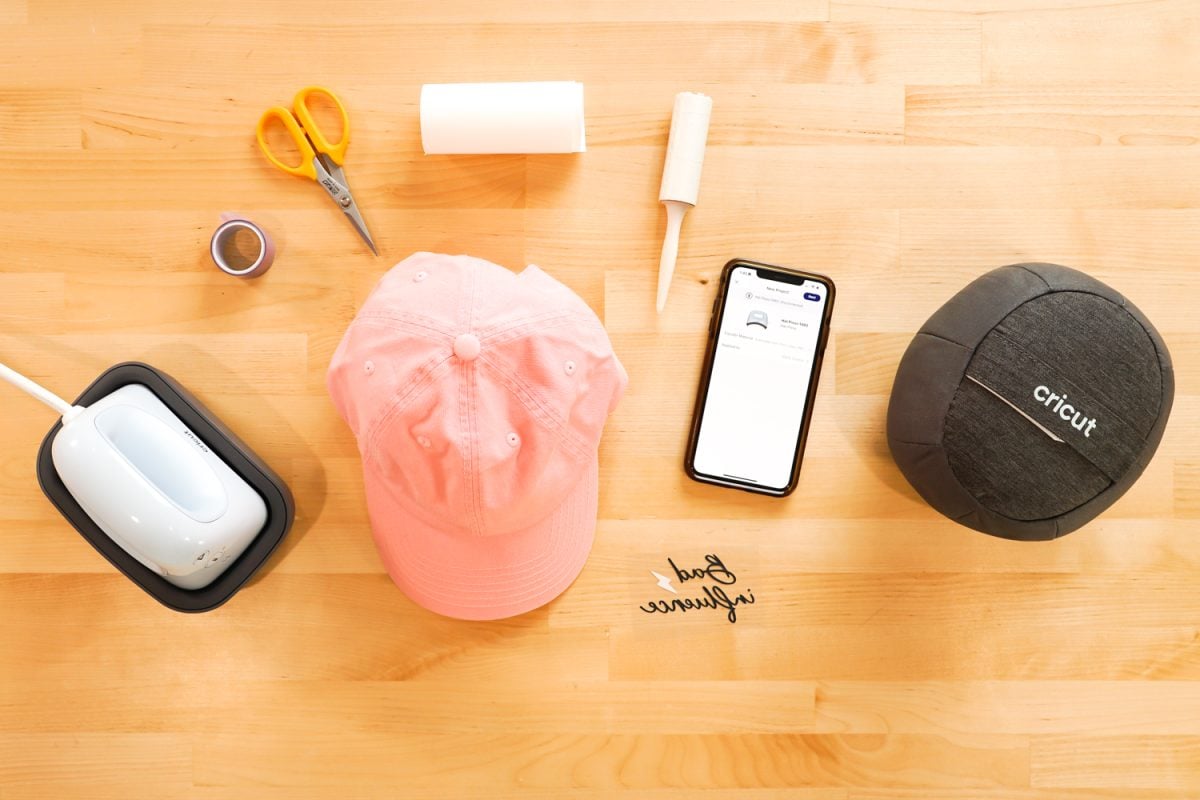
Let’s start with iron-on vinyl! For this hat, I’m using a 100%-cotton pink ball cap. For this project you’ll need a hat, Cricut Hat Press and hat form, your iron-on vinyl decal (I’m using Cricut image #M30754DA7), strong heat resistant tape, and the Cricut Heat app. (The butcher paper and lint roller will be used on the Cricut Infusible Ink hat later in this post).
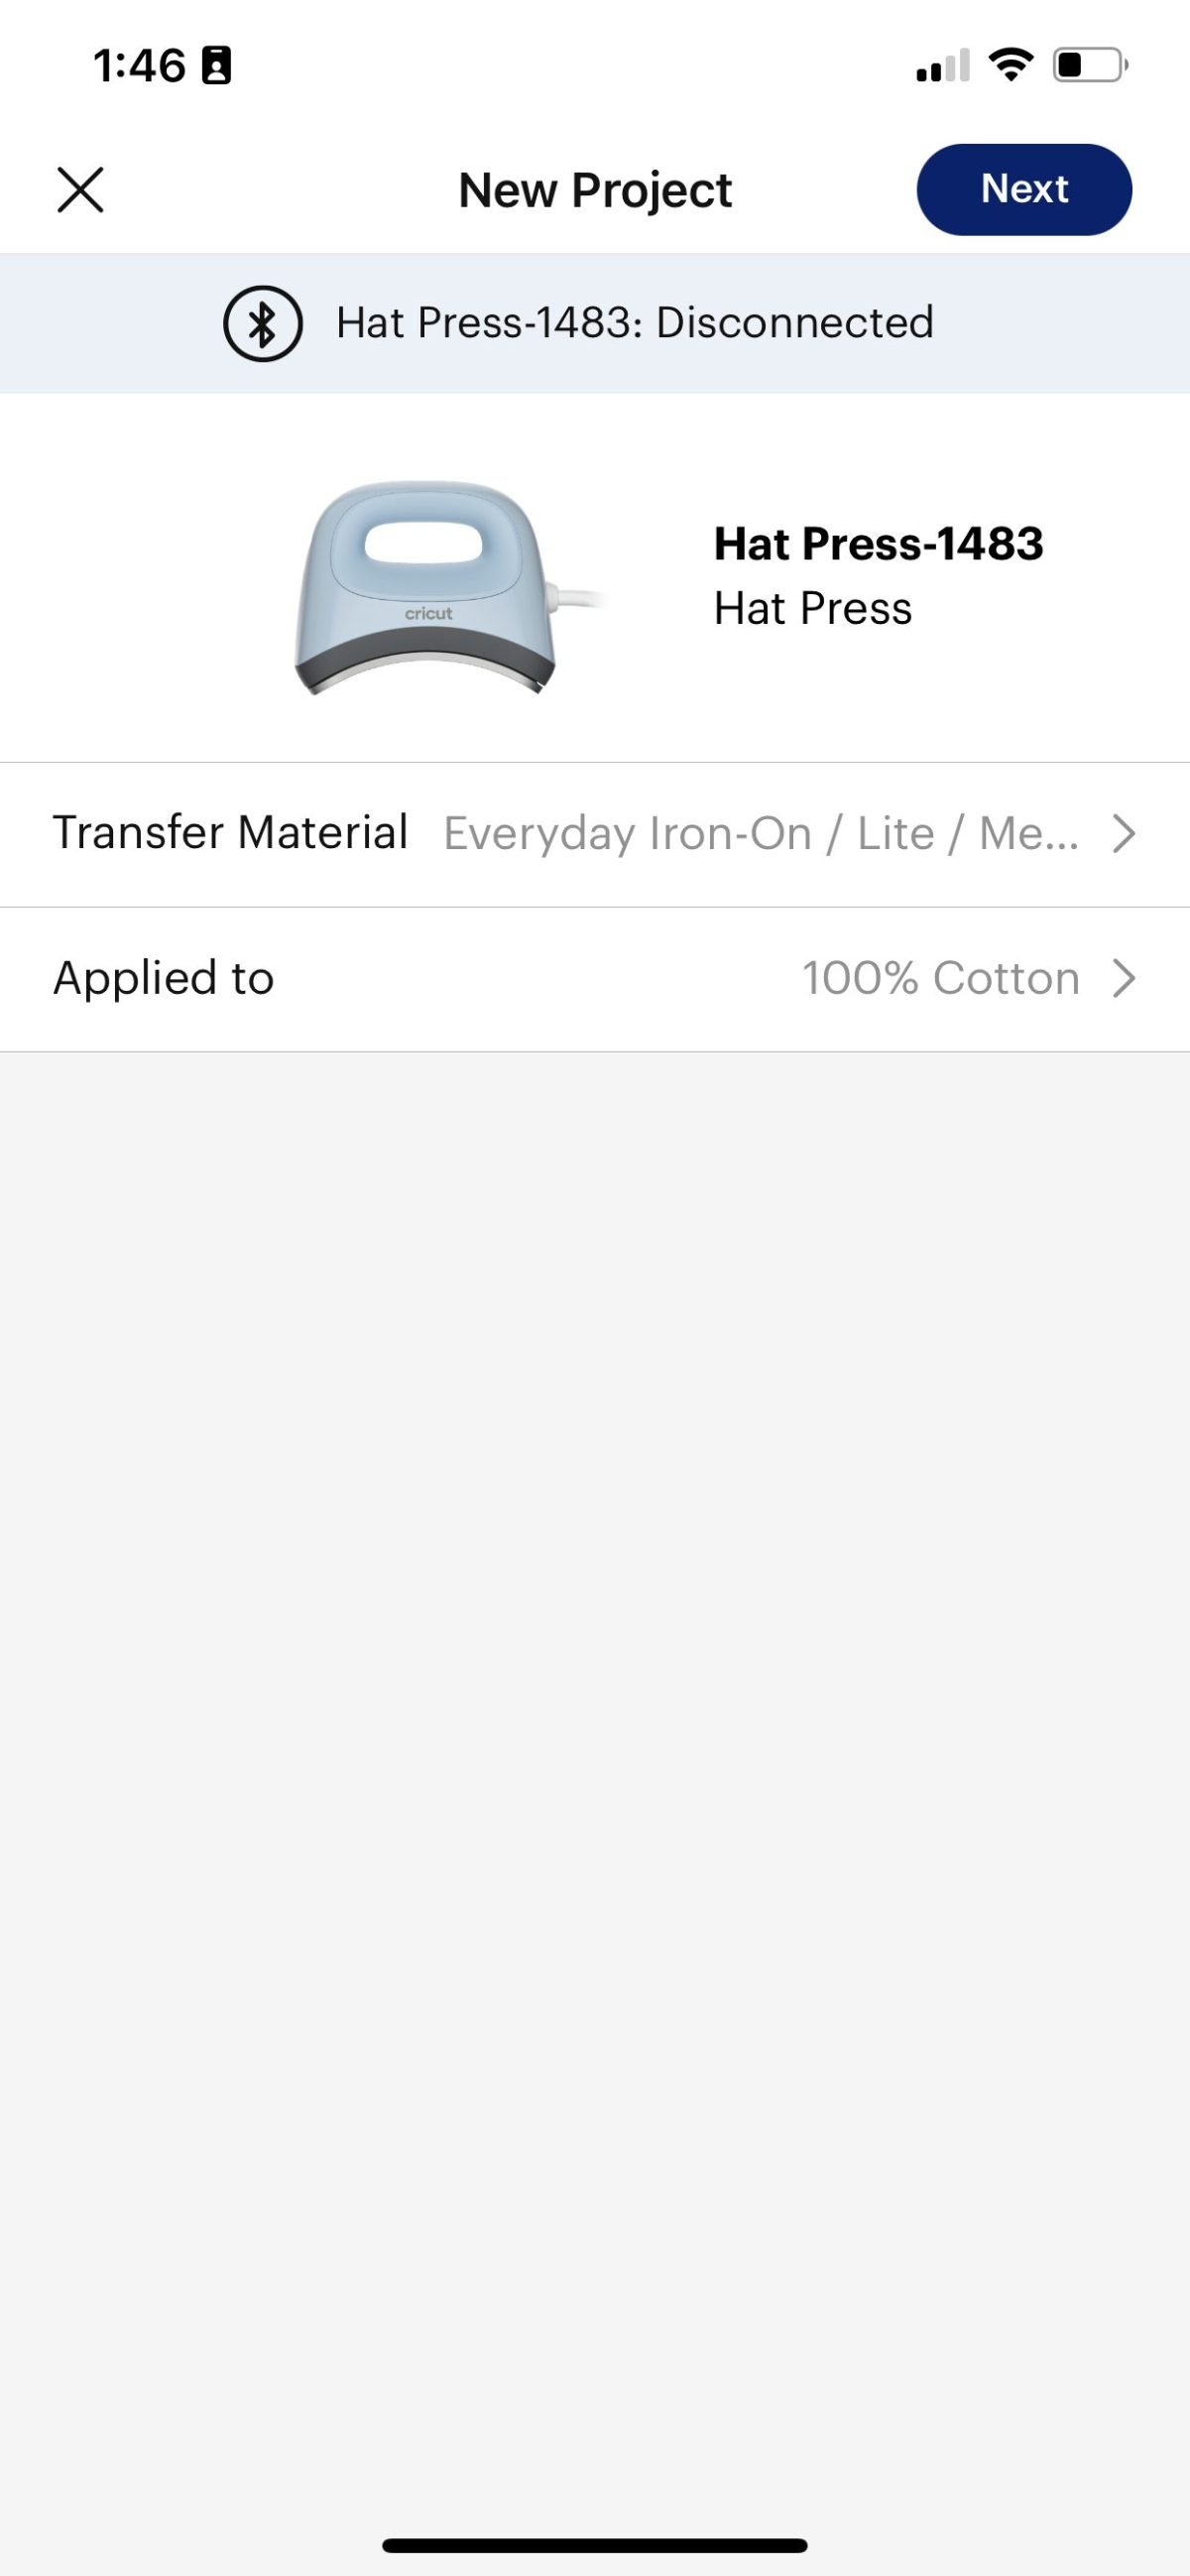
Start by opening the Cricut Heat app. If you haven’t already, connect the app to your Hat Press following the instructions on the screen. The choose Start New Project.
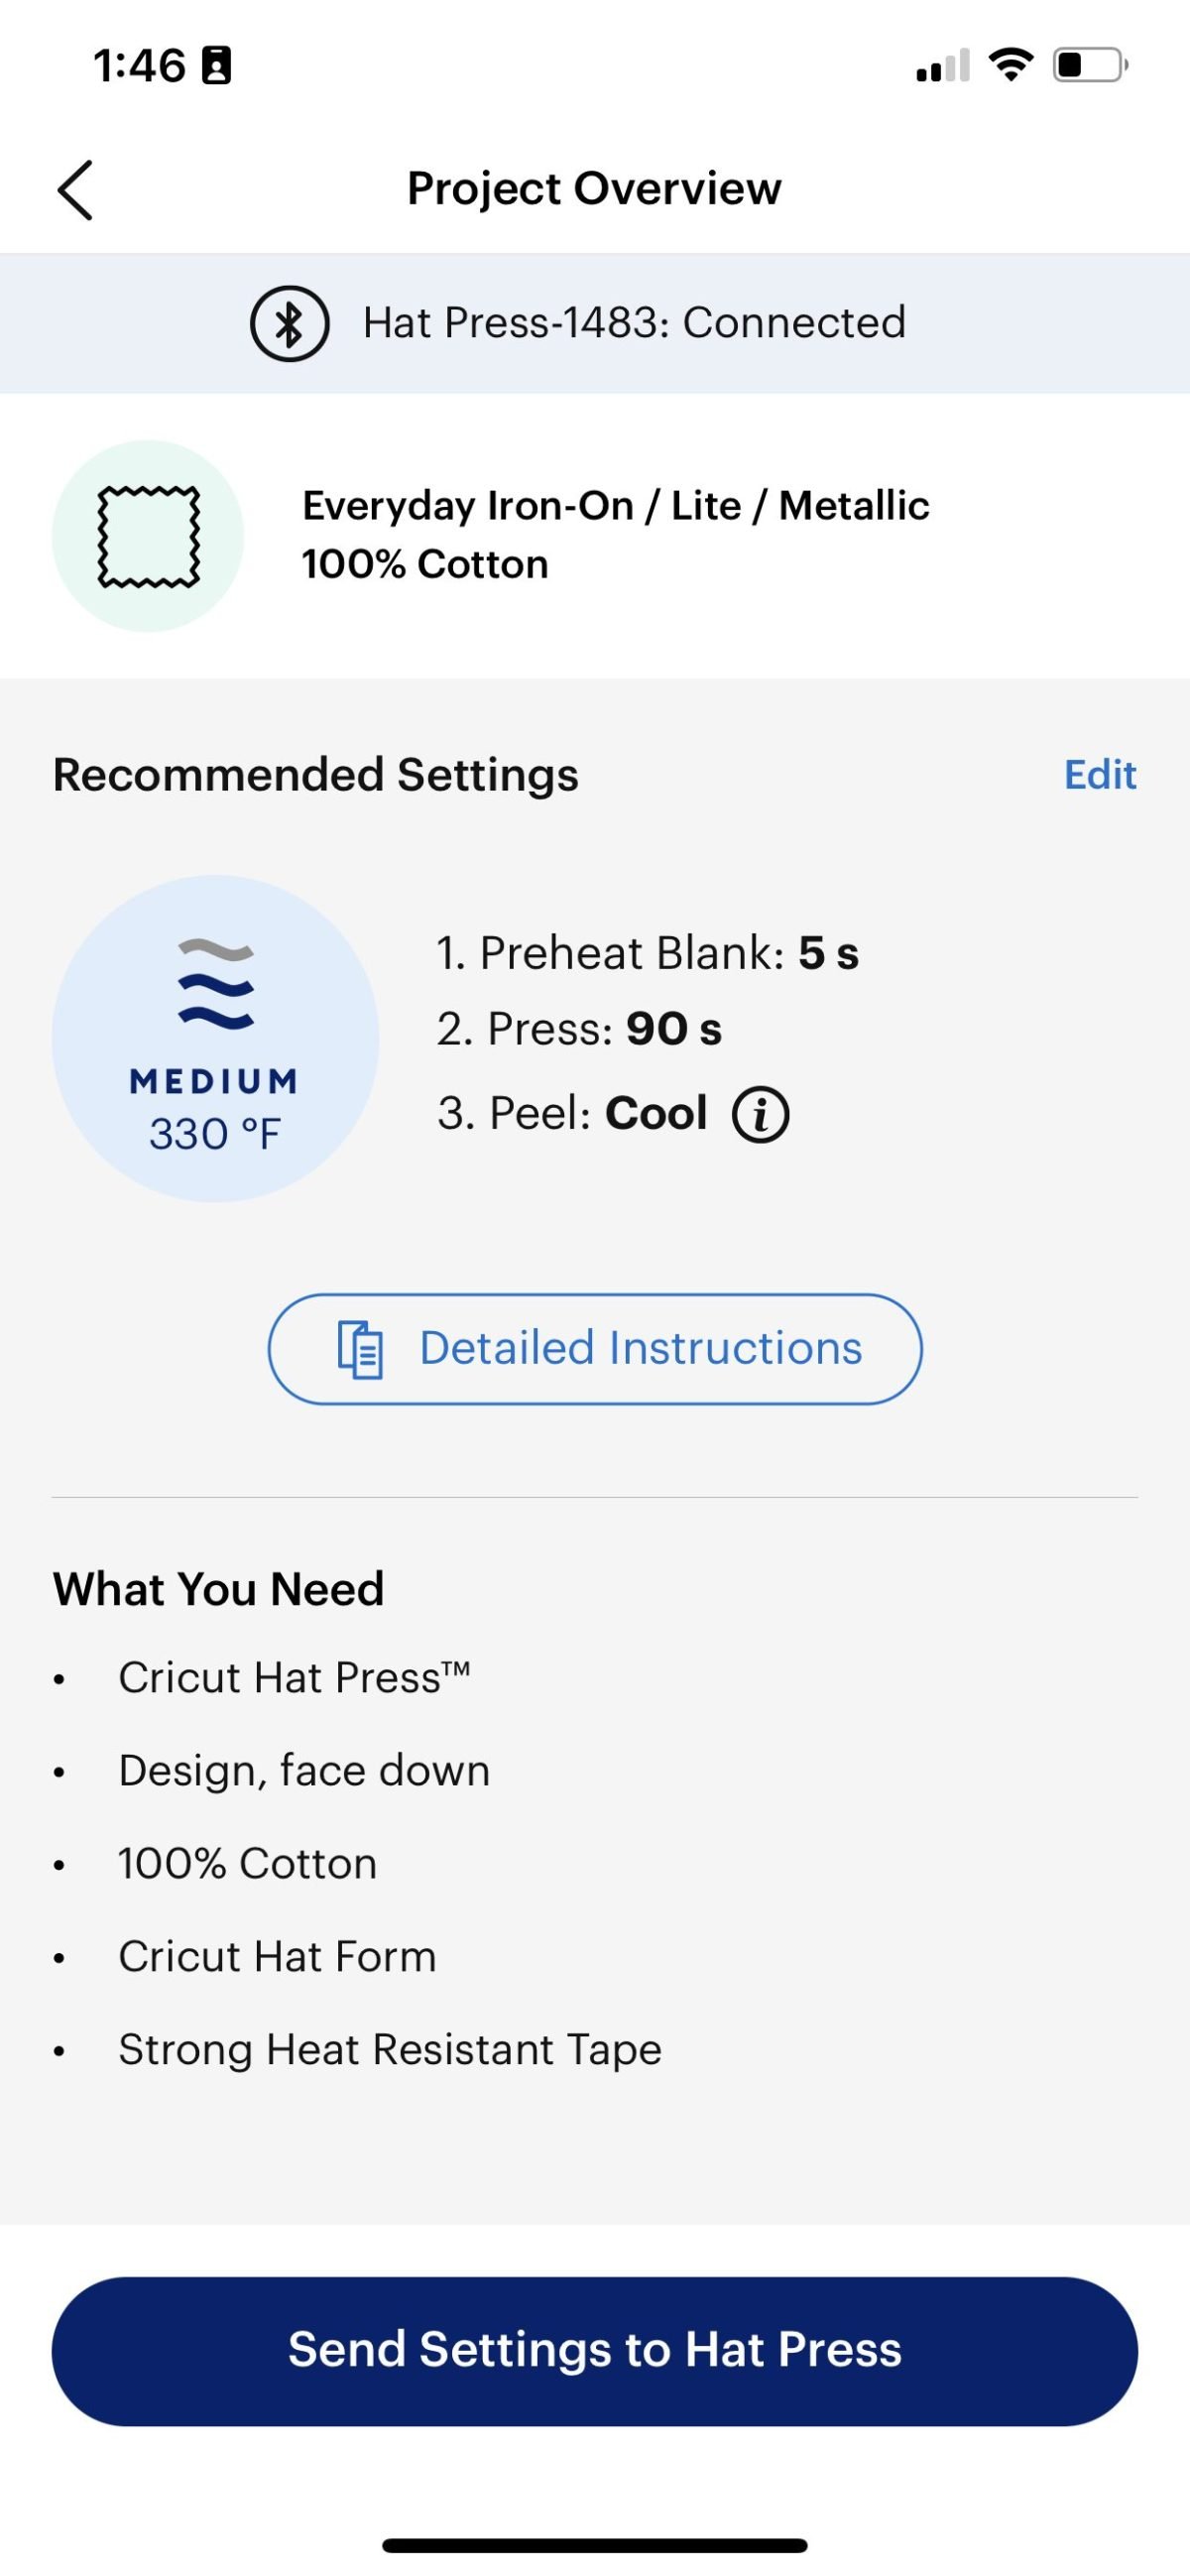
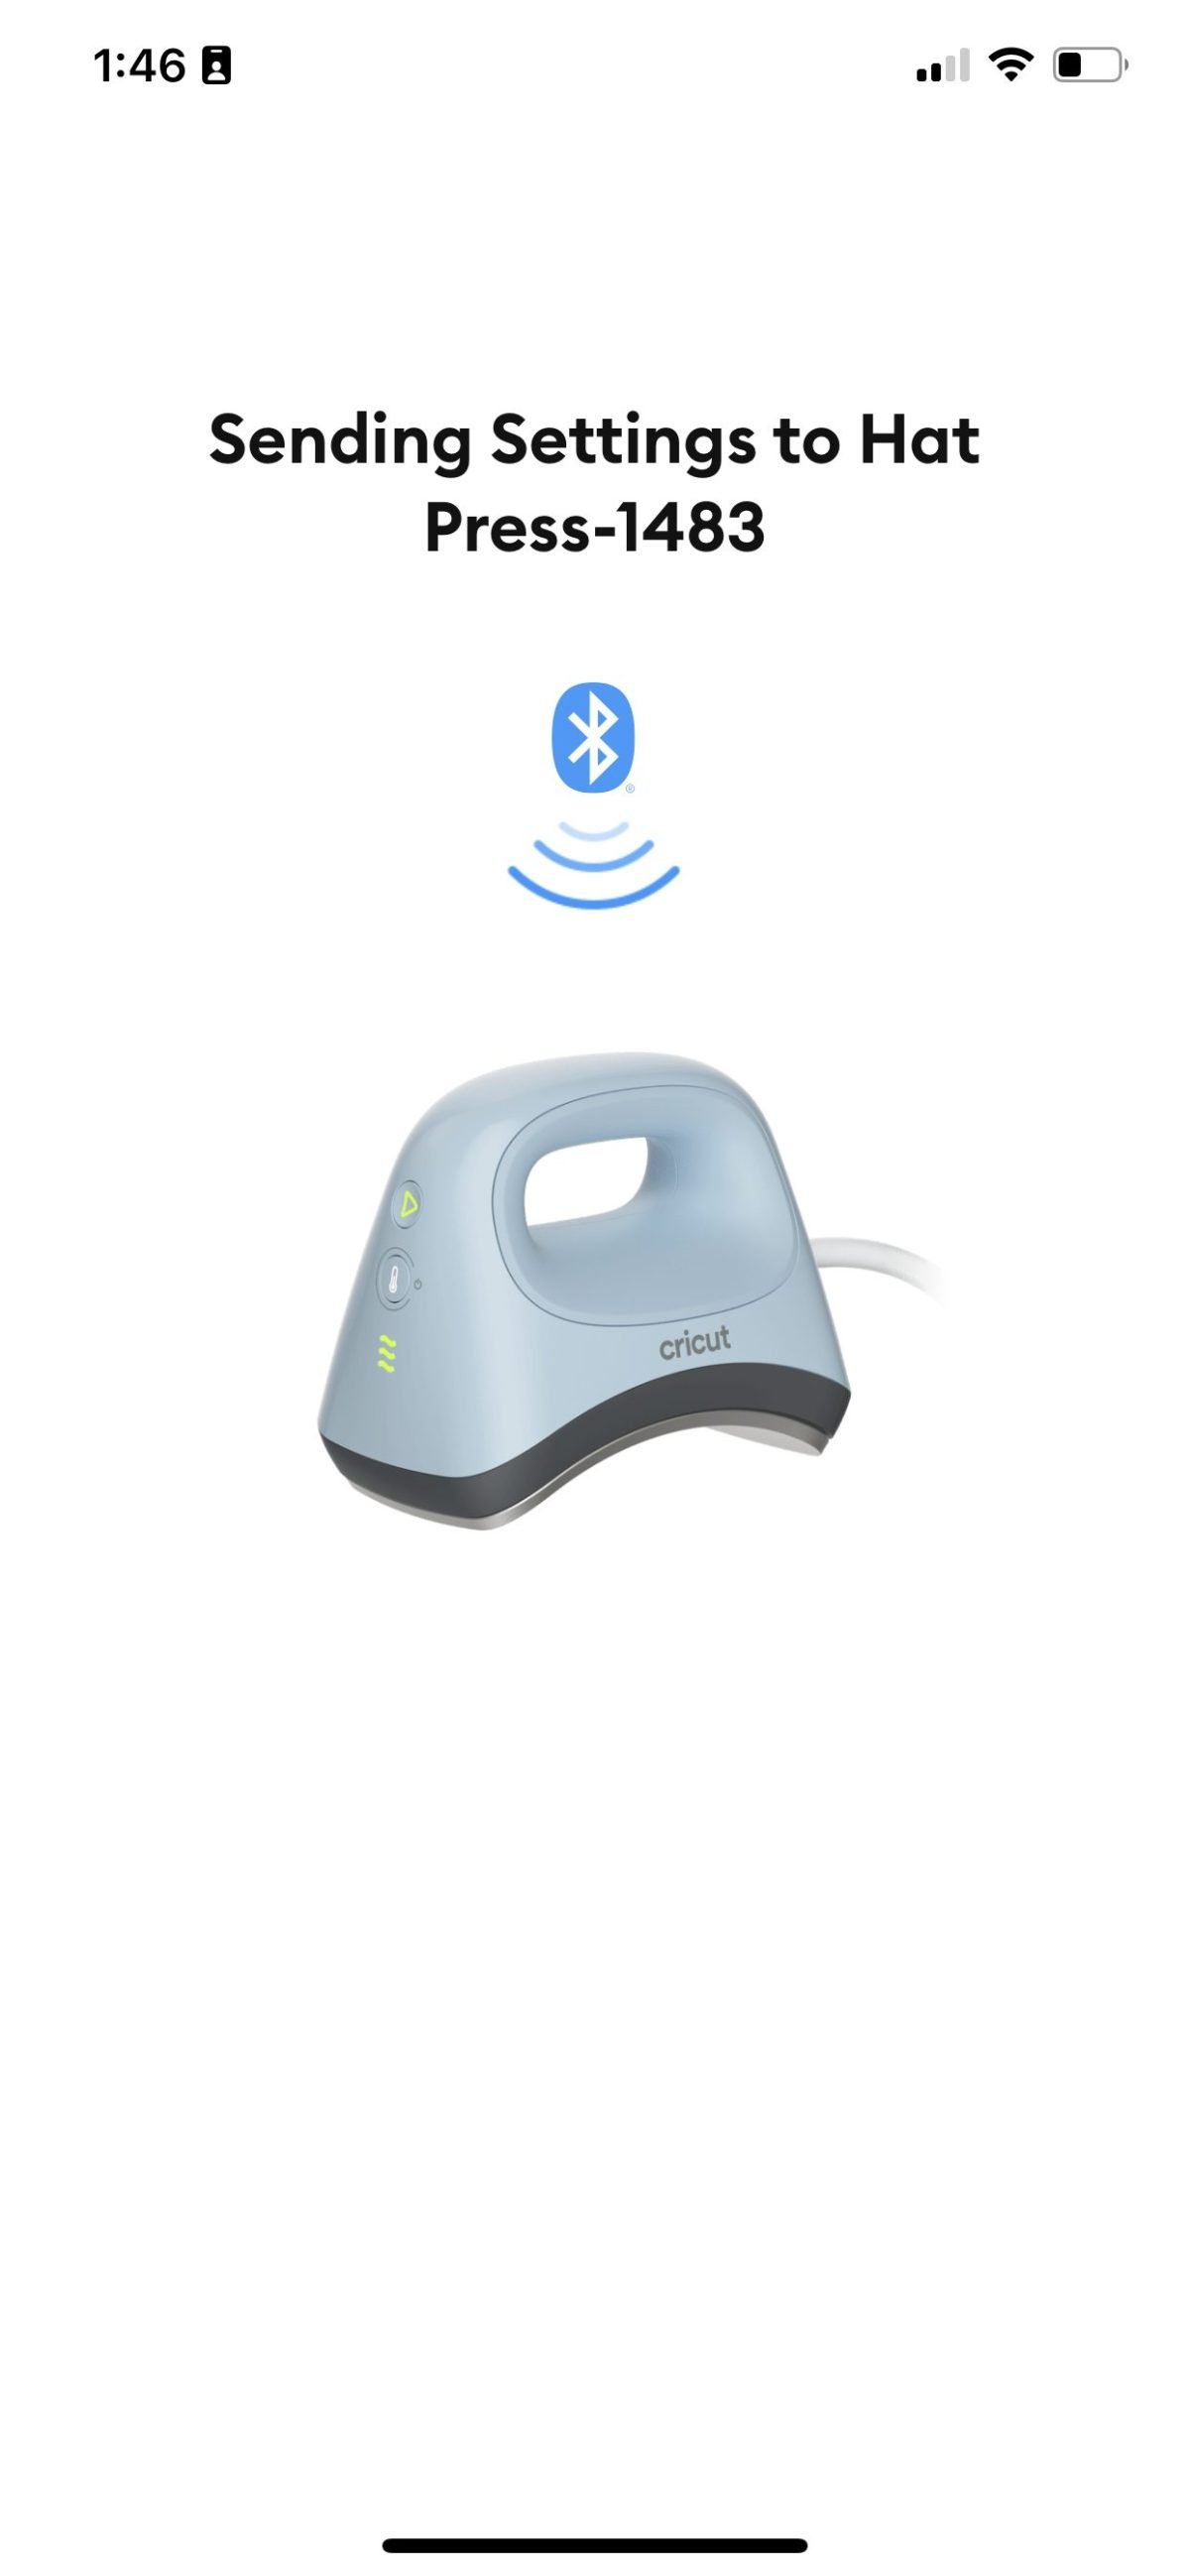
Select your material (iron-on vinyl) and what you’re applying it to (100%) cotton. Then you can send the heat settings to your Hat Press and it will start to heat up. Once it’s done, you’ll see your instructions appear on the screen.
Place the hat on the hat form. You’ll want to turn out the sweat band on the inside of the hat. If the hat has an adjustable band at the back, open it and then secure it around the hat form and re-secure the band at the back.
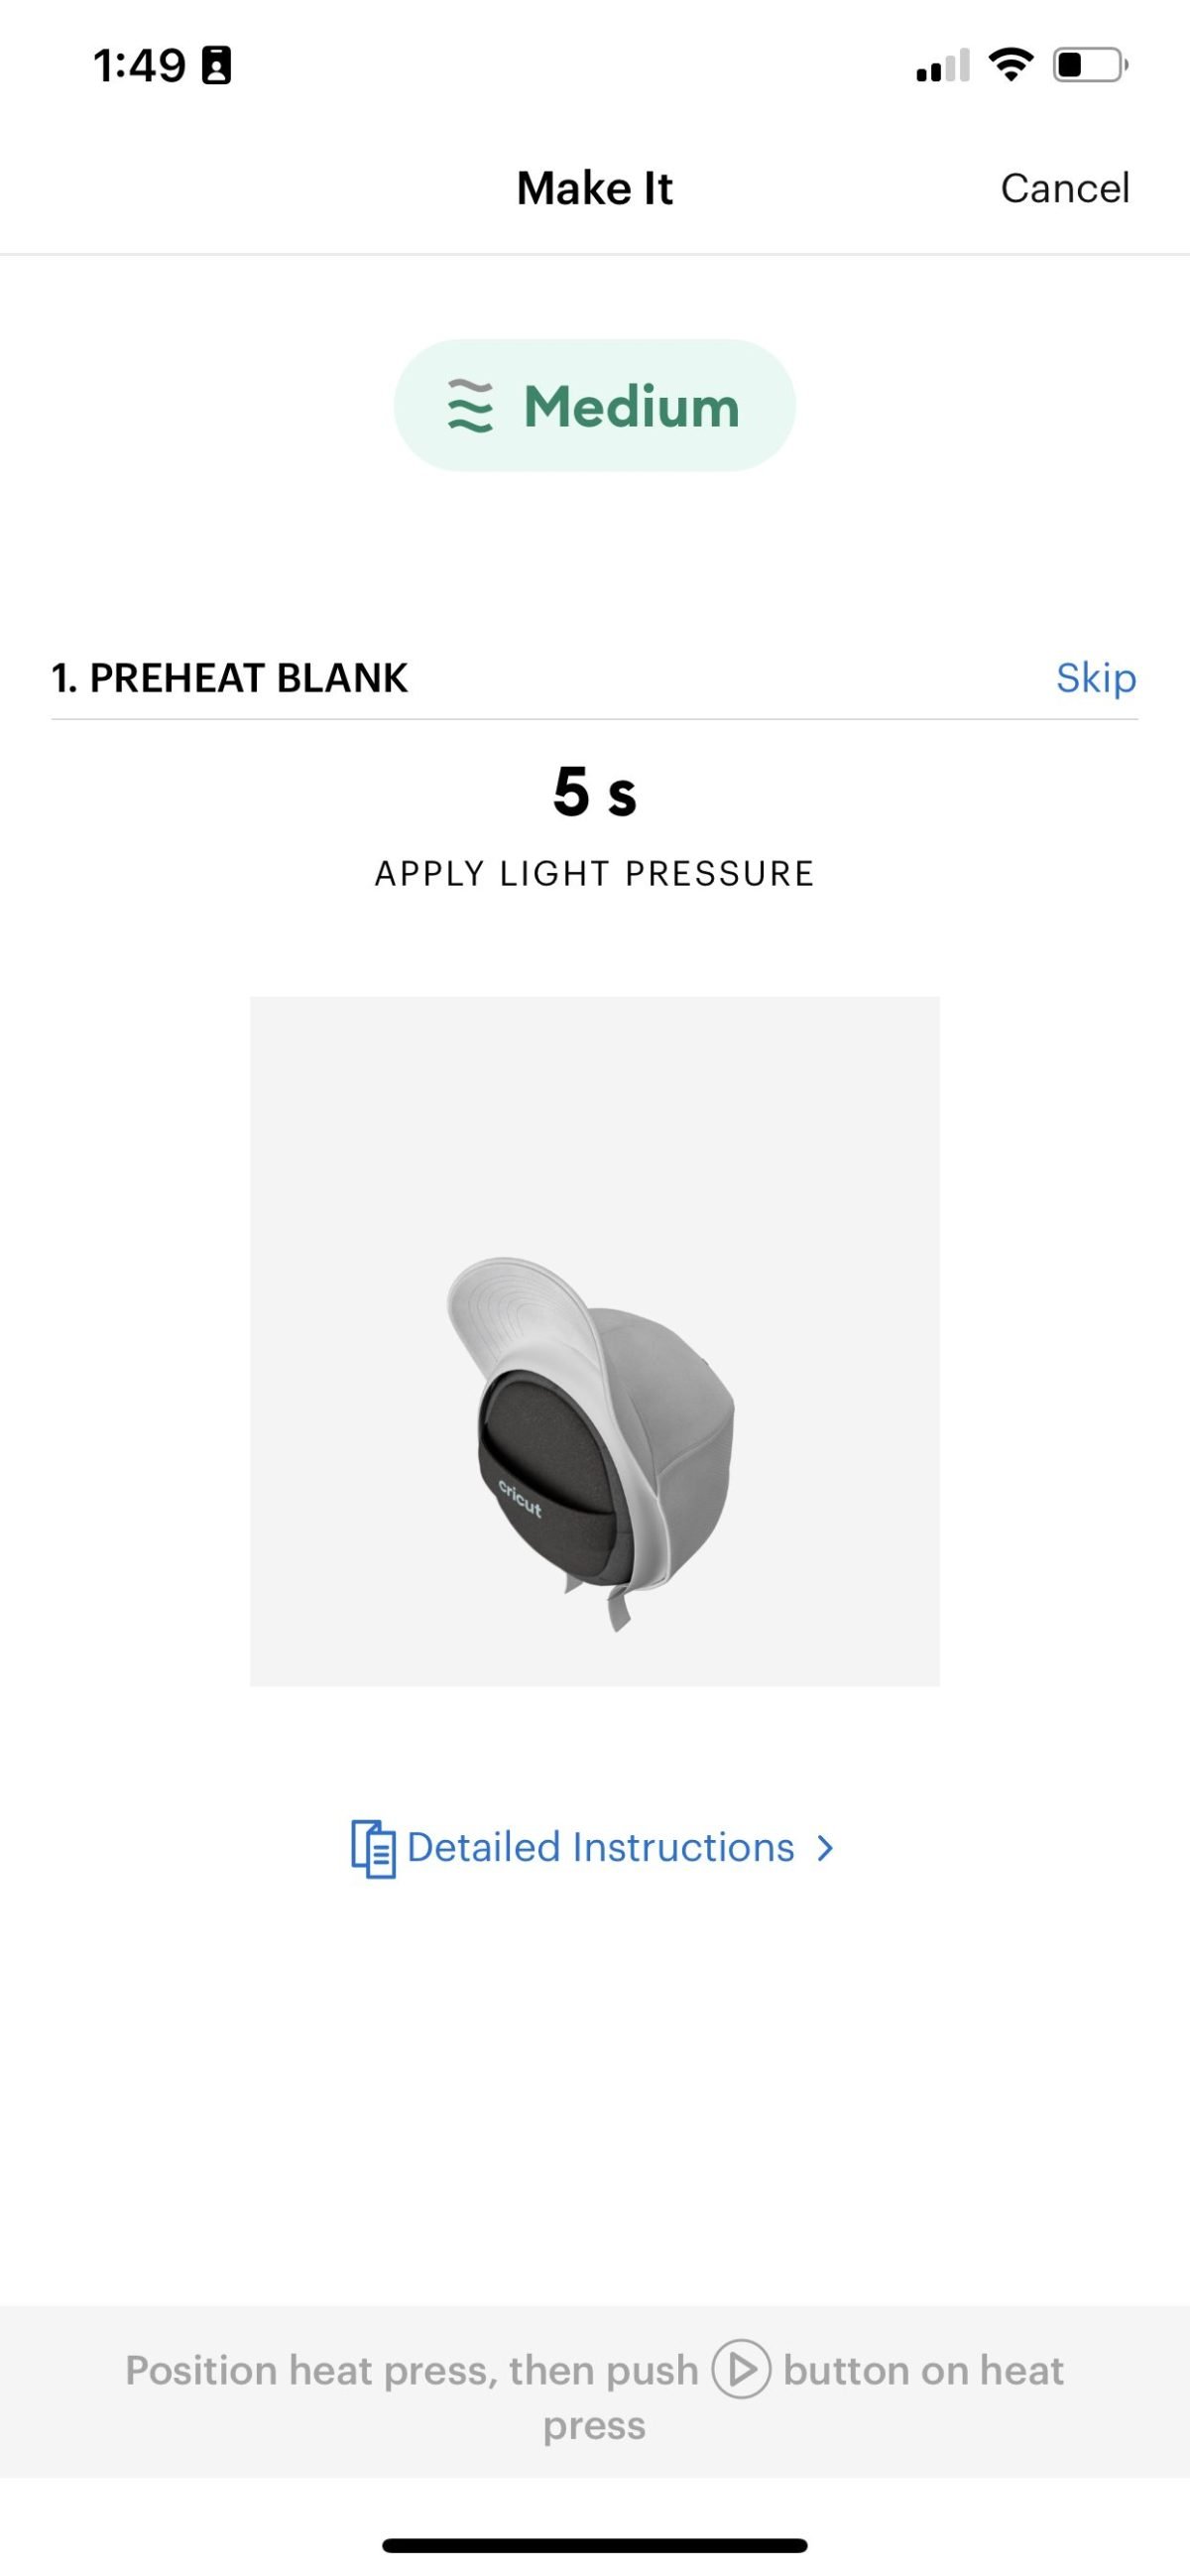
The Cricut Heat app will prompt you to preheat your hat for 5 seconds. Press the play button on the press and it will count down for 5 seconds. Run the curved plate back and forth over the pressing area with light pressure.
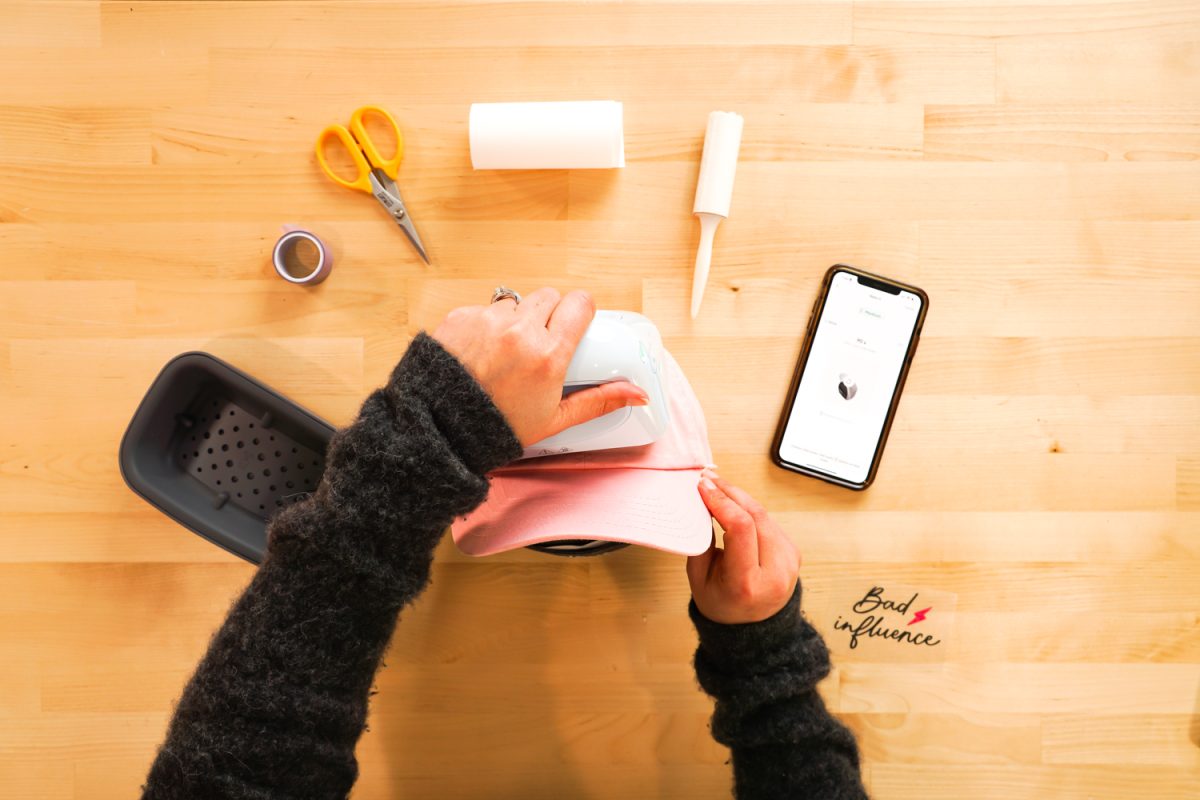
Next, you’ll be prompted by the app to place your decal on the hat. You can secure it with strong heat resistant tape to keep it from shifting.

Now you can press your decal. The pressing time of 90 seconds is automatically sent to the press from the Cricut Heat app. Hit the play button and press your decal with light pressure, moving the press back and forth. You want to make sure you’re covering the entire decal as you move the press back and forth.
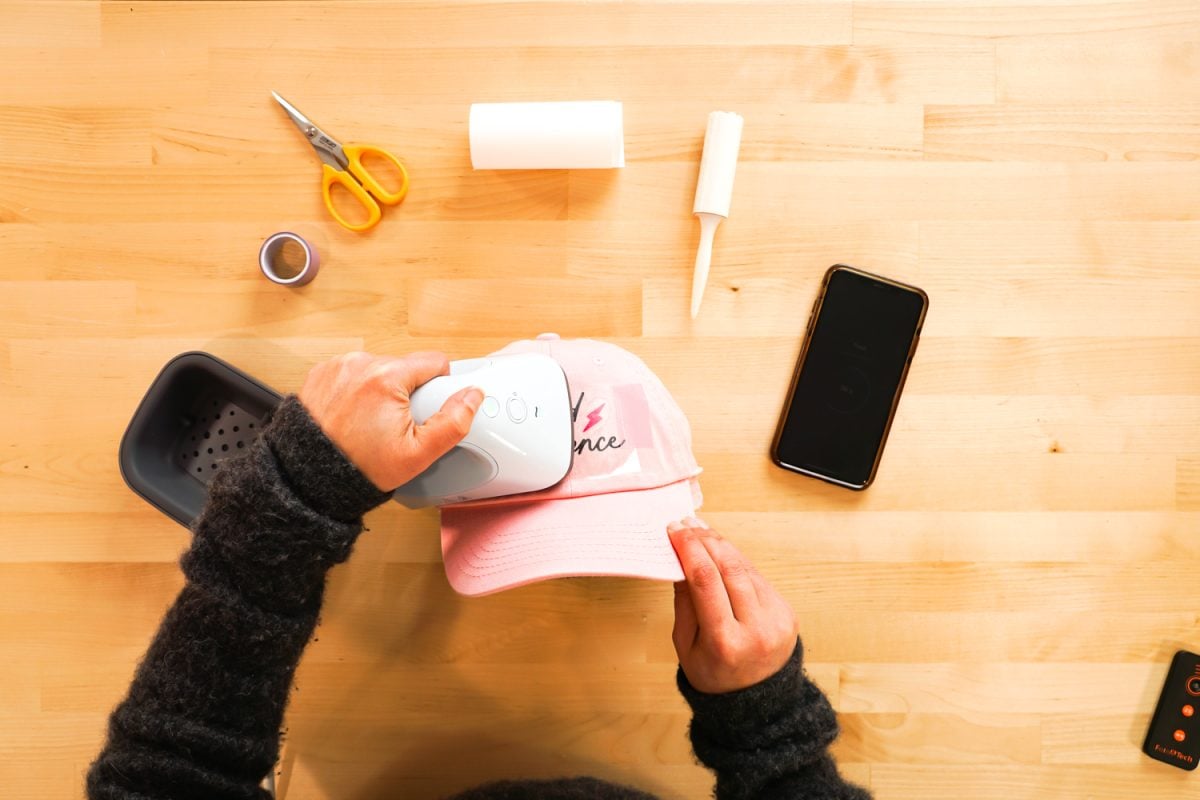
Once the timer beeps, set the press back into the safety base. The wait until the hat is cool to the touch and peel back the liner. Your hat is finished!
How to Make a Hat with Infusible Ink using Cricut Hat Press
Now let’s make a hat using Cricut Infusible Ink and a Cricut trucker hat. For this project you’ll need a sublimation-specific hat, Cricut Hat Press and hat form, your Infusible Ink decal (I’m using Cricut image #M30754D7E), strong heat-resistant tape, a lint roller, butcher paper, and the Cricut Heat app.
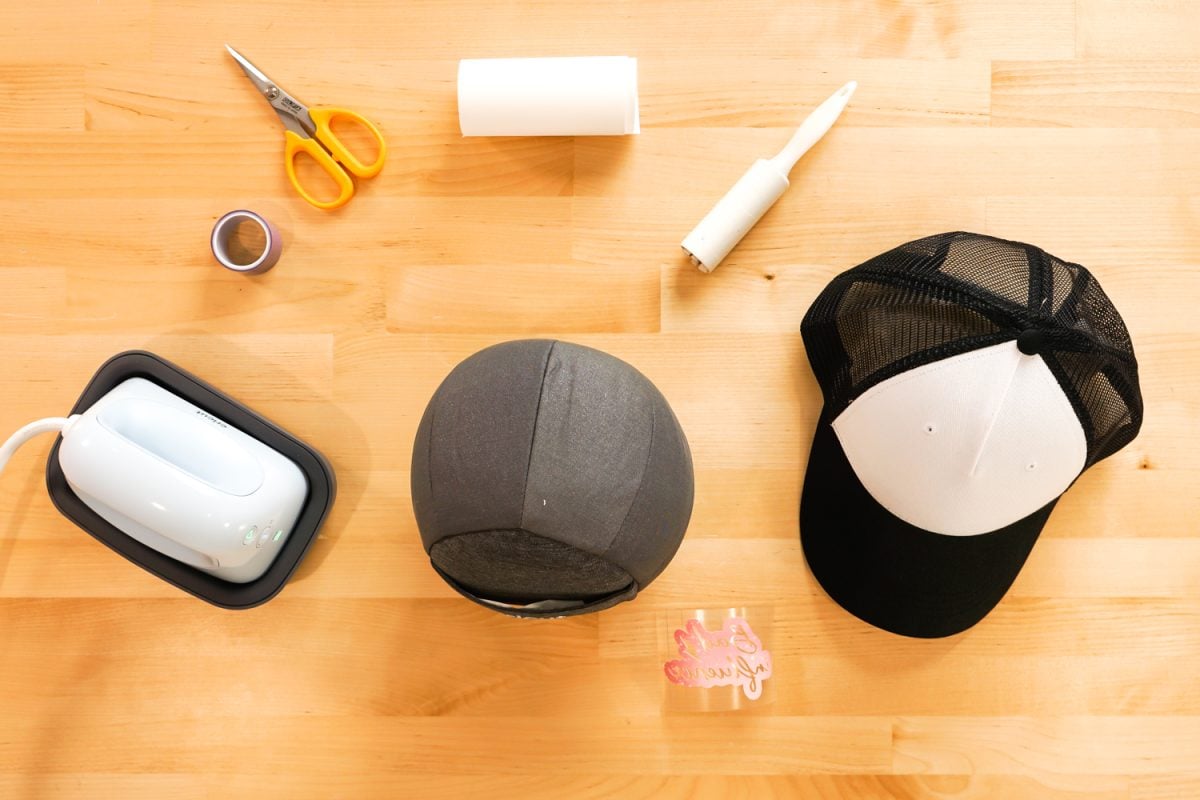
In the Cricut Heat app, choose Infusible Ink and Trucker Hat. Then click Send Settings to Heat Press and your Cricut Hat press will begin to heat up.
Place the hat on the hat form, in the same manner as above. Lint roll your hat.
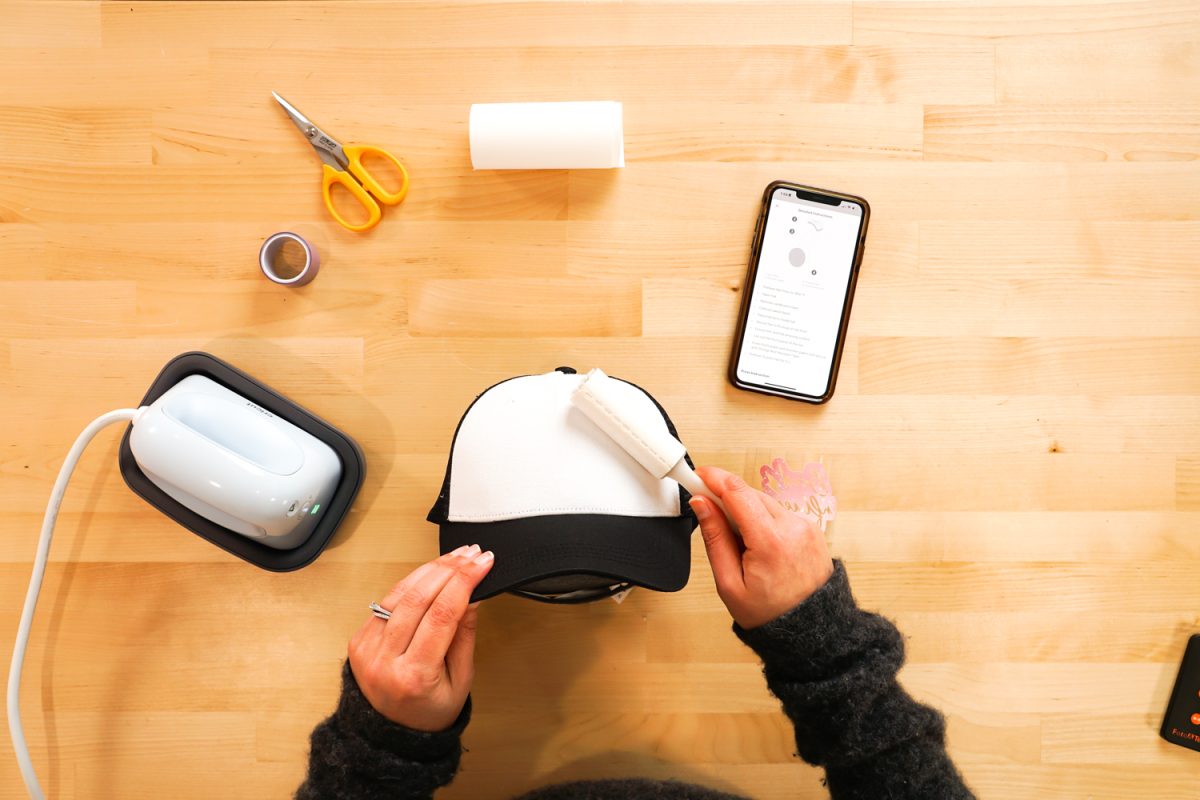
When you preheat a sublimation blank, tape a piece of butcher paper to the hat before pressing—this will protect your hat from the high heat of the press. Press the button on the Hat Press and you will count down your preheat time.
Let the hat cool a bit and place your Infusible Ink decal on the hat. Use several pieces of heat-resistant tape to secure your decal to the hat. You want the transfer to be as flat as possible on your hat.
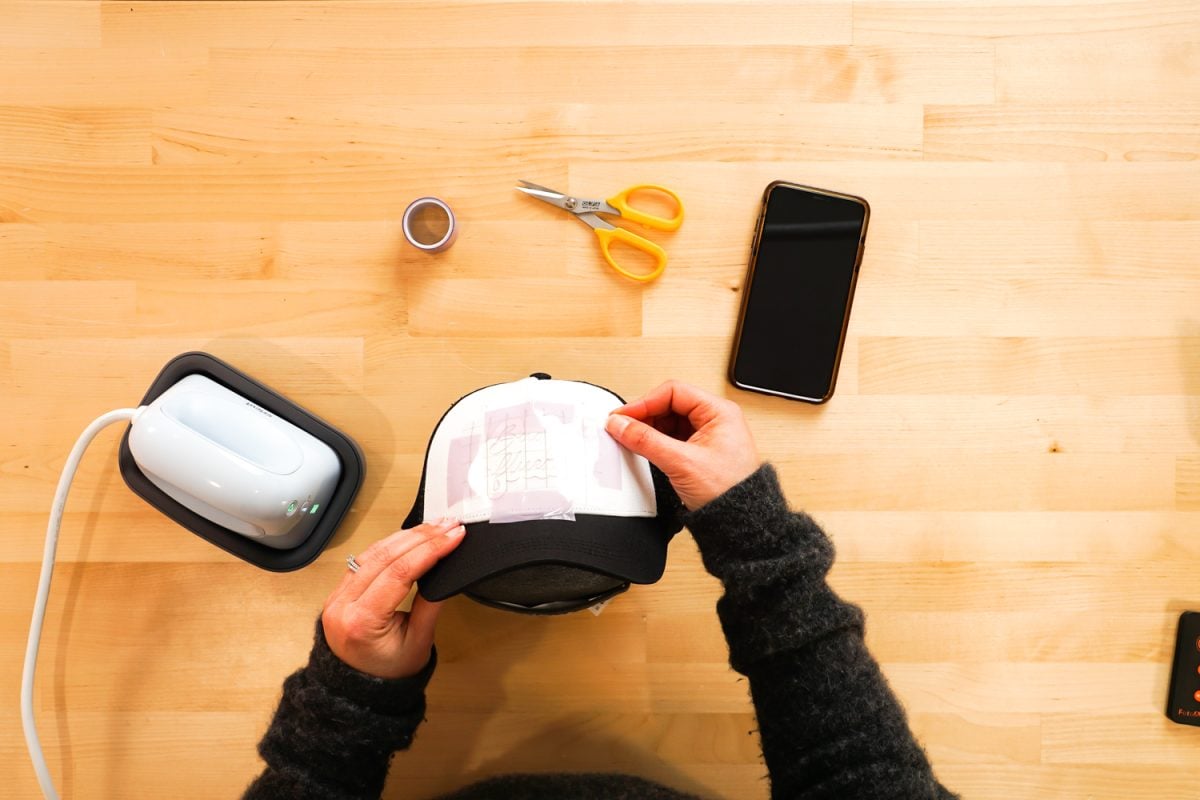
Then re-cover your hat with the butcher paper and press your design to your hat. You want to make sure you’re hitting all of the parts of your design, particularly the top and bottom of the design.
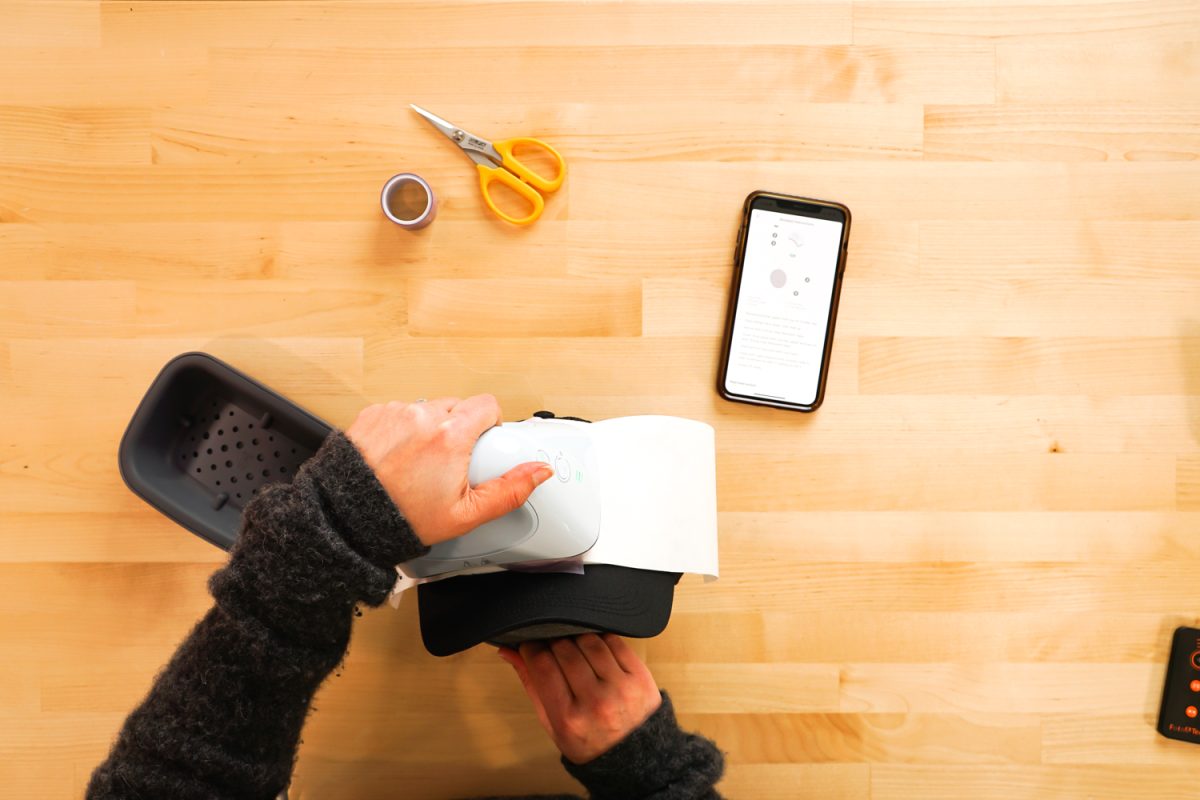
Once the design has cooled down a bit, peel back the design to reveal your new hat!

Cricut Hat Press Tips & Tricks
Here are a few things that will make using the hat press even easier!
Decal Size
Cricut recommends keeping your designs at a maximum of 2.25″ high x 4.25″ wide.
Decal Placement
Keep any decals 1/4″ away from the brim of the hat.
Decals on the Brim
You can apply iron on vinyl to the brim of a hat, but Cricut doesn’t recommend Infusible Ink or sublimation on the brim because the high heat required can damage the brim itself.
Get the Decal as Flat as Possible
With Infusible Ink and sublimation, you want to make sure your decal is flat as possible. Use a lot of strong heat resistant tape, and you can even cut notches into the decal around the edges to make it lie flatter.
Where to Buy Cricut AutoPress
Cricut Hat Press launches on online at Cricut.com on March 13, with other retailers following soon! Don’t worry, I’ll be sharing all of the links to my email community, so make sure you’re on the list!
Have questions about Cricut Hat Press? I’ll be happy to answer them in the comments!


Comments & Reviews
Betty Davis says
Will there be a hat form for purchase for children’s hats?
Lisa Hillard says
Maybe you can use a tailor’s ham?