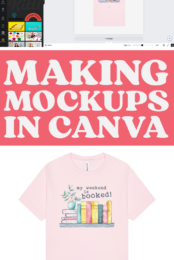
Creating mockups of your products is easy using the free version of Canva! Here’s how to take a photo of a product and add your own image to show a client how a final project will look or to use in your online shop!
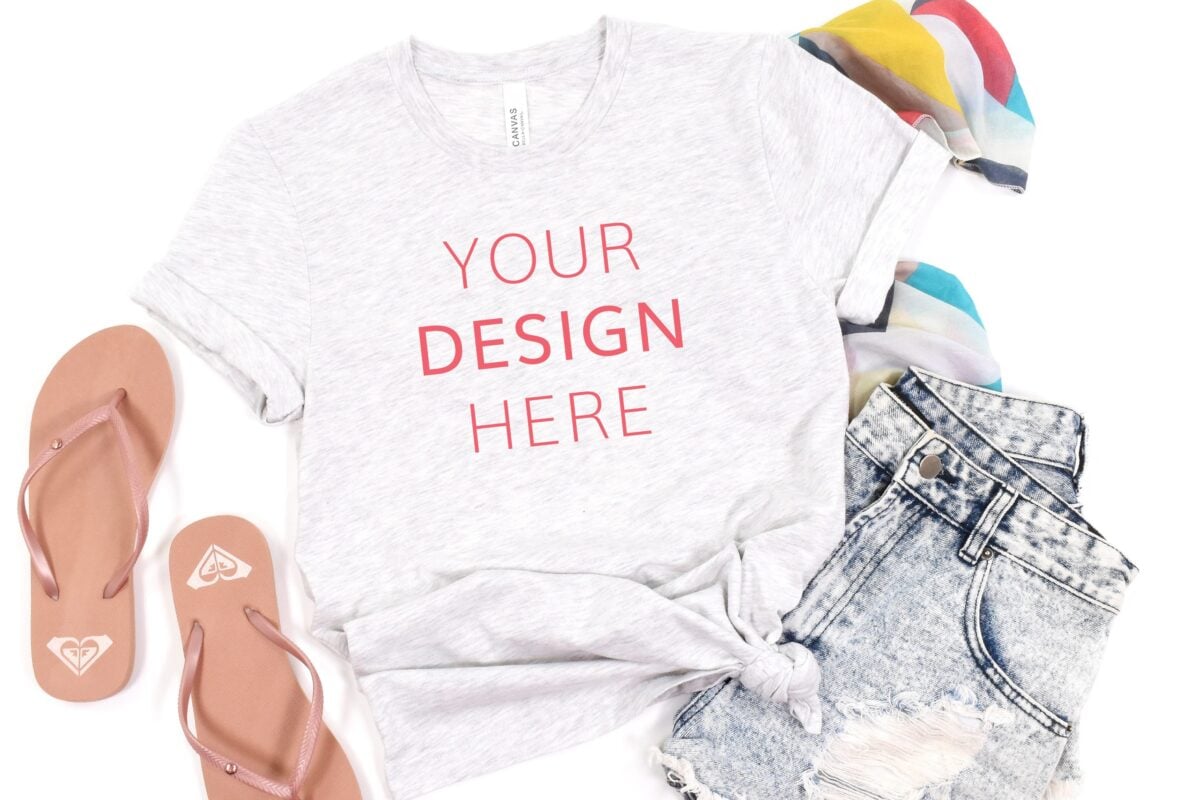
Mockups are becoming ubiquitous in the online crafting space. Whether you don’t want to make a bunch of samples to show to a client or you want to fill your shop with images that show what you can do—without having to make a ton of projects—mockups can help!
A mockup is basically a blank product, like a t-shirt or mug, on which you overlay an image. This is so much easier and cheaper than making every single product you make with every design you use. Mockups to the rescue!
In today’s post, I’m going to show you how to use Canva to create mockups using the BELLA+CANVAS image media gallery. They have photos of all of their products that you can download and use for your mockups. You can, however, use this process for other types of mockups, including ones you find on places like Etsy or Design Bundles, or even images you photograph yourself!
Let’s dive in!
Watch the Video
Want get a step-by-step video of how to make mockups in Canva? Just hit play below! Or keep reading for a written tutorial.
Before We Begin
Before we start looking at the BELLA+CANVAS media image library, let’s talk about using mockups in general.
To start, you don’t want to create a mockup of something that you don’t know how to make well. For example, I feel confident making mockups for items made with HTV, DTF prints, and sublimation, because I know I can make quality products using those processes. Don’t make mockups for things you’ve never crafted before—you don’t want to be “caught” by your customer if you’re unable to produce something well that you said you could make!

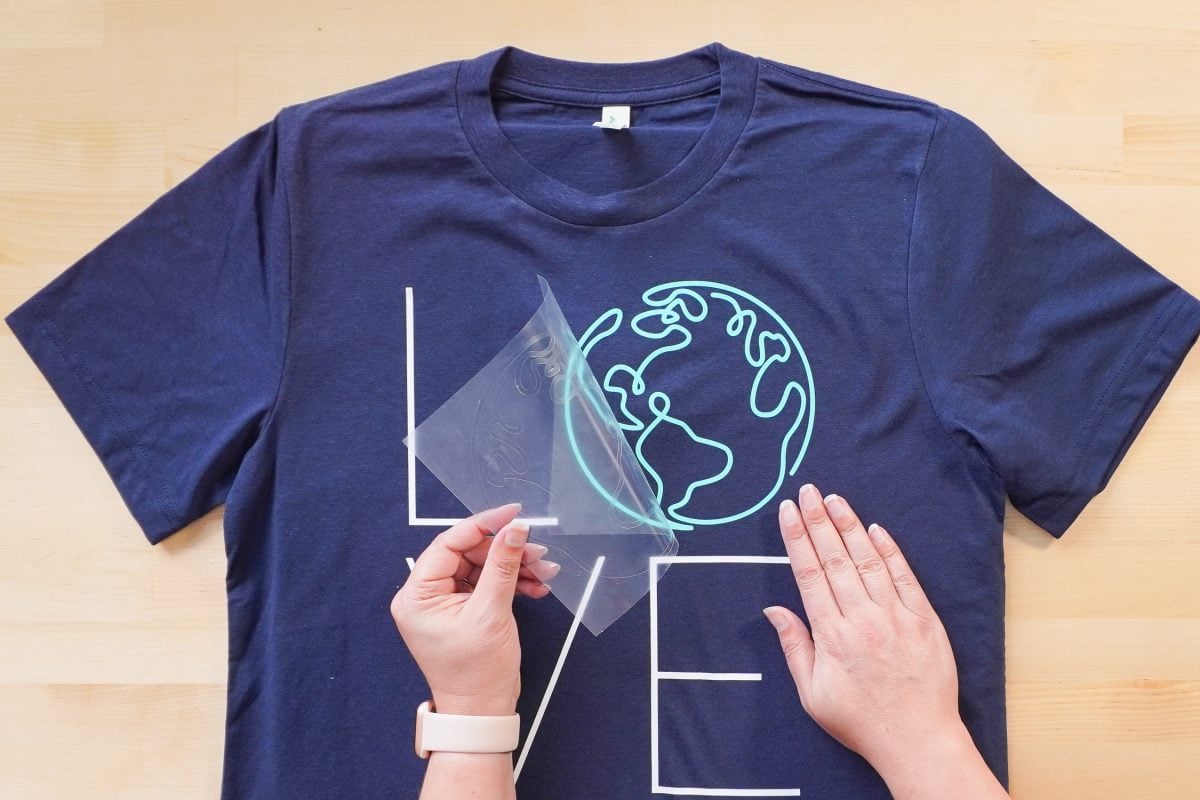
Also make sure you are using the exact product that appears in your mockup. If you’re using a bargain-brand shirt for your shop, don’t use a BELLA+CANVAS mockup. Your customer will be expecting their soft Airlume cotton or Tri-blend fabric and will be disappointed to get a scratchy $2 t-shirt from a cheaper brand.
For a more advanced look at mockups on things that have shadows or wrinkles, check out my mini-course, How to Make a Mockup. I go through several programs to make a mockup, including how to use PSD mockups in photoshop. These PSD mockups often have layers for shadows or fabric draping that make them look extra-realistic.
For this post, I’m going to show you how to create a mockup on flat surfaces with even lighting, because they are much easier for beginners!
Using the BELLA+CANVAS Image Media Gallery
To start, you’ll need a BELLA+CANVAS wholesale account. Luckily, you can sign up for FREE for their Maker’s Account! This allows you to buy their garments at wholesale pricing without a reseller’s license. It’s really wonderful and can help save you significant money over buying at retail. Get a Maker’s Account here.
Once you have your account, you have access to A TON of resources from BELLA+CANVAS beyond the wholesale pricing. You can find size charts, color cards, help, and so many other resources.
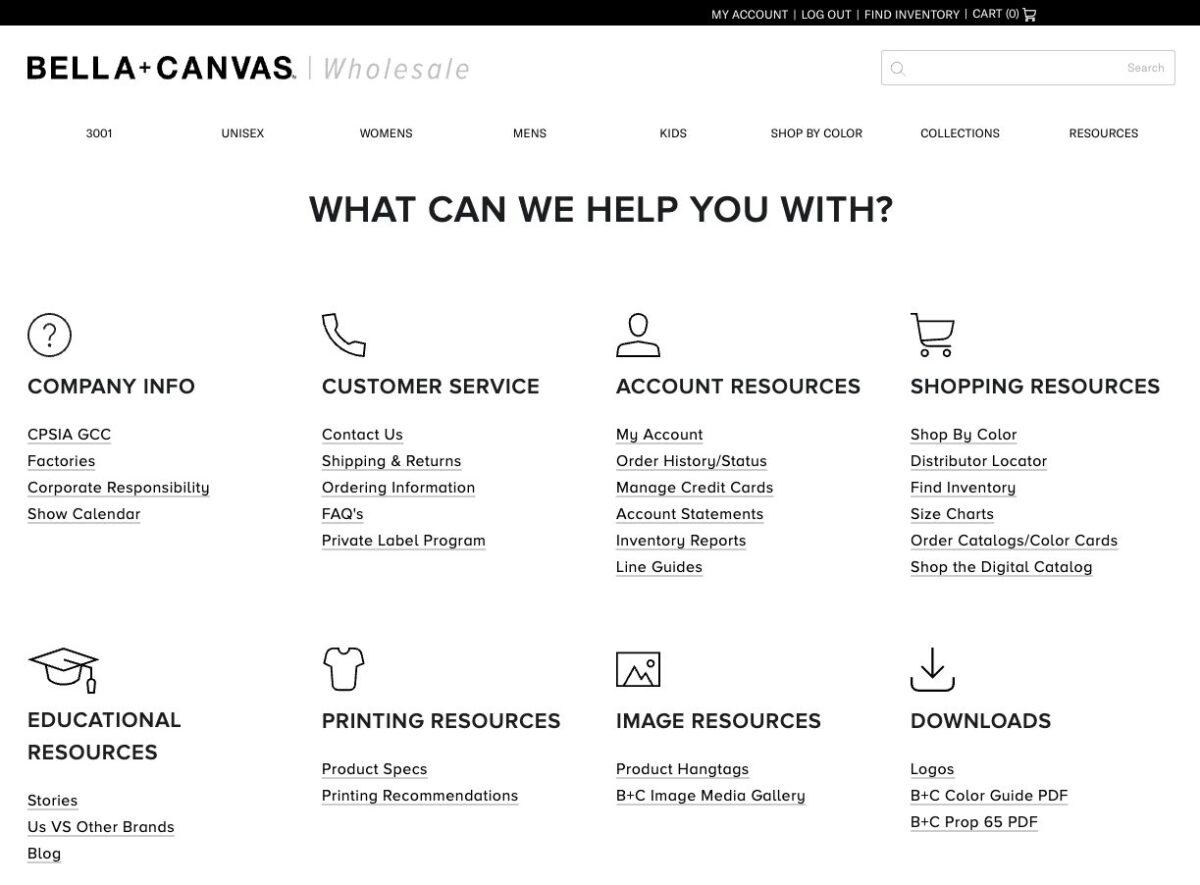
They also have the BELLA+CANVAS Image Media Gallery! Here they have multiple photos of basically every garment they make, along with color swatches, logos, and other images. You can use these for your mockups!
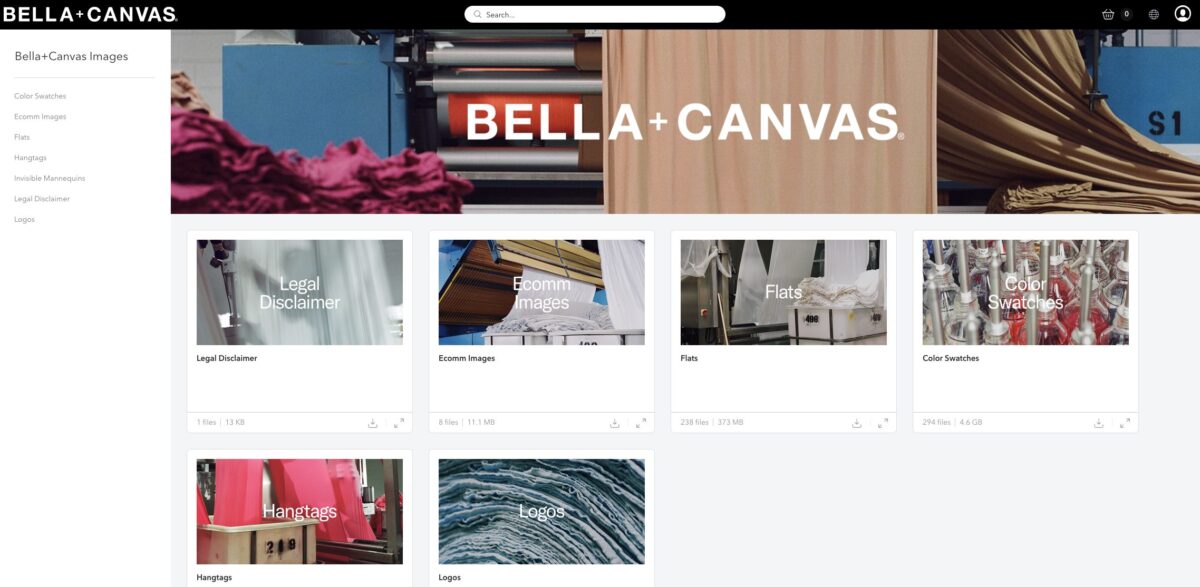
Note that some mockups are JPG (easy to use) and some are PSD files (not easy to use unless you have Photoshop or another photo software). You can easily convert the files, however, using a PSD to JPG converter.
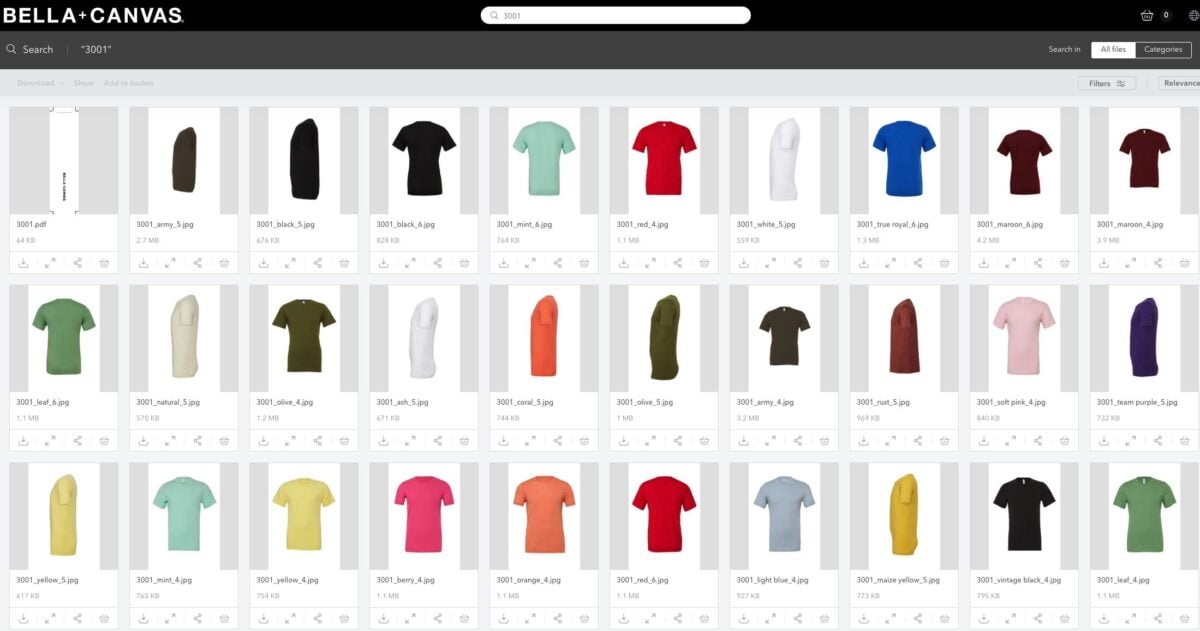
You can use the search bar at the top to find specific styles, like the well-loved BELLA+CANVAS 3001, for example. Just type 3001 and you’ll see all the matching images.
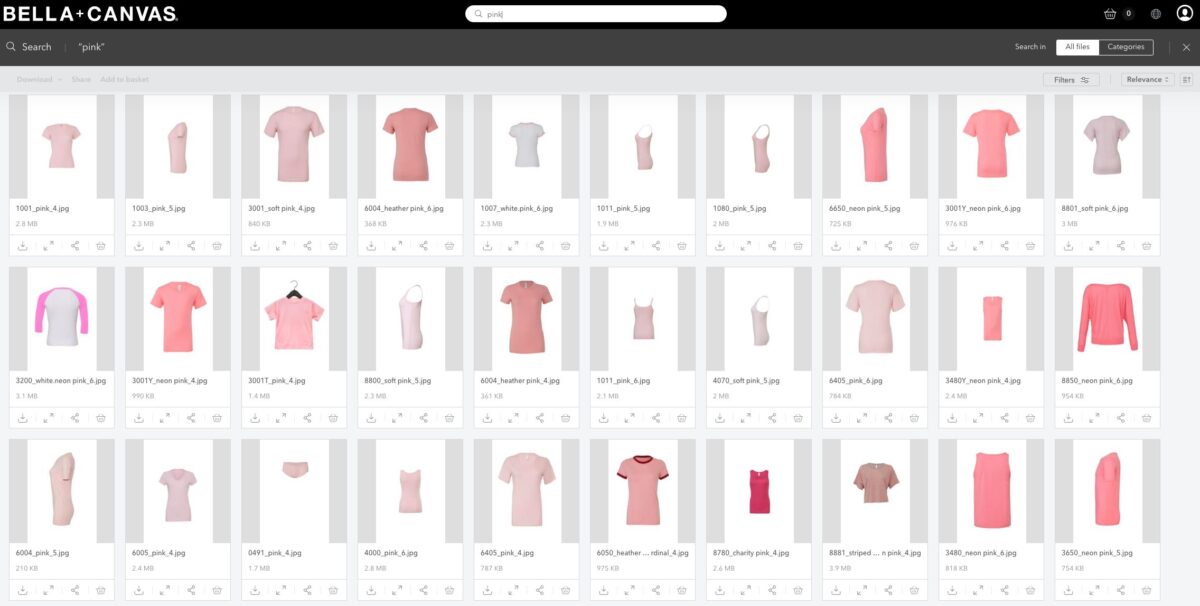
You can also search by color if you’d like.
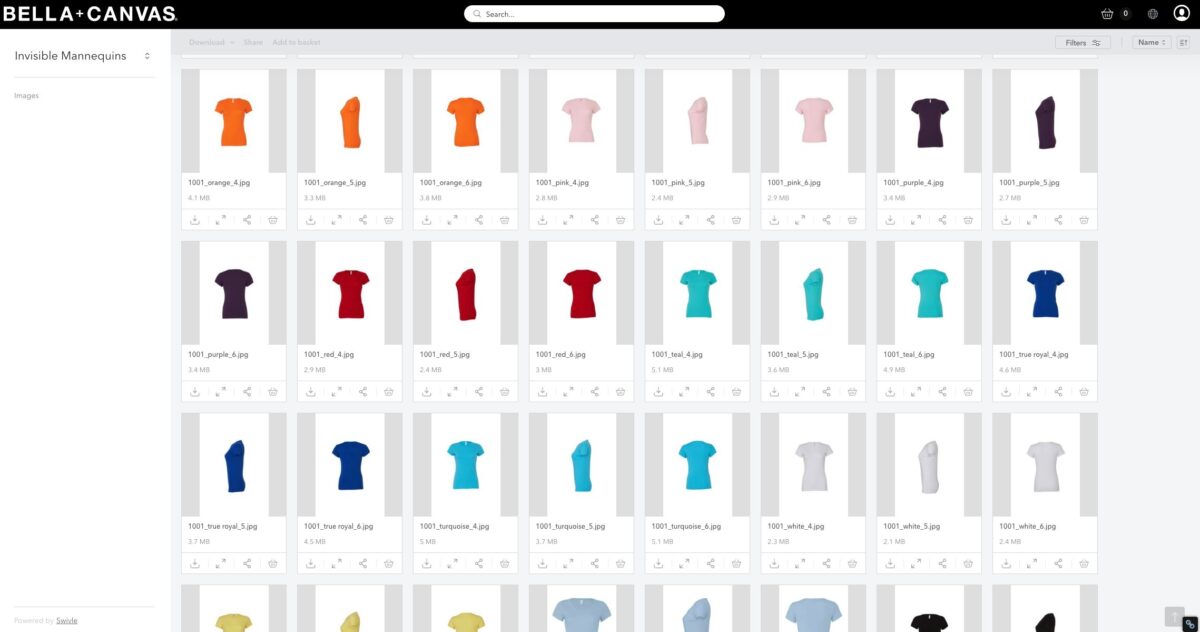
And then you can also search using the toolbar on the left. I like looking under Flat and Invisible Mannequin for options. The Flat options are the easiest for mockups but there are fewer options. The mannequin images also work and they have far more options as far as the colors and style that are in the gallery.
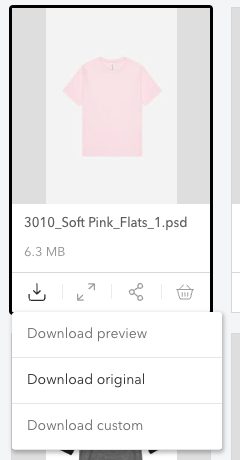
Let’s grab a mockup to use. I’m going to use this BELLA+CANVAS 3010 pink adult t-shirt but clicking the download button and choosing “Download Original.” I downloaded it as PSD and then used the converter I mentioned above to make it a JPG.
Create a Mockup in Canva
Now we move over to Canva. You can do this in the free version of Canva—no need to go Pro unless you like all the other features (I do! I’ve been Pro for years).
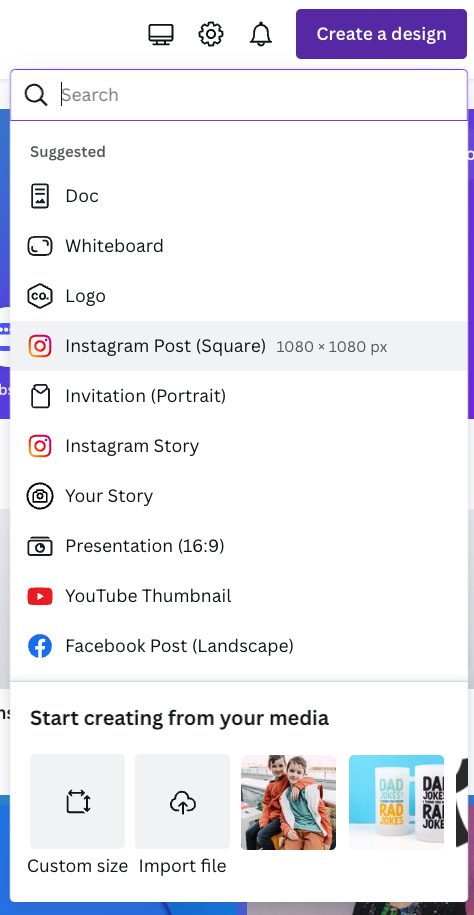
Choose Create a Design in the upper right. I usually choose an Instagram Photo, which is 1080px x 1080px. A good size for most online applications. You can also choose a custom size at the bottom of that dropdown if you’d like.
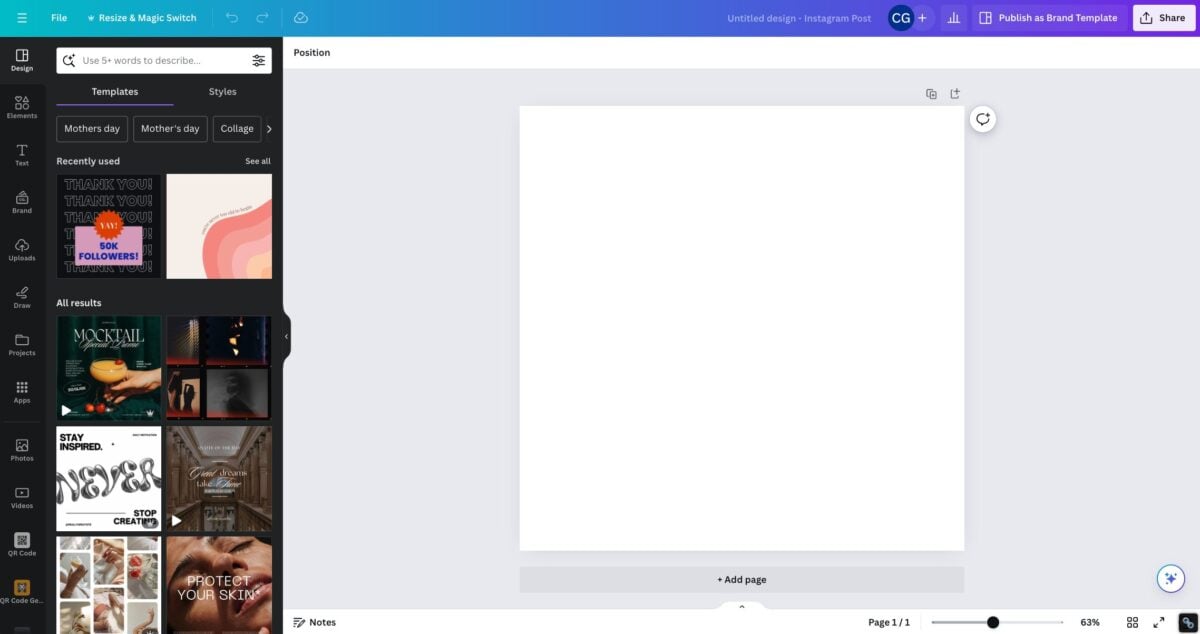
This will open the canvas.
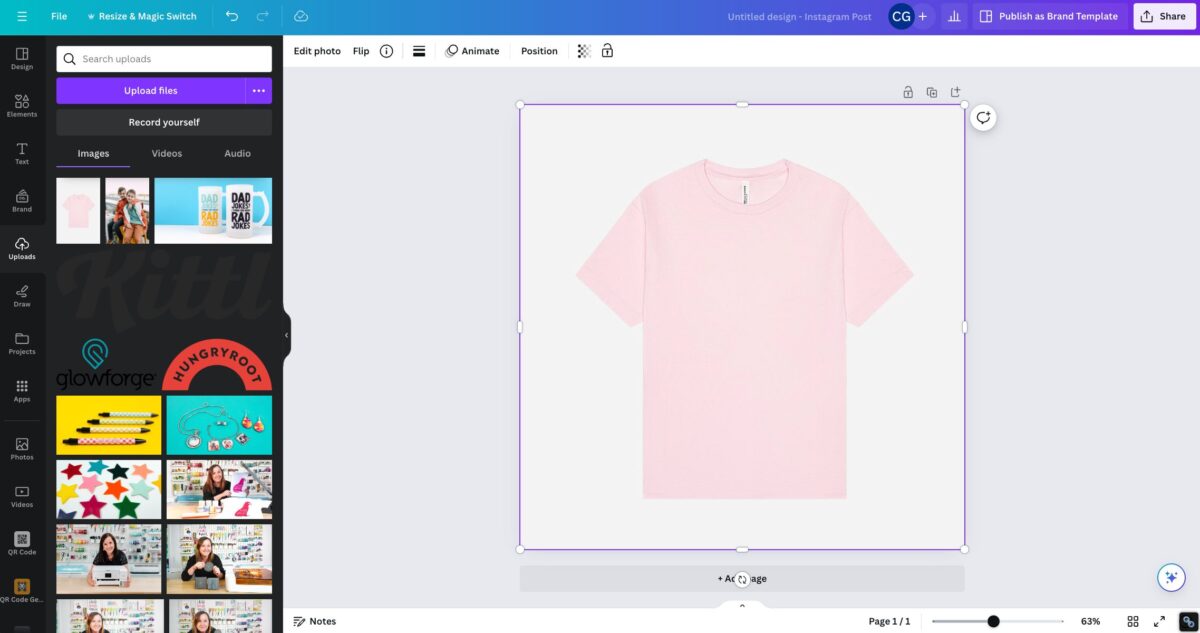
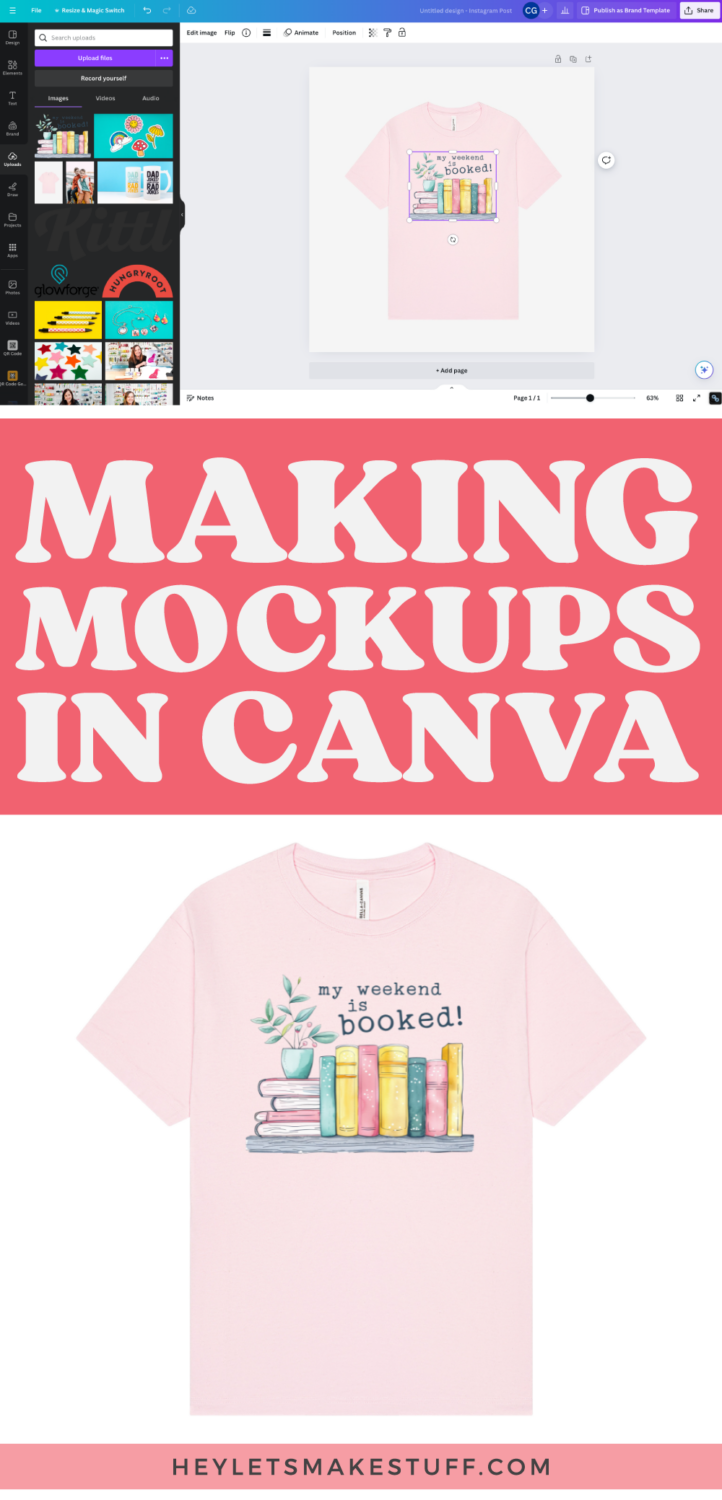
On the left side of the screen, choose Uploads, and upload the image you downloaded from BELLA+CANVAS.
Using the same Uploads window, upload the image you want to add to your garment. You can resize to fit in your shirt.
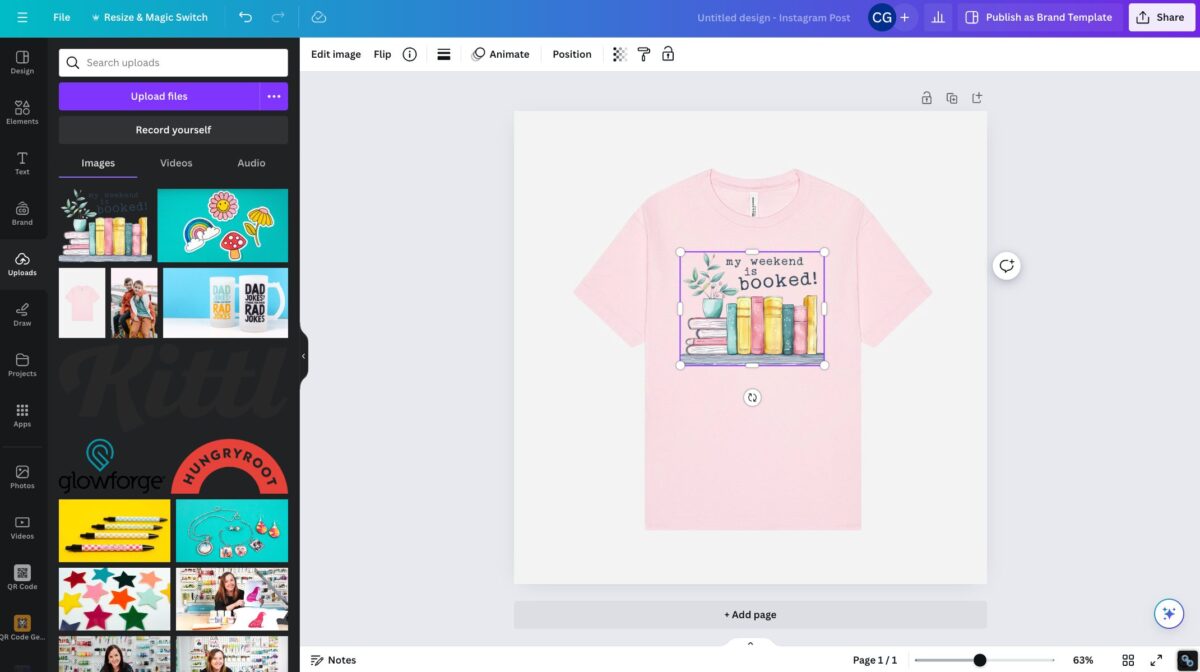
And that’s it! Go up to Share in the upper right and choose to export! I prefer to download as a PNG, but there are other options as well.
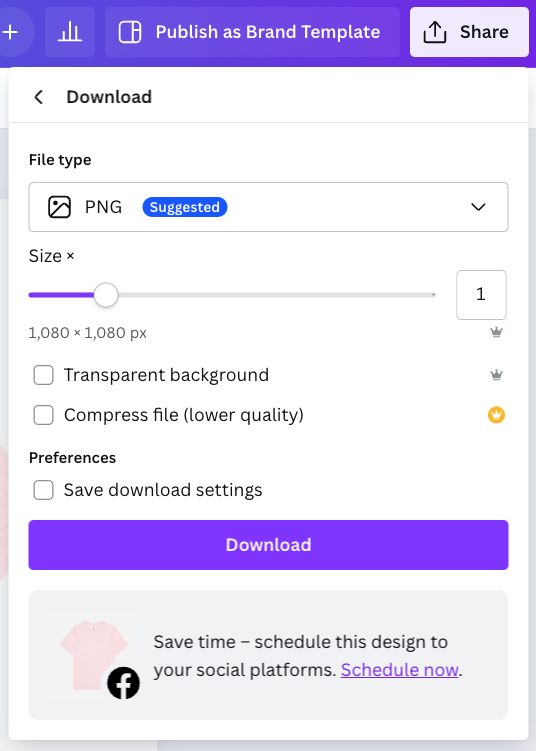
Now you can use your image in your online shop or to give to a client!


I hope you found this tutorial to create a mockup helpful! If you have any questions or need help troubleshooting, feel free to leave me a comment below!


Leave A Reply!