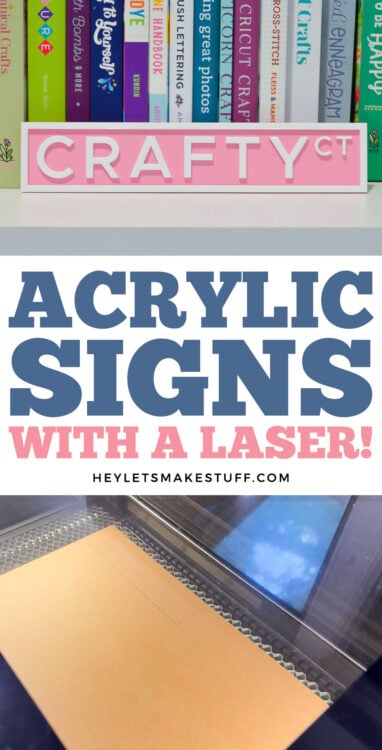
Make your own custom acrylic street signs with this step-by-step laser tutorial! Perfect for personalized gifts, kids’ décor, or classroom fun! Use a CO2 laser or adapt the project for a diode laser or vinyl cutter.
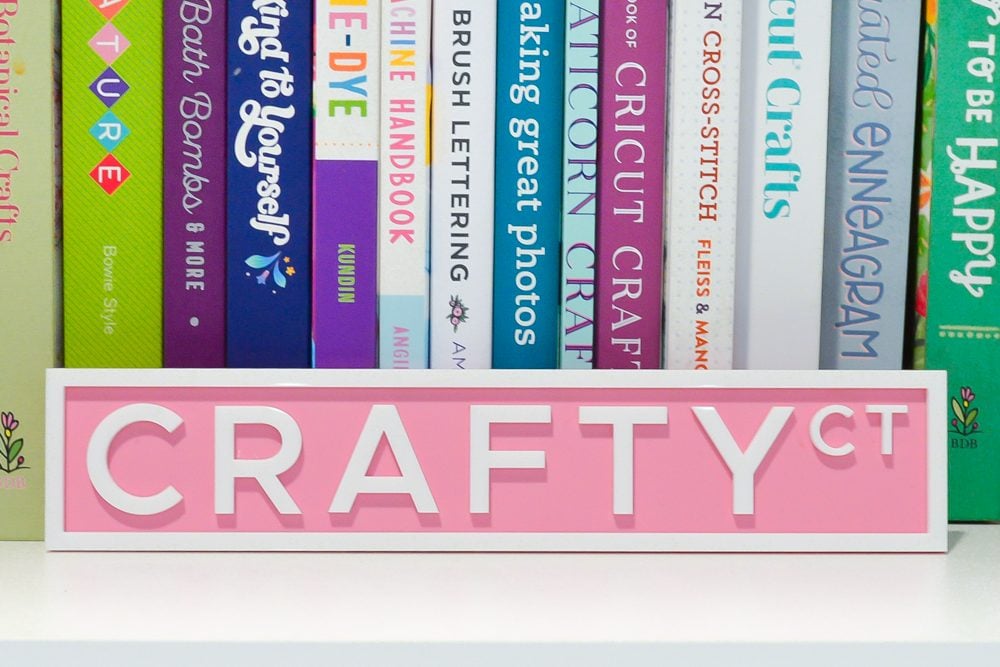
I feel like it’s been a lot of reviews and technical tutorials around here lately, so let’s make something fun—street signs! Whether you’re making personalized signs with your kids’ names, cute decor for your classroom, or like me, creating clever bookish gifts (hello, Library Ln and Book Blvd), these signs are always a hit and can be customized with any word!
For this tutorial, I’m using my CO2 laser to cut white acrylic—perfect for getting that classic street sign look. Cutting white acrylic is pretty much impossible with diode lasers, but if that’s what you have, there are still options! You can make your sign out of colors that a diode laser can cut (maybe a dark pink background with lighter pink letters), you could cut it out of wood and paint it white, or you could layer white vinyl on top of your background acrylic color for a similar but less 3D effect.
Learn more in my post How to Cut Acrylic with a Diode Laser.
Now let’s dive in and make some street signs!
Watch the Video
Want to get a video overview of making these acrylic street signs? Just hit play below! Or keep reading for a written tutorial!
Supples to Make Acrylic Street Signs
- Laser (I am using my xTool P2S)
- White acrylic
- Colored acrylic
- 3M double-sided adhesive or DualTite adhesive sheets
- Weeding hook (helpful but optional)
- Brayer (helpful but optional)
How to Make Acrylic Street Signs
Designing the File
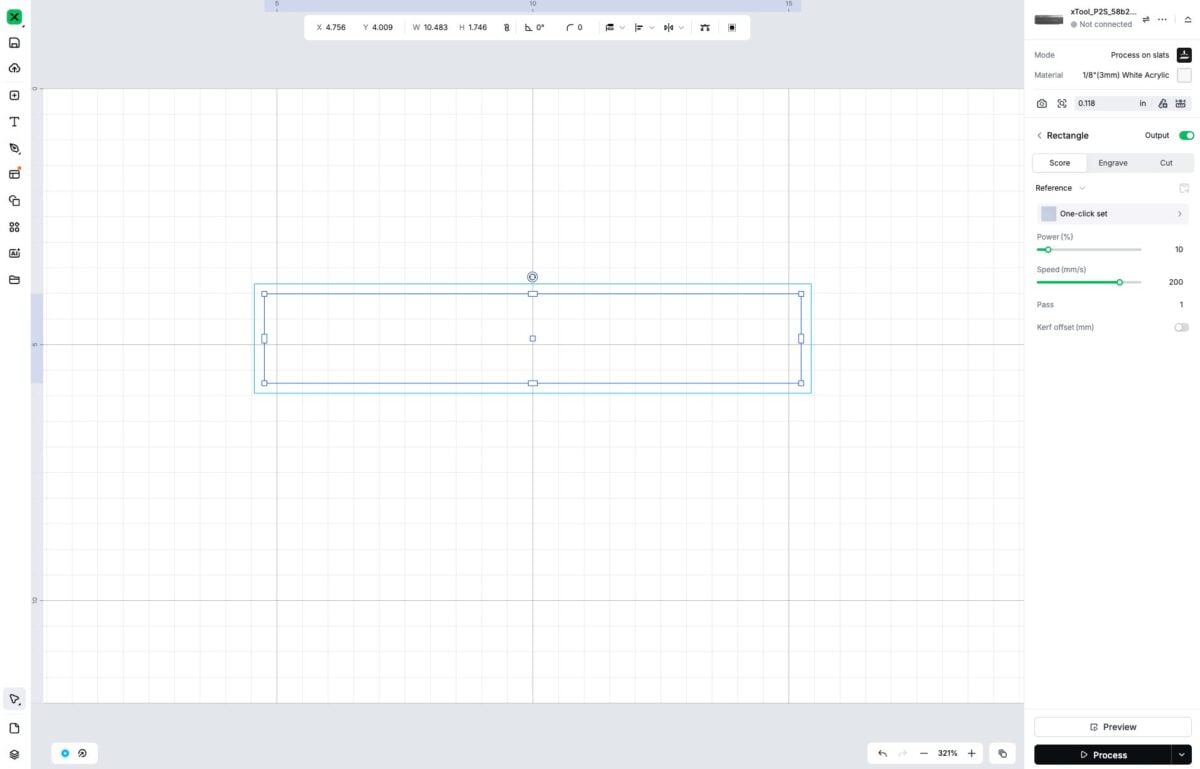
This is the process for making street signs in xTool Studio. The instructions, however, are pretty easy, and you can probably do this in almost any laser software, or you can make the design in something like InkScape or Illustrator.
If you have a software that can do it (as far as I can tell, xTool cannot), I like to slightly round the outer corners of my signs. In Illustrator, you can do it using Live Corners. It makes for a more professional project and the corners aren’t quite as sharp.
Note: My video tutorial uses the older version of xTool Creative Space, but my post uses the new xTool Studio. They are similar!
Start by using the rectangle tool to create a long rectangle. Don’t worry about the size for now.
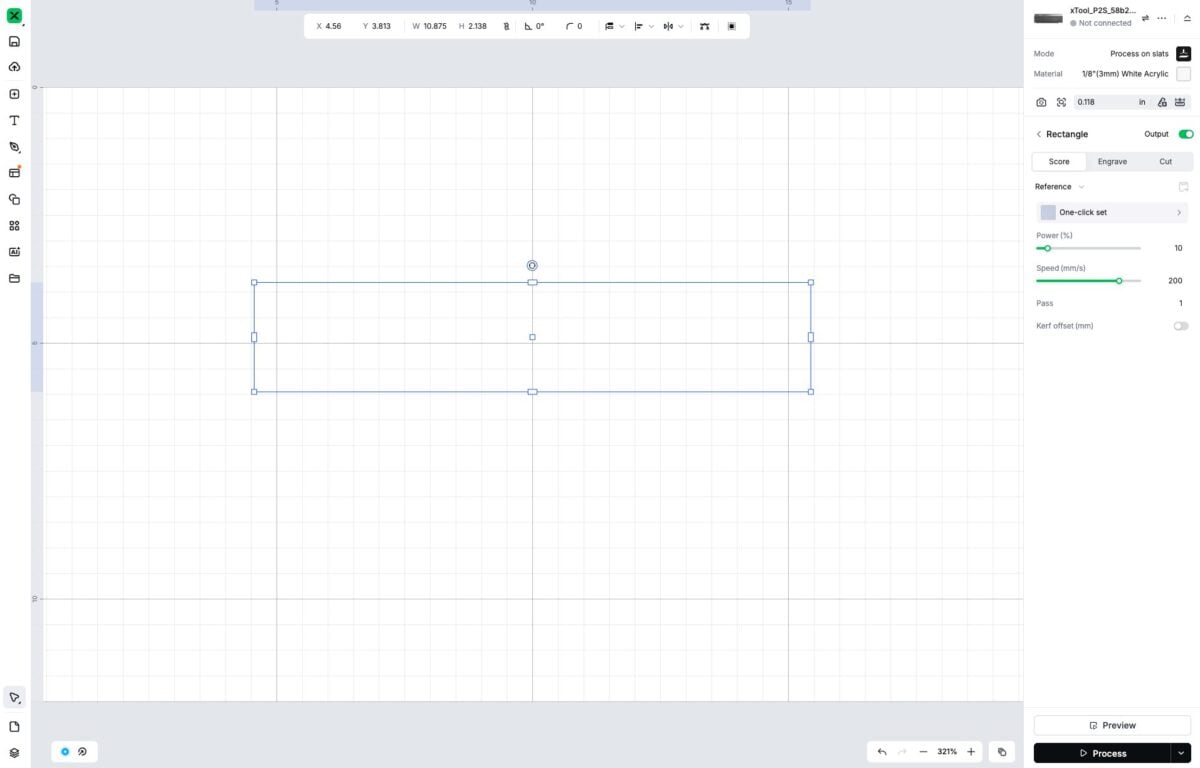
Then duplicate the rectangle and resize it to fit inside the first rectangle. You’ll need to “unlock” the aspect ratio of your rectangle to be able to size it properly. You can also use the Offset tool to do this.
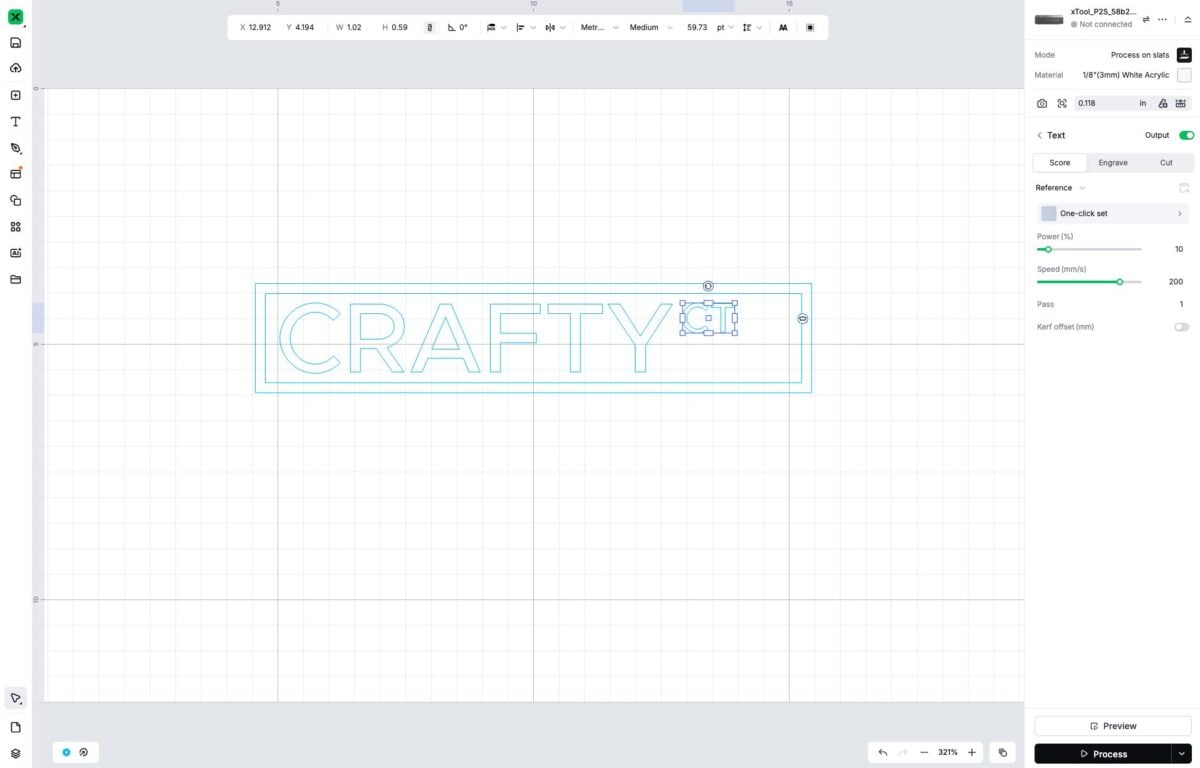
Type your text. I like to try and use an alliterative type of street/road name after my text, like Crafty Ct or Bookish Blvd. Sometimes you can’t, though, so go with whatever you’d like!
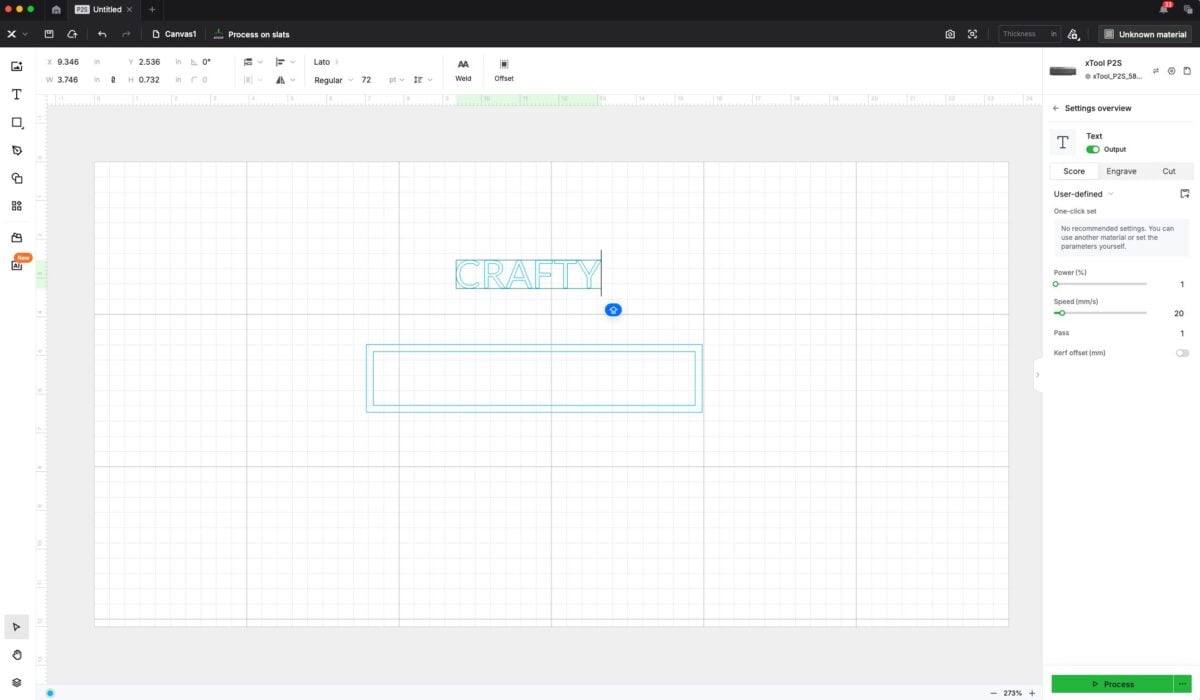
If you’d like, change your font. I like Metropolis for my signs, but Helvetica or other simple fonts will work. I also like to add a bit of spacing between my letters. Then resize it to fit within your rectangles.
Add your street designation in the same way (for me, I’m using CT).
If needed, make sure your rectangles are unlocked and resize them horizontally so your type fits nicely.
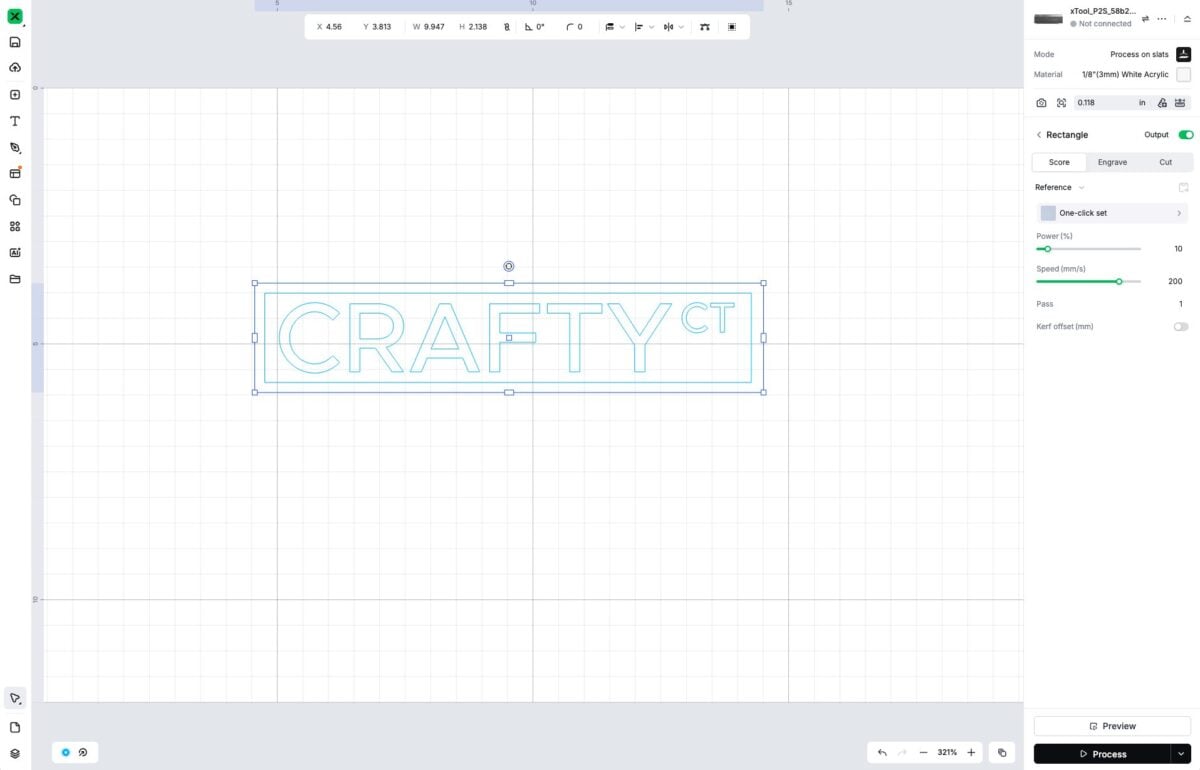
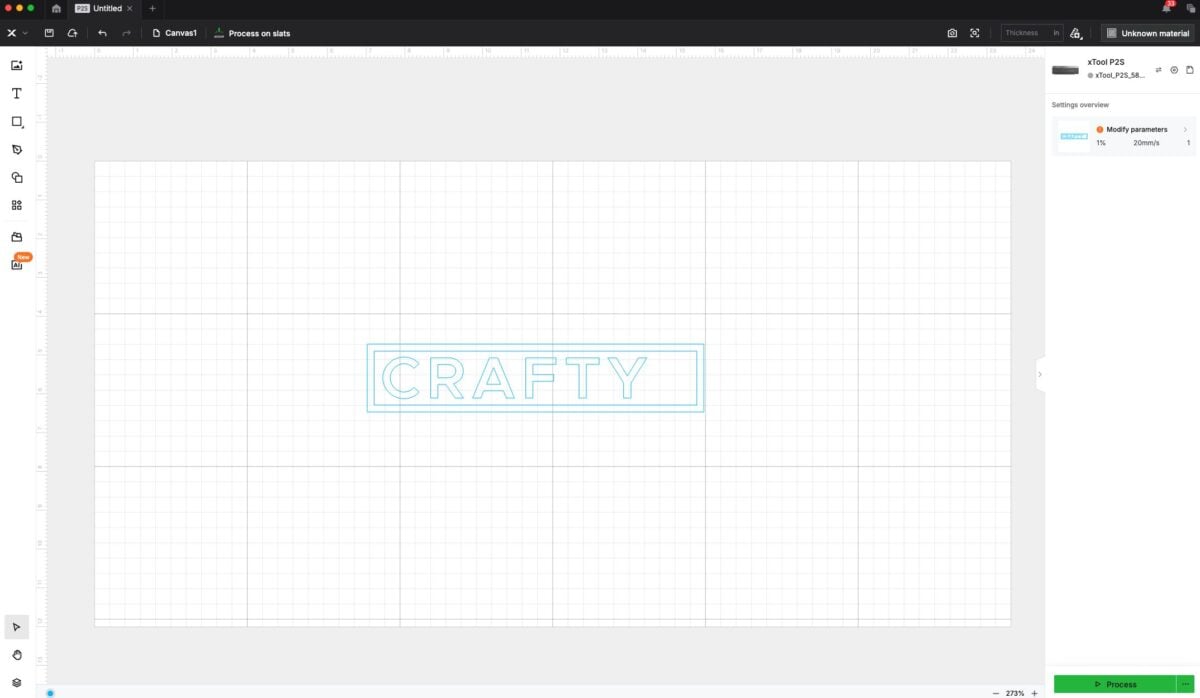
Select just the outer rectangle and duplicate it. This will be your backing piece.
Then select all the pieces but the backing piece and change them to the height you want. I use 1.75″ for my shelf sitters, but you can make your sign any size you’d like. Then select the backing piece and change the height to match.
Prepping the Acrylic
For this project, I keep the masking on the colored backing piece, but I remove it from the white acrylic. If your settings are correct, you shouldn’t have any charring on the white, and it will save you so much time having to peel up all that masking.
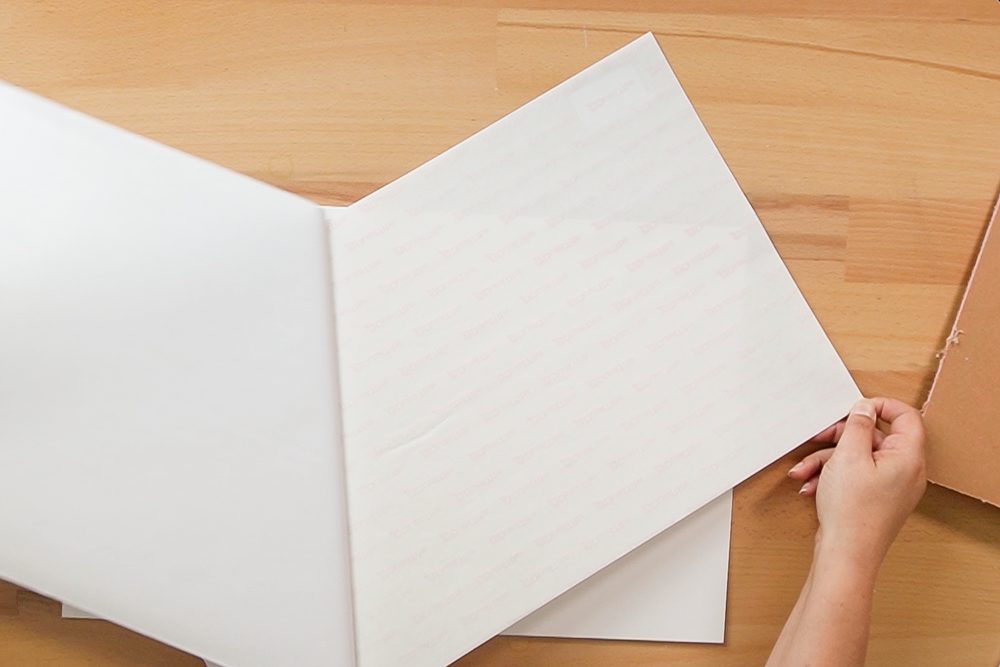
Once you have the masking removed from the white acrylic, you’ll need to add the double-sided adhesive sheet. We are using a double-sided adhesive because it is about a million times easier and neater than trying to use glue. I use double-sided adhesive on any projects where I have layers—I can’t remember the last time I glued a laser project.
To apply this product to the acrylic, peel back the liner.
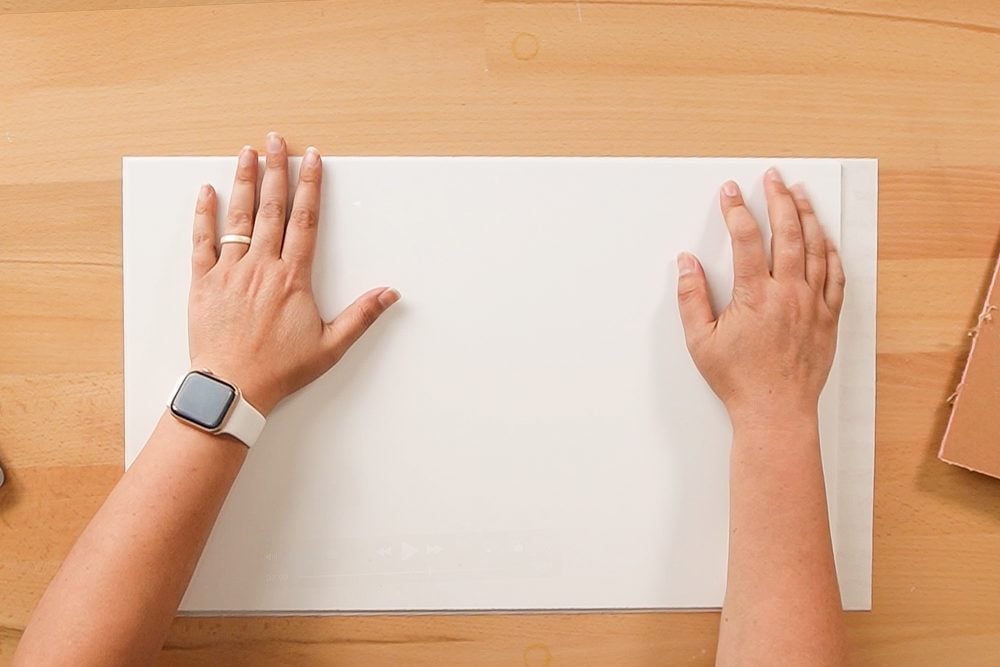
Place the sheet with the sticky side facing up, then place the acrylic on top, pressing the acrylic into the adhesive.
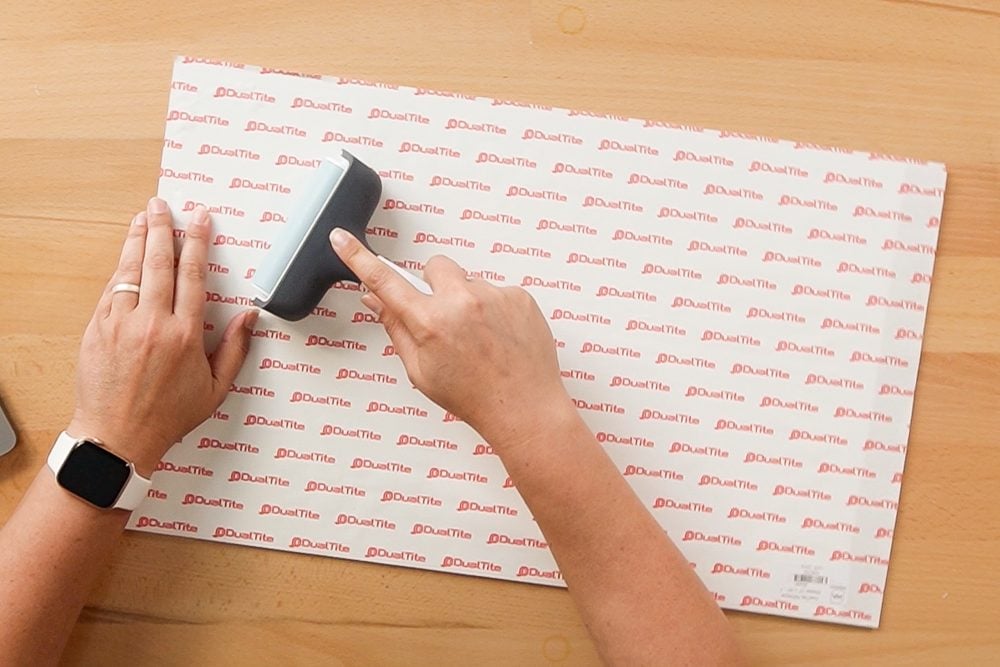
Then, using a brayer or felt-edge scraper, carefully peel back the liner as you press the adhesive onto the sheet. Don’t worry if you have bubbles—you can use your brayer/scraper to get rid of most of them, and the others won’t matter in the long run.
You do NOT need to add this adhesive to your background color piece! For the background piece, I generally leave the masking on.
Cutting the Acrylic
Now it’s time to make your project! I highly recommend using a honeycomb tray vs. rails (this will all depend on your laser) because the letters will fall through the rails and potentially get hit with other passes of the laser. This happened to me before I started using the honeycomb tray, and I found myself having to cut extra letters that were caught in the crossfire.
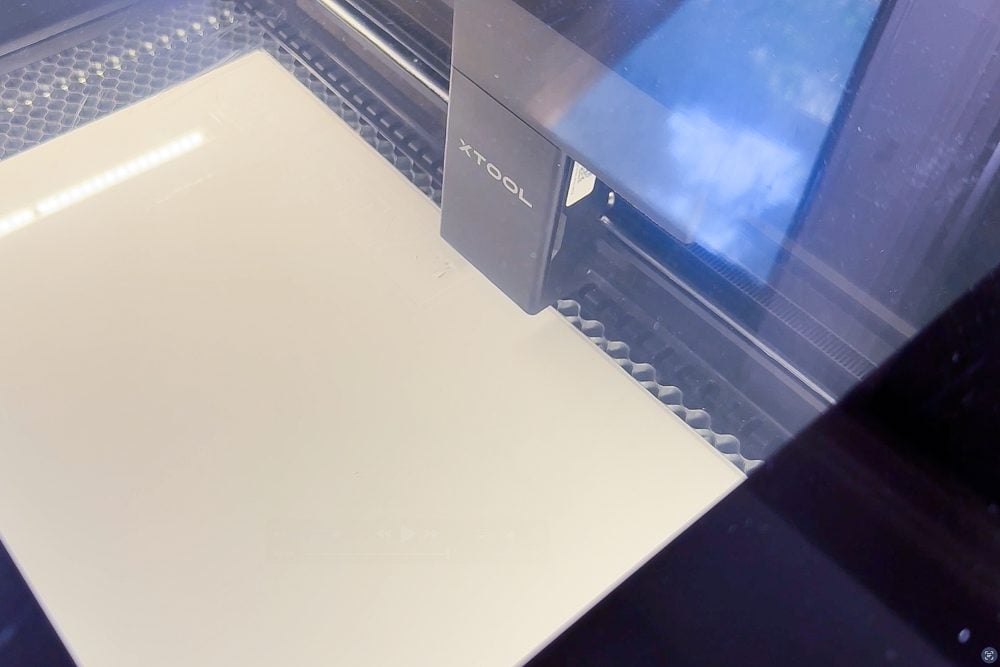
Place your white acrylic in the laser with the adhesive side down.
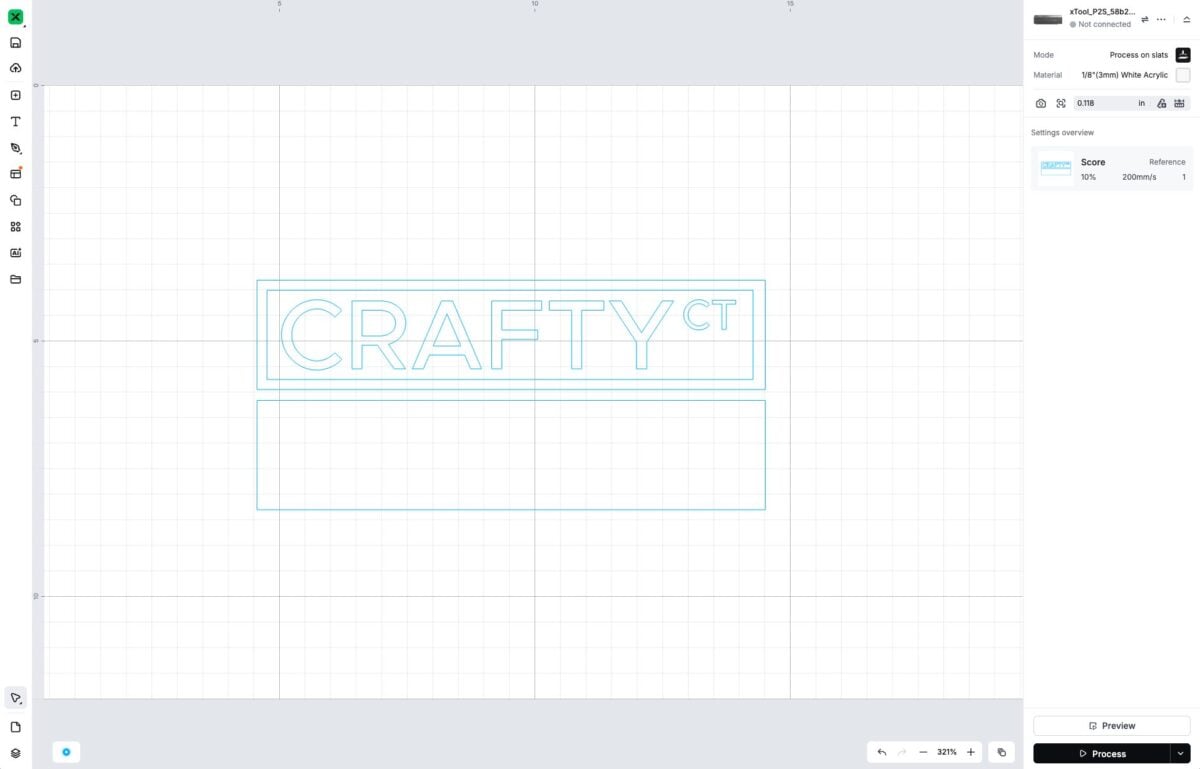
Back in xTool Studio, set your material. Select your white pieces (the inset rectangles and the words) and choose your settings. Make sure your project is set to cut. xTool’s material settings are pretty accurate, but if needed, you can manually adjust them.
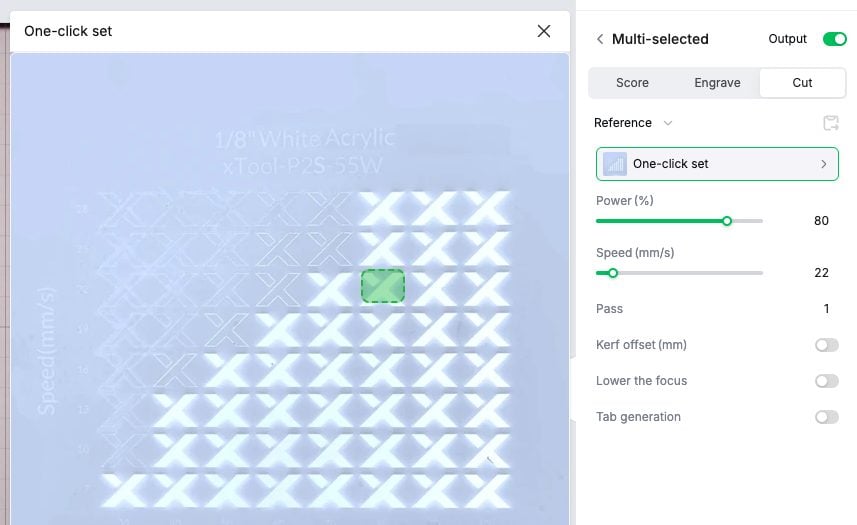
Select the backing piece and turn off the output, so it doesn’t cut.

Then click Process and follow the prompts to cut your material!
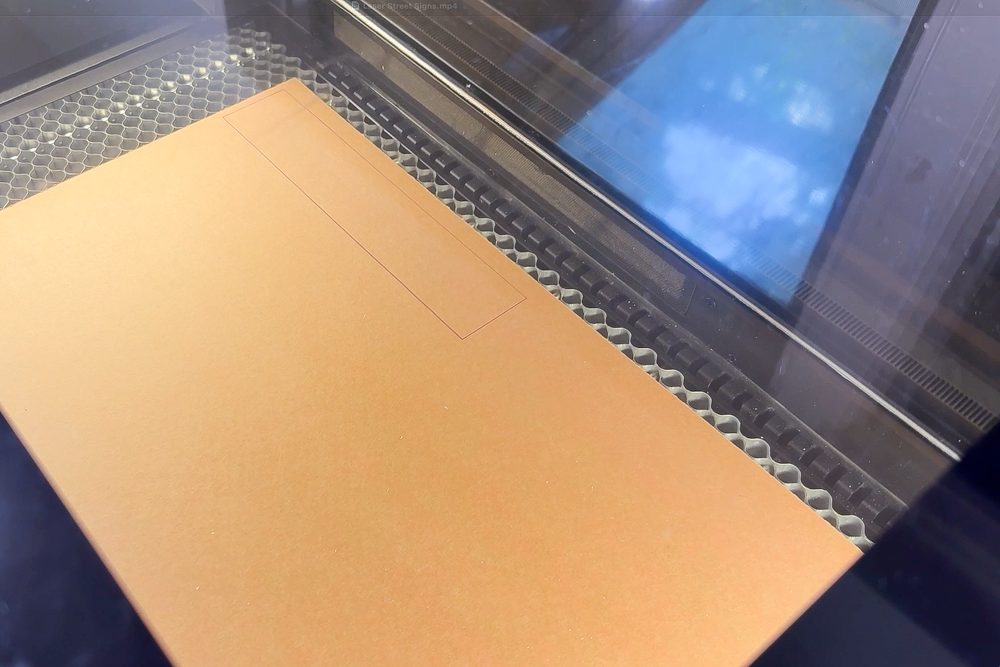
Do the same for the backing piece. Make sure to turn off the output for the pieces you’ve already cut and turn it on for the backing piece. Change your material to match the material you are using.
Assembling Your Street Sign
Now it’s time to put everything together!
Start by removing the masking from both sides of your backing piece.
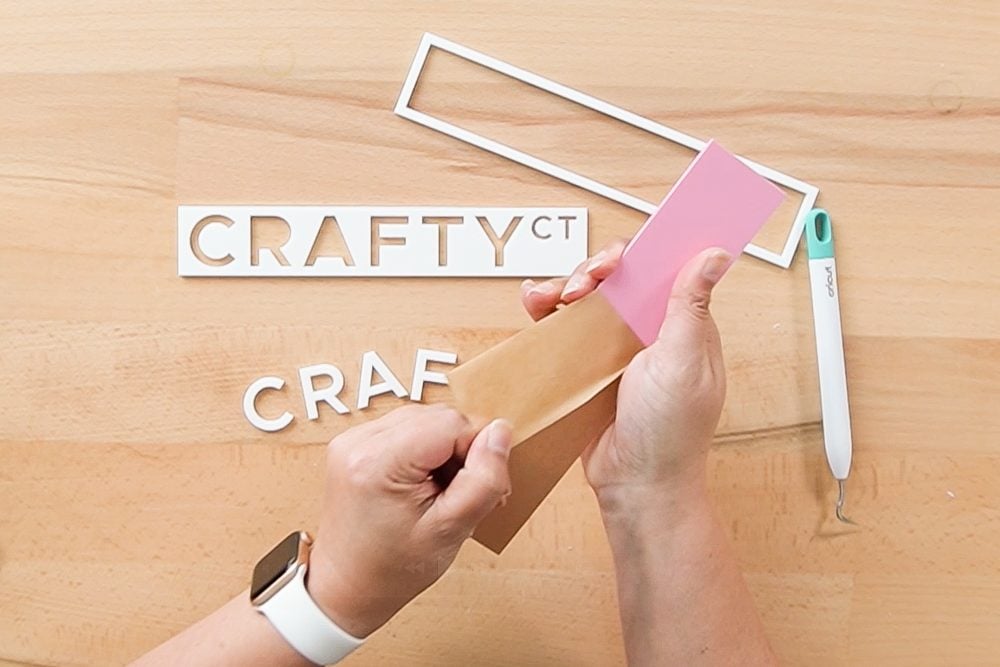
Peel off the backing on the adhesive and carefully apply the outline to the backing piece. The adhesive is sticky, so make sure you have it right before really pressing down! I often stand the two pieces on end and line them up instead of trying to stack them. I just find it easier.
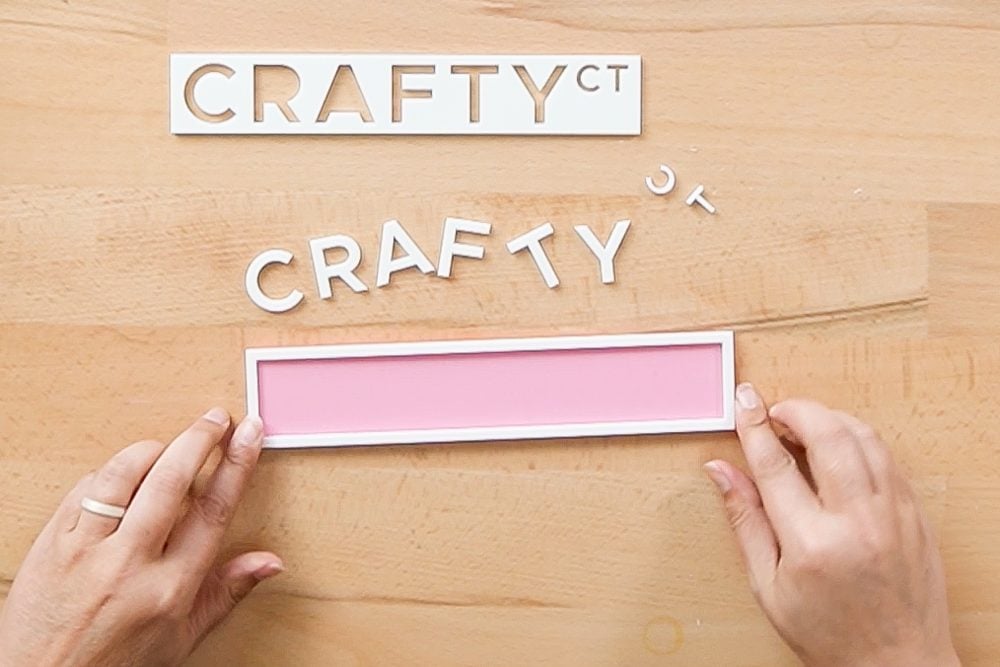
Now place the offset piece inside the outline. Do NOT remove the backing on the adhesive—we are going to use this as a template for placing our letters. Remove the adhesive backing on all of your letters and place them in the template one by one. The letters should stick, the template should not.
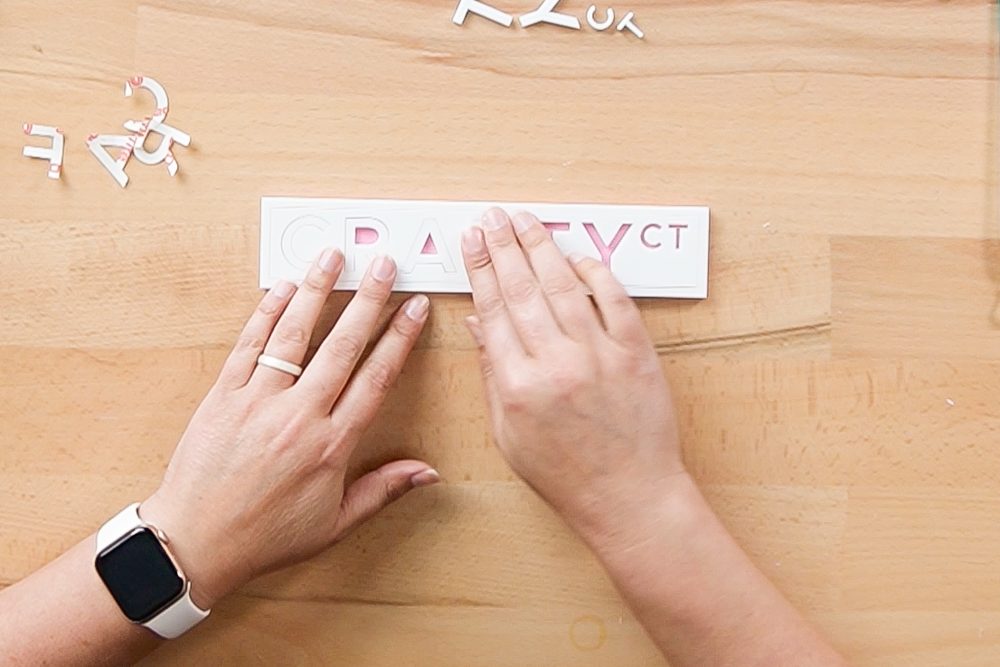
Once you have all your letters place, turn over the sign and gently tap it to remove the template. All of your letters are perfectly placed!
You can add some command strips to the back to hang your sign, or set it on a bookshelf or desk!


Comments & Reviews
Stephen Underwood says
From the very first moment, Sprunki feels intimate and open, without pressure or overly detailed instructions, allowing you to enter on your own curiosity.