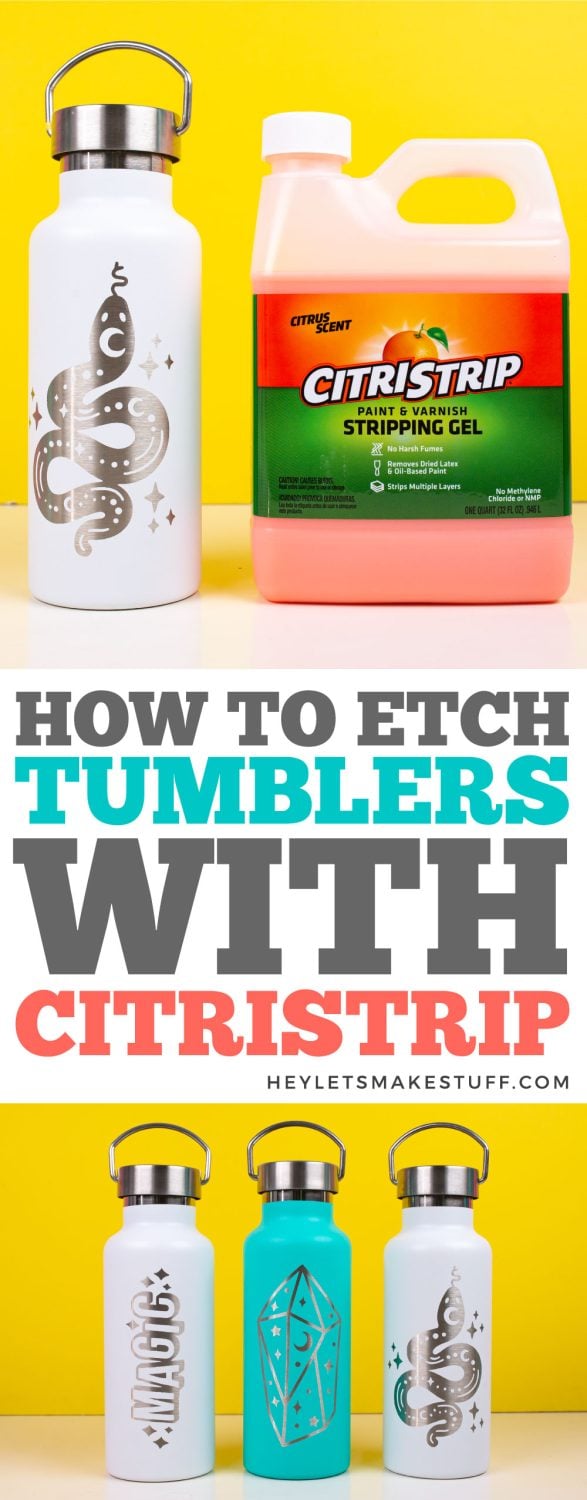
Use your Cricut machine and CitriStrip to easily etch anything powder coated! Here is my favorite way to etch tumblers with CitriStrip, plus tips and tricks for crisp edges even on the most intricate details!
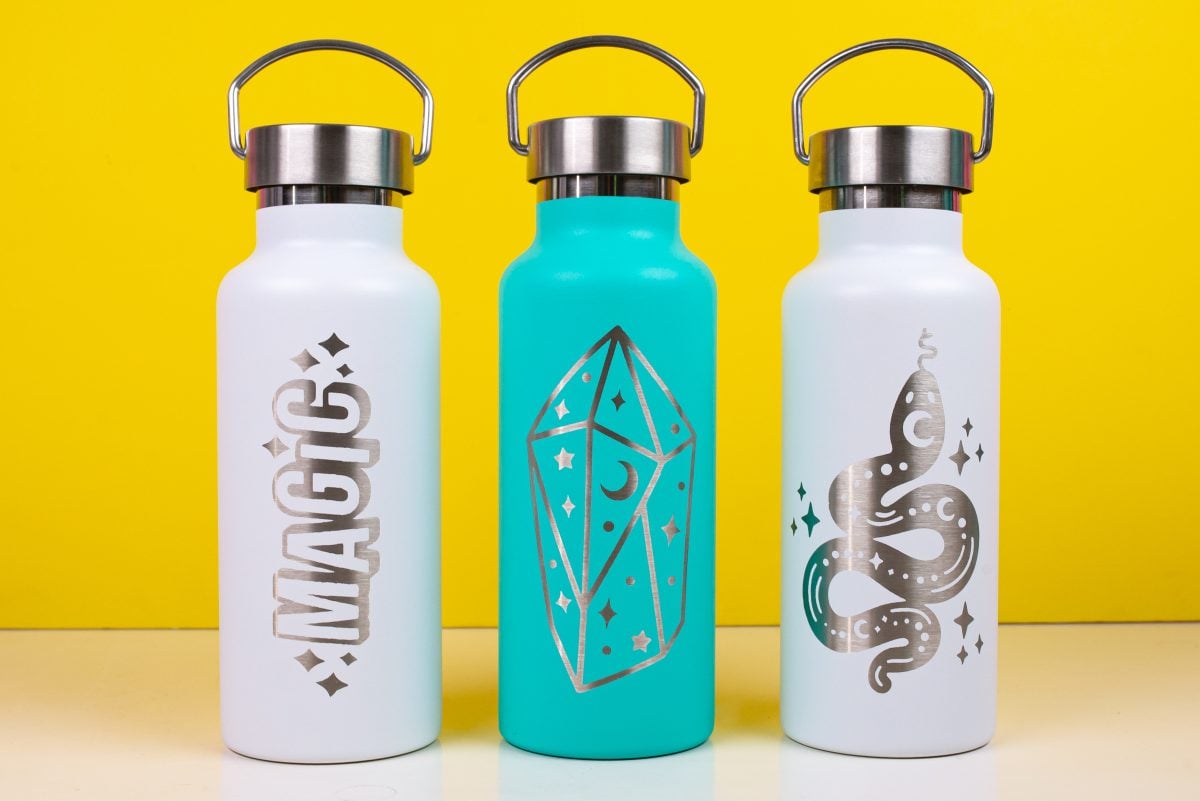
Ever wanted to engrave your own tumbler, but just don’t have the specialized laser machinery to do so? Same here, friend! Even those of us that own a Glowforge machine can’t create them because the machine can’t etch something that thick.
For years, many of us have used our Cricut machines to try and achieve a similar look. Foil adhesive vinyl is an alternative, but still doesn’t quite create a long-lasting, permanent design.
Until now…
Thanks to a recent TikTok craze and a paint stripping product called CitriStrip, professional quality engraved products are an option! I am absolutely *thrilled* with how my tumblers turned out. A big thank you to Leap of Faith Crafting. I learned the basics from her and then worked to make this process work even better for intricate designs. And Adrienne at M2C1 designs for the original process!
If you’ve ever etched glass with a vinyl stencil, you may be familiar with the process behind this tutorial. However, using CitriStrip you can now do something similar to remove the powder coating on tumblers and other powder-coated items! How cool!
While you will not be actually cutting into the metal with an engraving tool, removing the paint gives the tumblers a beautiful metallic look you would usually only find from an engraving process.
Whether you’d like to make custom tumblers as gifts for friends and family members, add to your small business lineup, or sell at a local craft market, this process is sure to wow!
What is CitriStrip?
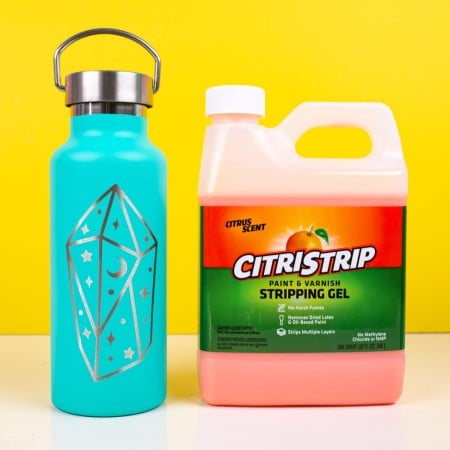
CitriStrip is a type of paint and varnish stripper that can be found online or at any home improvement store. For this craft, you need to make sure you get the CitriStrip Stripping Gel, not the paint and varnish remover or any of their other products. There are other generic versions of CitriStrip, but I haven’t tested them.
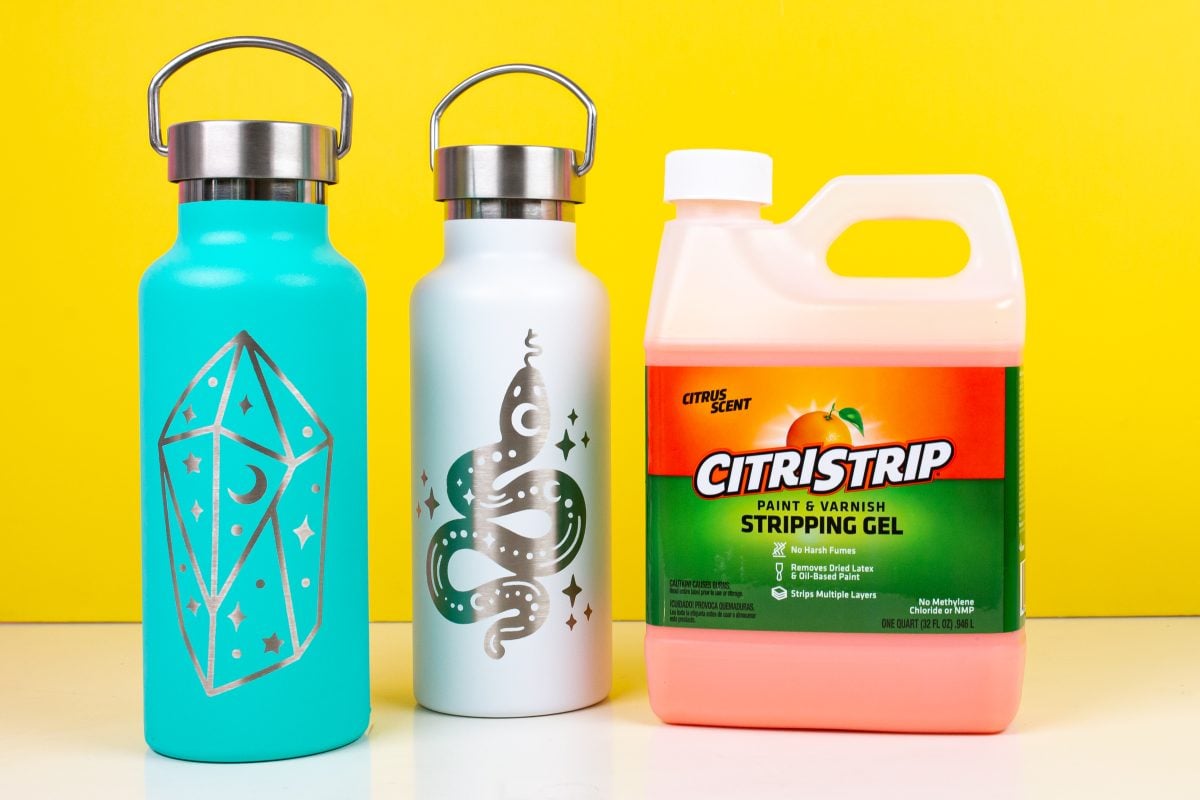
It is super easy to use, and is known for its lighter scent compared to other paint stripping chemicals. If chemical smells bother you, you may also want to wear a respirator.
Video Tutorial for Etching Tumblers with Citristrip
Watch here for a complete tutorial for etching water bottles using CitriStrip, or read on for written instructions!
Etched Tumbler Supplies:
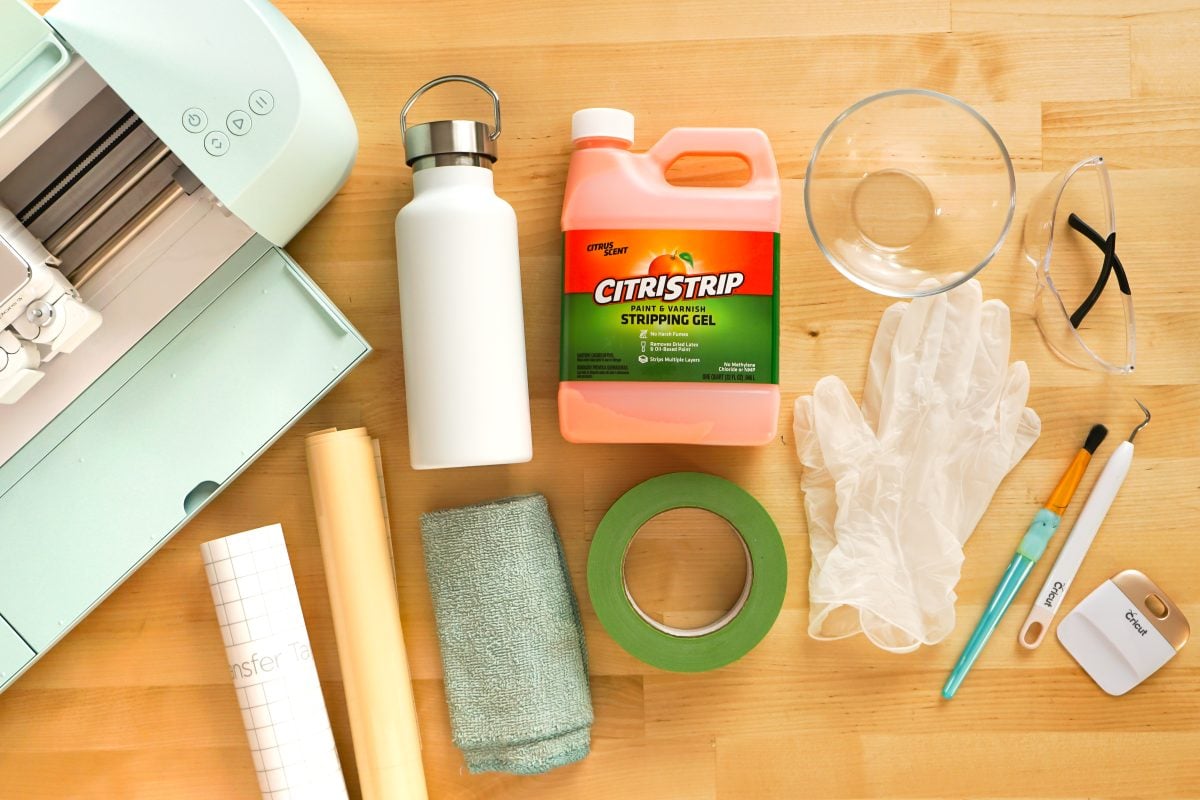
- Powder-coated tumbler*
- Adhesive vinyl (I found Cricut Permanent Vinyl worked great—it’s thin and adheres really well)
- Cricut or other cutting machine
- Weeding tool
- Alcohol & cotton ball
- Transfer tape
- Scraper
- Painter’s tape
- Rubber gloves
- Protective Eyewear
- CitriStrip Stripping Gel (I got mine from Amazon, but it seems to be out of stock. You can also get it at Walmart or your local home improvement store.)
- Glass bowl
- Paint brush
- Blow dryer
- Old rough washcloth
- Tumbler cradle**
*I tried to pick a tumbler that had a smoother powder-coated finish. Something with a more pebbled finish may give the CitriStrip more places to sneak under your stencil.
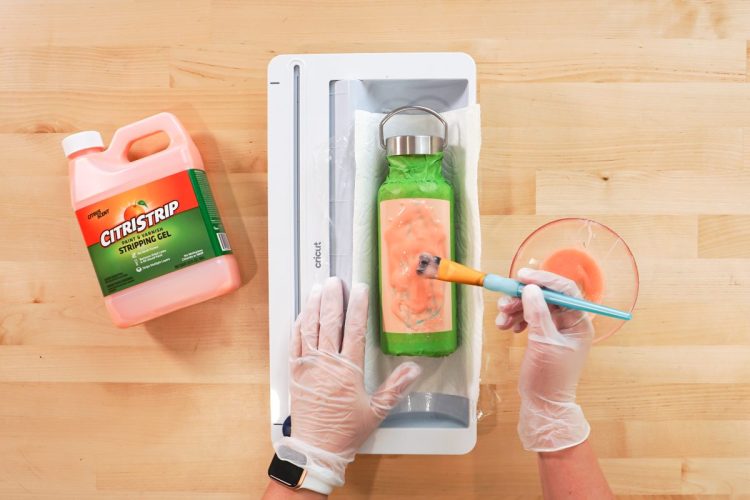
**I don’t have a tumbler cradle so I just used my Cricut Roll Holder, which I lined with a bit of cling wrap and a couple paper towels. Worked great!
Etched Tumbler Instructions
Creating Your Design
Let’s start by creating your design in Cricut Design Space. At first, I thought it would be better to use simple shapes with thicker elements, but after doing a few tumblers I realized that you can do thinner elements if you prepare your tumbler correctly.
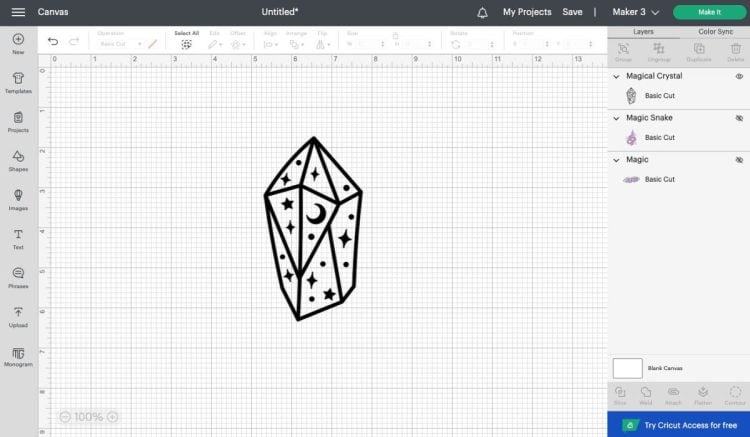
For this tumbler, I chose the Magical Crystal design #M3CB5E4D9 in Cricut Design Space. Taller, narrower images work well for water bottles and Cricut Access has lots of options. You can also type a name or other text using the Text Tool or you can upload your own image to use.
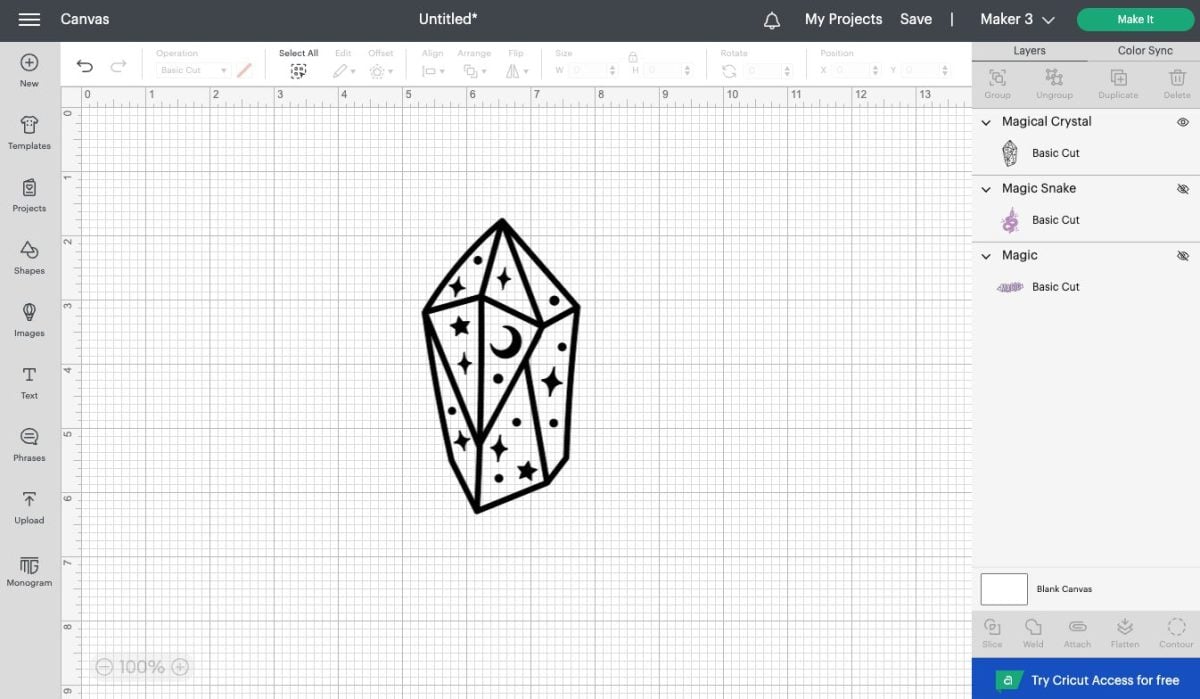
Resize your decal to fit your water bottle. I made mine 4.6″ tall for my smaller water bottle (which was smaller than a larger 32oz water bottle, for instance). Then hit Make It in the upper right.
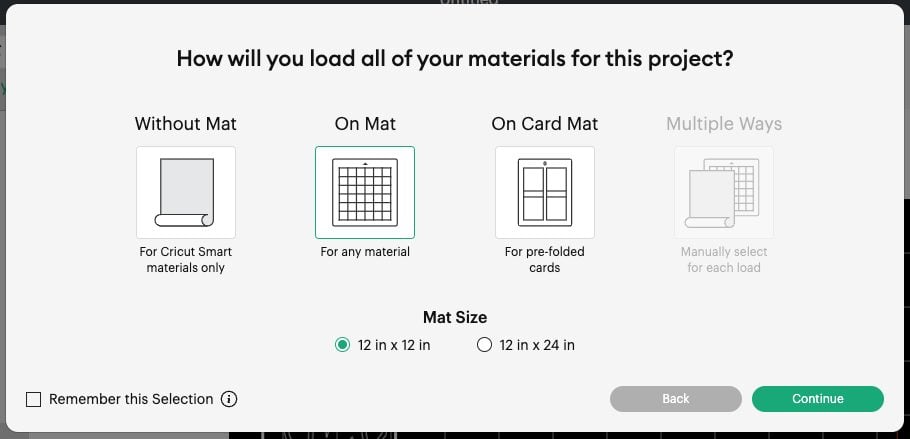
For this project, I am using Cricut Permanent Vinyl, which I found to work very well. I’m cutting my project on a mat, so I chose On Mat as my load type.
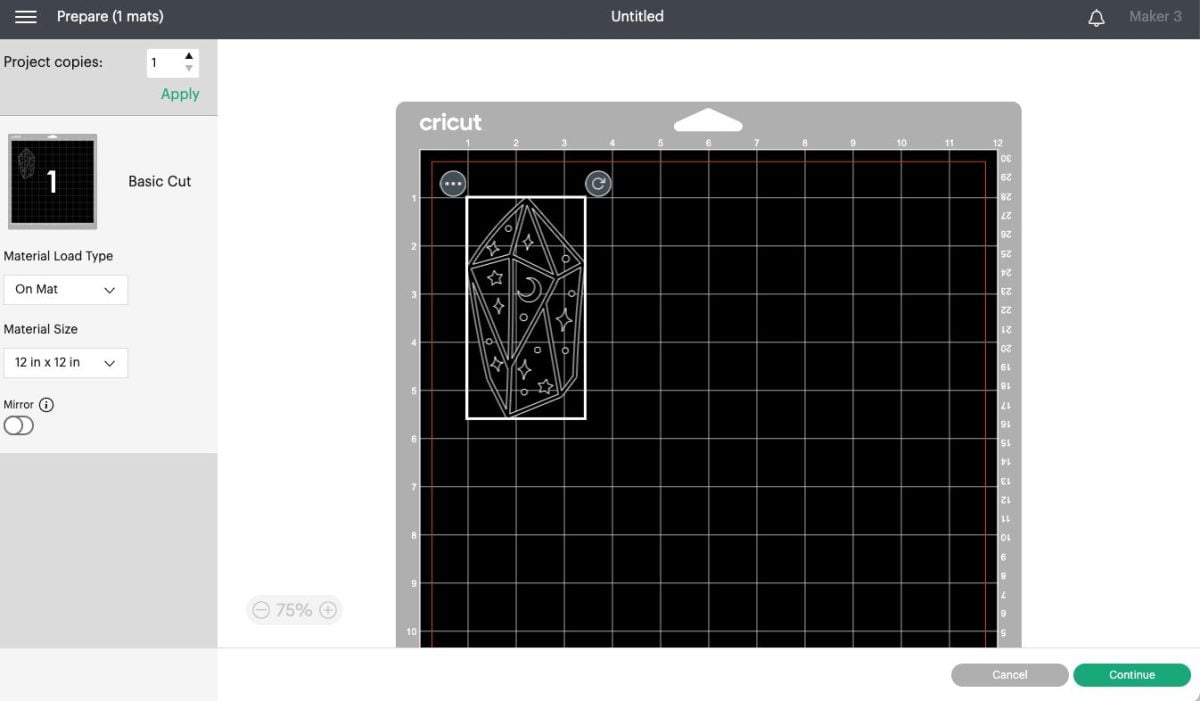
In the Prepare Screen, you’ll want to move your image away from the edge of the vinyl, just a bit. You can click and drag it down and to the right an inch or so. This gives you some extra space around the design so you can make sure the CitriStrip doesn’t touch anything it’s not supposed to.
Press Continue to cut your design. Choose your material. Again, I used Cricut Permanent Vinyl. It’s very thin, which made it perfect for this project—I felt like it wrapped around the tumbler nicely and adhered very well.
Then cut your stencil using your Cricut!
Preparing Your Stencil
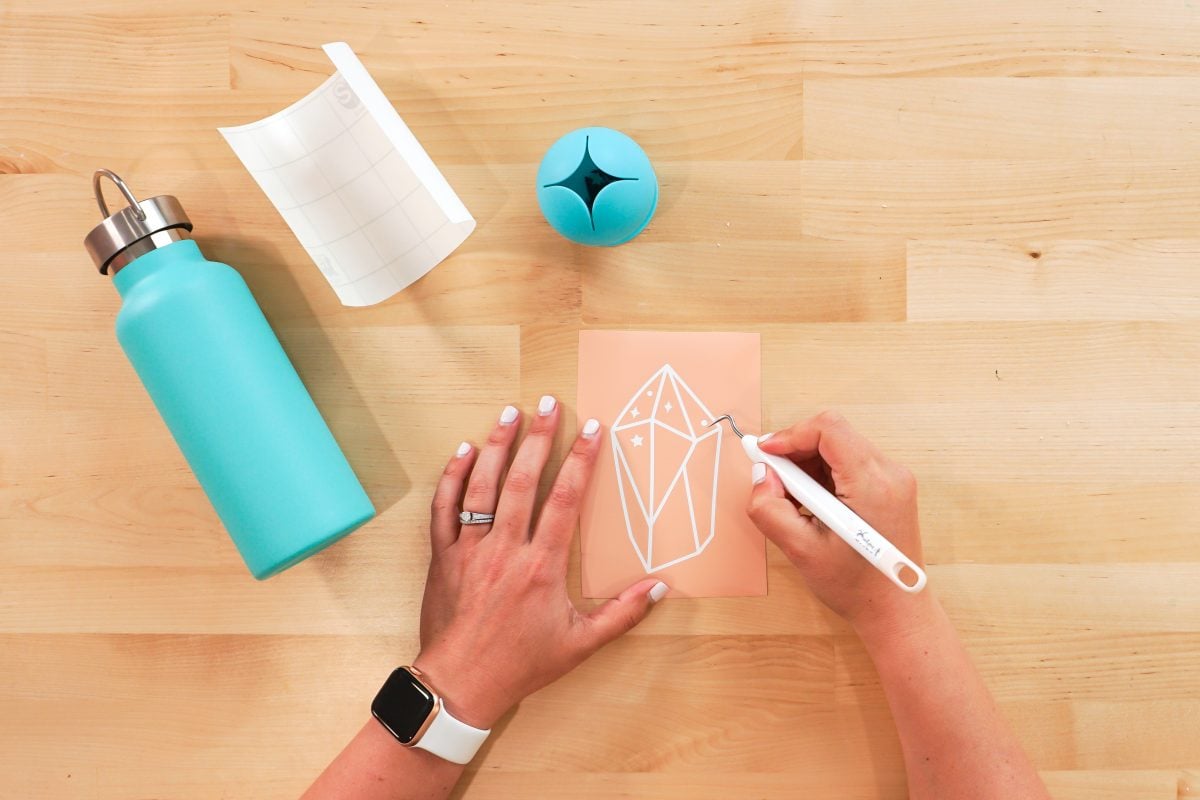
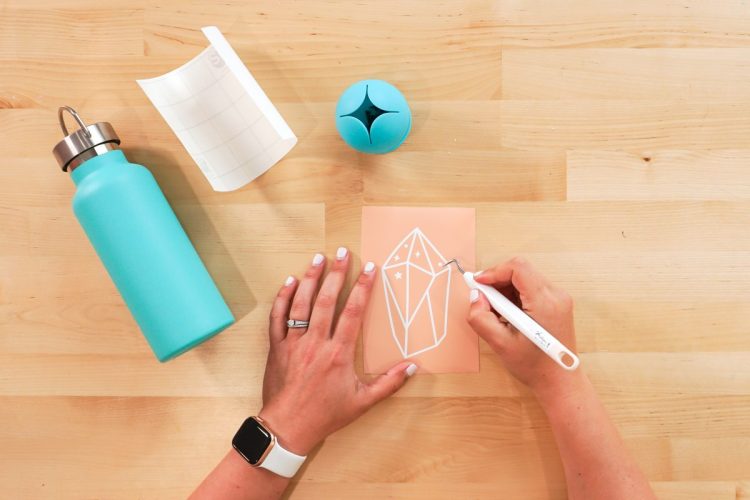
Once the design is cut, you’ll want to make a stencil out of it. Typically, you remove the negative space around your design when working with vinyl. To create a stencil, you’ll want to remove the actual design. So in this case, I removed the outline of the crystal design.
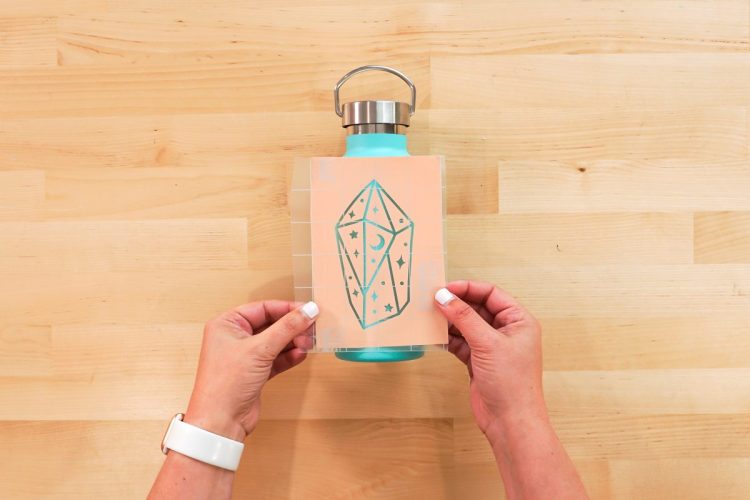
In order to transfer the stencil to your blank tumbler, peel a piece of transfer tape from its liner, then apply it to the top of the stencil.
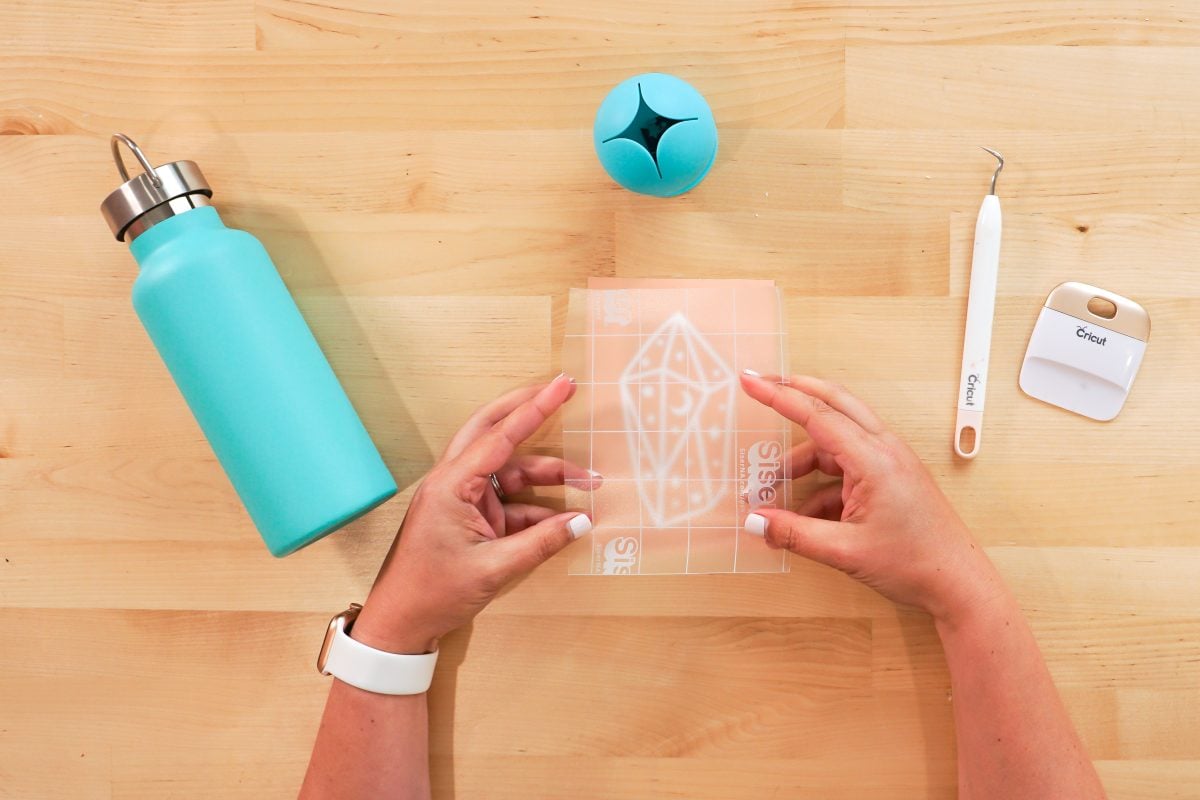
Use a scraping tool or credit card to remove any bubbles from the design. You want the transfer tape to be attached completely flat to the stencil.
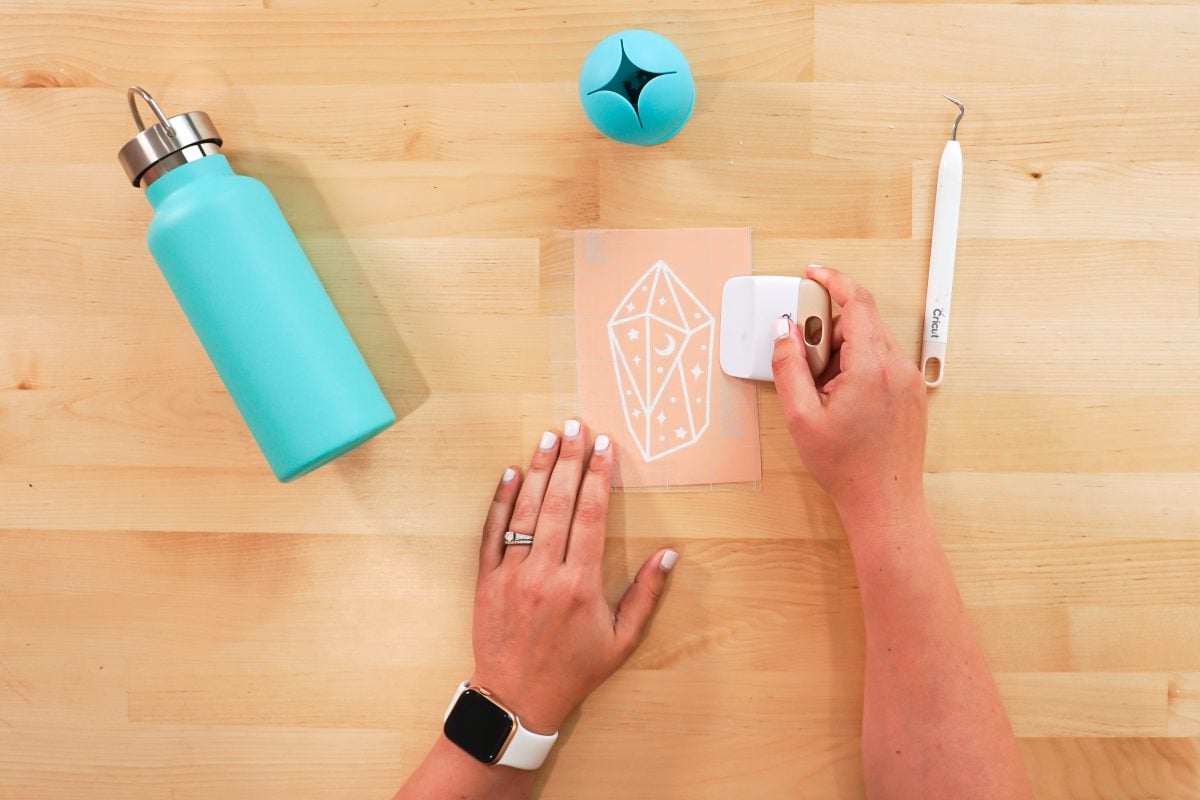
Then remove the backing paper from the vinyl so that your stencil is on the transfer tape.
Carefully place the stencil and transfer tape directly where you’d like your design to be etched on the tumbler. Be sure there aren’t any air bubbles or wrinkles during this step. I like to start in the middle and press outward.
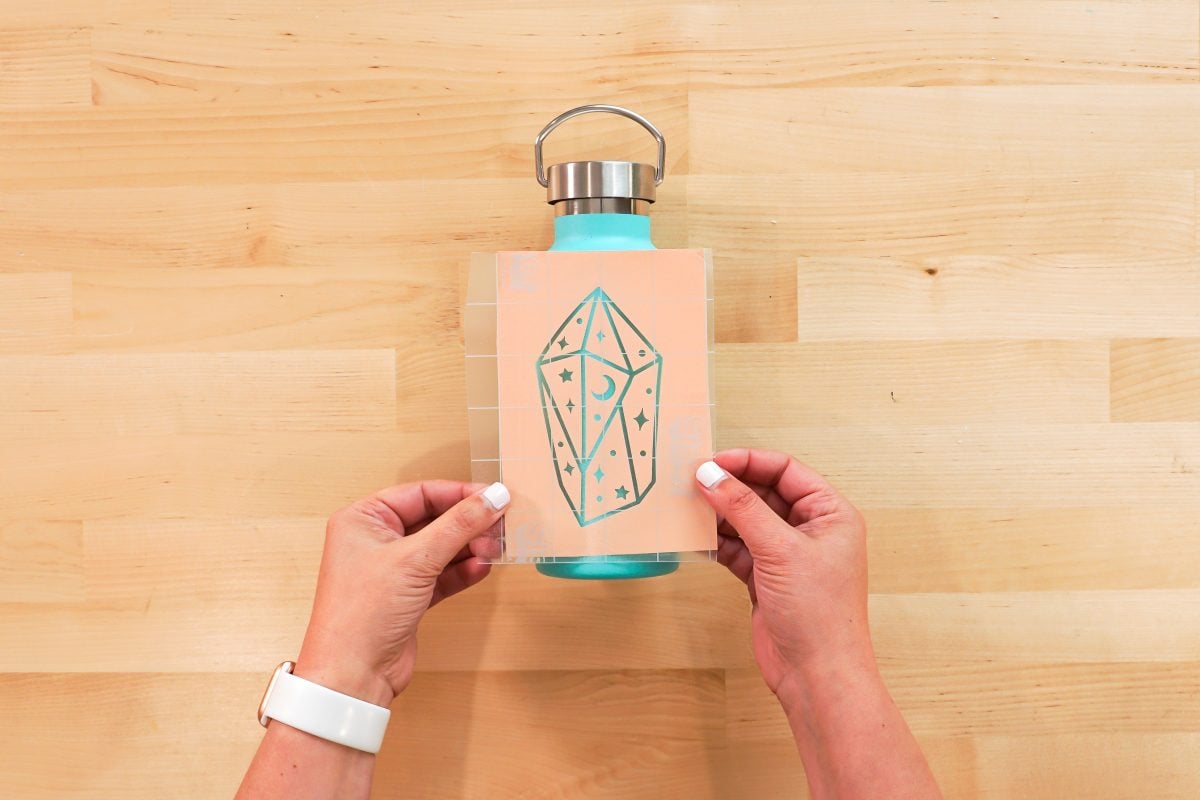
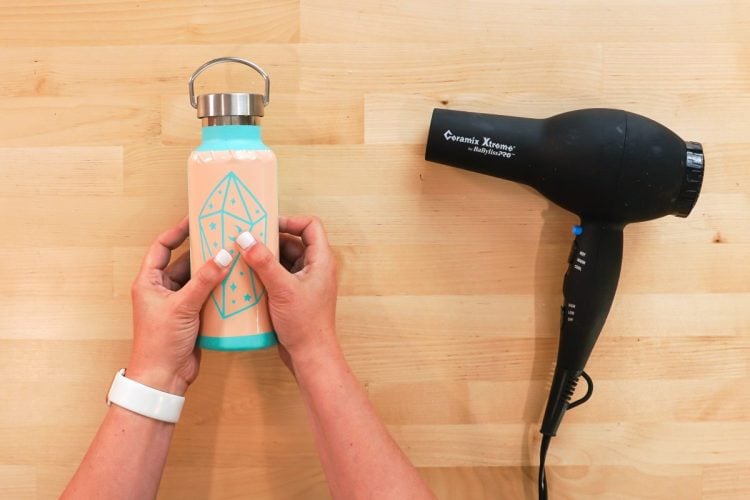
Peel off the transfer tape, revealing your stencil. You can smooth it even more with your thumbs if there are any air bubbles or other imperfections. It’s important to make sure there aren’t any air bubbles or puckers on the borders of the letters or shapes, since that CitriStrip can work its way underneath your stencil if you have issues.
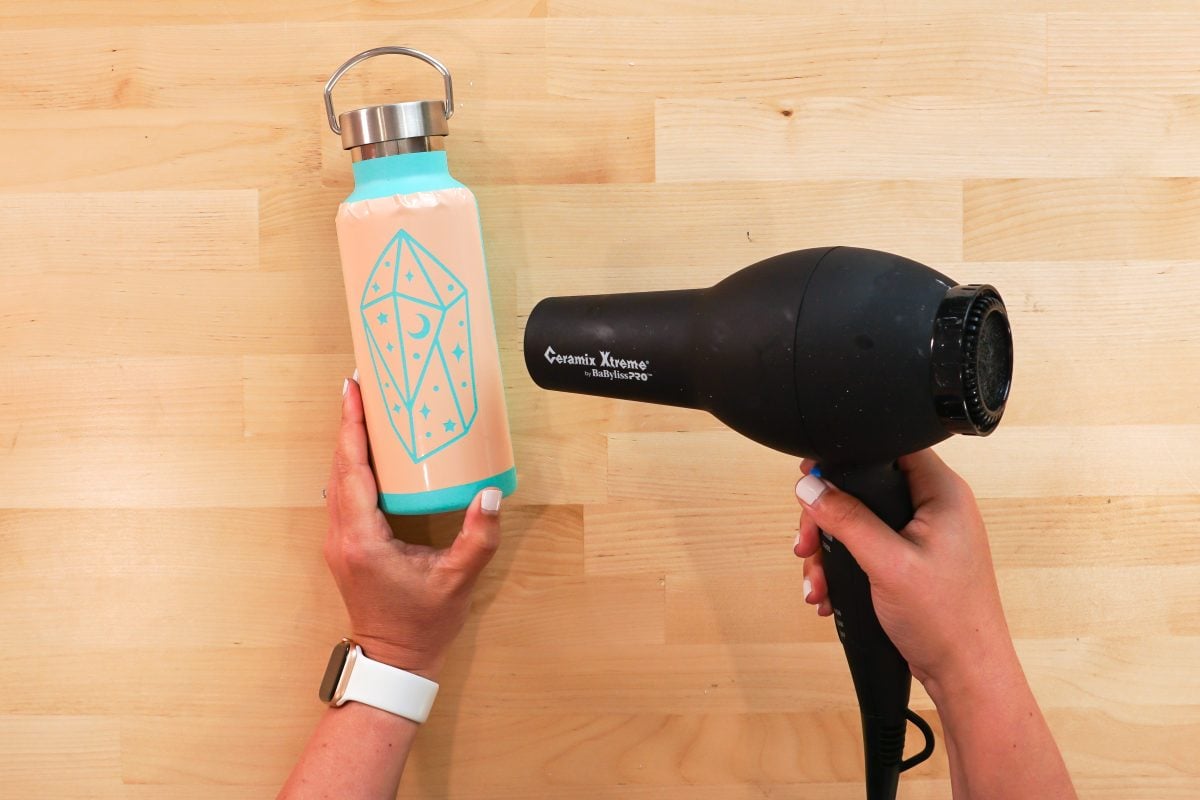
To really get that vinyl adhered to the water bottle, use a heat gun or blow-dryer for about 30 seconds. Then use your thumbs to really press that vinyl into the tumbler. I think this step is what allows you to do those intricate designs since the adhesive gets warm and sticks to the tumbler even better.
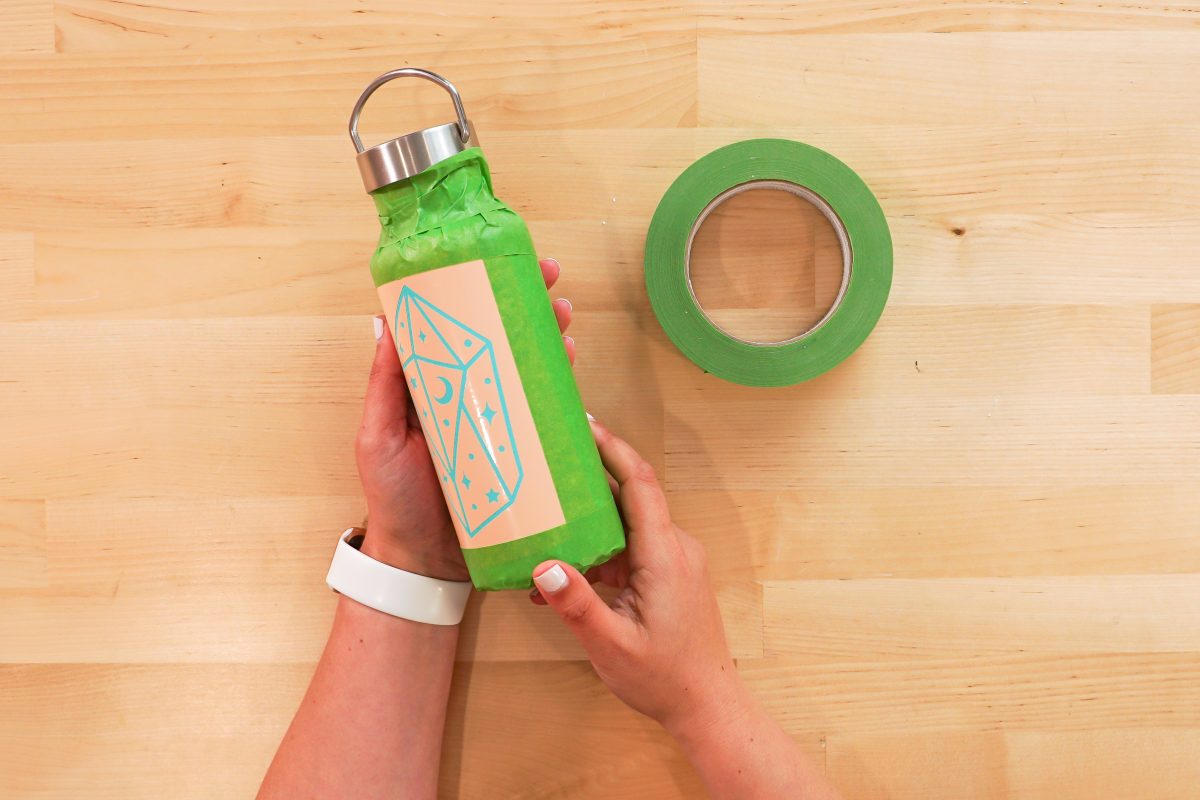
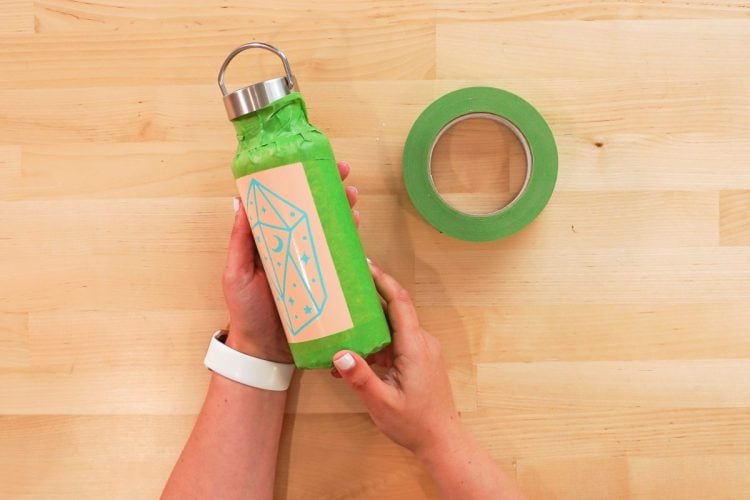
Add painter’s tape around your stencil to be sure your stencil won’t budge and the CitriStrip won’t ooze off the edges. I cover my entire water bottle just in case that CitriStrip drips while it’s setting.
How to Etch Your Tumblers using Citristrip
Okay, your stencil is on. Now what?
Put on your gloves and your protective eyewear. You may also want to open a window or do this on your porch if smells tend to bother you.
Pour a bit of Citristrip onto glass bowl (or something else without a coating…since the gel will strip whatever it’s sitting in!). Using paintbrush, dab the Citristrip onto your stencil design. You want it to be dabbed on pretty thick. It will level out, but you want to make sure everything is covered.
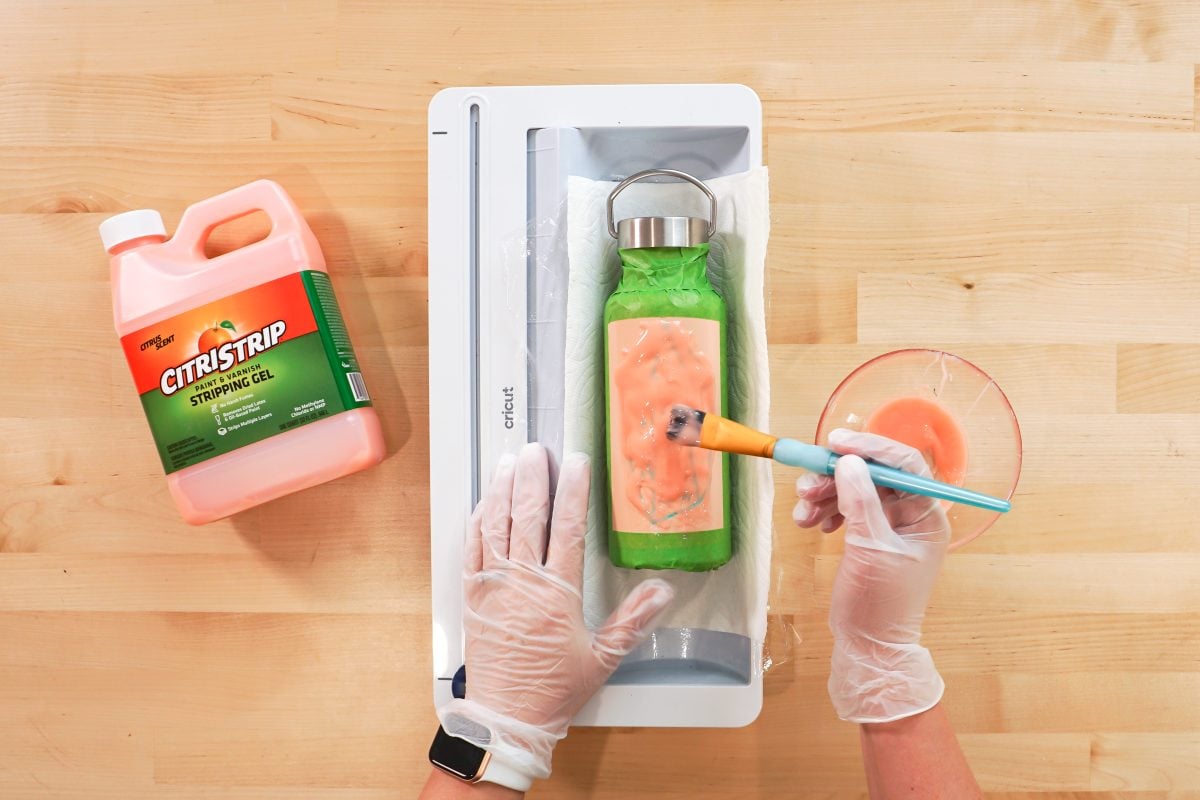
Then let it sit for about 90 minutes. 60 minutes wasn’t long enough for me, though that’s what a lot of people recommend. You can also leave it on for longer if you’d like.
How to Safely Remove Citristrip From Your Tumbler
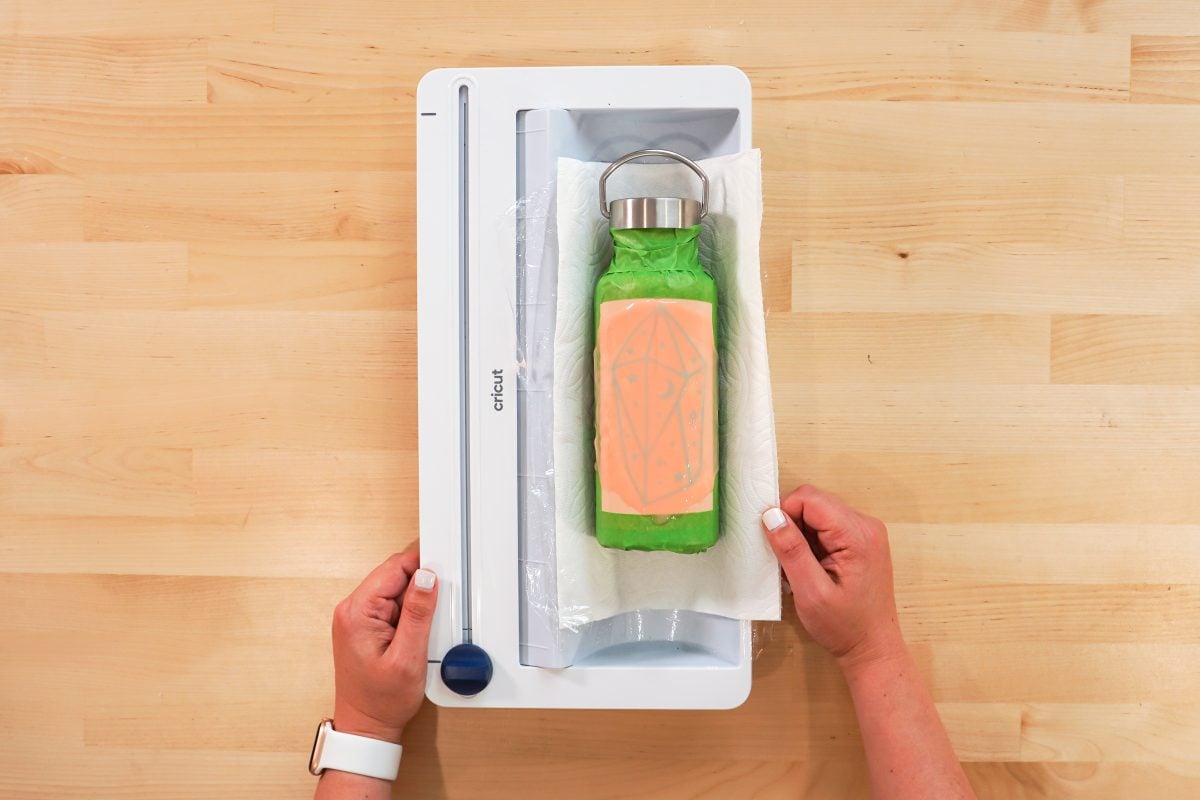
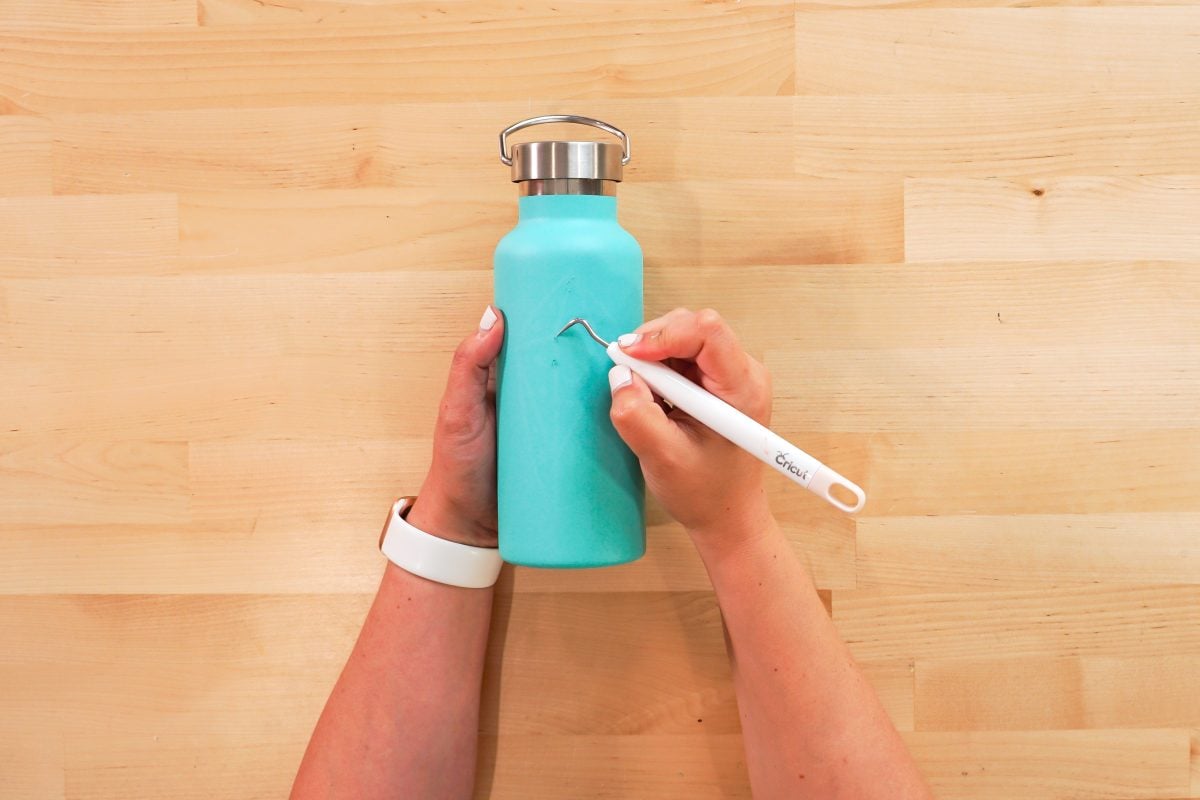
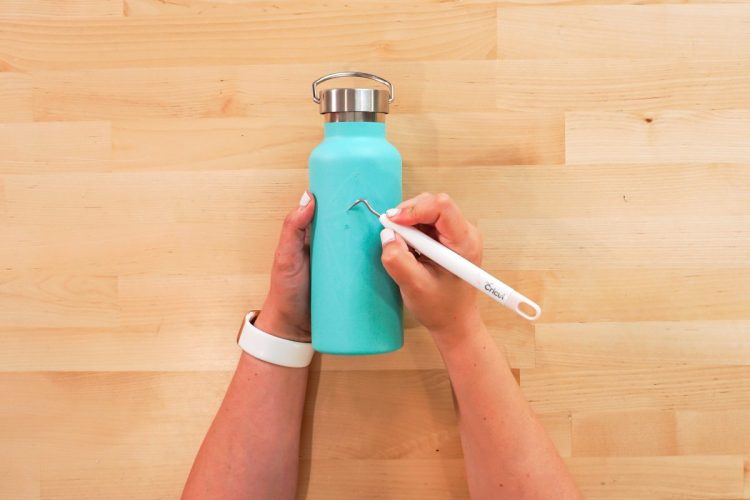
Before you rinse off the CitriStrip, use your weeding hook to make sure that it looks like the powder coating is going to come up. If it comes up easily, head to the sink to rinse the gel off your tumbler. Make sure you really clean out your sink since you don’t want that CitriStrip stripping the powder coating off your sink!
You can also pull off the stencil and the painter’s tape as well. Then use a weeding hook to pull up bits of your etching. I do a bunch of little pokes because I find it makes cleaning the tumbler easier.
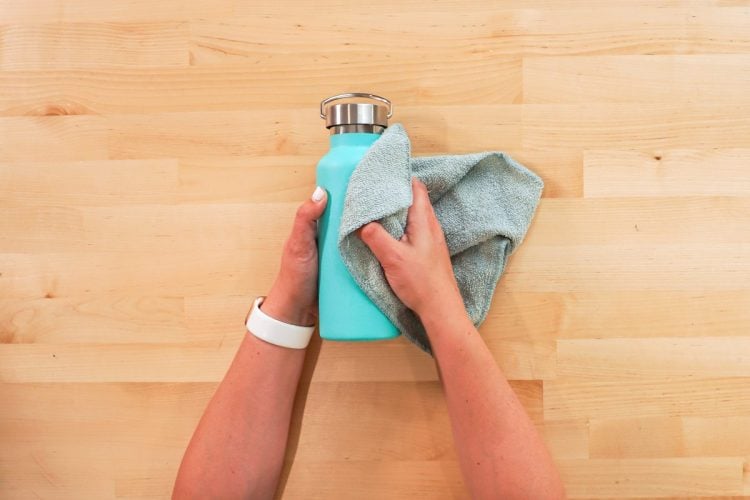
I tried several methods for removing the last of the powder coating from the tumbler, including dry and wet paper towels, light steel wool, a pumice hand cleaner, and a wet washcloth. But overall, I found that an old dry washcloth worked best for me. It still takes some elbow grease, but it’ll start to peel back all of that powder coating to reveal the image.
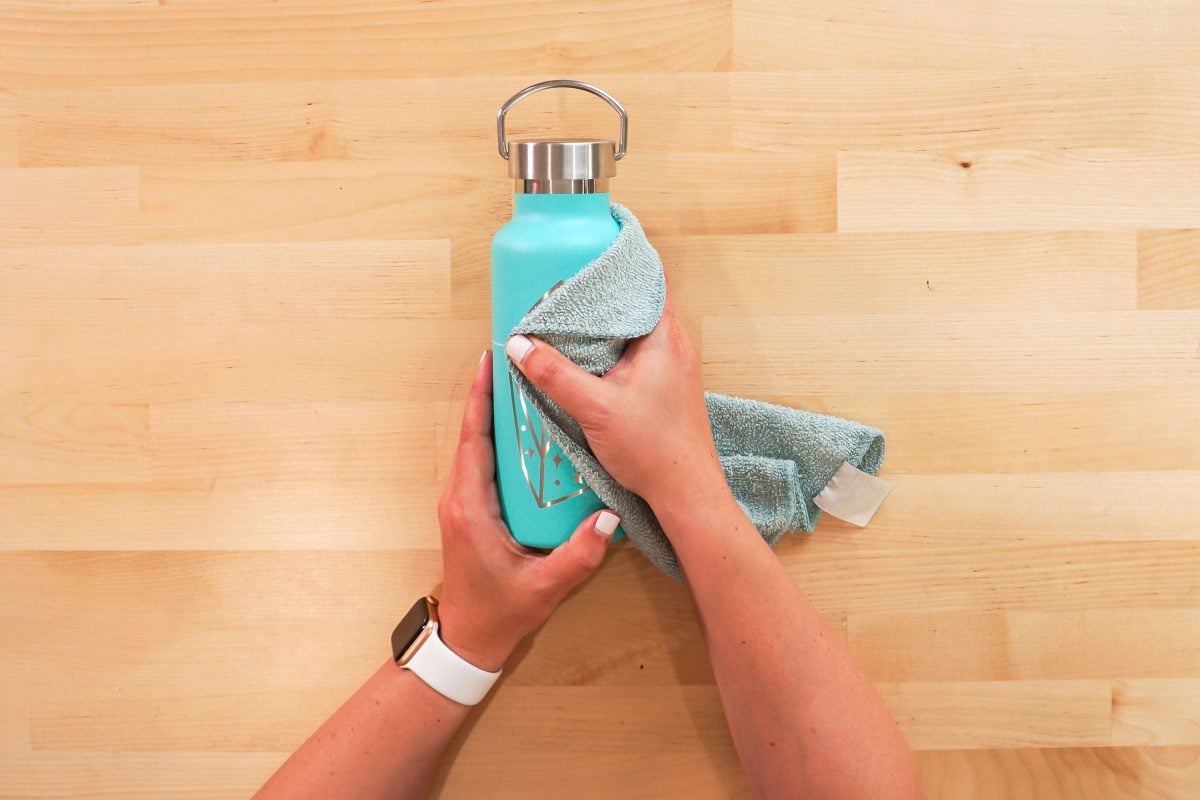
That’s it! You’re done! Enjoy that gorgeous etched look!

Frequently Asked Questions about CitriStrip Tumblers
You might be thinking, this is all great, but I don’t know what designs I’ll use! Of course, you can create designs yourself if you know how to, but there are plenty of places where you can get pre-made designs you can use for this craft, including Cricut Design Space, Design Bundles, Creative Fabrica (learn more about Creative Fabrica!), and more.
I also have plenty of free designs throughout my blog, as well as paid ones in my SVG shop. I also recently launched the Hey, Let’s Make Stuff Club where you get access to all of my SVGs, printables, and designs for one low monthly or annual price! Plus, they come with commercial licenses for your small business needs. It’s a great deal!
Because different Cricut machines have different capabilities, there are certain crafts that can only be made with certain models of Cricut machines. Thankfully, you don’t have to worry about that with these tumblers!
All Cricut machines are able to cut vinyl, so any of them can be used to create Citristrip tumblers. Keep in mind, the Cricut Joy can only cut about 4.5 inches wide. However, that should be just fine for a tumbler design!
Yes, you could technically test a different paint stripper, though I haven’t tested any of them to give a recommendation. I like the Citristrip gel because it has a much lighter scent, is easy to keep put because it’s in gel form rather than liquid. If you’re comfortable with another type of paint stripper, that’s fine. Just pay attention to the instructions on the container about how long it needs to set, and make sure it doesn’t drip onto the rest of the tumbler.
HOW TO ETCH TUMBLERS WITH CitriStrip
Equipment
Supplies
Instructions
- Create your stencil image in Cricut Design Space.

- Cut your stencil using your Cricut. Then weed out the design itself to create a stencil.

- Use transfer tape to apply the stencil to your tumbler.

- Use a blow dryer to heat up the adhesive, and then use your thumbs to press your stencil to your tumbler more securely.

- Mask off the rest of the tumbler using painter's tape.

- Apply the CitriStrip to your tumbler and let sit for 90 minutes.

- Rinse off your tumbler and use a weeding hook to start pulling up some of the powder coating.

- Use a washcloth to rub off the rest of the etched powder coating.

I hope you love this fun, easy craft! I’m thrilled to have found a way to create an engraved tumbler with my Cricut. I’m hooked and hope you will be too!


Comments & Reviews
image tool says
very good,I definitely try this! Low Quality Image
Virgil says
This is really neat, I am gonna try this one myself, I love the easy steps.
Susan Hoekstra says
Hello!
I am following the steps but my stencil fusing rates within the first 20 minutes. I’ve tried Cricut permanent and Hobby Lobby permanent vinyl. What am I doing wrong?