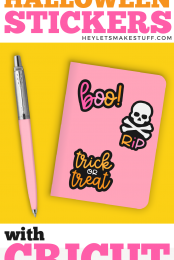
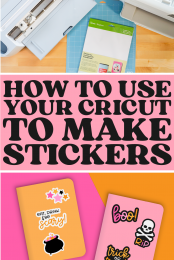
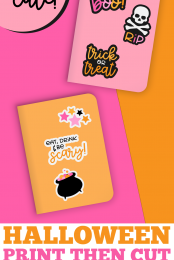
Create your own adorable Halloween stickers at home! Cricut’s Print then Cut feature makes it really easy. Here’s how to make cute and spooky Halloween stickers for trick or treat bags, a planner, or a water bottle!
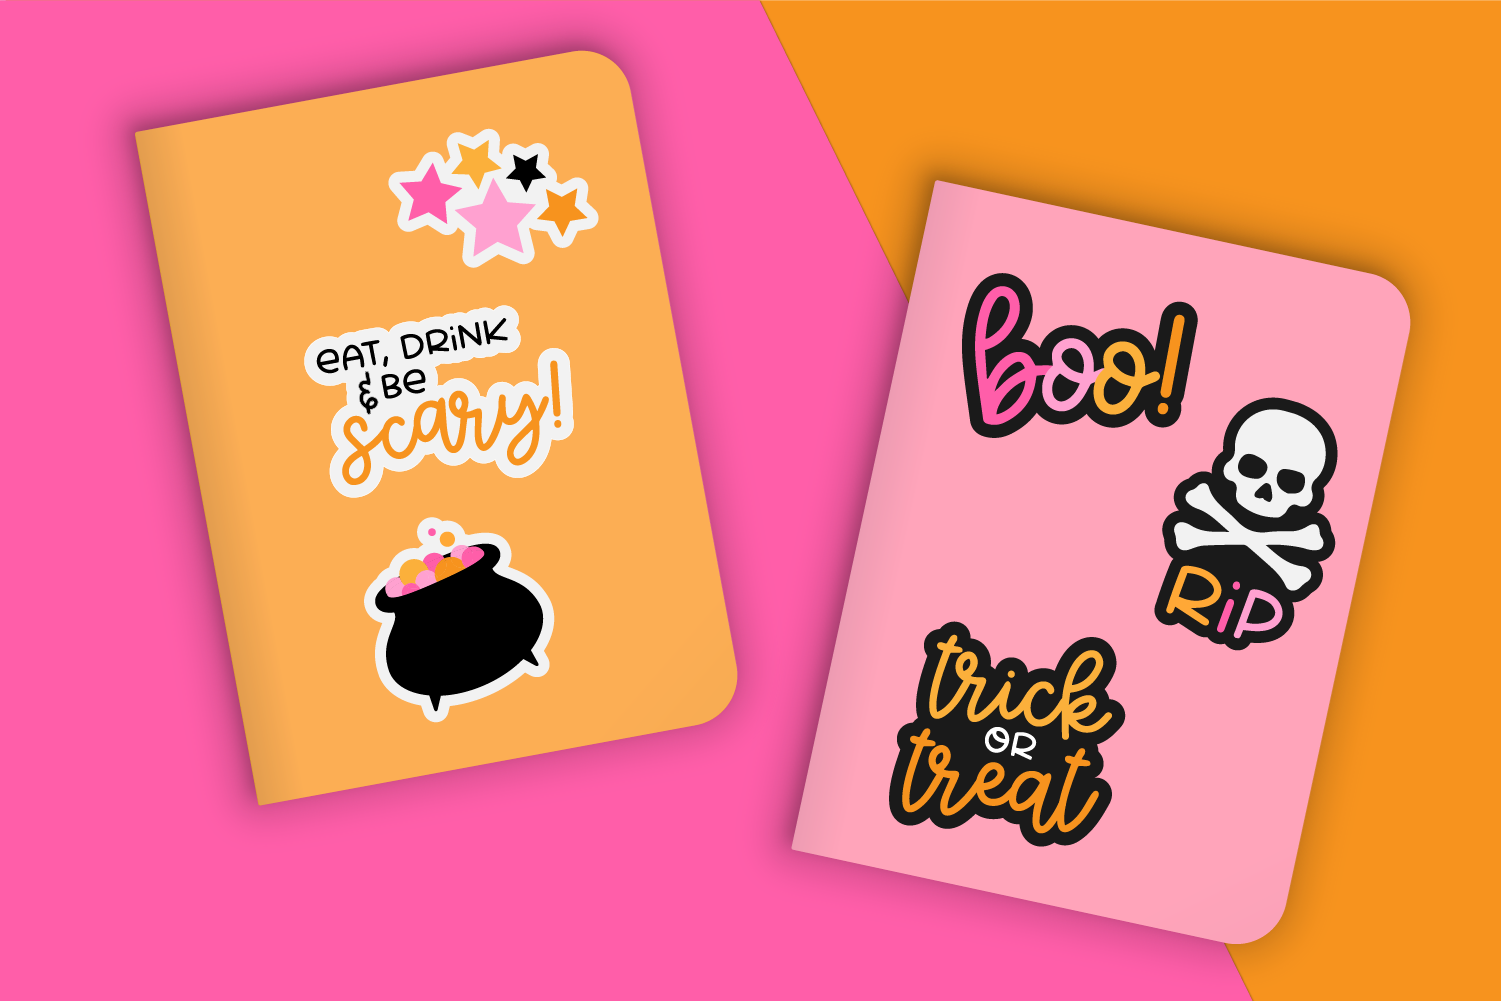
It’s time for more stickers! I’ve had such fun creating these summer stickers and fall stickers, so of course Halloween stickers are next!
I am really embracing pink as a Halloween color—it’s so fun when paired with orange and black! Add some adorable graphics and a couple of cute fonts and you have the perfect Halloween stickers to decorate your planner or water bottle this spooky season!
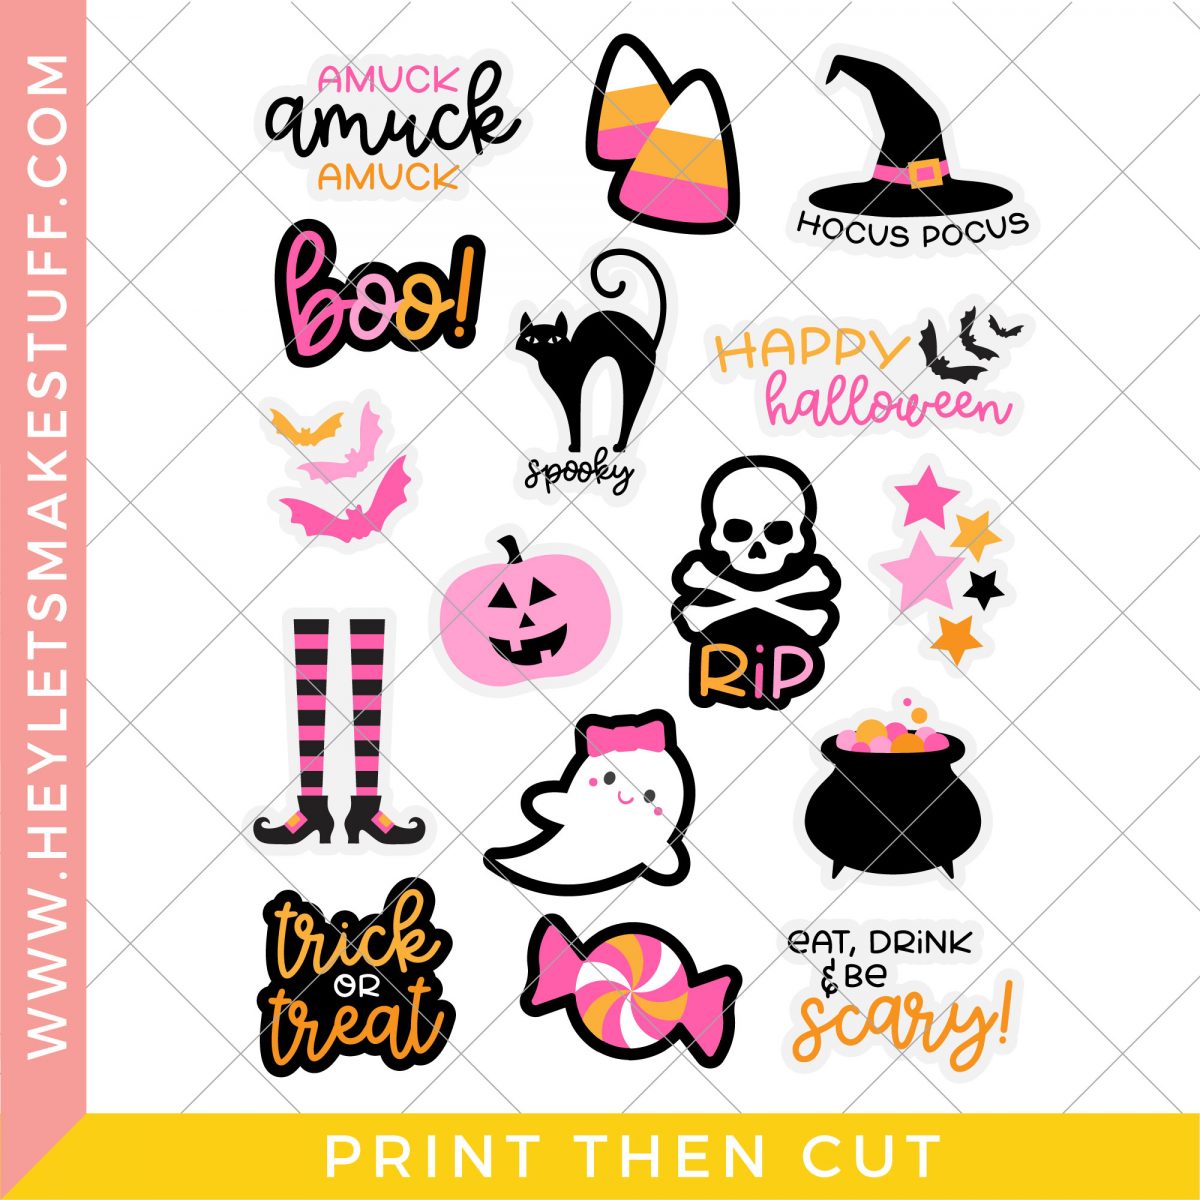
These Halloween stickers are designed to be used with Cricut’s Print then Cut feature. Print then Cut makes this project super easy! If you’ve been nervous to use Print then Cut, these stickers are a great way to try it out. You can also check out my new post The Ultimate Guide to Cricut Print then Cut!
You can learn exactly how to make these stickers in my Fall Stickers tutorial—the process is exactly the same with these Halloween stickers.
I prefer to use Cricut Printable Vinyl rather than sticker paper when creating my own stickers. It’s not waterproof, however, so if you may want to try something like these waterproof labels if you’re using these stickers on something that will be washed. If you’d prefer to use Cricut Printable Vinyl, you can add a clear laminate over top, which will also protect it from water and help it withstand elements, in general. Be on the lookout for a tutorial on that soon!
Note that Print then Cut does not work with Cricut Joy. Joy doesn’t have the sensors that read your image. So you’ll need a Cricut Maker 3, Cricut Explore 3, Cricut Maker, Cricut Explore Air 2, or other Cricut Explore machine. Need help using your Cricut? Check out my Cricut Basics eBook!
Love the fonts I’ve used in these stickers? They are BFC Minty Chocolate and DTC Straight Scary!
Grab the Halloween Stickers PNG


Leave A Reply!