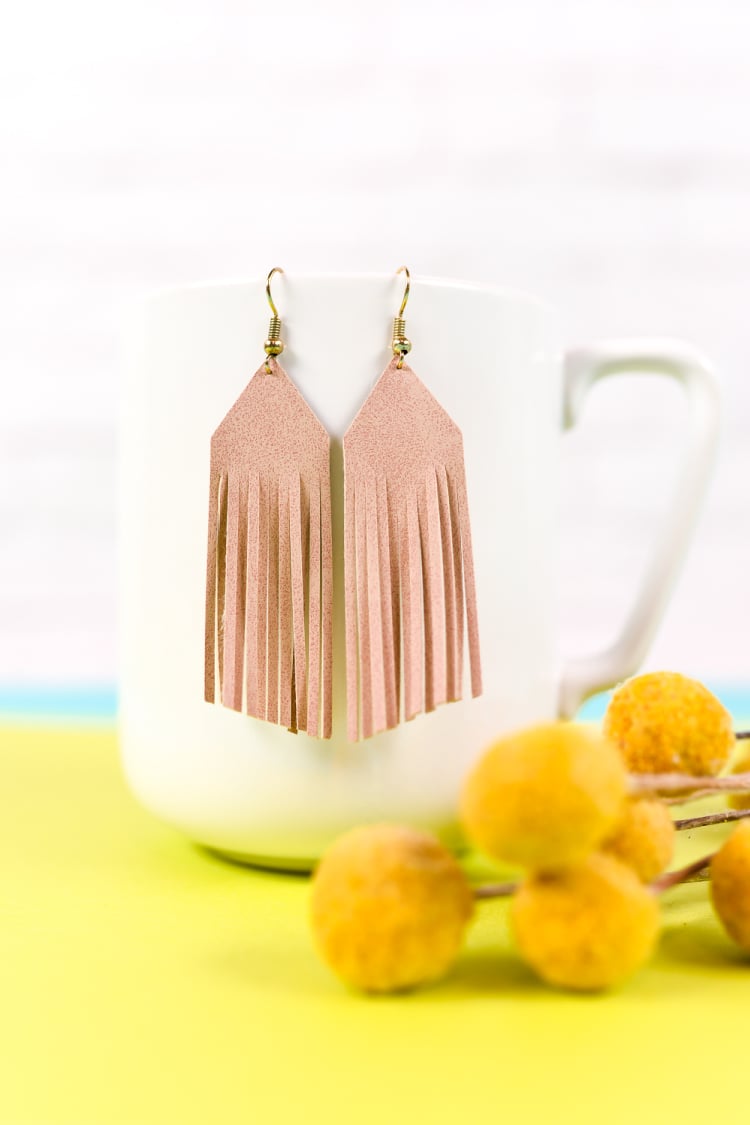
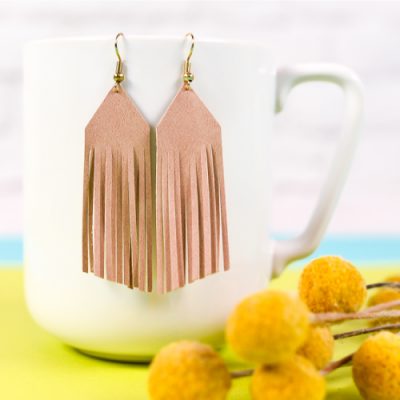
Create these trendy DIY suede fringe earrings! Use faux suede and your cutting machine to add these stylish earrings to your wardrobe.
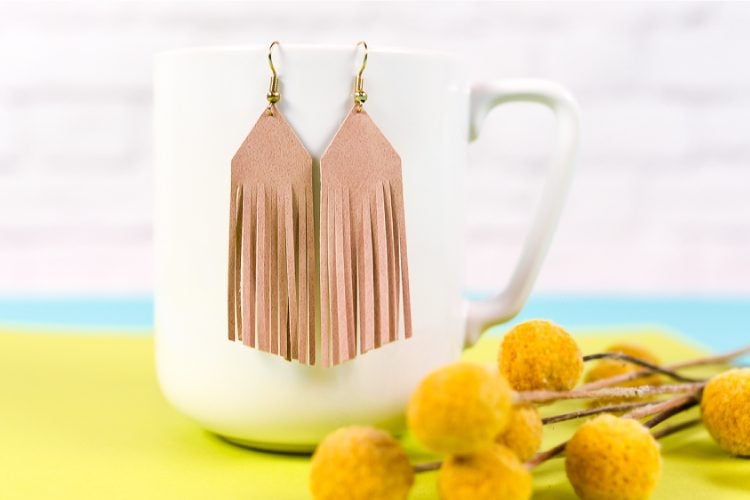
Making jewelry is one of my favorite things to do with my Cricut. My ears have become particularly sensitive to heavy earrings, though, since I had the boys. I’ve found that Cricut’s faux suede is the perfect way to create stylish earrings that weigh next to nothing.
This is how light these fringe earrings are: I was standing next to an elevator at the Cricut Mountain Make-a-Thon last weekend and looked at my friend Heidi and said, “Oh shoot! I meant to put on those earrings that I made!” She looked at me and said, “Um, you are wearing them.”
I couldn’t even feel them!
I made these on my Cricut Maker, but they cut just as beautifully on a Cricut Explore.
Fringe Earrings Supplies
- Faux Suede
- Fishhook Earring Findings
- Poker (you can use many things for this — a needle, pushpin, or the piercer from the Cricut Paper Crafting Tool Set)
- Needle-nose pliers
- SVG cut files (download in the box below!)
Get the Free File
Want access to this free file? Join my FREE craft library! All you need is the password to get in, which you can get by filling out the form below. The file number is: C131.
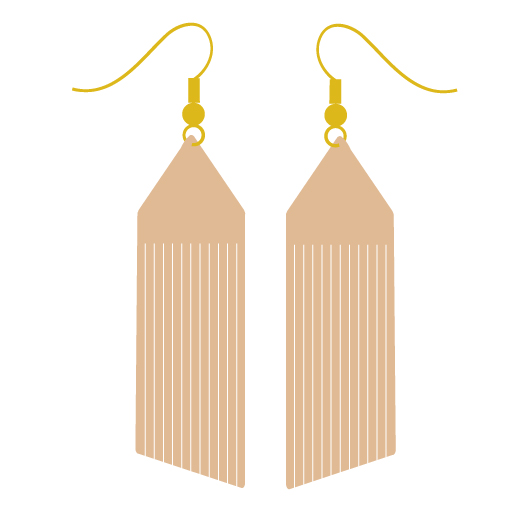
Fringe Earrings Instructions
These earrings are super easy to make. Simply cut out the downloaded file on your Cricut (learn more about uploading SVGs to Cricut Design Space). Place the faux suede face up on a StrongGrip mat. You could also try faux leather. I think a green StandardGrip mat would also work, provided it still has a nice grip to it.
Using your poker, make a small hole at the top of the earring. It should be about 1/16″ from the top—pretty darn close to the edge!
Use your needle-nose pliers to work open the ring at the bottom of the fishhook earring. Slide the leaf onto the earring using the hole you just poked, and clamp the ring back in place.
Done! Designing, cutting, and assembling these earrings took me about 10 minutes. And since I did the design work for you, you just have to cut and make!
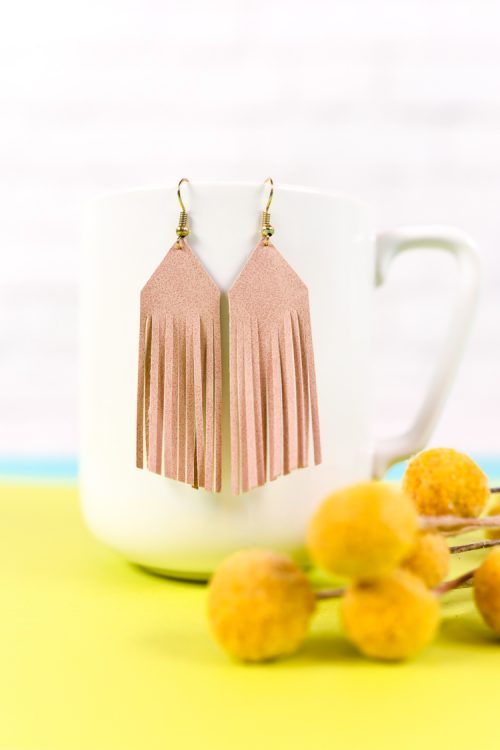
DIY SUEDE FRINGE EARRINGS
Equipment
- Cricut Maker or
Instructions
- Cut out the downloaded file on your Cricut (learn more about uploading SVGs to Cricut Design Space). Place the faux suede face up on a StrongGrip mat. You could also try faux leather. I think a green StandardGrip mat would also work, provided it still has a nice grip to it.
- Place the faux suede face up on a StrongGrip mat. You could also try faux leather. A green StandardGrip mat would also work, provided it still has a nice grip to it.
- Using your poker, make a small hole at the top of the earring. It should be about 1/16" from the top.
- Use your needle-nose pliers to work open the ring at the bottom of the fishhook earring. Slide the leaf onto the earring using the hole you just poked, and clamp the ring back in place.
- Done!




Comments & Reviews
Katherine Schwartztrauber says
Does the svg come with the earring hole in it already. Also, do you do just 1 layer of suede. Or do you out anything on the back
Crystal Summers says
Hi Katherine,
No, the file does not have the hole. You can create a hole using a poker (such as a needle, pushpin, etc). And just one layer of the faux leather or suede, nothing on the back.
Hope this helps!
Crystal, HLMS Community Manager
Chris says
Thank You!
Debbie says
I can’t seem to upload to the cricut design program. Not sure why. Any tips?
Thank you so much!!
Also, this is my first project. Do you have step by step instructions by any chance? I see you mentioned connecting pieces above. I’m a newbe……
Thanks so much.