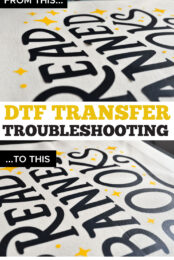
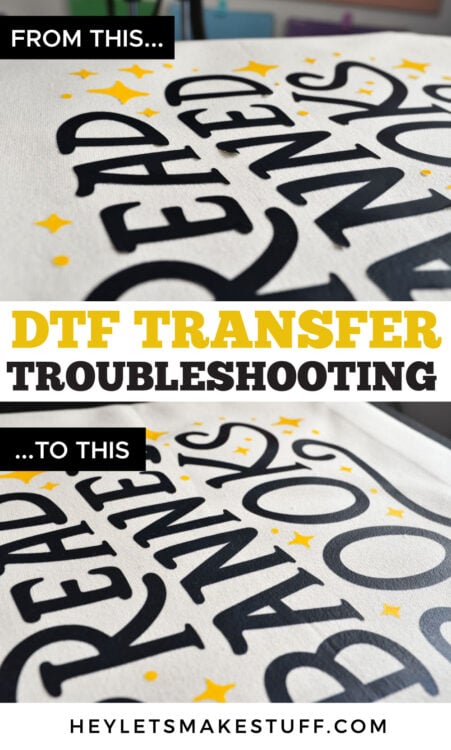
Is your DTF transfer not sticking when you press it? Or maybe the color is fading over time. Perhaps the DTF transfer starts to peel up after you wash it. Here are common DTF transfer problems—and how to fix them!
Today’s post is sponsored by Ninja Transfers! I have been using Ninja Transfers DTF and UVDTF transfers for my small business for more than a year now, so when they reached out to partner it was an easy yes! As always, thank you for supporting the brands that support Hey, Let’s Make Stuff!
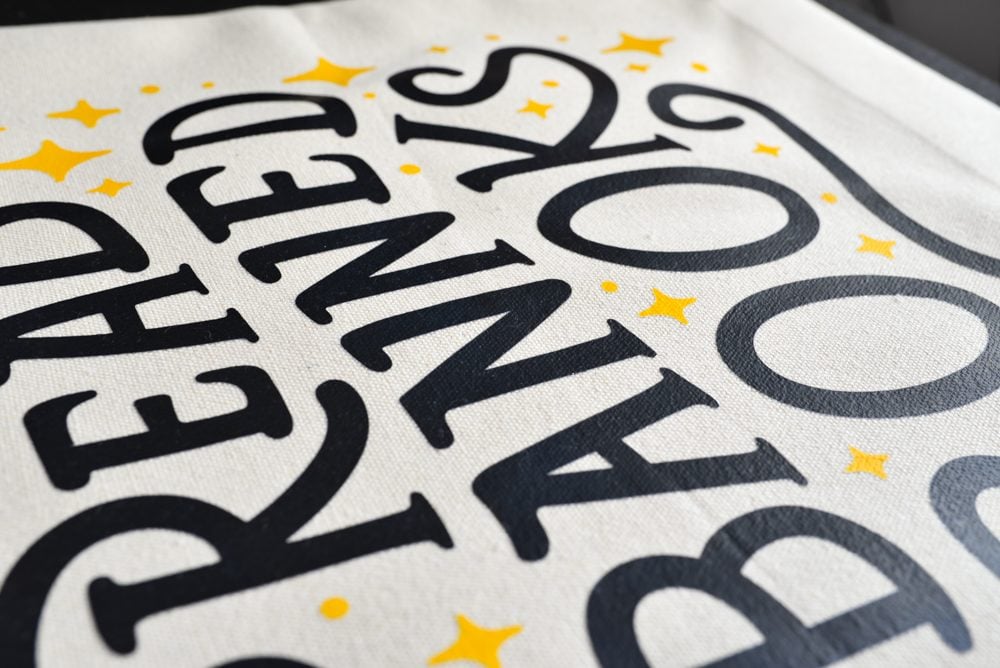
Over the last two years, I’ve fallen in love with DTF (direct-to-film) transfers and I have used them on everything from t-shirts to tote bags to can koozies. Unlike other decoration methods, DTF transfers can go on dark and cotton fabrics and they can last more than 100 washes! Compare that to sublimation or HTV and there’s a reason that the DTF market is exploding with crafters.
But…what if you’re having problems? DTF is billed as a hassle-free method of decorating apparel and other soft blanks, but every once in a while, things just don’t go right. So in today’s post, I’m going to share what to do when you have a DTF transfer problem. Whether you’re struggling to get your transfer to stick to your blank or it’s peeling up after a few washes, I’ll give you DTF troubleshooting tips to help make your transfers work the first time.
New to DTF transfers? Check out my post How to Use DTF Transfers.
Watch the Video
Want to get a video overview of these DTF troubleshooting tips? Just hit play below! Or keep reading for a written tutorial.
Why Isn’t My DTF Transfer Sticking?
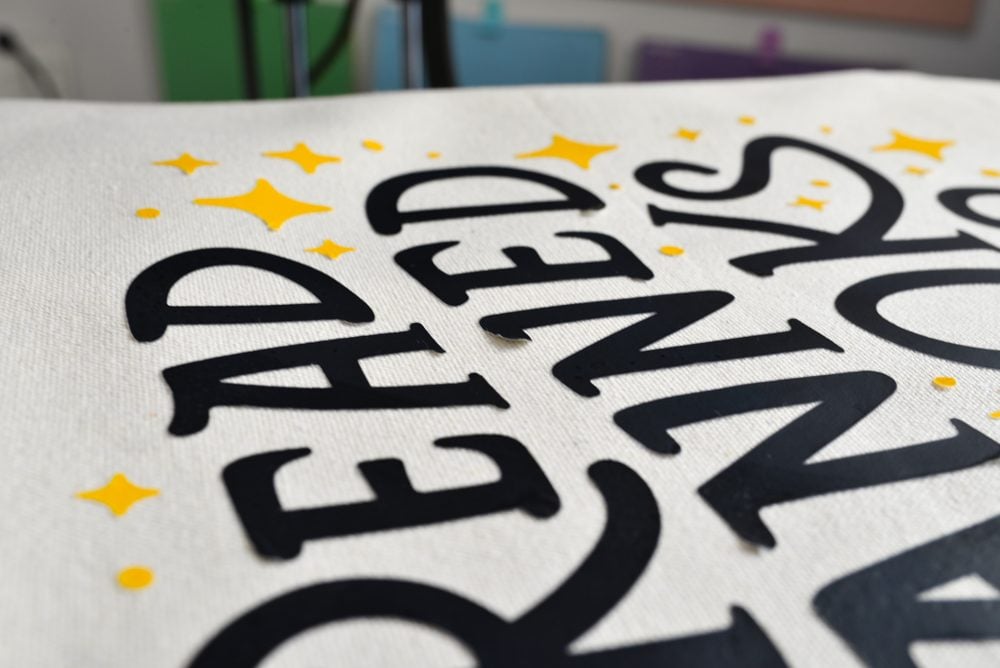
Let’s start with one of the most frustrating DTF problems—when your transfer just won’t stick. You’ve lined it up, closed your press, peeled the film…and parts (or all) of your design are still clinging to the carrier sheet. The good news? It’s usually fixable.
Here are a bunch of different variables you can fix:
Wrong Temperature
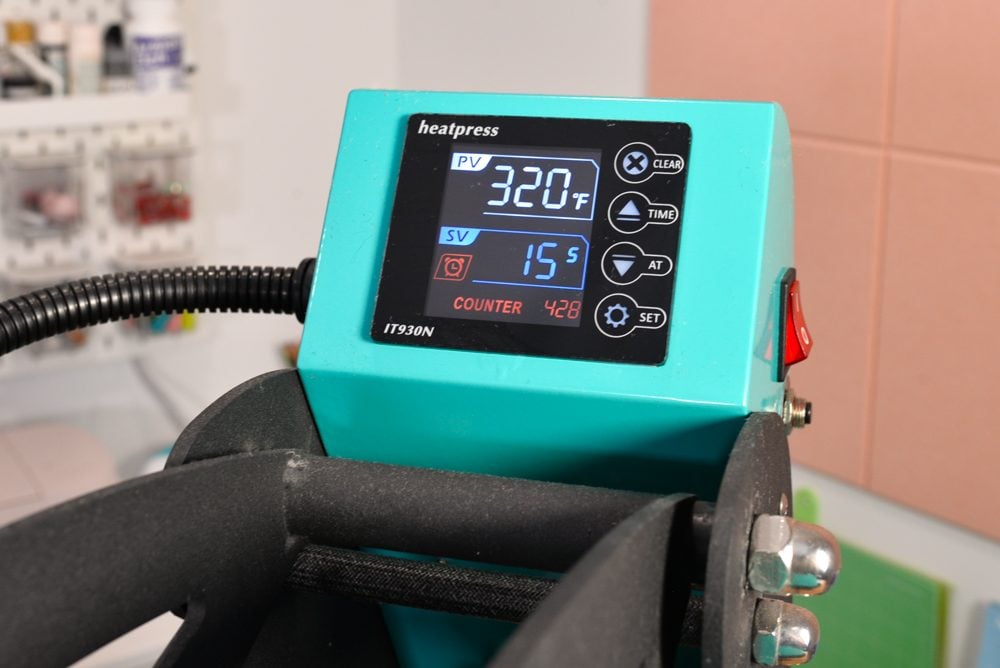
DTF transfers rely on heat to activate the adhesive. If your heat press isn’t hot enough, the adhesive won’t fully activate. But go too hot, and you risk overcooking the adhesive, which makes it lose its sticking power. The recommended temperature for most DTF transfers is 310º to 330º, but always double check the manufacturer’s recommended settings.
Wrong Time
Similar to temperature, pressing time is important. Not pressing long enough? The adhesive won’t have time to bond with your fabric. Pressing for too long? You can overcook the adhesive. The recommended time for most DTF transfers is 12 to 15 seconds, but again double check the manufacturer’s recommended settings.
Not Enough Pressure
DTF transfers need firm, even pressure to really adhere to the fibers in the fabric. If your pressure is too light, your transfer will sit on top of the fabric instead of embedding into it. Try adjusting the pressure on your heat press—you want to feel a good bit of resistance when closing it.
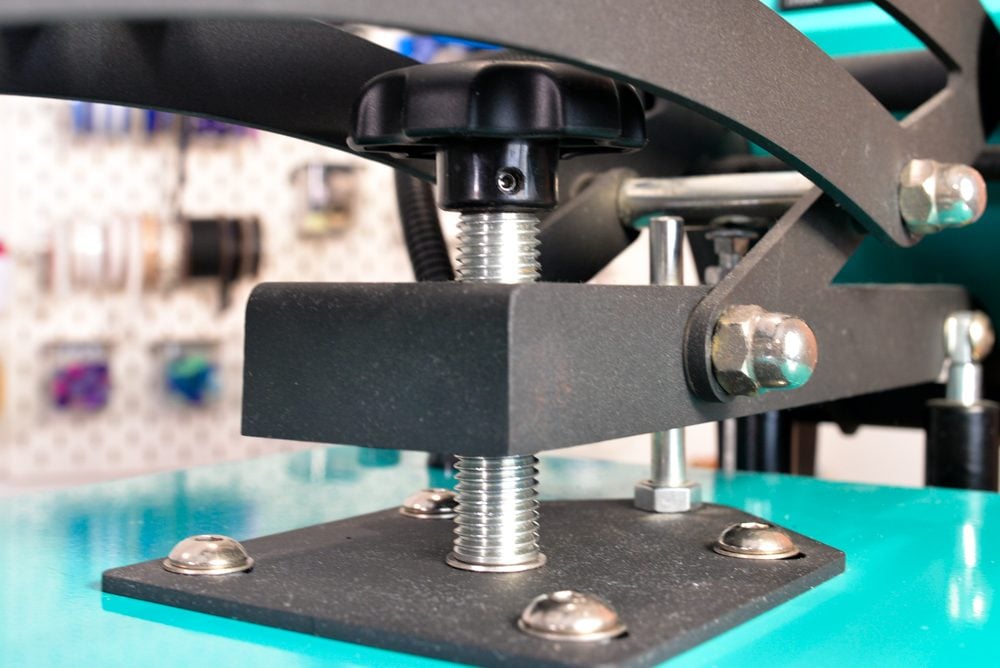
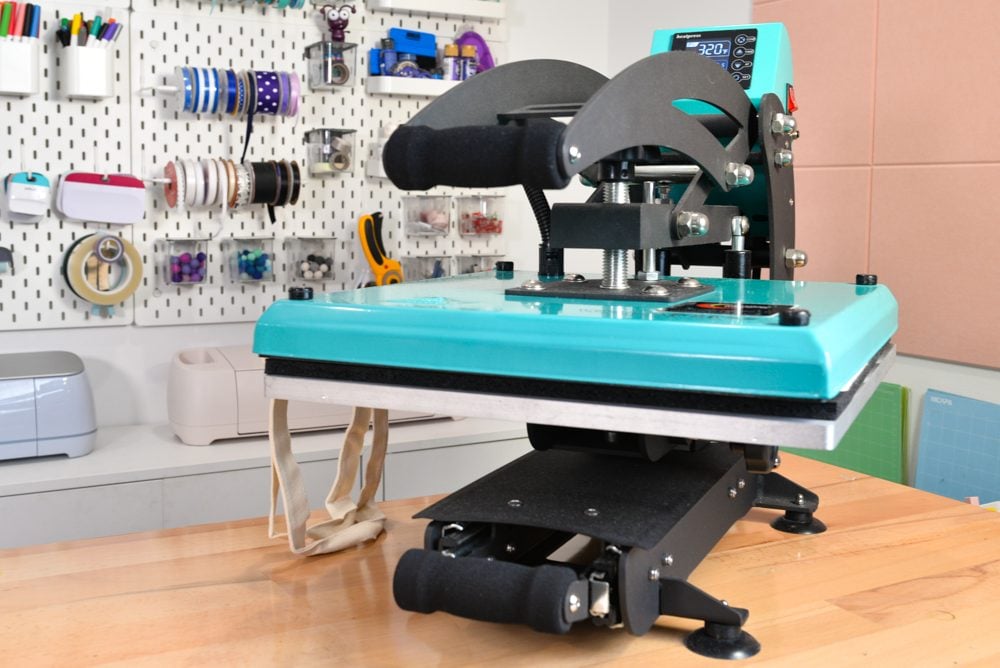
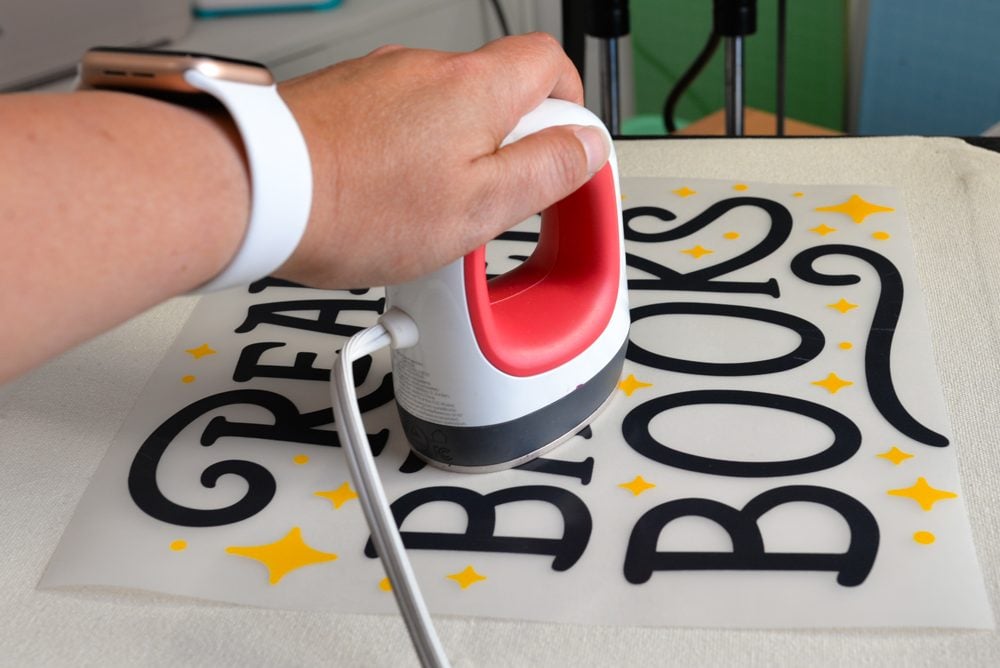
Wrong Heat Source
You’ll also want to use a good heat press. In most cases, a household iron isn’t going to cut it. You can try a handheld EasyPress, but if you’re having trouble with your transfers sticking, a heat press might give you better results.
No Second (or More!) Press
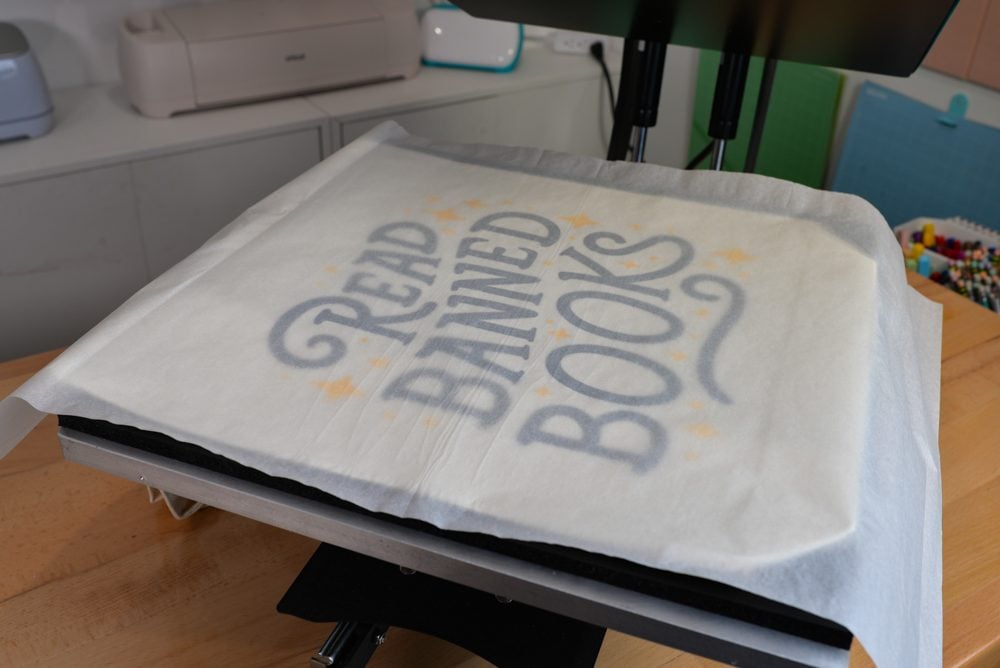
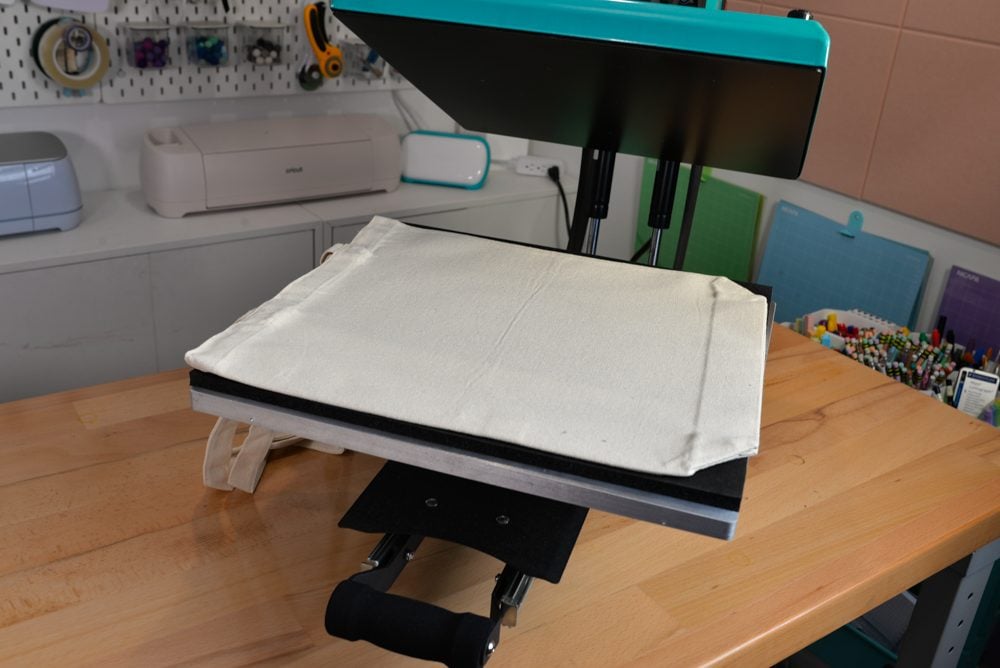
I have found that for most projects, I get the best results with two additional presses. After my initial press, I remove the transfer sheet. Then I add a piece of parchment paper over the design and do a second press. Then I flip the project over and press from the back. The pressing time is so short that it’s definitely worth the extra time to really adhere your transfer to your fabric.
Moisture
Moisture is the enemy of pretty much every decoration method. Moisture trapped in fabric can interfere with the transfer process. Always pre-press your garment for a few seconds to get rid of any moisture before applying your transfer. This quick step can make a big difference in adhesion!
Difficult Materials
Not all base materials are created equal. I have found that canvas totes, can koozies, and wood (yes, you can use a DTF transfer on wood!) need about 20 seconds instead of 12 to 15. Generally, I find that increasing the time works well for difficult materials, but you can also increase the temp in 10 dgree (F) increments as well.
More Tips for Better DTF Adhesion
- Start with a good transfer: Not all transfers are equal. For example, Ninja Transfers are designed to handle multiple presses, which gives you flexibility to re-press if needed without damaging the transfer.
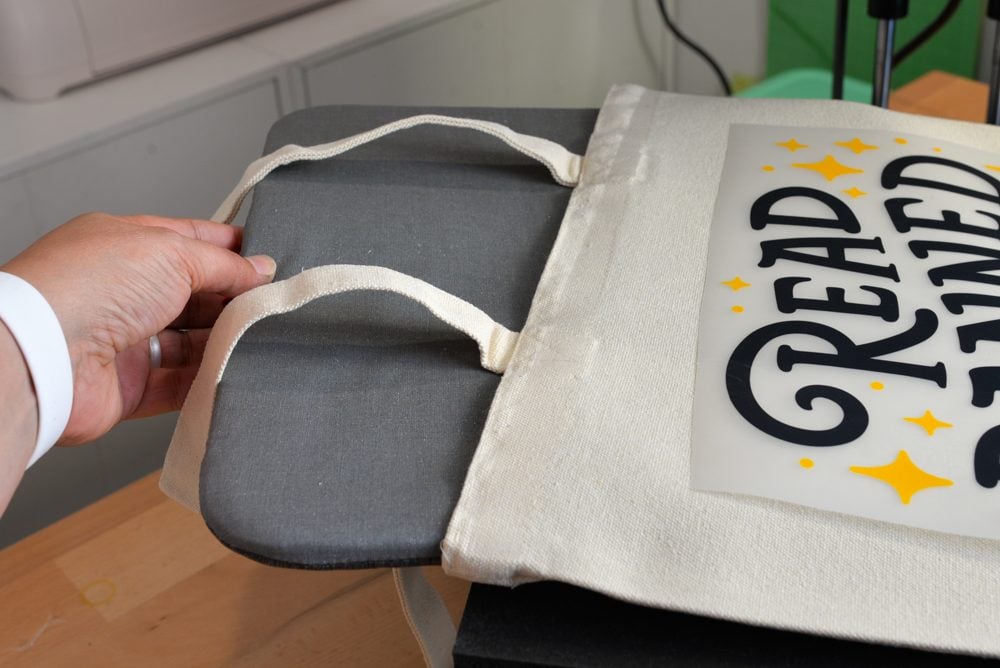
- Use a pressing pad: If you’re working with a large transfer that has lots of small details, a pressing pad or pillow can help even out the pressure and ensure everything sticks—especially if you’re struggling with seams.
- Rub your transfer: While the transfer is still hot after pressing, wrap your hand in some cotton and rub your transfer, concentrating on difficult areas. This will press your transfer into the fabric and allow you to pull up the carrier sheet without having pieces of your image still sticking to it. (Be careful—the transfer will be HOT!)
- Spot press tricky areas. A mini heat press is a great tool for problem spots. If small parts of your transfer are lifting, use your mini press to apply targeted heat and pressure to those areas before pressing with your larger heat press.
Why is My DTF Print Fading After Washing?
If your DTF transfer color is fading after just a few washings (ugh!), there are a couple things that might be going wrong:
Low-Quality Transfers
Let’s start with the most common culprit: not all DTF transfers are created equal.
Low-quality transfers often use cheaper inks or a lower ink density that just don’t hold up to washing. These prints may look great when first applied, but after a few washes, the color starts to fade or even flake off. Always purchase your transfers from a trusted source known for durability—brands like Ninja Transfers, for instance, formulate for long-term washability. I’ve washed their transfers dozens of times with no fading.
Harsh Washing Conditions
DTF is really durable, but it’s not indestructible. Hot water, aggressive detergents, bleach, or extra-hot tumble drying can all cause your design to fade or break down faster. Use a regular setting on both the washer and dryer and you should have much better luck. Washing in cold water and using a delicate dryer setting can help even more, but I haven’t found it necessary when using a high-quality transfer.
Why is my DTF Transfer Peeling?
There’s nothing more disappointing than pulling a shirt out of the wash and noticing that your DTF transfer is starting to peel. Whether it’s lifting at the edges or coming off entirely, it’s a sign something went wrong in the process.
Low Heat, Incorrect Time, or Not Enough Pressure
Like I mentioned earlier, your heat press settings are everything when it comes to DTF. If your temperature is too low, the adhesive won’t fully melt. If your pressing time is too short, it won’t have time to bond. If your pressure is too light, the adhesive won’t embed into the fibers of the fabric. Any one of these issues can lead to your transfer peeling after just a few wears or washes. You want to dial in these settings so your transfer adheres properly
Problematic Fabrics
DTF transfers stick best to cotton and cotton/poly blends, especially if they are going to go through the wash repeatedly. If you’re trying to apply to fabrics like nylon, spandex, or heavily textured weaves, you may struggle with long-term adhesion. Stretchy materials, in particular, can cause the transfer to lift or crack as the fabric stretches and moves.
Low-Quality Transfers
Low-quality transfers strike again! Many budget options cut corners with thinner adhesive layers or cheaper inks that don’t hold up after pressing. These may initially stick, but they’ll start lifting after washing. Choose trusted brands known for durability, like Ninja Transfers. If you’re unsure, do a few wash tests before committing to a new supplier!
Harsh Washing Conditions
Once again, the best DTF transfer can fail if it’s not cared for properly. Hot water, bleach, rough detergents, and high-heat drying all take a toll. Treat your transfers with care and they’ll last 100 washes or more!
Thankfully, most DTF transfers work really well! I’ve been so impressed by how my DTF transfers have held up in the wash over months. Take the time to troubleshoot, test, and learn what works best for your setup. Whether you’re crafting for fun or fulfilling a big order, getting reliable, beautiful results is totally possible!
And if you’re looking for high-quality transfers to make your life easier, I highly recommend Ninja Transfers. I’ve used them for more than a year for my small side-hustle Chapter & Craft, and their transfers are vibrant, durable, and super user-friendly—plus, they’re nearly impossible to overcook, which is a huge bonus when you’re still getting the hang of things or using difficult base materials.
If you have an issue that I haven’t covered here, let me know in the comments and I’ll try and troubleshoot for you! Happy crafting!


Leave A Reply!