Want to print more and waste less? Learn how to make a gang sheet in Canva! A gang sheet is a single, large file filled with multiple designs—so you can maximize your material, reduce waste, and speed up your production!
If you’re a crafter or small crafty business owner who works with a printer, chances are you’ve heard the term “gang sheet.” A gang sheet is simply a single large image that lets you squeeze as many designs as possible onto one single file. It’s a total game-changer for saving time, materials, and money—especially when doing multiples of the same project.
In today’s post, I’ll walk you through how to make a gang sheet using Canva, one of the most beginner-friendly design tools out there. We’ll create two examples together:
- An 11×17 gang sheet, while I will use to print at home with my white toner printer
- A 22×84 gang sheet ready to upload to Ninja Transfers (or other printer) for professional DTF printing
Whether you’re batching t-shirt designs for your kid’s school, making dozens of products for a craft fair, or organizing a seasonal product drop, making a gang sheet in Canva is an easy and approachable way to waste less and print more. Let’s dive in!
Watch the Video
Want to get a video overview of making a gang sheet in Canva? Just hit play below! Or keep reading for a written tutorial.
Why Use a Gang Sheet?
The primary reason you’ll want to use a gang sheet is cost! Instead of uploading your designs individually, you’ll create one large design made up of individual images. If you’re doing this at home for your own printer, this will save you money in supplies. White toner film, for example, is about $3 for a 11×17 a sheet. You could get one design per sheet for $3…or you could get several designs for $3.
Then when it comes to using a printing service like Ninja Transfers, it’s less expensive to upload a gang sheet than it is individual images, because it’s cheaper for the company to print one long sheet vs. a bunch of individual sheets.
What Types of Printing Work with a Gang Sheet?
Gang sheets aren’t just for one type of printer. They’re versatile and can be used across a wide range of printing methods:
- DTF Printing (Direct to Film for soft surfaces)
- UV DTF Printing (Direct to Film for hard surfaces)
- White Toner Printing
- Sublimation Printing
- VersaFlex Printing (Sawgrass)
- Inkjet or Laser Printing (Regular Printing)
Why Use Canva?
So I’ll be honest. Canva is not my go-to program for making gang sheets! I actually find it easier to do within Adobe Illustrator. That being said, I know that not many of my readers have the Adobe programs, so we’re going to use Canva. There are a few ways that make Canva perfect for making gang sheets, especially for beginners:
- Free version allows you to make gang sheets easily
- User-friendly drag-and-drop interface
- Easy import of PNGs, JPGs, and SVGs
- Simple design duplication and alignment tools
If you want to use another program, like Adobe Illustrator, you will most likely be able to tailor the instructions in this post to your own needs.
What You’ll Need to Make a Gang Sheet
- A Canva account (Free or Pro)
- Images (transparent-background PNGs are preferred, but JPG and SVG also work)
- Your printer and/or a Ninja Transfers account (you can use other transfer services as well)
Making an 11″ x 17″ Gang Sheet for Printing at Home
I am going to use my white toner printer for this project, but it would also work if you have a sublimation printer, DTF printer, or other printer at home as well.
Start by opening Canva and clicking on Create a Design in the upper left corner.
In the pop-up, choose “custom size” and enter 11″ x 17″. Make sure to change your units to inches.
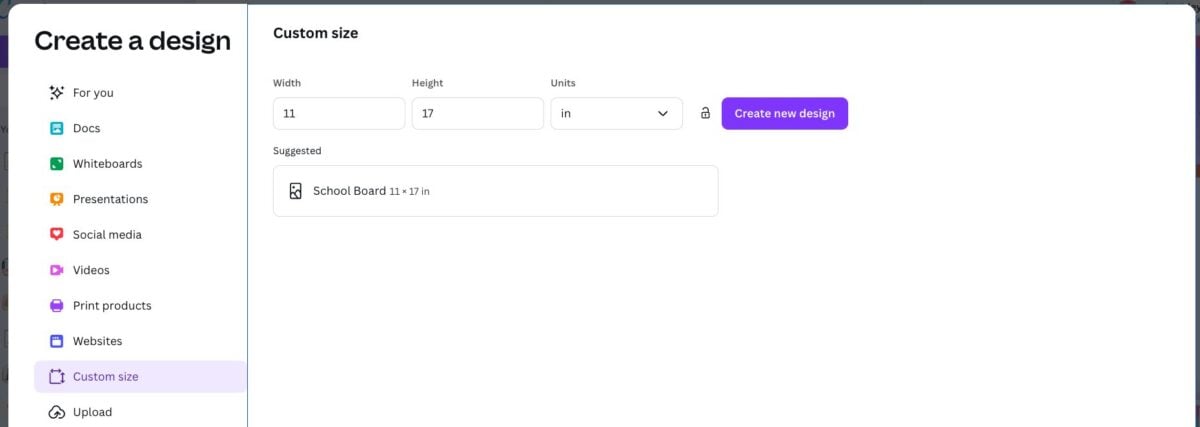
Click Create New Design to go to the Canvas.
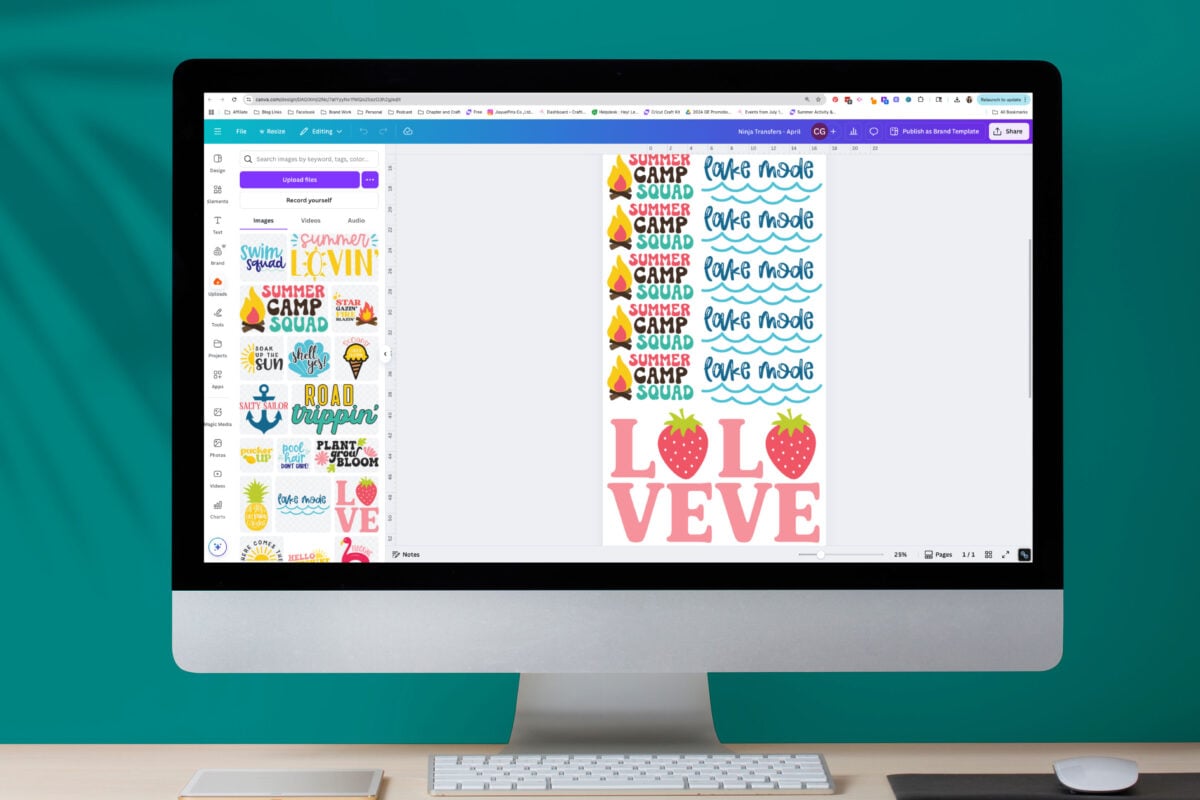
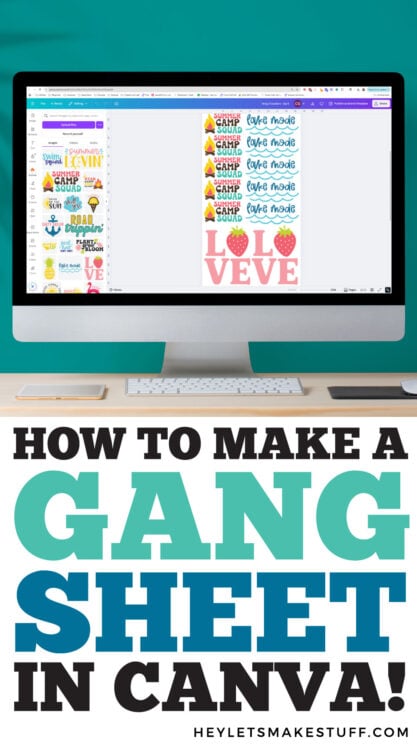
On the left, click “Uploads.” Here you can upload any files you’d like to use in your project. I am uploading a bunch of summer-themed files as an example, but of course you can upload whatever files you have.
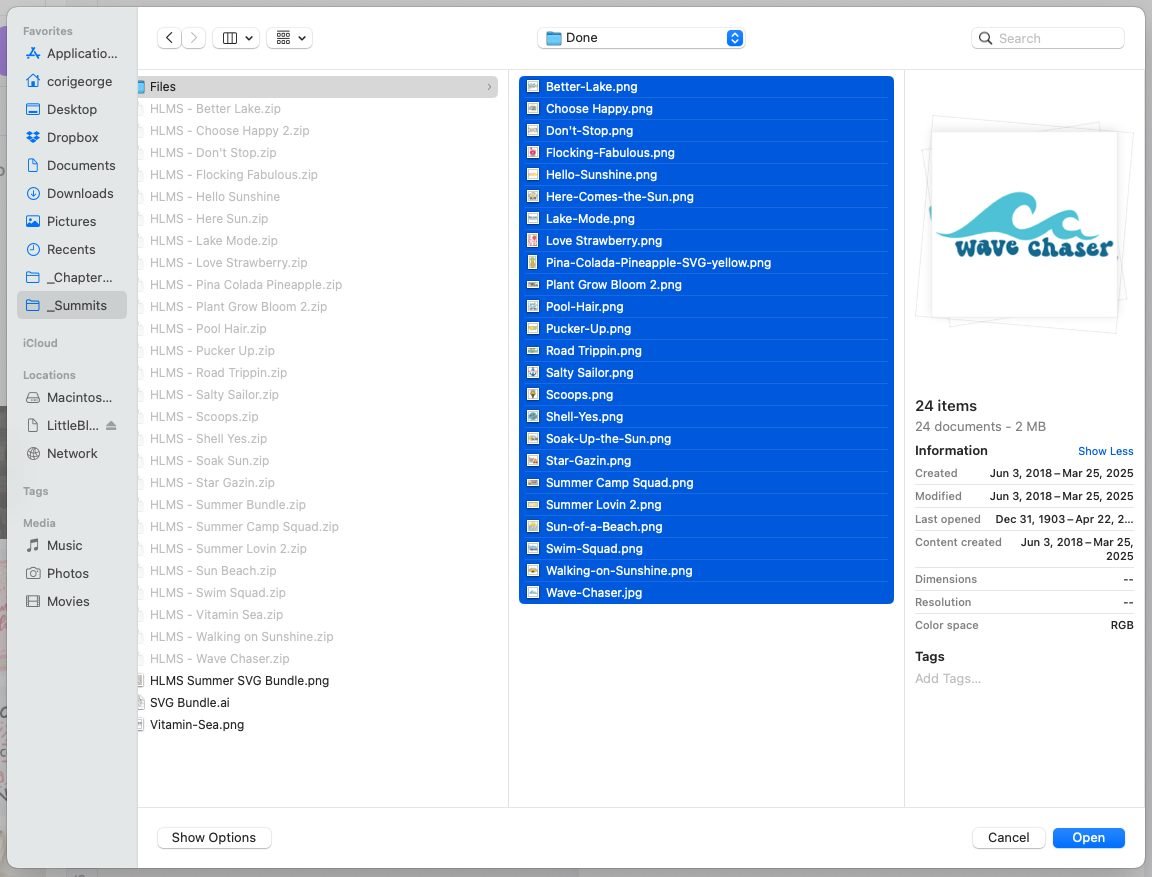
Once your files are uploaded, you’ll see them under Uploads on the left side of your screen.

Now you can start adding your images to your file by clicking on them. I am making some Summer Camp Squad youth shirts, so I added that file to my Canvas.
NOTE: If your image has a white background, us the “BG Remover” tool at the top to remove the background. For most of these printing processes, white WILL print and you want to make sure your image doesn’t have a weird white square around it.

To resize a file, click on Position in the bar at the top. A new set of tools will open on the left. Here you can change the width and the height. Make sure to click the little lock to keep your dimensions the same.
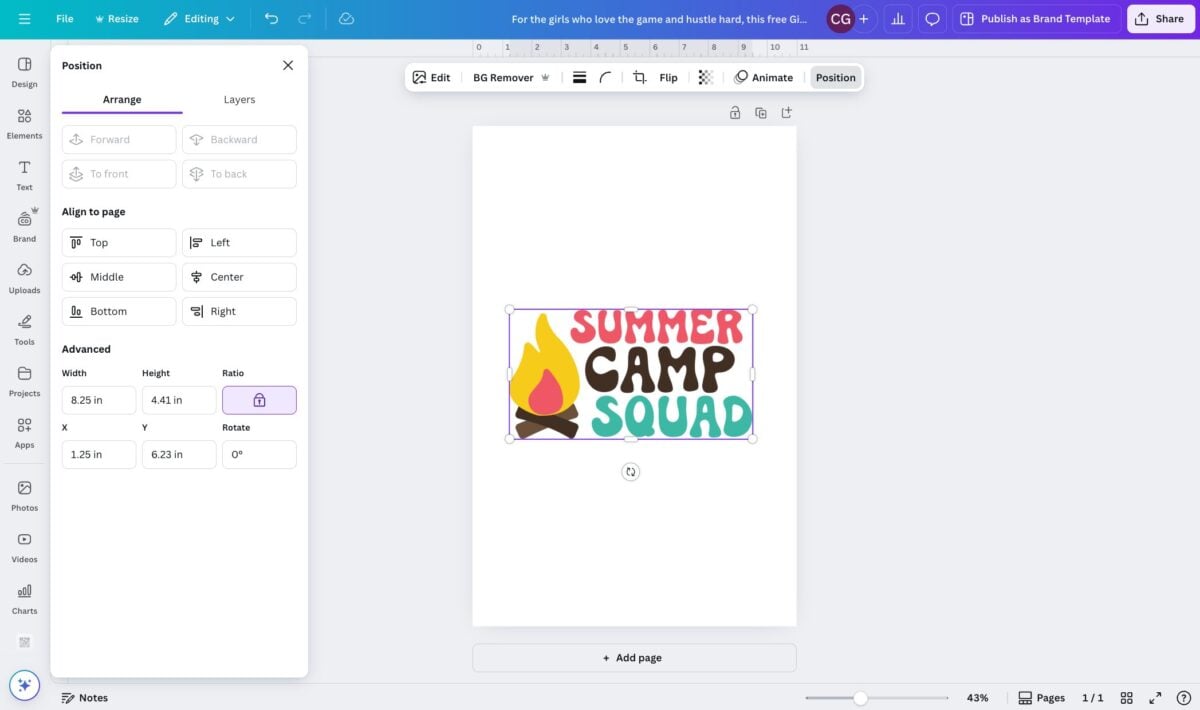
Once I had the size I wanted, I moved my first image to the top left of my Canvas. I always leave a small margin around the edge of my design, just to be safe that it won’t get cut off.

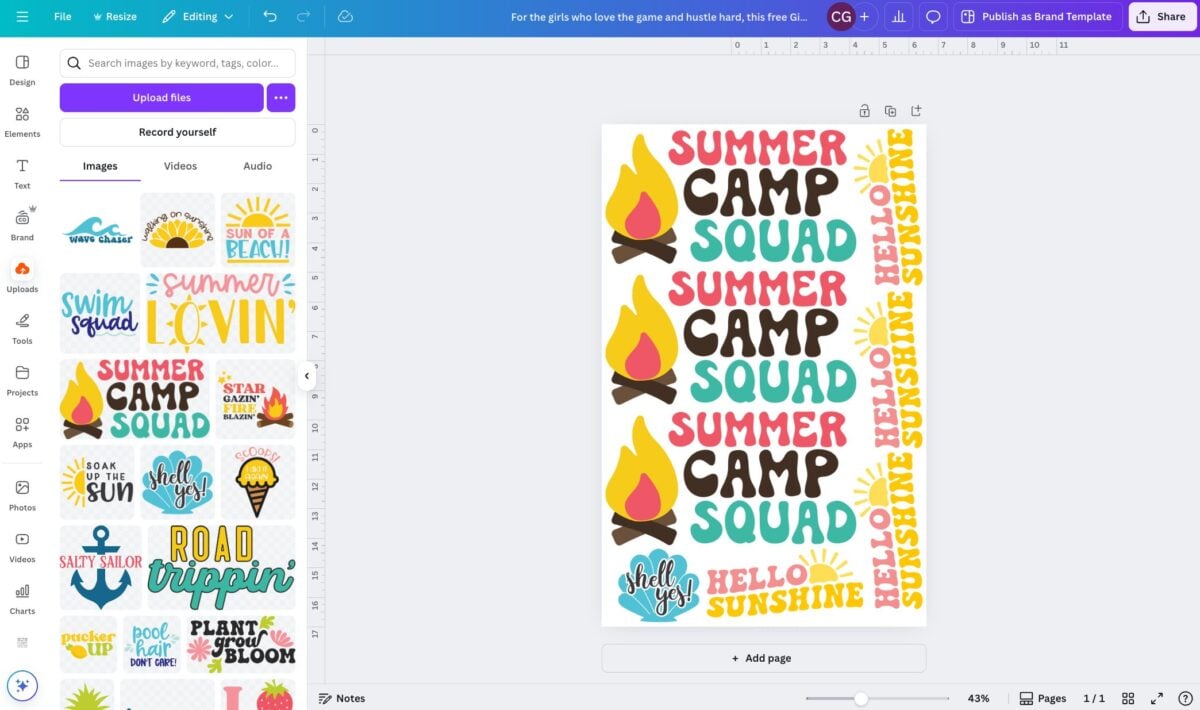
Then I duplicated my image twice and used the Alignment tools on the left to make sure the three images were center aligned.

Now that is great, but I have quite a bit of extra space. I will always try and fill in space with other images, even if I am not planning on using them at that time. I have a big folder of all sorts of prints that I can use for smaller projects or future examples. So for this one, I am going to fit more images on this page by rotating them.

Now you can see that I’ve used the entire sheet and I haven’t wasted any space!
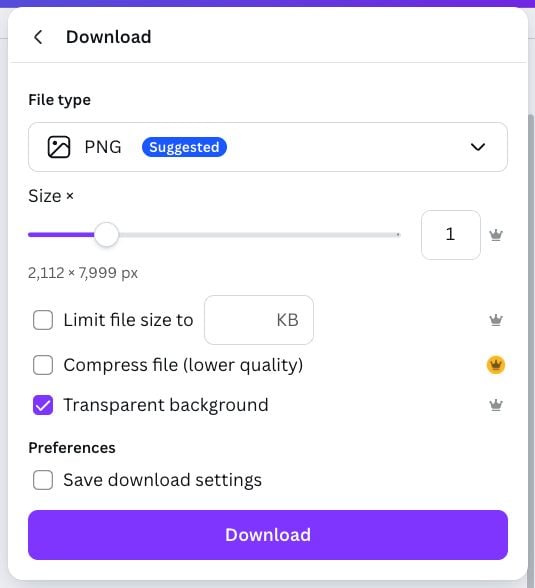
Now we’re going to export this Canvas of many designs into one single PNG file. Click Share in the upper right. Then keep the sizing where you have it and choose “transparent background” (remember, you should have removed any white backgrounds above using the background remover tool).

Then click download! Now you can use this file to print at home!
Making an 22″ x 84″ Gang Sheet for Uploading to a Transfer Company
For this project, I am using Ninja Transfers as an example, but there are a ton of transfer companies out there that all function similarly. The main difference between this gang sheet and the one above is the size. Most people do not have a big enough printer to make a 22″ x 84″ gang sheet at home, and I wanted to show you the process of uploading your file to a transfer company.
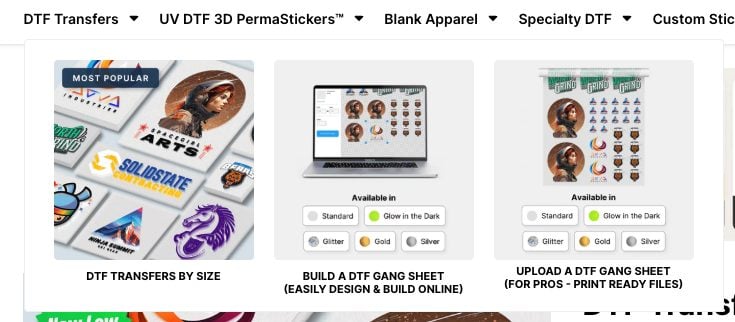
We’re going to start by going to Ninja Transfers and clicking on the DTF Transfers dropdown. Here you’ll see three options. Printing individual DTF transfers, using their gang sheet builder (another good option!) or uploading your print-ready gang sheet. Choose the third option.
You’ll be taken to the DTF Gang Sheet page. Here, you’ll see some options for sizing below the upload box, starting at 2 feet and going all the way up to 30 feet. Things get less expensive the longer your gang sheet!
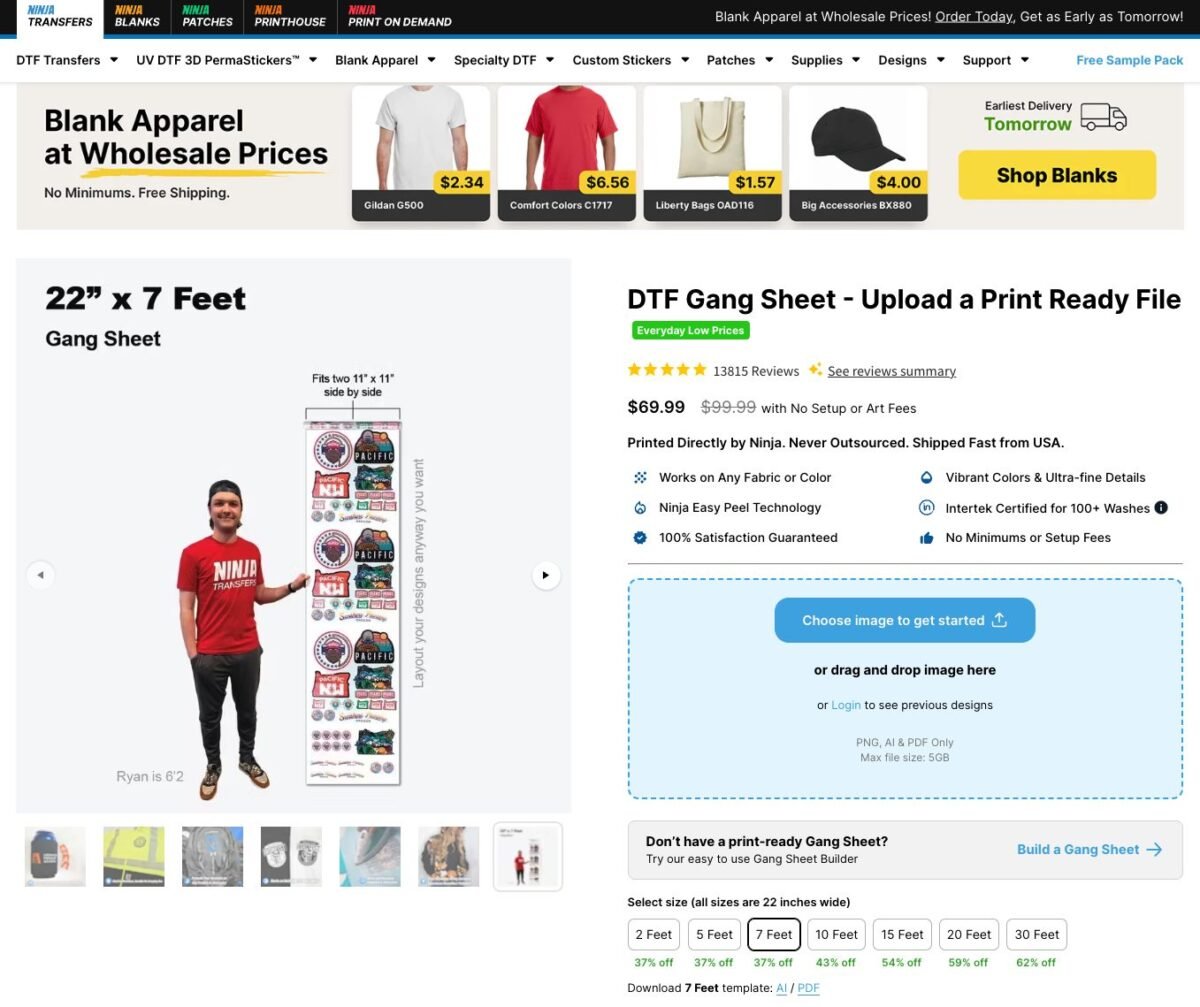
Now there is one limitation to using Canva to print your designs and that is the size. The maximum size of a Canva document is 83.328″ tall. 7 feet is 84″ so this really is the maximum size you’ll be able to make using Canva. If you want to make a larger gang sheet, you’ll have to use a different program, like Adobe Illustrator or use their gang sheet uploader.
I’m going to make a 7-foot gang sheet, but you could also do 2 or 5 feet using this method.
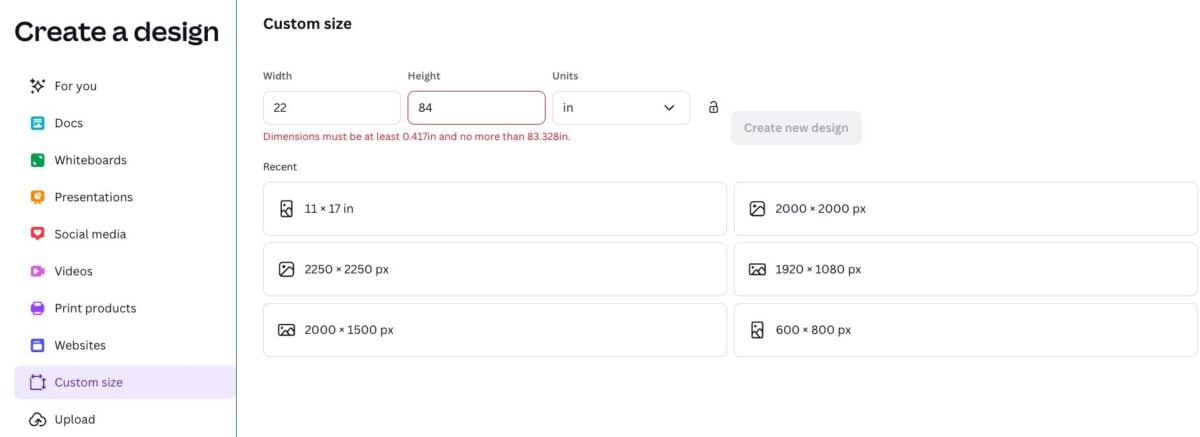
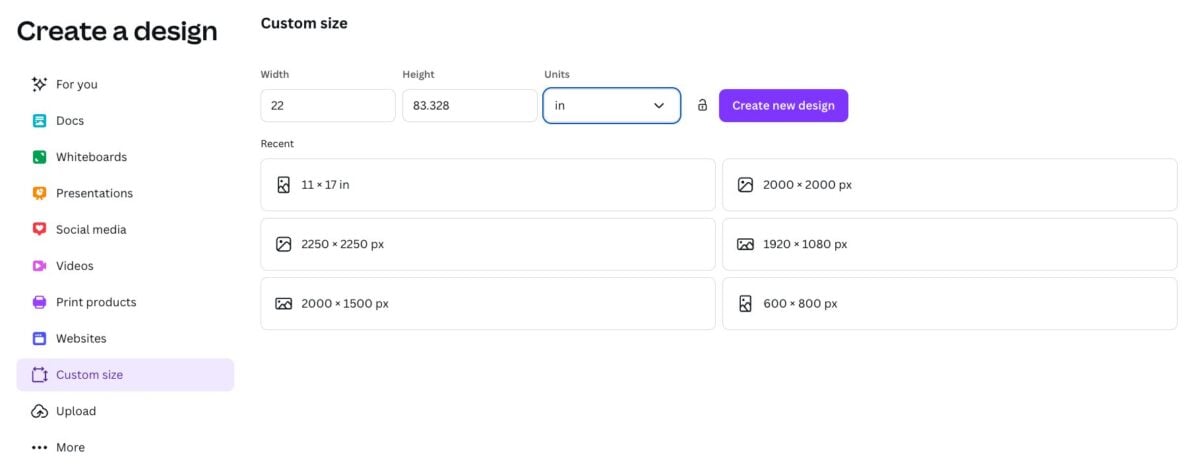
Because 84″ is too tall for the height, choose 83.328. This is very close to 84″—you’re only losing about half an inch at the bottom.
Then upload your files in the same manner as above, trying to fit what you can on your sheet. The nice thing about the 22″ width is that you can fit two 11″ designs side by side if you’d like. Perfect for adult tees and totes!
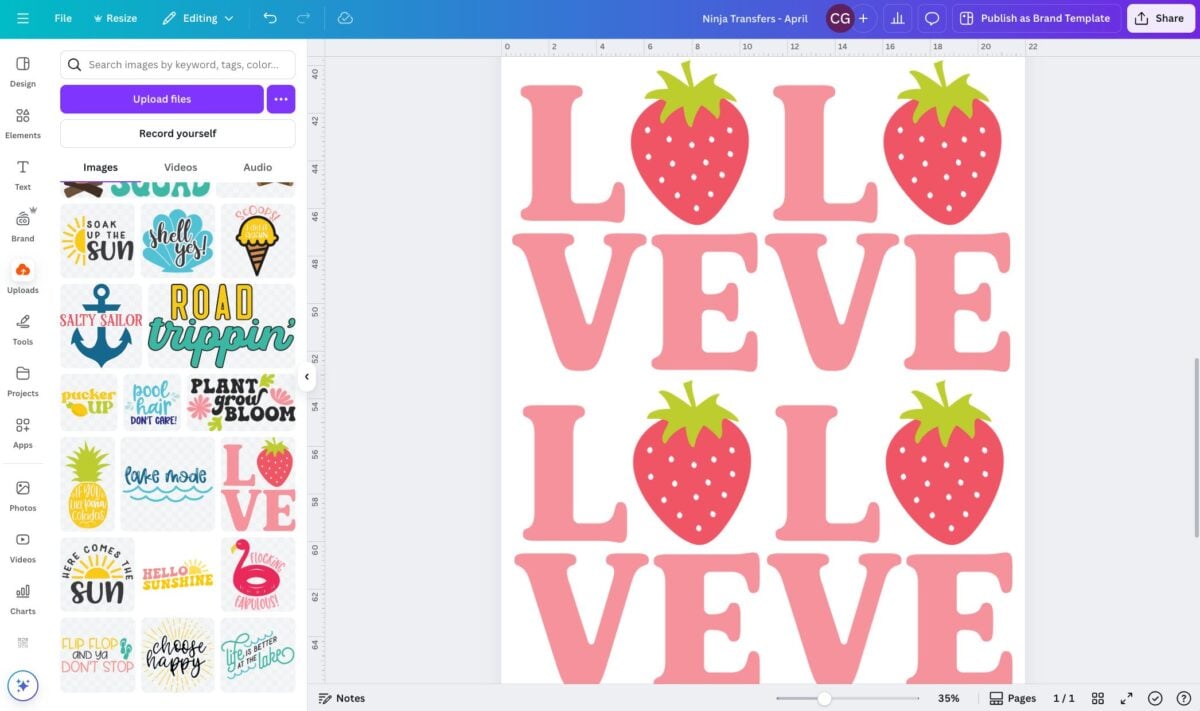
Now when I zoom out in Canva using the zoom slider at the bottom, you can see my entire 7-foot gang sheet. The “summer camp squad” image is the same size on both gang sheets I designed, but you can see just how much more I can fit on a larger gang sheet!

We’re going to export in the same way, by going to Share in the top right and choosing transparent background.
Then we can upload our file to Ninja Transfers. You can see here how it looks. If you see any white boxes around your images, make sure to go back to Canva and remove the background from those images because white WILL print for DTF transfers.

One other cool thing about ordering from a place like Ninja Transfers is that they have more options for film styles. So instead of just clear film, you can choose other styles like glitter or glow in the dark.

For this one, I did not get it printed because it was just an example for the sake of this post. But I have used this process so many times to order transfers for my side hustle shop Chapter and Craft! Getting these larger gang sheets means I can pack them full of designs and save money in the printing process!
If you have any questions about creating a gang sheet in Canva, please let me know in the comments! If you found this post helpful, make sure to pin it and share it with friends!


Comments & Reviews
lbc track and trace says
The LBC Track and Trace system ensures convenient shipment monitoring with accurate updates. Customers can follow package movements, delivery schedules, and parcel status through a secure online service.
Delwy Charmaine says
Forget the usual barriers; Poly Track delivers a pure racing experience where only masterful steering skills and quick reflexes will lead you to glory.