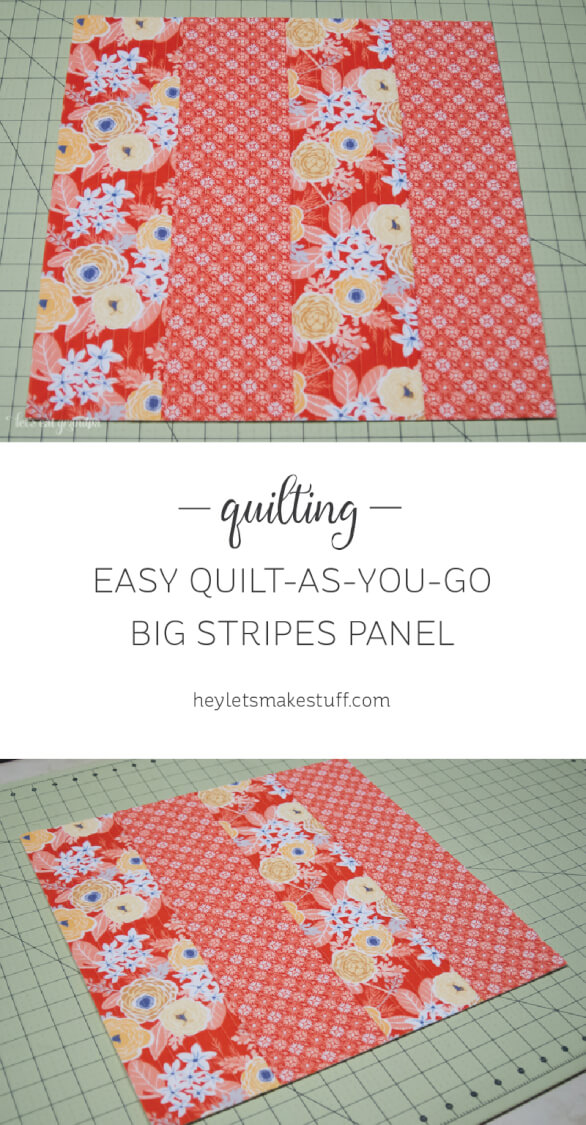
Want to learn Quilt-As-You-Go but don’t know where to start? This big stripes panel will help you learn the technique.
![]()
Of all the things I’ve ever posted on my blog, my Bloomin’ Quilt-As-You-Go Pillow tutorial gets, by far, the most hits. I’ve seen a lot of great things made with the tutorial, but I’ve also heard that it can be a little…challenging. Especially if you’ve never done any quilt-as-you-go before.
So first I wanted to create a beginner quilt-as-you-go tutorial for a “big stripes” panel. It’s a simple introduction to quilt-as-you-go, without, well, melting your brain. It will help you understand the basic idea behind quilt-as-you-go, and hopefully prepare you for further ventures into the style.
If this is your first time with quilt-as-you-go, the basic difference between this and regular quilting is that instead of piecing your top and then quilting it to your batting, you piece it and quilt it as you go (thus the name!).
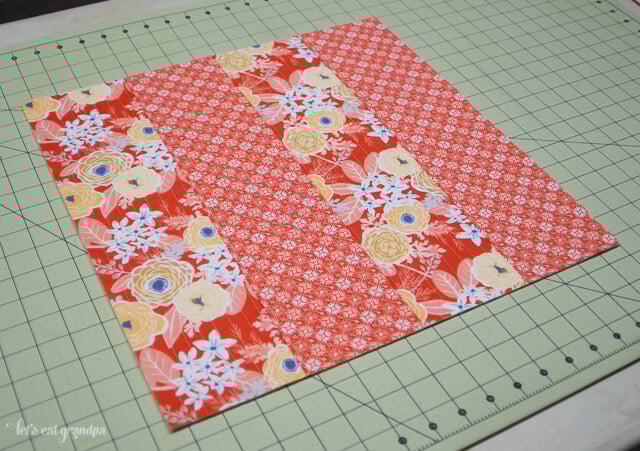
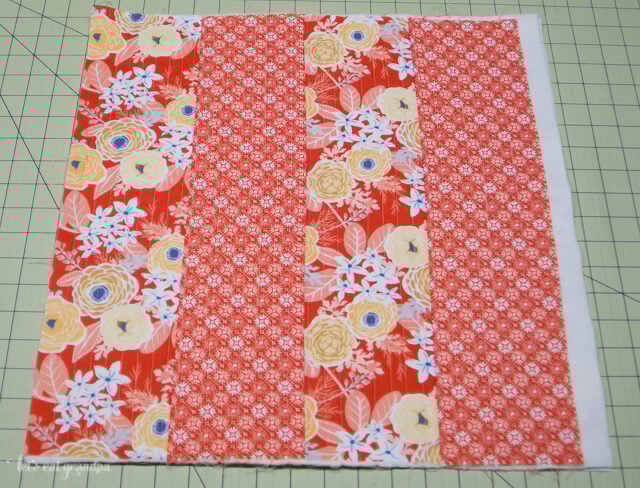
This tutorial makes a 16.5″ x 16.5″ big stripes panel, which can be turned into a pillow or mini quilt or bag. Quilt-as-you-go like this is not great for quilts, because the back of the panel is oogly. If someone can figure out how to make them into a quilt, I’d love to see it!
Supplies:
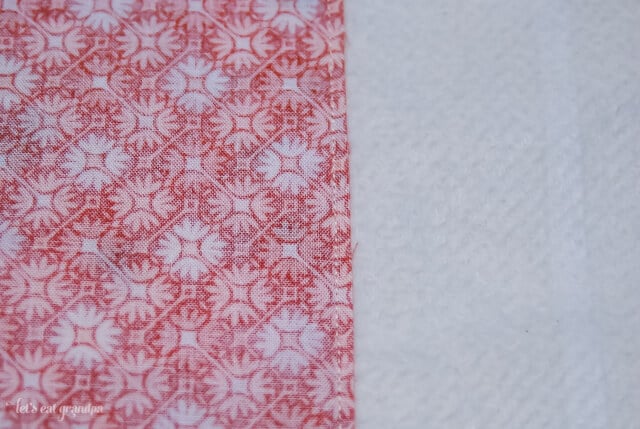
Two strips of Fabric A: 18″ x 4.5″
Two strips of Fabric B: 18″ x 4.5″
One square of batting: 18″ x 18″
One square of backing fabric (I use inexpensive white cotton): 18″ x 18″
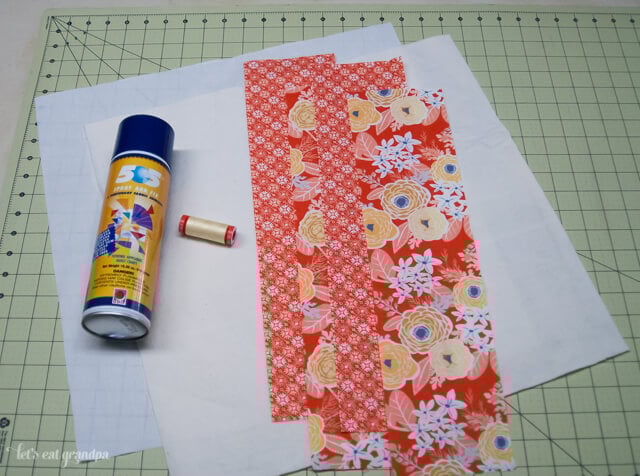
Basting spray (optional, but recommended)
Coordinating thread
All the usual sewing tools (sewing machine, rotary cutter, snips, etc.)
Directions:
Cut out your fabric to the sizes listed in the supplies list. You’ll notice the fabric is about an inch and a half wider than your final panel size. After making many of these pillows, I’ve found the fabric shifts quite a bit, and it’s easiest just to make it a bit larger and trim down to size.
Use the basting spray to hold together the backing fabric and the batting. I find that this step causes the fabric to shift less during sewing.
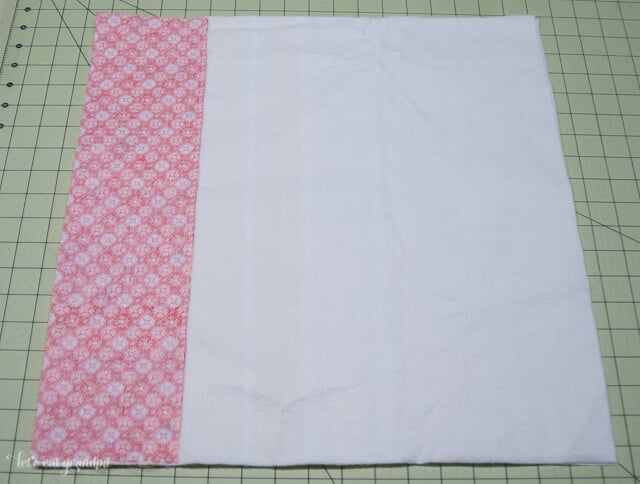
Lay your first Fabric A strip of fabric on the batting, right-side up and aligned with the left edge of your pillow. You can spray baste if you’d like.

Set up your machine to quilt. You can use a walking foot, but I find I like my regular foot better. Lengthen your stitch (I totally forgot to do this, so ignore my tiny stitches) and use a high-quality thread (you don’t want breakage).
Stitch the fabric to the batting, using straight lines. To save thread, when I come to the end of the fabric, I turn the panel, stitch three stiches down, and then stitch back the other way across the fabric. You can see what I mean in this video (which is for my Bloomin’ panel, but you should get the general idea). My lines end up about half an inch apart.

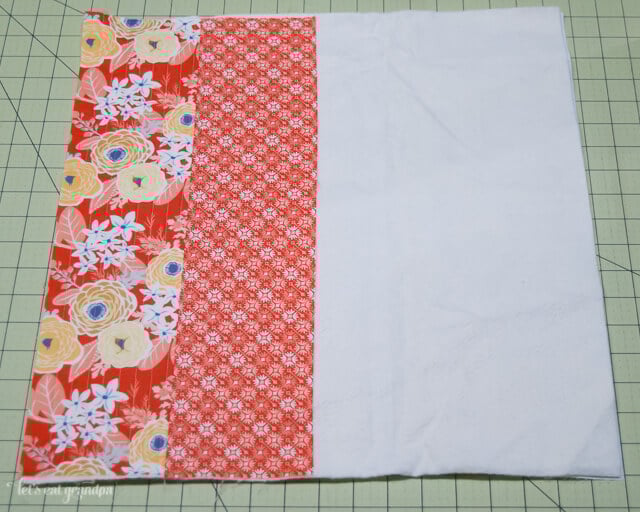
Once the first strip is quilted to your batting, place a Fabric B strip face-down on top of the already quilted Fabric A. They two pieces should be right-sides together.
Stitch along the edge of the two fabrics using a 1/8″ – 1/4″ seam. You should end up with this:
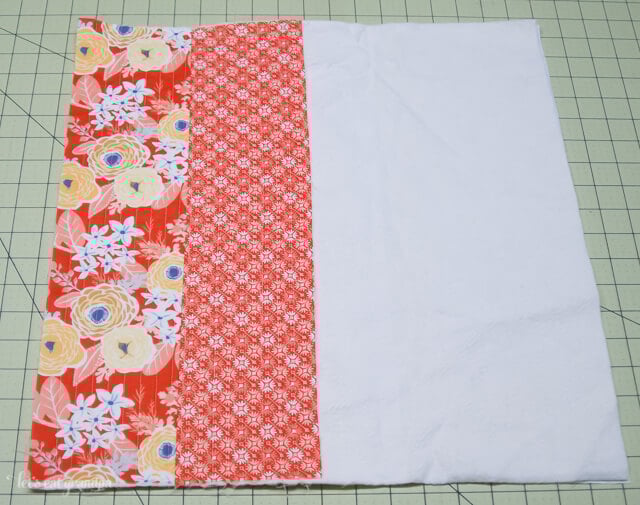
Press Fabric B away from Fabric A.
Quilt Fabric B to your batting the same way you quilted Fabric A. It should look like this (it’s hard to see in this photo, but there are stitches up and down the second strip as well):
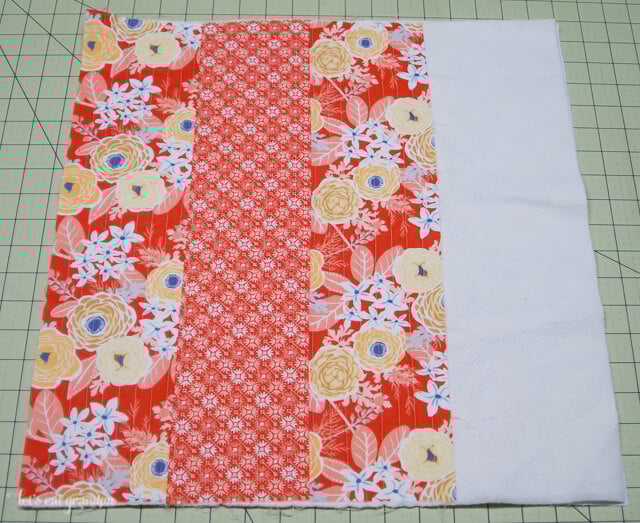
Repeat these steps with the second Fabric A and then second Fabric B pieces.
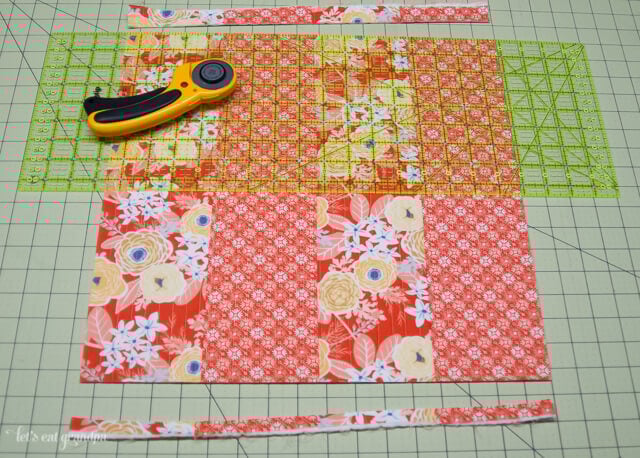
Now all you have to do is square up your block. I use the center seam as a guide, making it perpendicular and trimming off the edges so the remaining block is 16.5 wide.
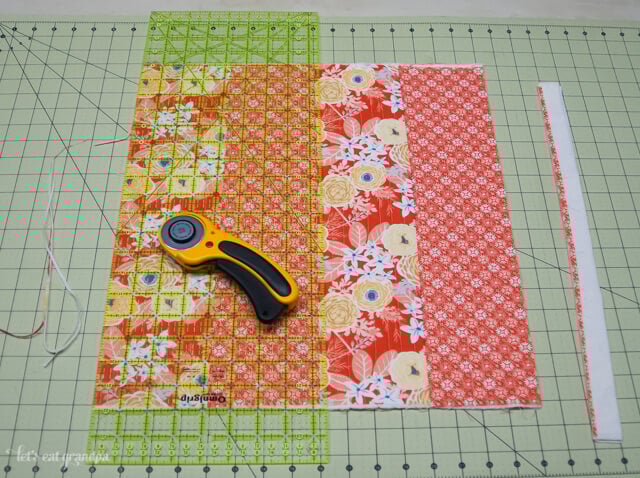
I then trim off the top and the bottom so that it’s 16.5″ square — when it’s made into a pillow, it will be 16″ square.
Tada! You can quilt-as-you-go!
Want to turn your panel into a pillow? Next week I’ll post a tutorial on how I make simple envelope enclosures for the backs of my pillows. Stay tuned!
[wpp range=daily header=”TODAY’S TOP TEN POSTS” limit=ten order_by=views stats_comments=0 wpp_start=<ol> stats_views=1 wpp_end=</ol>]


Leave A Reply!