Learn how to make a 3D layered paper project using your Cricut and cardstock and foam squares! This beginner friendly tutorial covers cutting tips, what adhesive to use, and step by step assembly instructions.
Layered paper projects are one of my favorite things to make with a Cricut! They look detailed and dimensional, but the assembly is surprisingly simple. By stacking cardstock layers with foam adhesive, you can create a 3D design that stands out beautifully, whether you’re making a free-standing project like this or layering them in a frame to make a shadowbox.
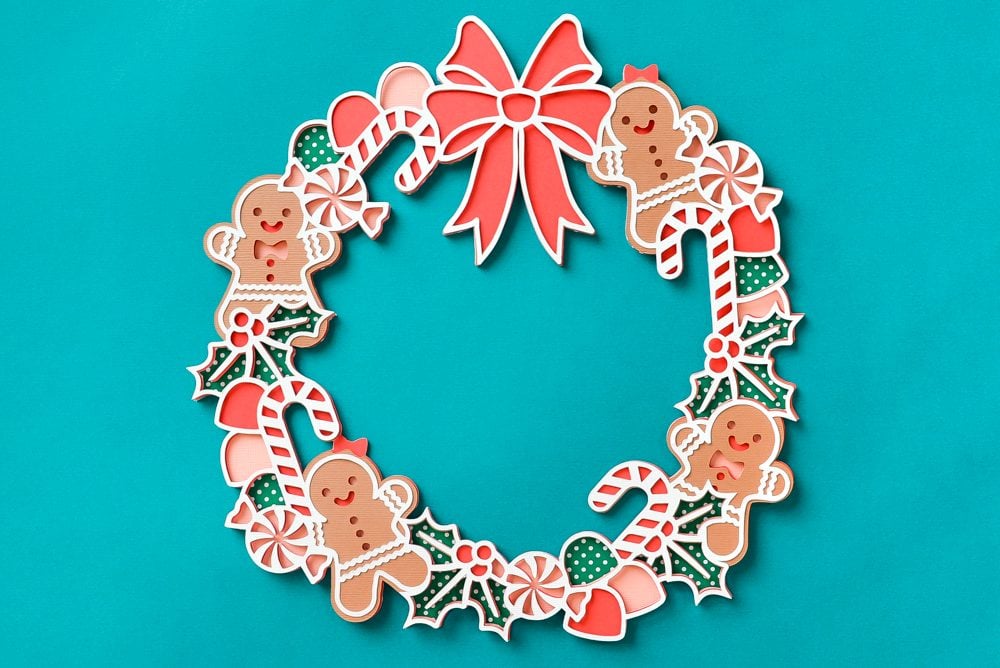
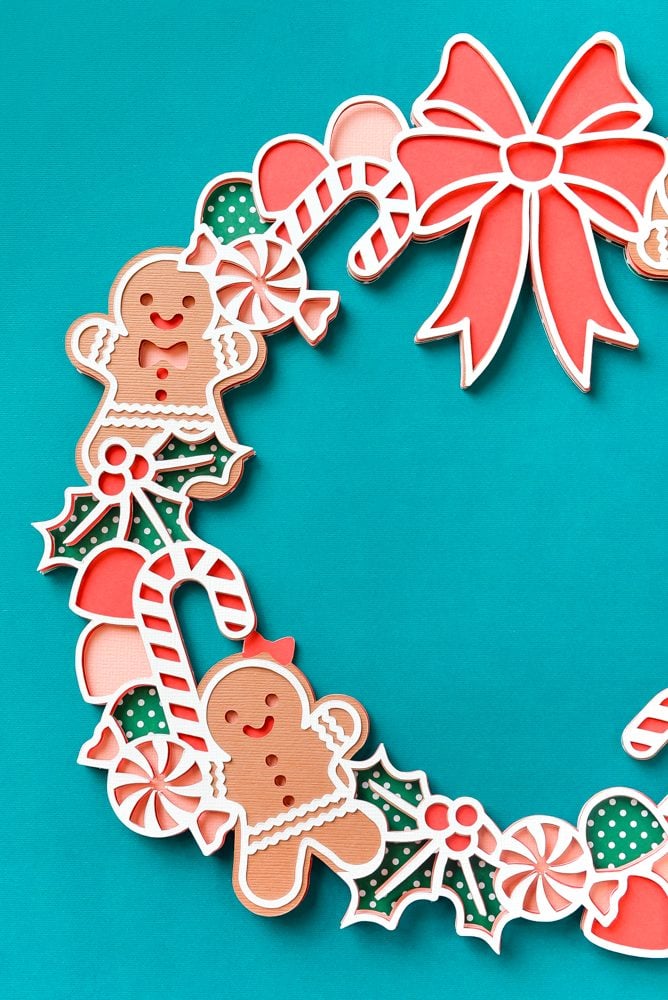
In this tutorial, we are making a 3D Layered Gingerbread Wreath using the five layer design from LayeredCraft3DSVG on Etsy. The layers build outward from a solid base, creating depth and shadow with very little effort. This is a great holiday craft for beginners and experienced Cricut users alike!
Let’s get started with this cute holiday Cricut project!
Watch the Video
Want to get a video overview of how to make a 3D layered paper project using your Cricut? Just hit play below! Or keep reading for a written tutorial.
Supplies to Make a 3D Layered Paper Project
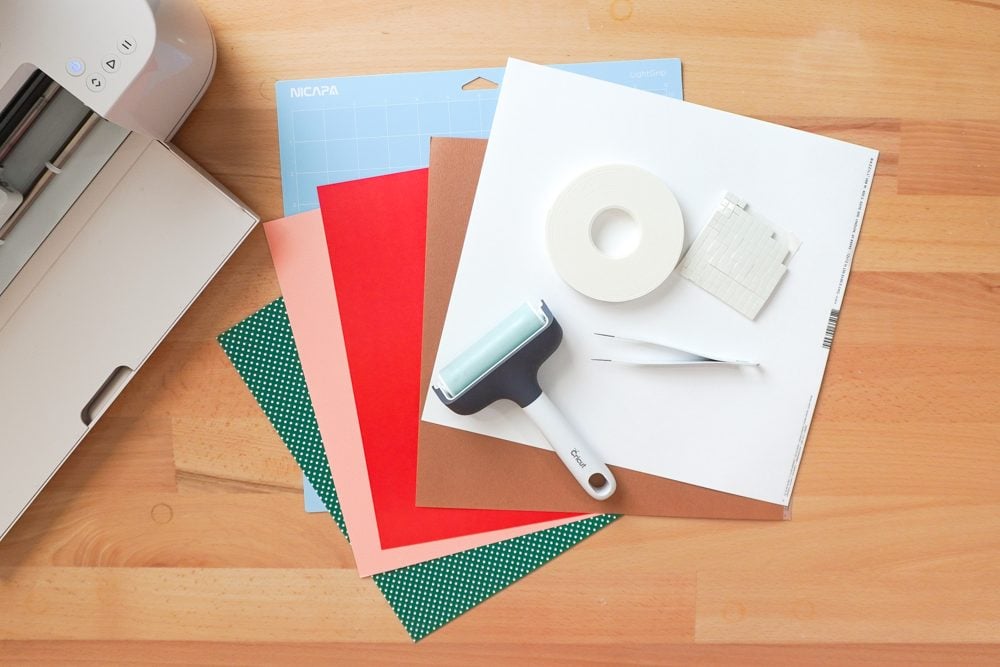
- Cricut Maker 4 or other 12×12 cutting machine*
- Layered Gingerbread Wreath file from LayeredCraft3DSVG
- Five colors of cardstock
- LightGrip cutting mat
- Adhesive foam squares and/or foam strips
- Tweezers (optional)
- Brayer (optional)
- Spray adhesive (optional)
- Scissors
*You could use a smaller cutting machine like the Cricut Joy for layered projects, but you’ll be limited to smaller projects like paper gift tags.
Tips for Cutting Intricate Cardstock with Your Cricut
Before we dive into assembly, let’s talk about cutting. Layered shadowboxes only look good if your cardstock cuts cleanly. Here are my go-to tips!
Use solid-core cardstock
Shadowboxes just don’t look as clean when you can see white edges of white-core cardstock. My green and my red paper are both white core in this project (yay for using what you have on hand!) but I think the other layers just look a bit tidier.

Use a fresh blade
A sharp fine-point blade is the key to crisp edges and clean cuts. If your blade has been through many projects, swap it out before you begin.
Use a clean (but primed!) mat
An old mat can keep your cardstock from sticking properly. Use a newer mat, but make sure to prime a brand new mat before using it by pressing your hands on it a bit or pressing it to a clean t-shirt or other cloth to pick up just a bit of lint.
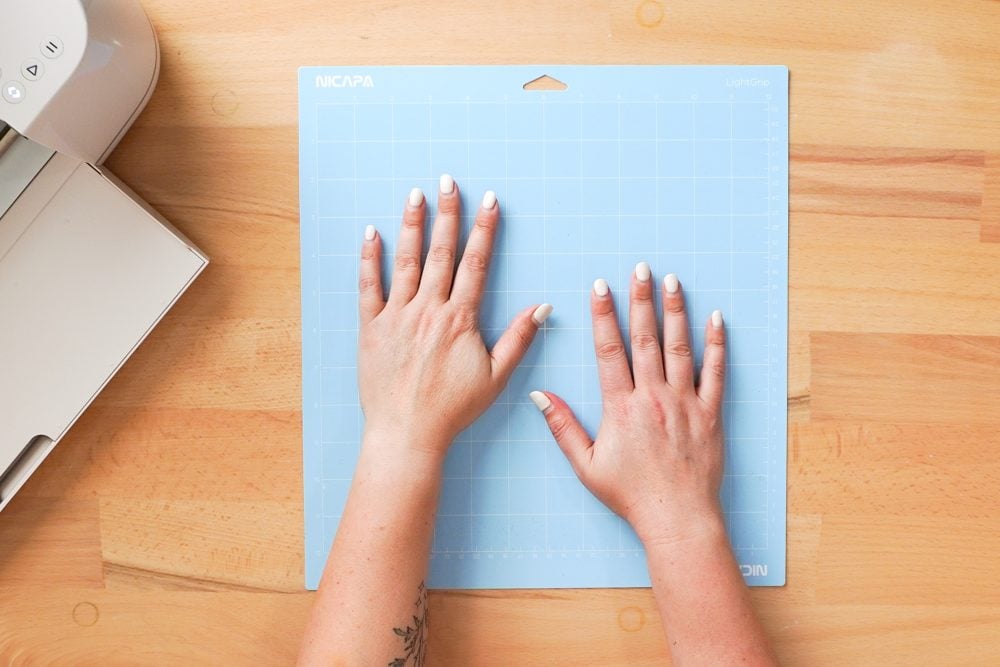
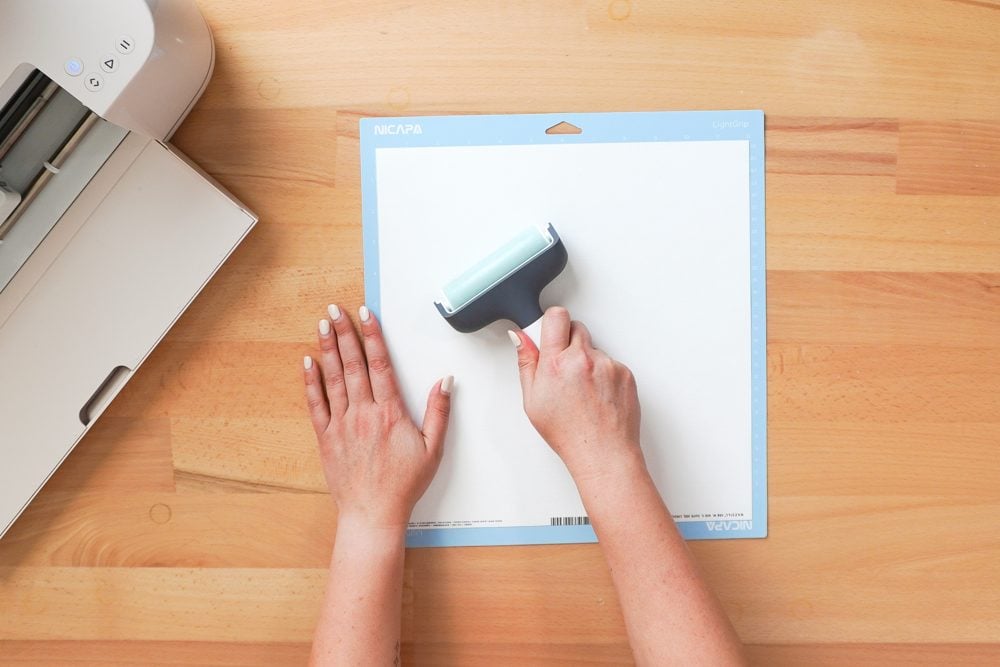
Press your cardstock down firmly
If needed a brayer to roll your cardstock onto your mat. You want your cardstock to be secure on the mat!
Use the “intricate cardstock” setting
There is usually a layer or two that are really intricate compared to the rest of the layers. If you are having issues with your cardstock tearing, choose the intricate cardstock setting. This will slow down your Cricut a bit, use a double cut, but also reduce the tearing.

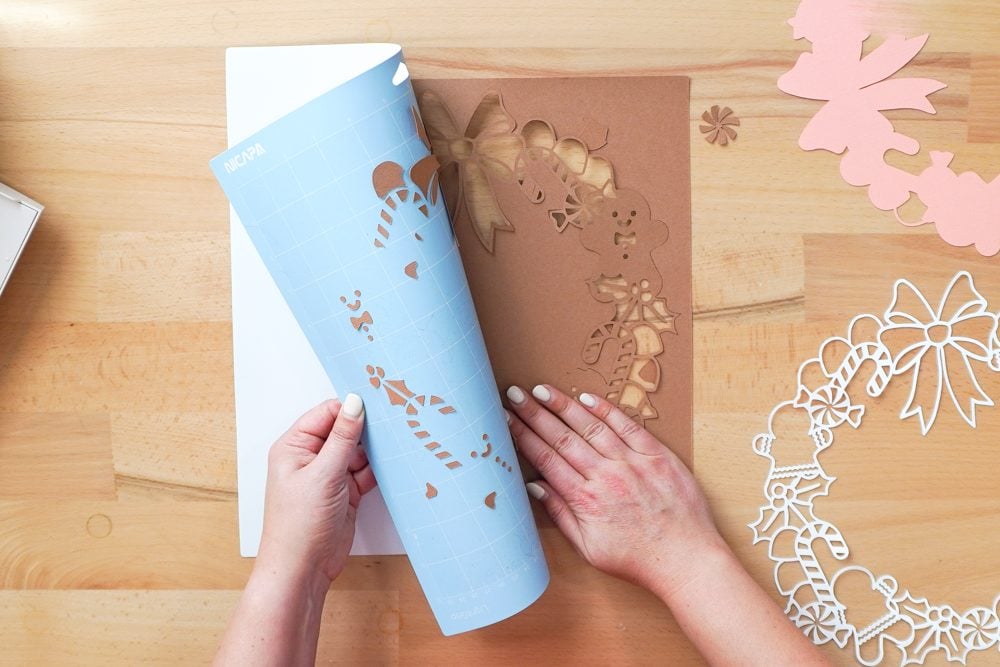
Remove the mat from the cardstock
Flip the mat over and peel the mat away from the paper to prevent curling.
Tutorial: How to Assemble Your 3D Gingerbread Shadowbox
Let’s start with cutting, then move into assembly!
Upload and Cut the File
Open Cricut Design Space and upload the Layered Gingerbread Wreath SVG. Resize if needed. For this project, I am keeping it the size the designer used, which is taking advantage of nearly the full size of the 12×12 mat. It will look like one single design, but you’ll see all five layers on the right.
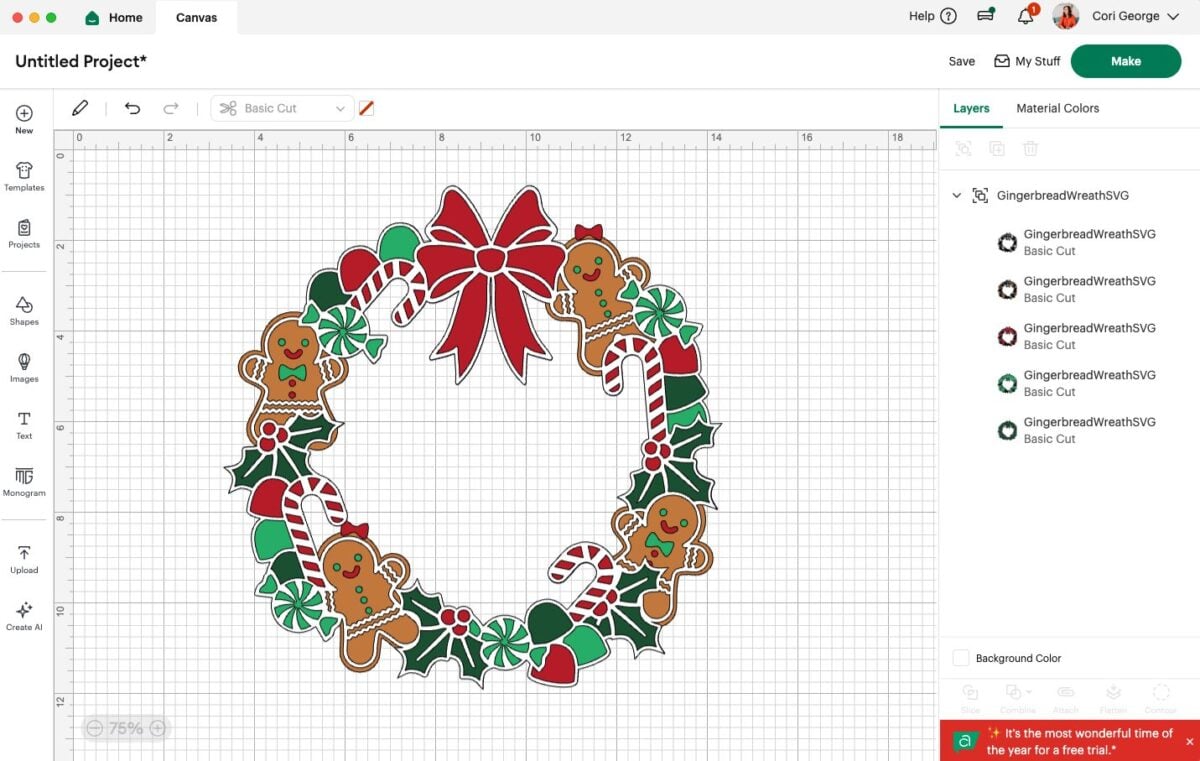
If you’d like, change the colors for each layer. I just swapped one color here—a light green to a pink—and I think it works really well!

Click Make It. Choose “On Mat” in the Mat Load screen.
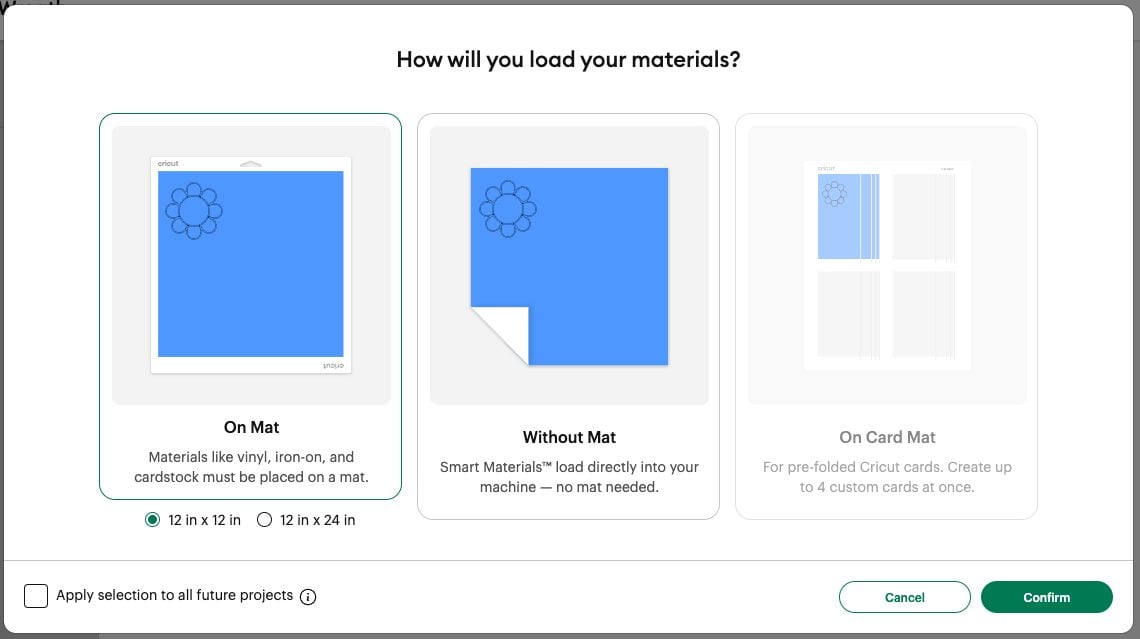
Click confirm. In the Prepare screen, Design Space will divide the layers by color. There shouldn’t be any further changes you need to make here.

Click Confirm. Choose Medium Cardstock or Intricate Cardstock as your setting.
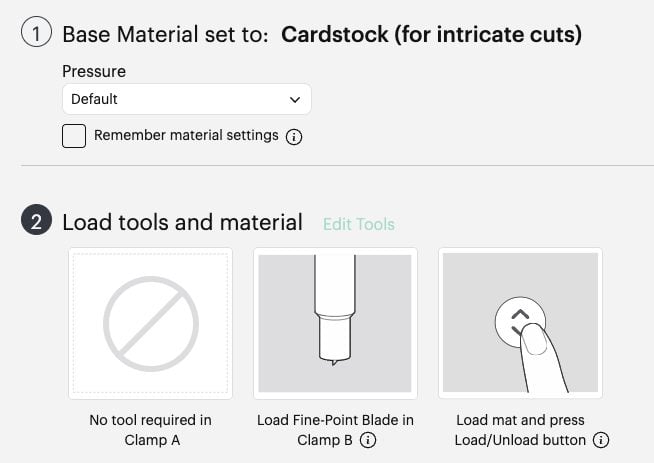
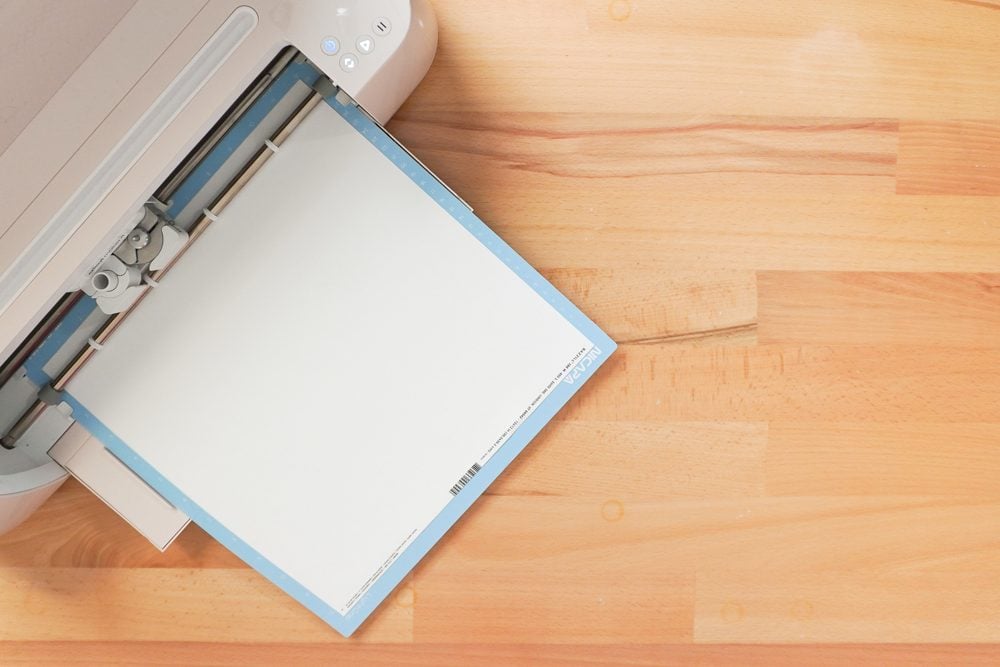
Place your cardstock on a StandardGrip mat, press it down with a brayer, and cut each layer.
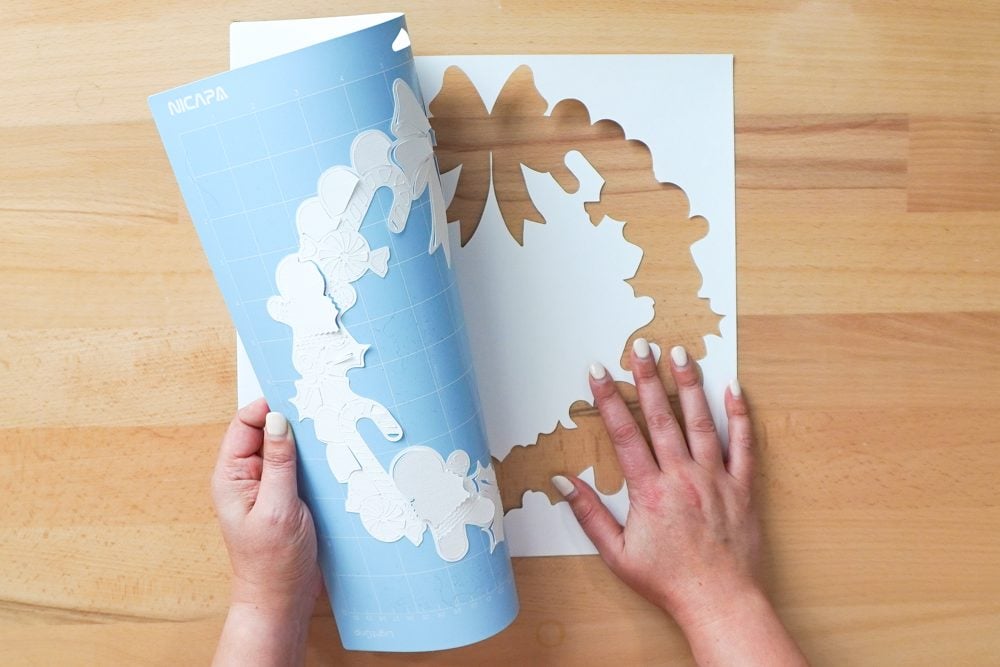
Remove each layer by flipping the mat over and peeling the mat away from the cardstock. For the most intricate layers, GO SLOWLY. They take forever to cut so you don’t want to have to re-do it.

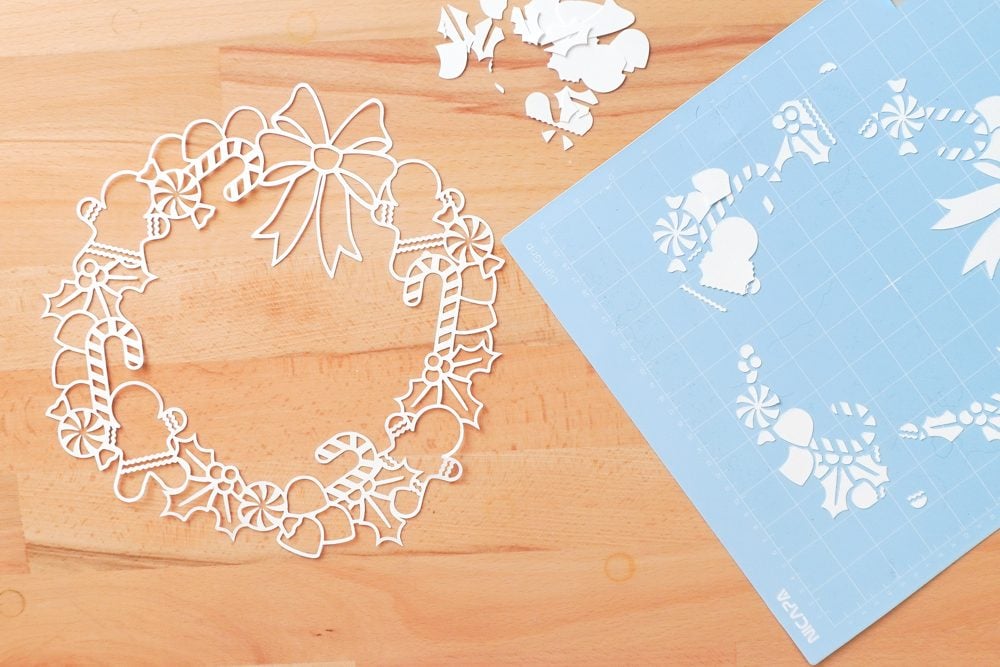
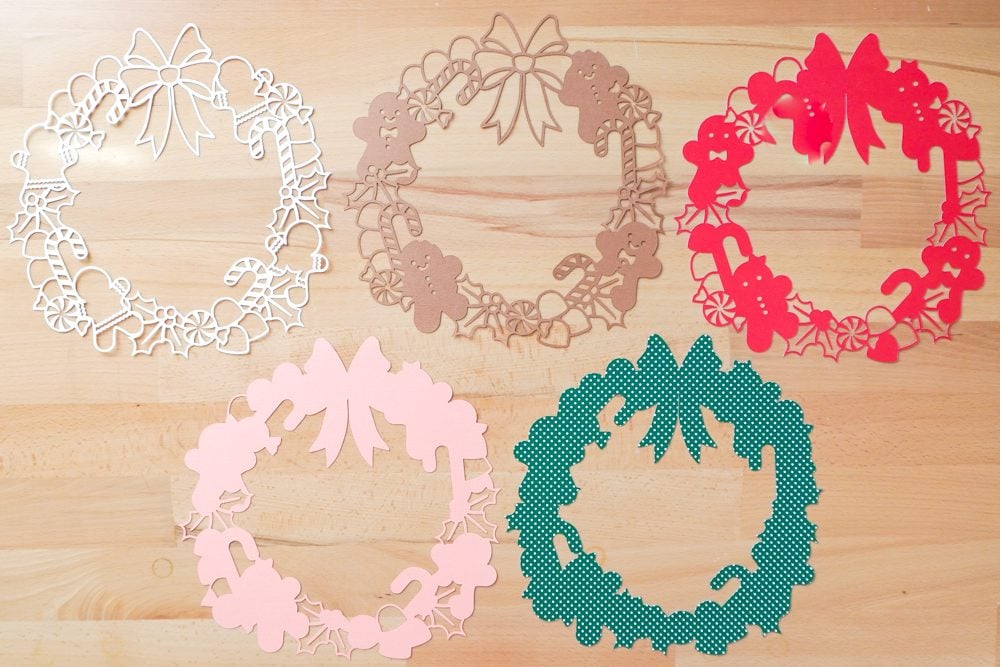
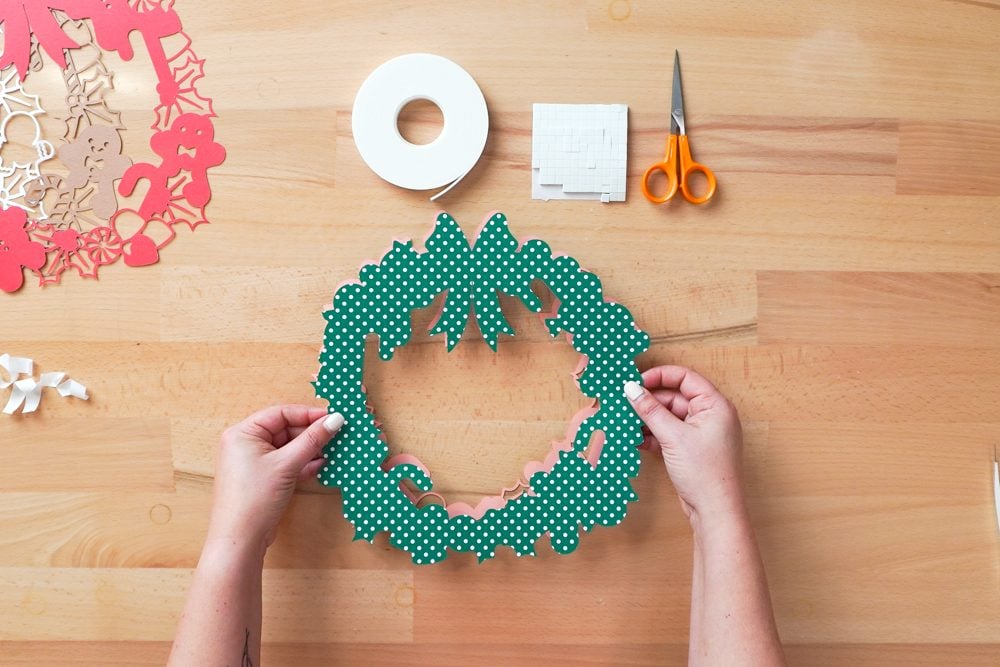
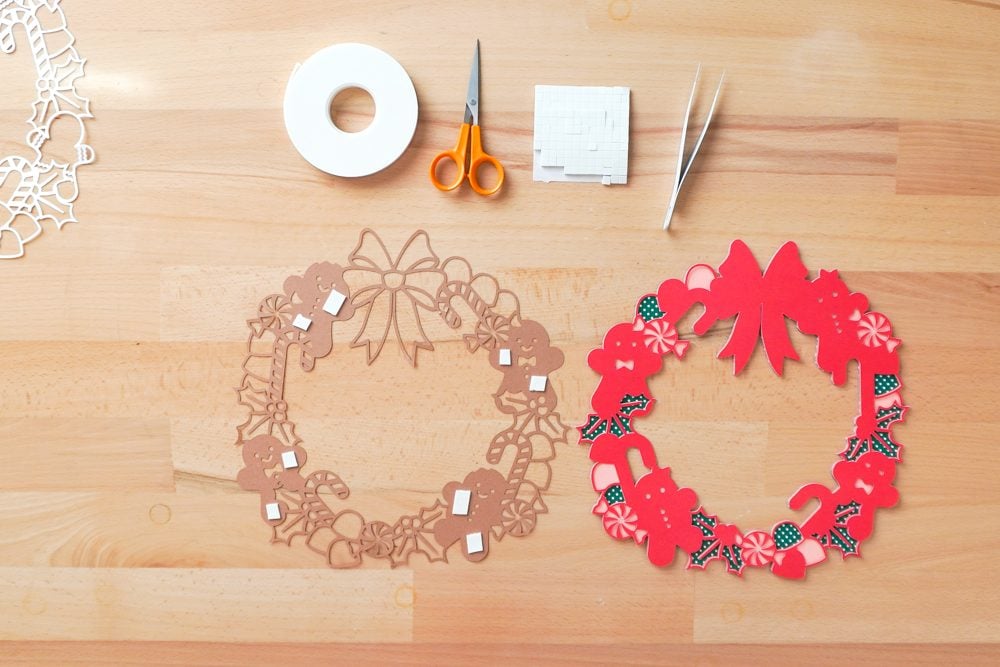
Organize Your Five Layers
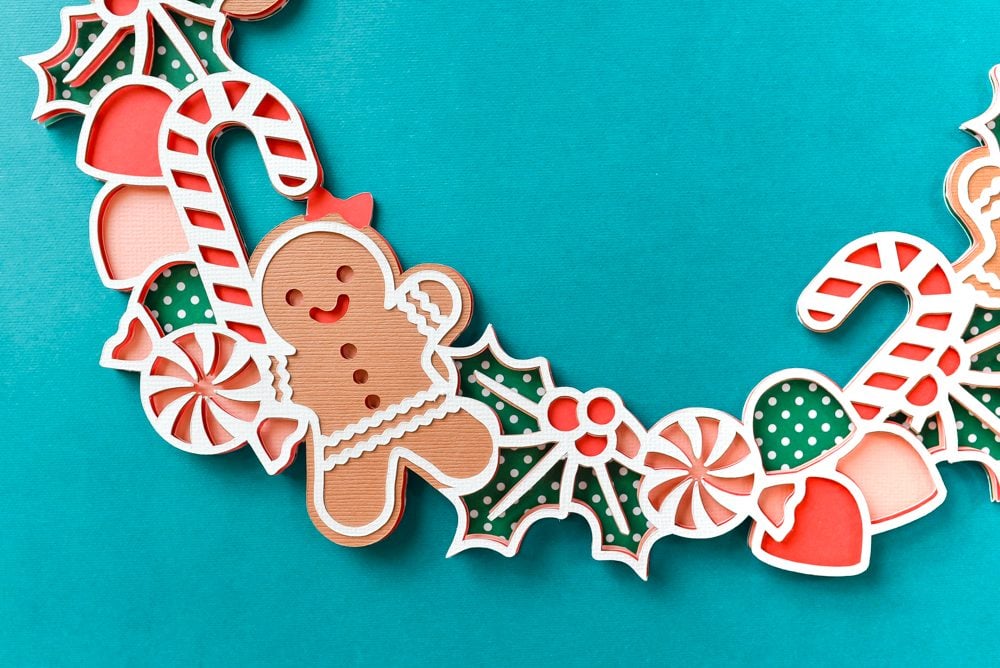
Once all layers are cut, lay them out in order from bottom to top. As you move upward, the layers contain more open cuts and finer detail.
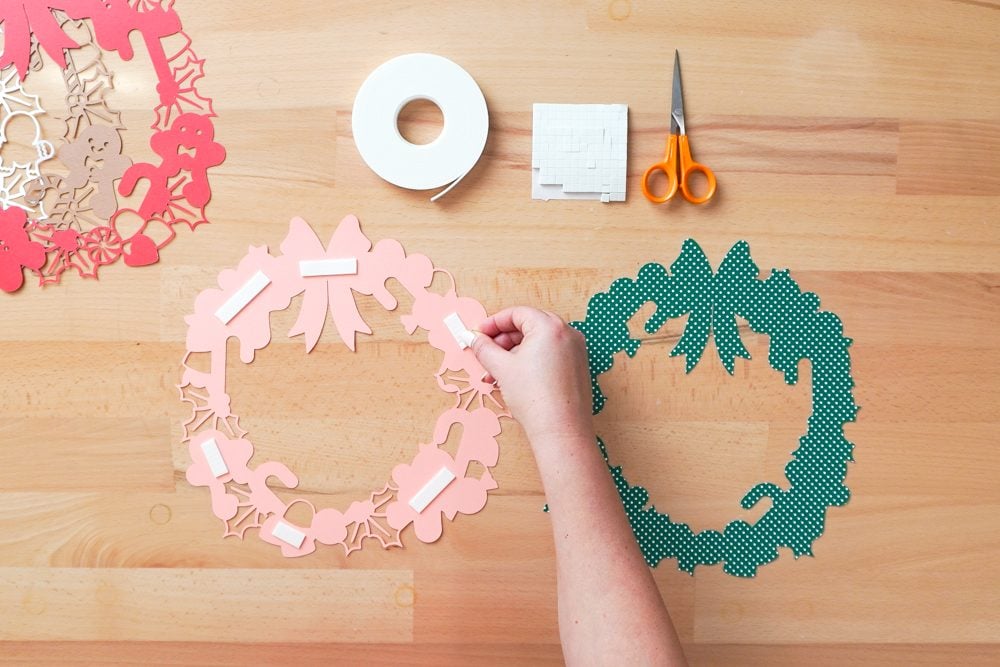
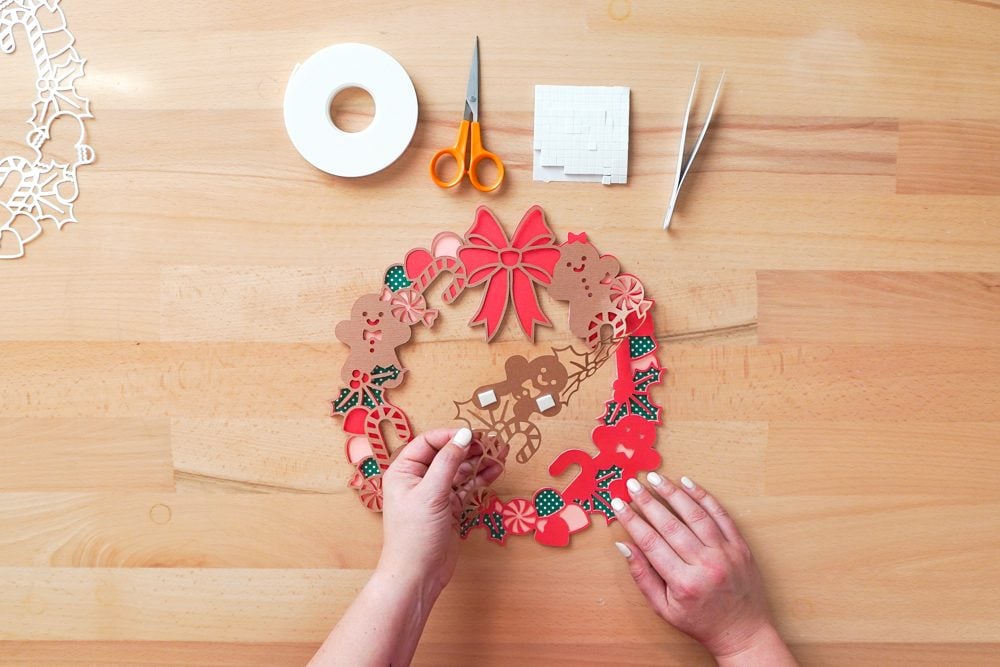
Add Foam Adhesive
Foam adhesive provides the spacing that creates the 3D effect! Use larger foam squares on wide open areas. Use thin foam strips or tiny foam squares for tighter details. Also make sure to support edges and delicate cuts to prevent sagging.
Start with the bottom two layers. For my wreath, the green is the bottom layer, with the light pink on top. I flipped over the light pink piece and placed my adhesive foam on the back of that piece.
Remove the backing pieces from the foam squares or strips. Tweezers can come in handy here!
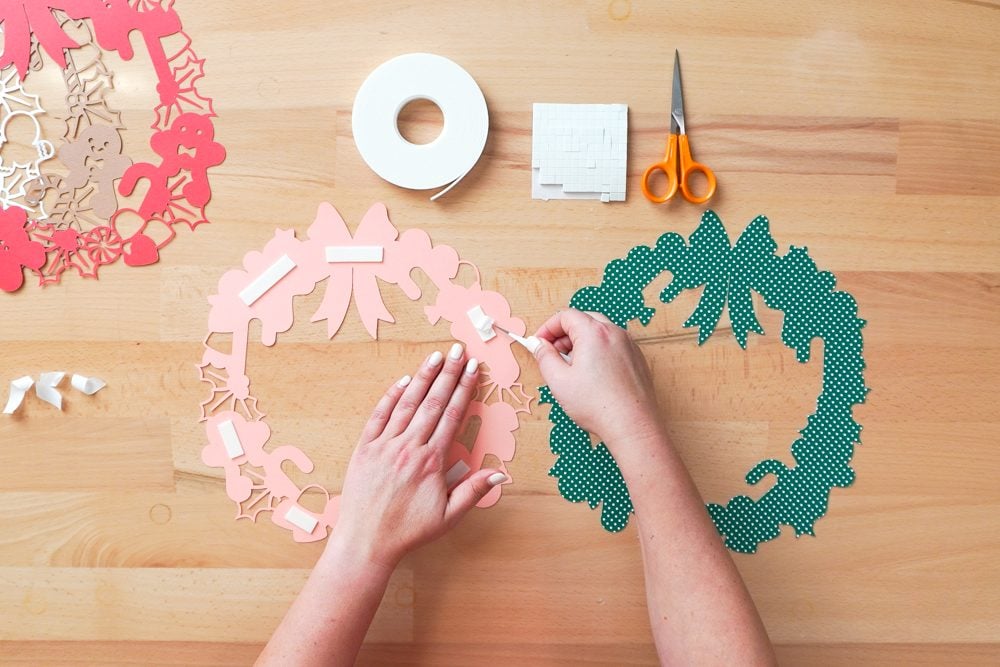
Then carefully press the two layers together. If found this worked best when I placed the green piece on top of the pink piece, vs the other way around. Press down to adhere.
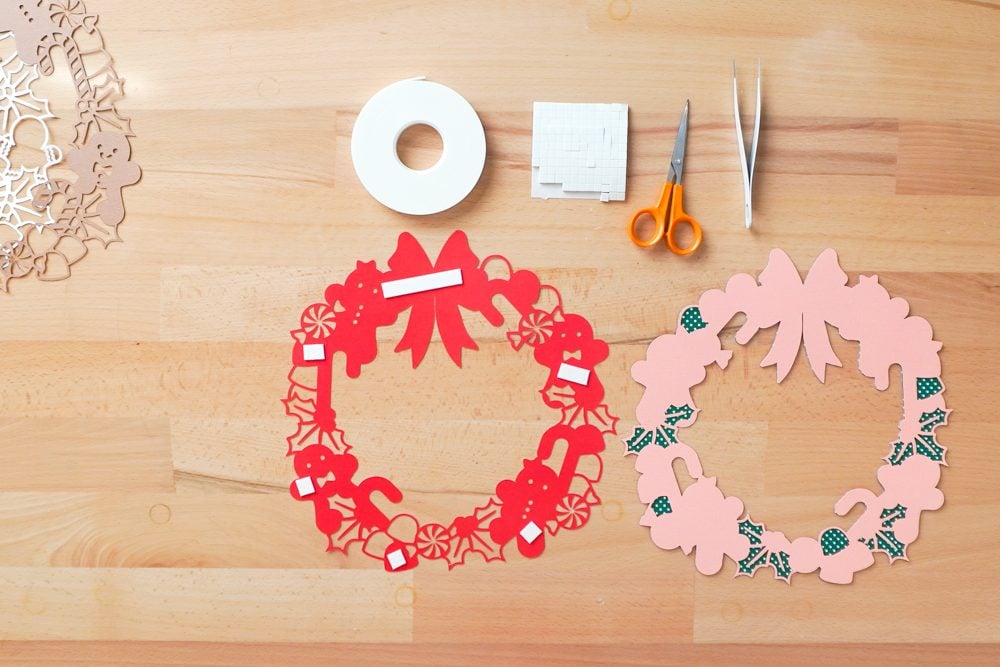
Repeat this step so that the back four layers are adhered together in this same manner. For the second to top piece (in my design, the brown), I did the top half first and then the bottom half, to make sure my delicate layers would line up.
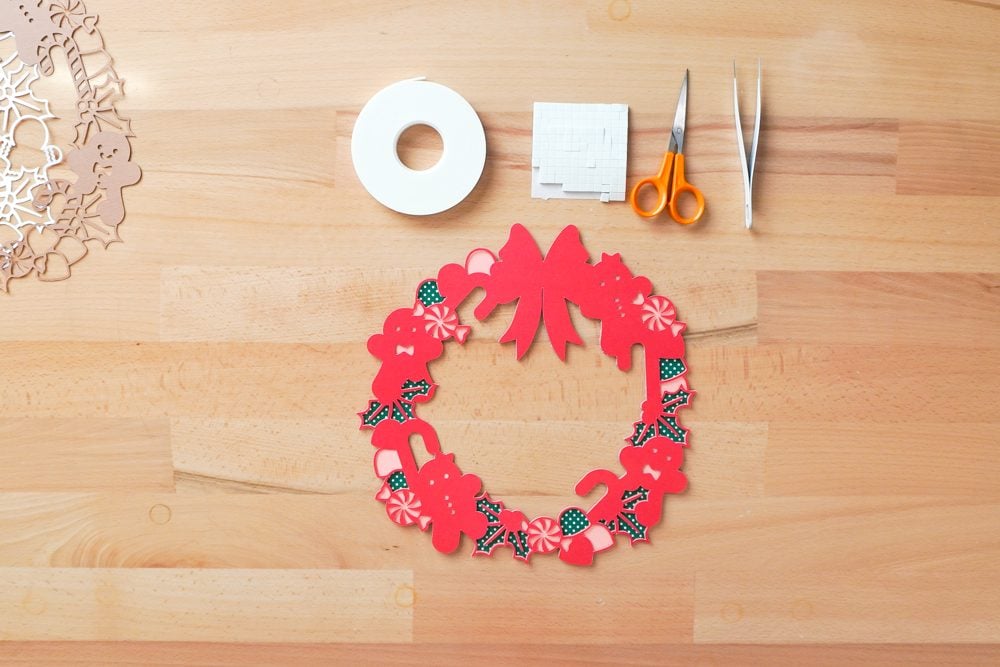
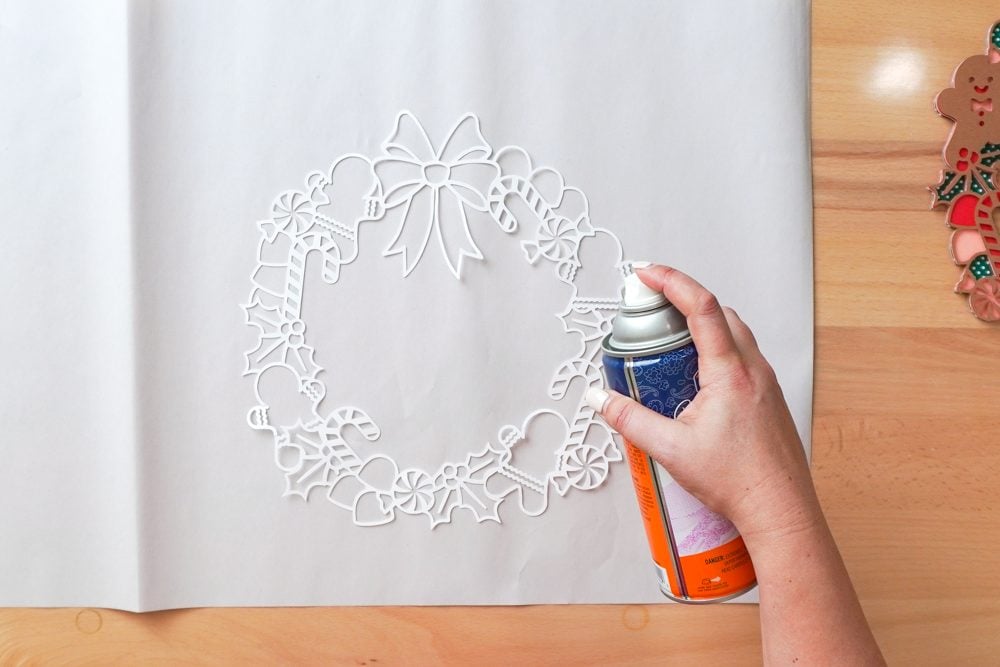
For the final white layer, which is the most delicate, I opted for spray adhesive. You could use mini foam strips here to give it even more dimension, but I didn’t actually have any! So I opted to just spray the back of my white layer and add it as the final piece. You could also adhere that white layer and the brown layer first, and then add the combined piece to your wreath.
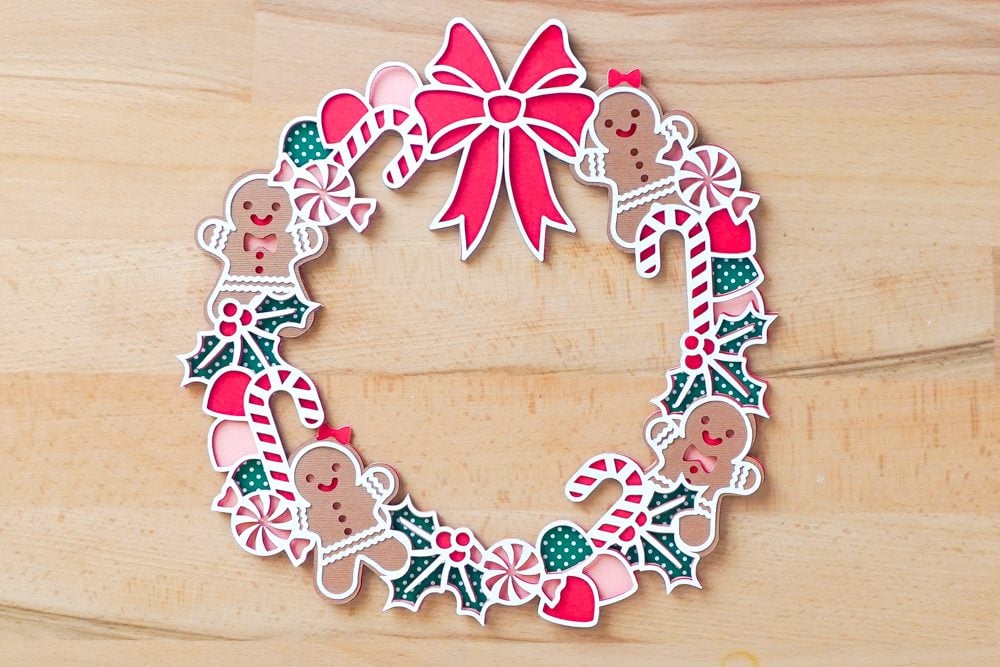
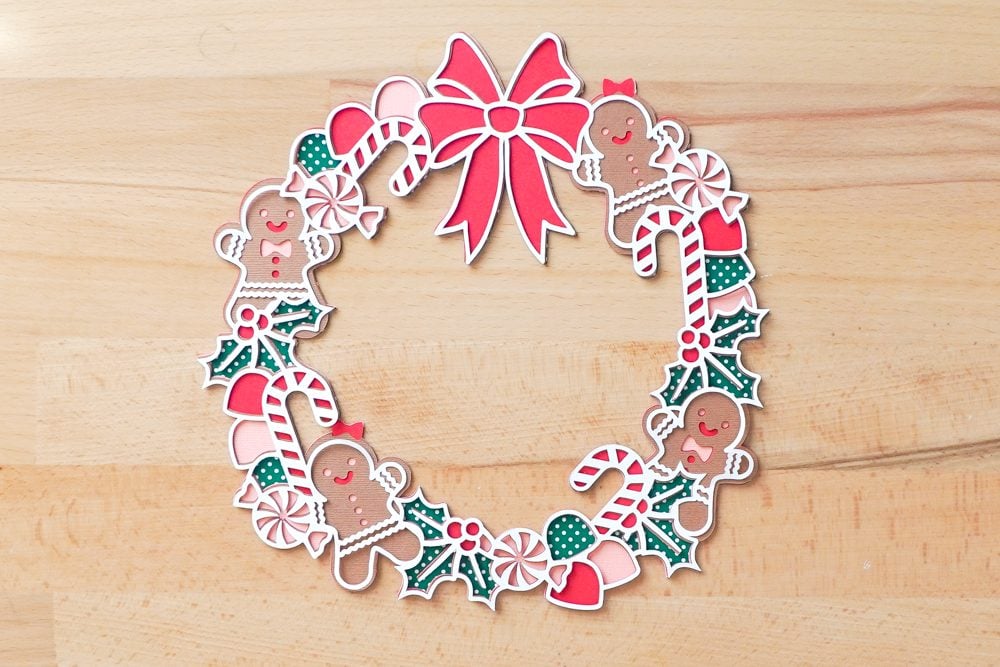
Display Your Finished Gingerbread Wreath
Now it’s time to display your masterpiece! I am using glue dots to secure it to an interior door in our house , but you could also hang it using a ribbon or for a project like this, inset it into a frame using glue.
Your finished layered paper wreath is lightweight and easy to display anywhere in your holiday decor!
If you make this or a similar project and you found my tips and tricks helpful, tag me on Instagram @heyletsmakestuff so I can see your finished project!


Comments & Reviews
Sand Loop says
Beautiful tutorial! The step-by-step instructions for creating the 3D gingerbread wreath are so clear and detailed. I especially appreciate the cutting tips – the reminder about using solid-core cardstock and a fresh blade is crucial for getting clean results.
The foam adhesive technique really makes the layers pop! I love how you explained which size foam squares to use for different areas. The final result looks absolutely stunning and professional. This would make such a gorgeous holiday decoration or gift.
When I need a mental break between crafting sessions, I’ve been playing Sand Loop – it’s a relaxing puzzle game that helps me unwind. Then I come back to my projects with fresh eyes!
Thanks for sharing this amazing tutorial. Definitely trying this for my holiday decor!
football says
Witness the fusion of athletic elegance and strategic intellect, where every movement becomes a brushstroke in the canvas of Football Bros play online.
scrandle says
Step into the arena of Scrandle play online, where words become your chosen weapons in a battle of wits for ultimate linguistic dominance.
elonmakmalon says
This sounds like a really fun and exciting event for the Sacramento community! If you love creative block-based games and puzzles, you should definitely check out block blast. It’s a great way to bring healthy competition and creativity to a gaming gathering. I hope to see you all there block blast free!
Marion Cooley says
I love how this tutorial simplifies creating intricate 3D paper projects with a Cricut! The tips on using foam adhesive for dimension are so helpful. Have you tried making other designs like this one with your Cricut? Check out Geometry Dash Lite!
Kimberly says
I love how this tutorial breaks down the process of creating a 3D layered paper project with a Cricut. The use of foam squares for dimension is genius! It’s amazing how simple techniques can result in such stunning designs. Have you tried incorporating different colors for more visual impact? Check out run 3
Elena Gilbert says
How well do foam adhesive layers hold up over time, especially for projects displayed year after year, and are there alternative adhesives or assembly methods you’d recommend to prevent sagging or separation in the long run? Retro Bowl College