CONSTELLATION EMBROIDERY HOOP CHRISTMAS ORNAMENTS
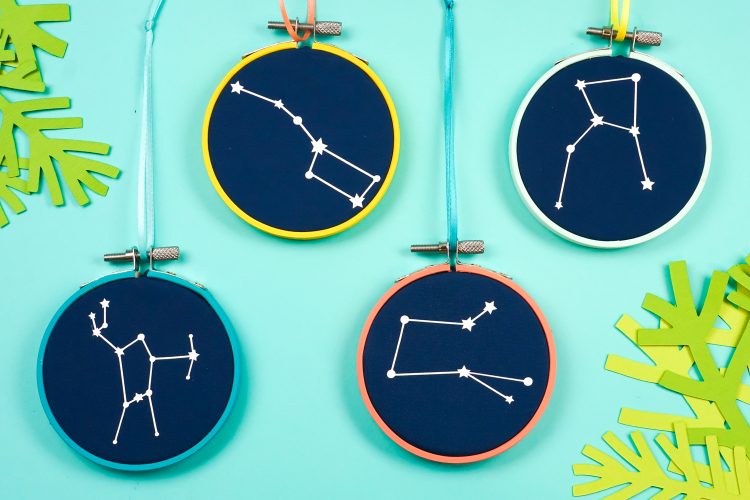
Love the look of embroidery hoop ornaments...but lack sewing skills? Iron on vinyl to the rescue! Use your Cricut or other cutting machine to make these quirky constellation embroidery hoop Christmas ornaments!
Equipment
- Hot glue gun and glue optional
Ingredients
- 3 inch embroidery hoops
- 4 4" x 4" pieces of fabric
- White iron on viny
- 7" x 7" square of felt for backing (optional) (optional)
- Ribbon for hanging
- Free Constellation File #C245
Instructions
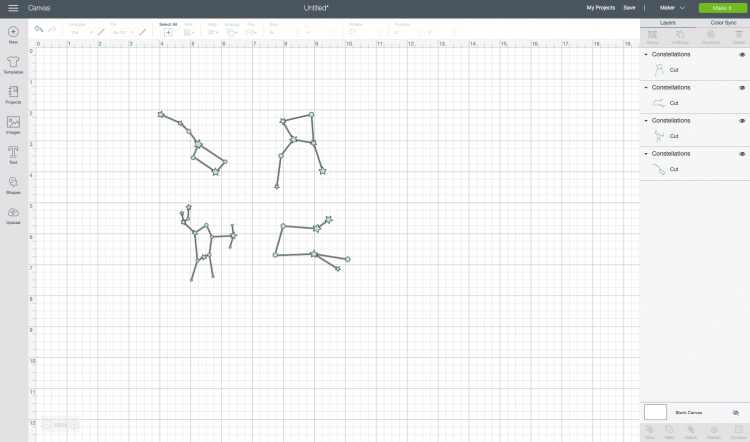
- Setting Up the File in Design SpaceStart by uploading the SVG file into Design Space. See my post How to Upload an SVG to Cricut Design Space for more information if you're unsure how to do this.
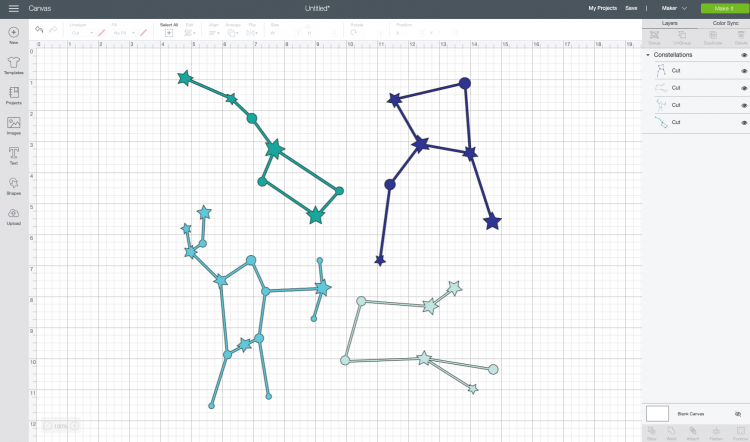
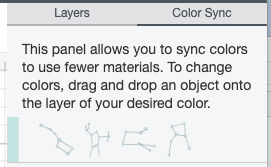
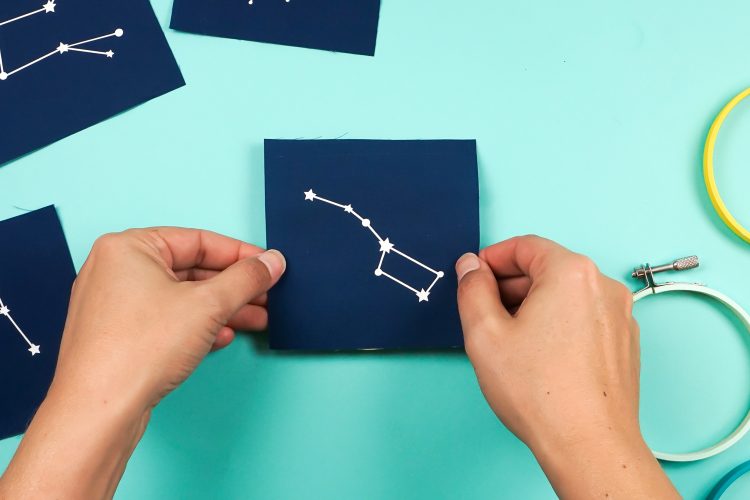
- From here, you can use the ColorSync feature to make all four constellations (which are the Big Dipper, Hercules, Orion, and Pegasus, if you are wondering) the same color so they will cut on the same piece of iron on vinyl.
- Ungroup your image, so each constellation is separate. Resize each of your constellation pieces so they will fit on your ornaments using the Size tool in the Edit Toolbar at the top of your canvas. For this project they were all made 2.5" at the longest dimension.
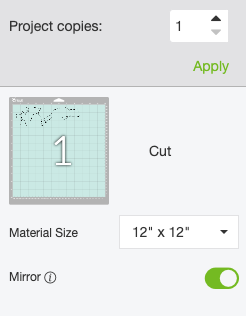
- Then click Make It in the upper right. From here, make sure to mirror your iron on vinyl so it doesn't appear backward when you go to adhere it.Then cut your project using iron on vinyl. See this extensive post about Using Iron On Vinyl that you will find super helpful! It goes into everything from setting up your file to cutting it, weeding it, and adhering it to your surface.If you'd like, you can make four 3.325" circles and cut them from felt for backing your ornaments.
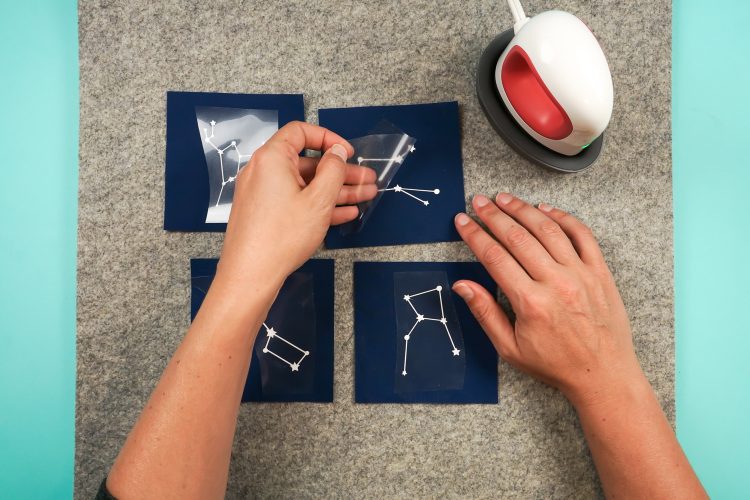
- Assembling Your Constellation OrnamentsIf you'd like, paint the embroidery hoops with craft paint. You only need to paint the front and sides of the outside hoop.Weed your iron on vinyl using the weeding tool. Need help weeding? I've got a post for that—How to Weed Iron On Vinyl.Now we'll adhere the constellations to the fabric squares.
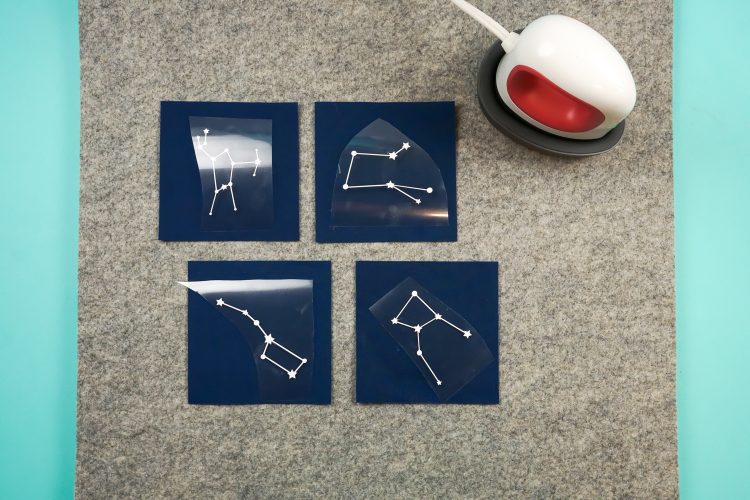
- Use your EasyPress Mini or other heating tool, set to medium or 315° and press to adhere.
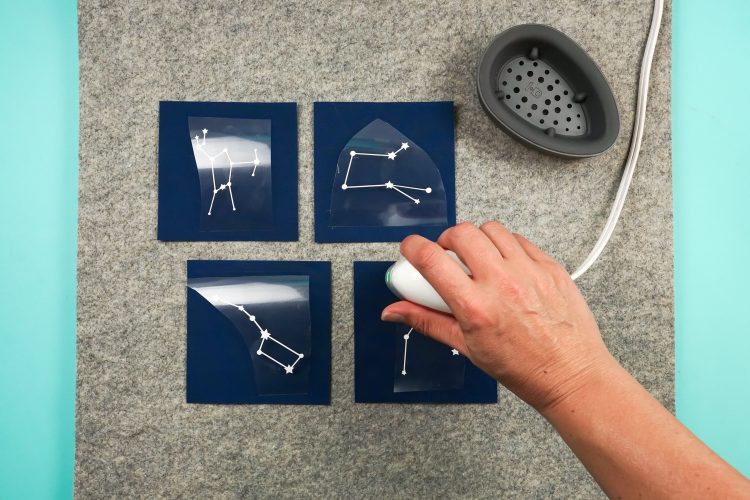
- Peel back the plastic liner.
- Then place an interior piece of one embroidery hoop on your worktable. Place the fabric piece with the constellation over it.
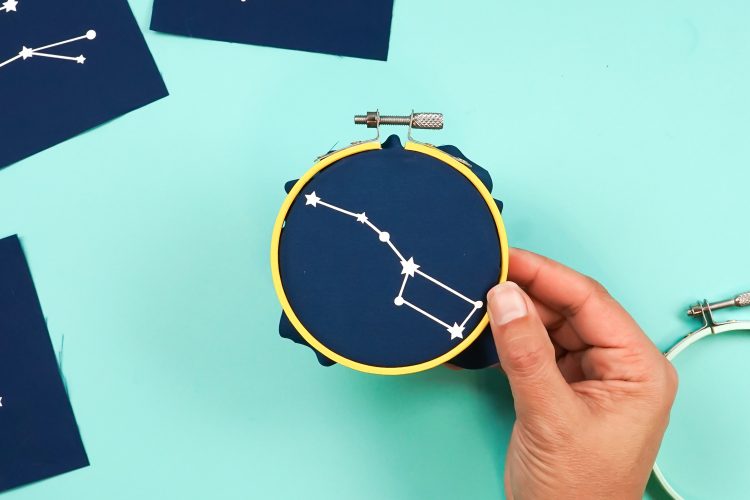
- Then take the outer piece of the embroidery hoop and slide it over the inner hoop, sandwiching the fabric all the way around. Tighten the screw.
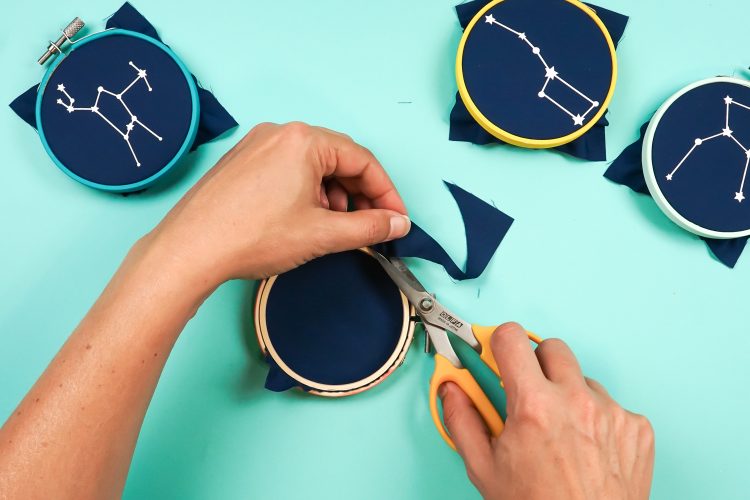
- Use sharp scissors to trim the excess fabric off the back.
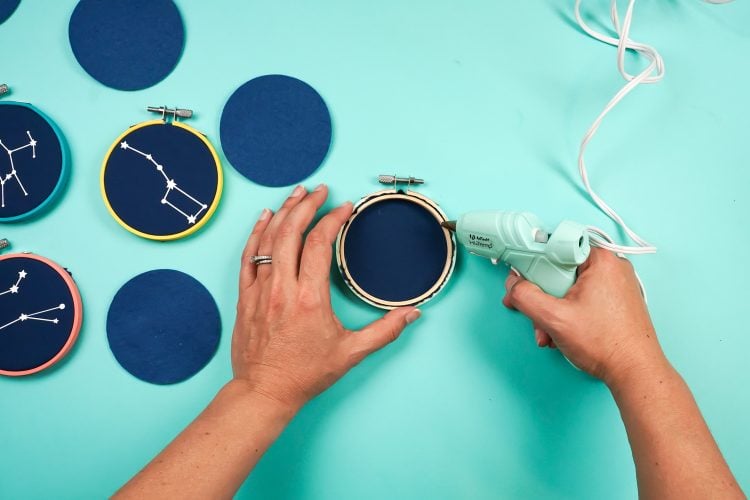
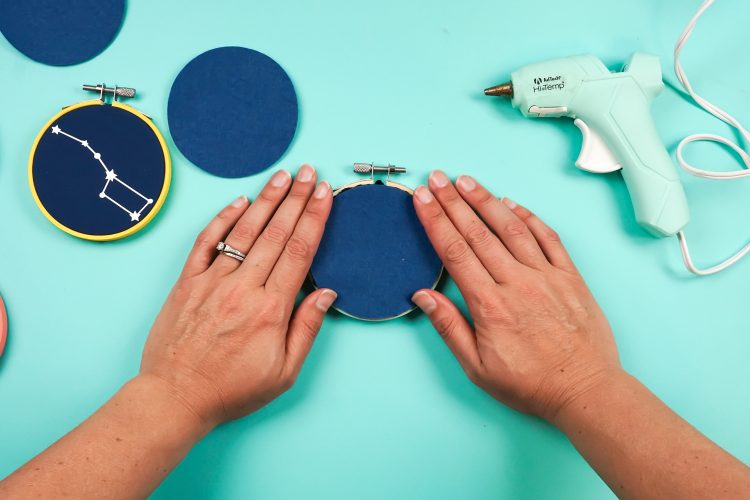
- If you'd like use the glue gun to adhere a felt circle to the back of each embroidery hoop to finish.
- Add some ribbon for hanging and you're done with your constellation embroidery hoop Christmas ornaments!