
SUMMER T-SHIRT WITH LAYERED INFUSIBLE INK AND IRON ON (HTV)
Make this fun and trendy Summer Vibes t-shirt by layering Cricut Infusible Ink and iron on to create a paint spattered look! Perfect for summer days in the sun.
Equipment
- Cricut Maker or
- Maker 3 or
- Explore 3 or
- Green StandardGrip Mat use with Iron On Vinyl
Ingredients
- Smart Iron On (if cutting matless) and/or
- Iron On
- Infusible Ink Transfer Sheet
- Sublimation t-shirt
- Summer Vibes SVG File
- Paint Brush Stroke File
Instructions
- Love the font I used for these summer files? You can grab DTC Fourth of July and DTC Just Peachy and make your own files!Upload the Summer Vibes and Paint Brush Stroke Files to Cricut Design SpaceUpload the Summer Vibes SVG and the Paint Brush Strokes SVG to Cricut Design Space (see Uploading SVG Files to Cricut Design Space if you need help).
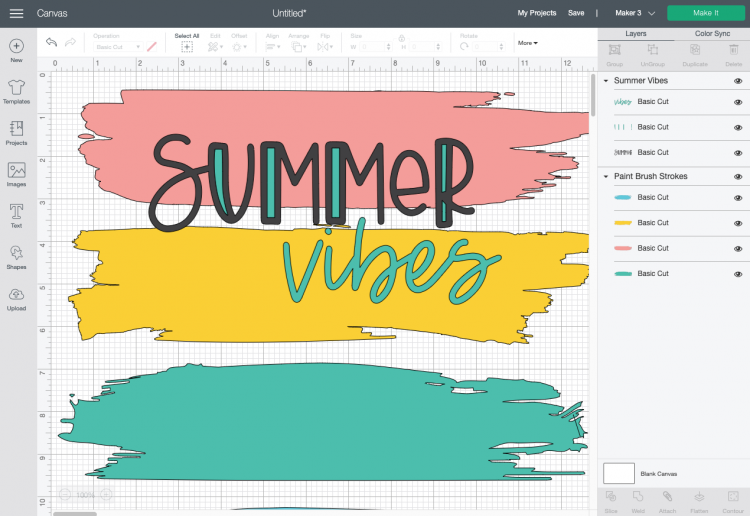
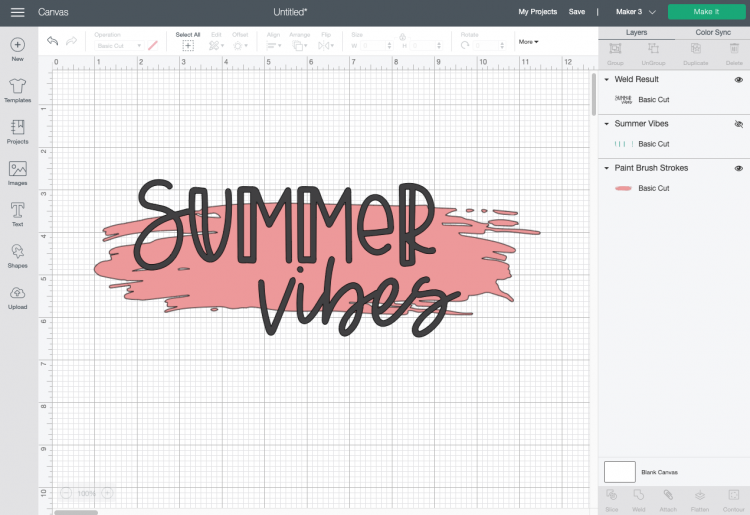
- We only need one paint brush stroke for this project, so delete or hide the three you don't want to use.
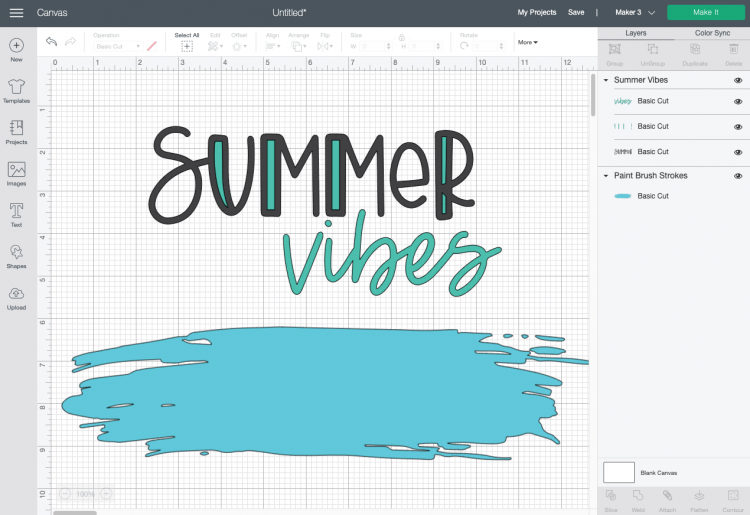
- For this particular project, the Infusible Ink is going to be the color superstar, so hide or delete the interior color on the word "summer."
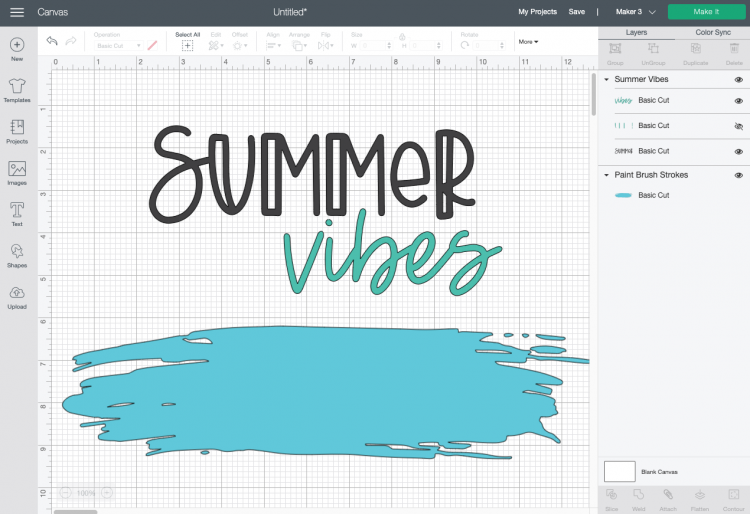
- Next, select both words and click "Weld" in the bottom right corner, so they cut as a single piece. The word "vibes" will change to black.
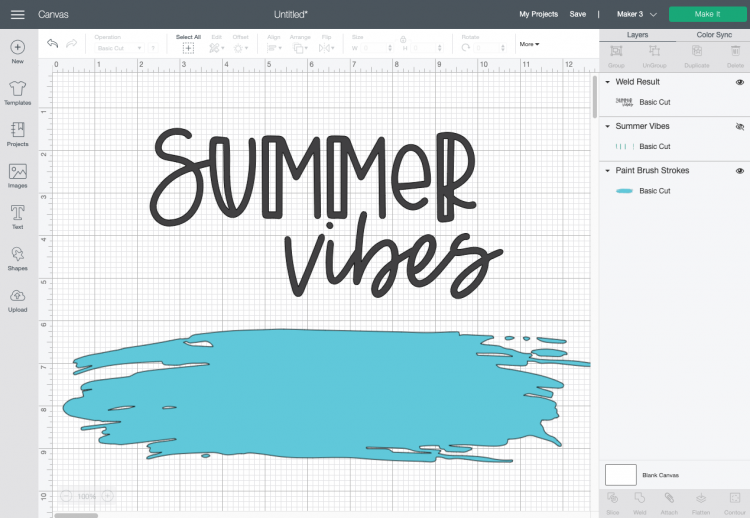
- Finally, change the color of your paint to be similar to your Infusible Ink color, move it behind the words, and resize to fit your shirt. For this project it was made to be 11" across, but measure your shirt to see what size would be best.
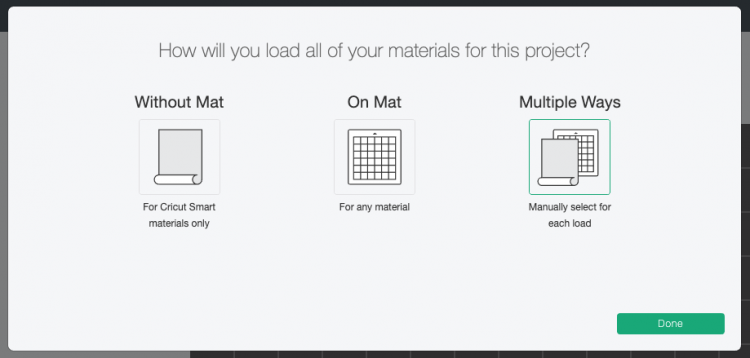
- Cut Your Iron On and Infusible Ink for Your Summer ShirtIf you have a Cricut Maker 3 or Cricut Explore 3, you'll see a Mat Selection window. For this project, Multiple Ways was chosen because we are using Smart Vinyl for the black words and Infusible Ink for the paint splotch. You can choose On Mat if you're cutting using a mat. If you do not have one of these newer machines, you won't see this screen.
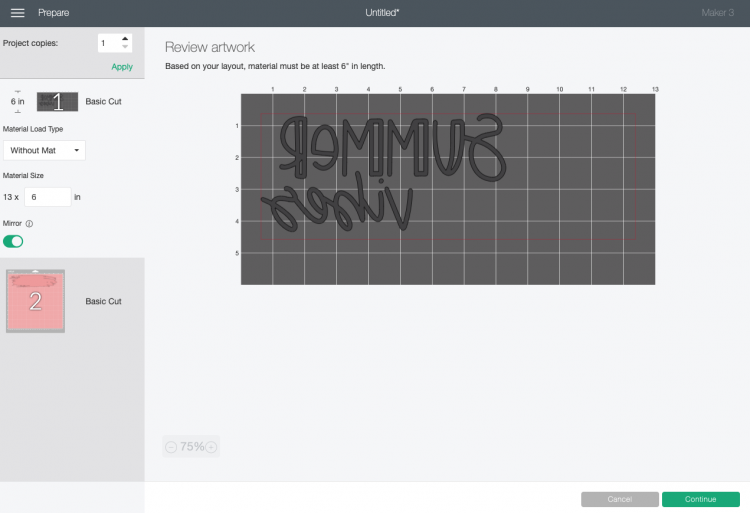
- On the next Prepare Screen, you'll see your two images laid out on their respective mats (or just on the material if using Smart Vinyl). Click the Mirror slider on each mat so that your image will be correct. DO NOT skip this step or your image will read backward.
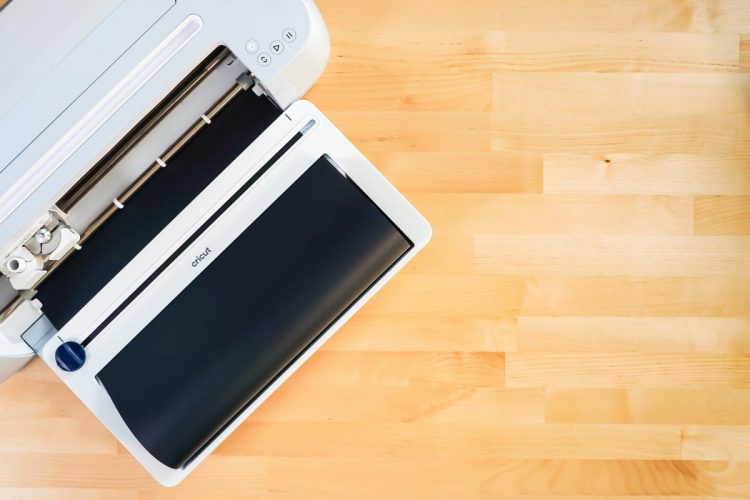
- On the Make Screen, you'll set your material to iron on for the first layer and place your material shiny side down. For this project Cricut Smart Iron On using the Cricut Roll Holder is being used. You can, of course, also cut your iron on using a mat.
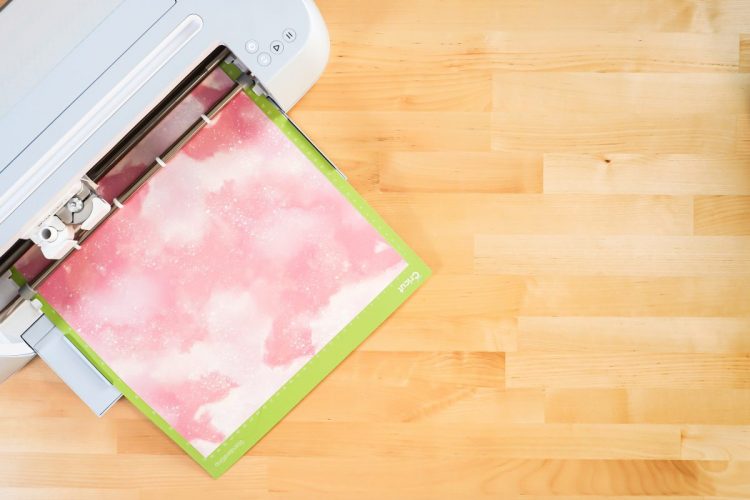
- For the second layer, place your Infusible Ink sheet on a mat with the color side up. Change your material setting to Infusible Ink and cut your brush stroke.
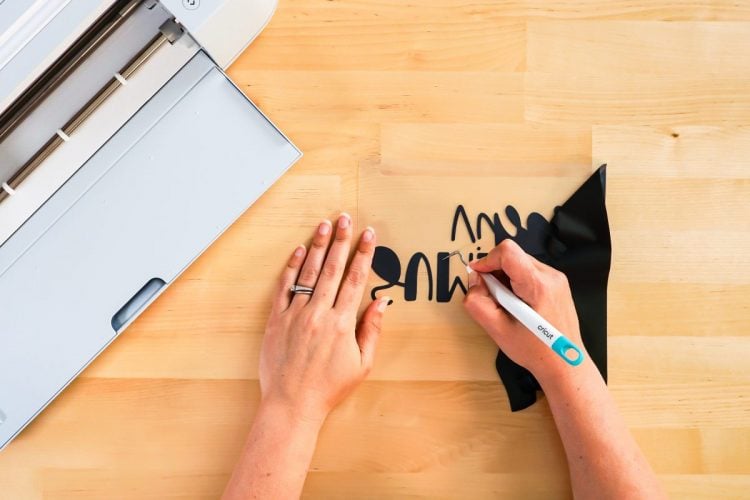
- Weed Your Iron On VinylNext we're going to "weed" the negative space from around our image. I have an extensive post about Weeding Iron On Vinyl, which you'll want to read—tons of tips and tricks to making it easier.
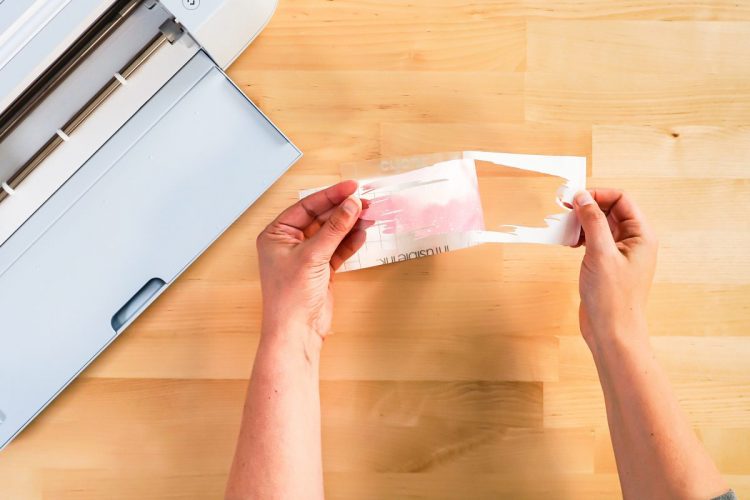
- To weed Infusible Ink, you aren’t going to use a weeding tool like you would with iron on or adhesive vinyl. Instead, you’re going to gently bend the project and use your fingers to pull up the negative material around the brush stroke.Wash your hands right before weeding or wear gloves—the oils in your fingers can leave marks on the transfer sheet that you’ll see in your final project.
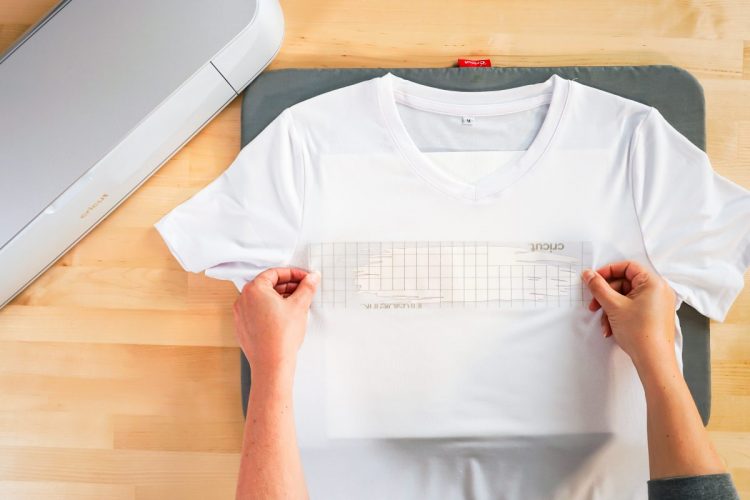
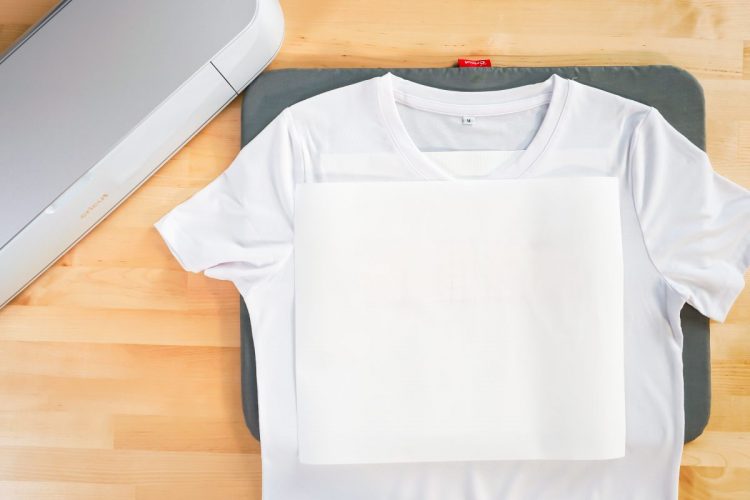
- Adhere Your Infusible InkSet your EasyPress or heat press to 400° and 30 seconds. Place your shirt down on your EasyPress mat, with a piece of cardstock inside the shirt to prevent bleeding. Pre-press your shirt for 15 seconds to get any moisture out of the shirt.Press the Infusible Ink decal onto your shirt, ink-side down.
- Place a piece of butcher paper (included with the Infusible Ink transfer sheet) on top of the decal.
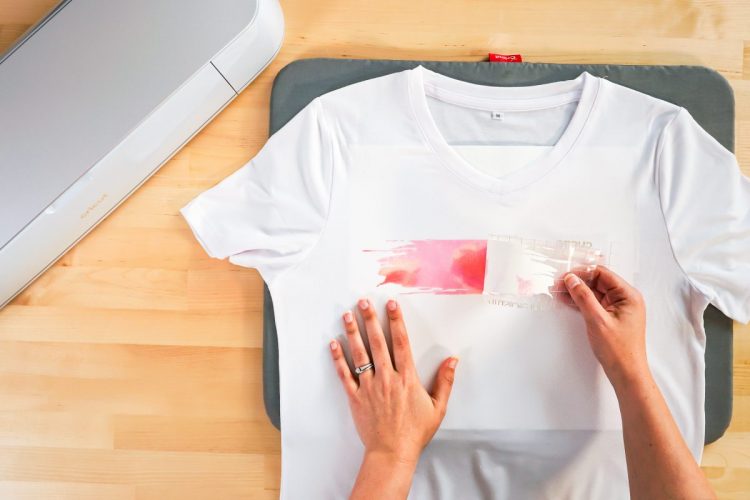
- Press your shirt for 30 seconds. Try to keep your press still—any movement could cause the image to shift. You can learn more in this post Troubleshooting Cricut Infusible Ink.Let the image cool a bit and peel back the transfer.
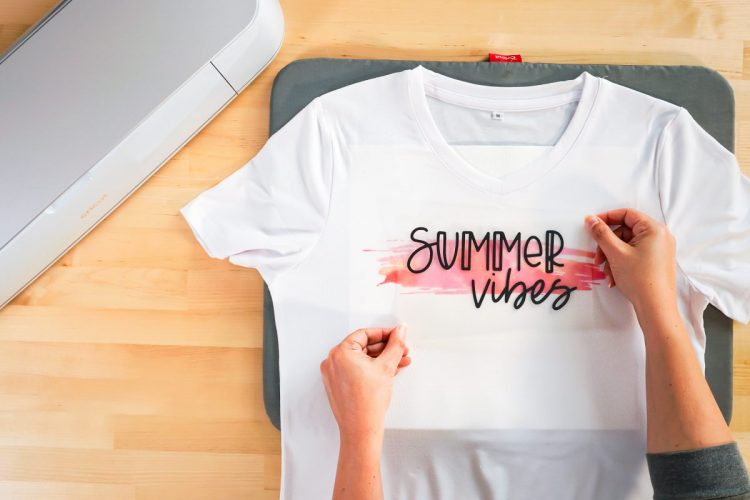
- Next, add your iron on decal on top of the brush stroke.
- Set your EasyPress to 315° and 30 seconds, and press your iron on decal.
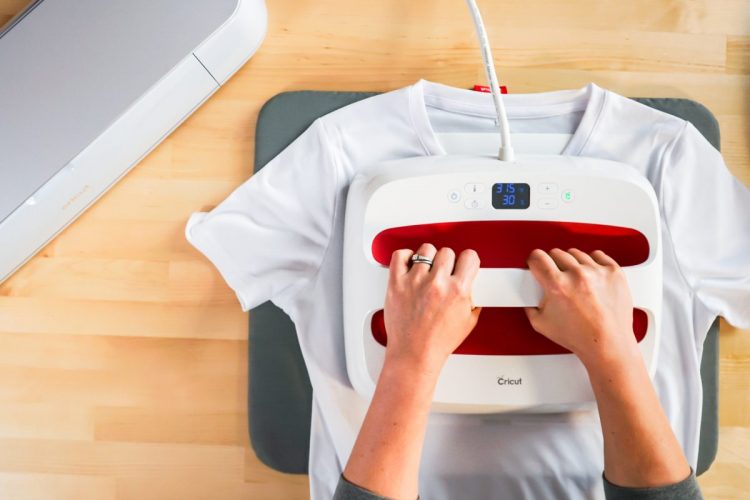
- Wait for it to cool a bit and peel back the carrier sheet. Your shirt made with layered Cricut Infusible Ink and iron on is done!