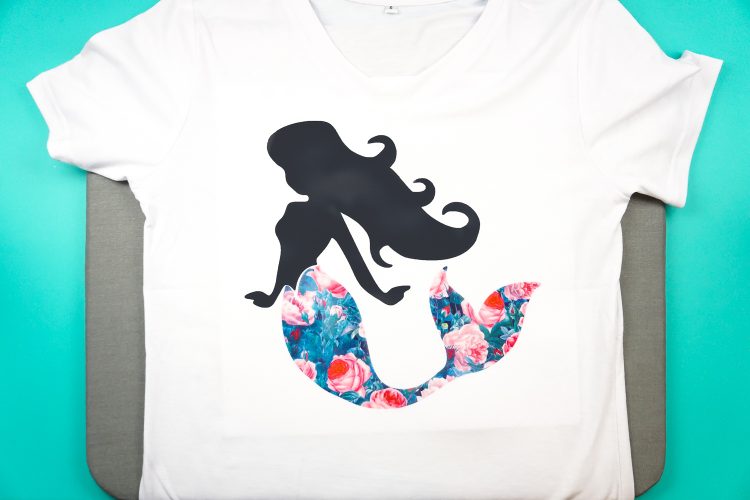
MERMAID T-SHIRT
There are two methods for using multiple colors in a Cricut Infusible Ink project. These instructions cover the "Slice and Set" method for layering Cricut Infusible Ink!
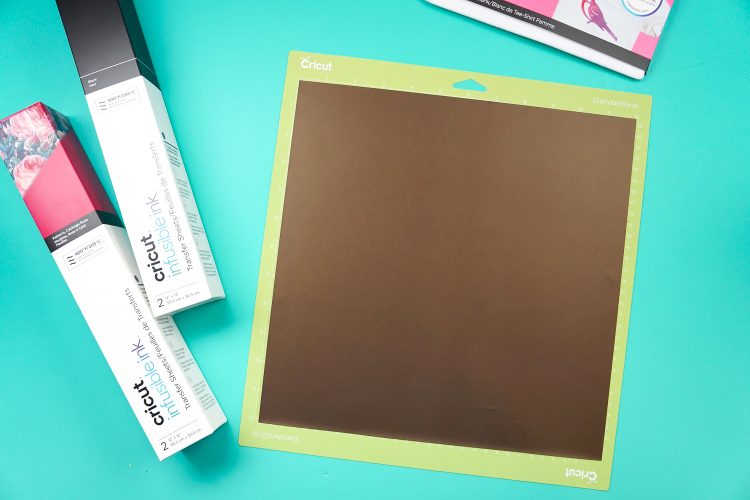
Equipment
Ingredients
- Cricut Infusible Ink T-Shirt or other sublimation blank
- Black Infusible Ink transfer sheet
- Cabbage Rose Infusible Ink transfer sheet
- SVG for this project
Instructions
- The Slice Method in Design SpaceLet's start by talking about slicing your project in Cricut Design Space. This method will work on any layered image you have in Design Space. This includes both images that you find in the Cricut Image Library or ones you upload yourself.
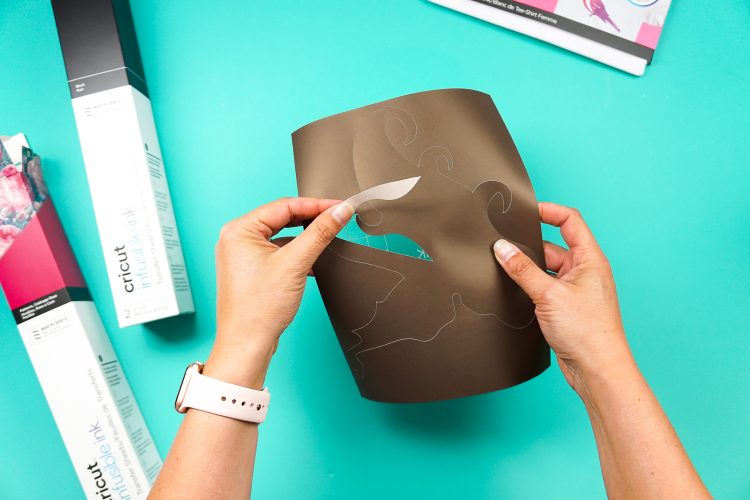
- Cut and Weed Your ImagePlace your transfer sheet ink-side up on a mat, using a brayer to smooth it out if necessary (Really wish Infusible Ink came in flat sheets—the curve of the transfer sheets can be awkward to work with). Notice how brown the transfer sheet is! It's hard to believe that's going to be a nice black, eh?
- Set your Cricut material to Infusible Ink transfer sheet and cut your files! Remember that Infusible Ink projects need to be reversed like other iron on images. This is particularly important if you have text!Once cut, use a rotary cutter to remove the extra unused transfer sheet on the mat for use in another project.

- Weed your project using your fingers. Bend the backing and peel off the negative material. Try to avoid touching the actual transfer if possible (basically do the opposite of what I'm doing here in this picture!).
- Once your done weeding your project, you're ready to transfer your images!

- Prepare Your Shirt for PressingBefore you place your transfers on your shirt, you want to prepare it for pressing. Place your shirt on your EasyPress mat and put a piece of cardstock inside your shirt to prevent bleed-through. Use a lint roller to clean the shirt. (If there's any lint on your shirt, the high temperature of your EasyPress can transfer the color from your lint into your shirt...permanently. Read more troubleshooting tips here).

- Then cover your shirt with butcher paper (it comes with your transfer sheet) and pre-press your shirt for 15 seconds to help release any moisture in the shirt. The EasyPress settings guide says that shirts should be pressed at 385°, but have found that 400° has worked better for my projects.
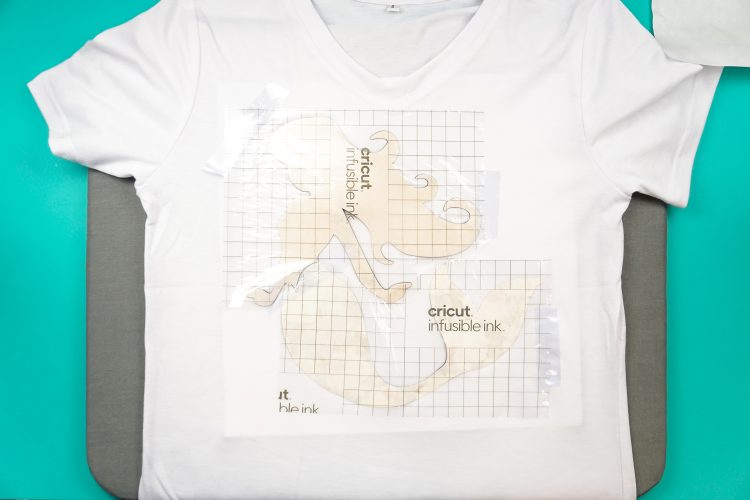
- Layering Cricut Infusible Ink with the Set MethodBecause Infusible Ink is fairly thick, it's easy to cut right along the edge. You'll want to trim around the edges of your transfer sheet wherever they're going to overlap. Then place them on your t-shirt. Use some heat resistant tape to secure the transfers to the shirt (particularly because of that curling that happens because the ink comes in rolls).
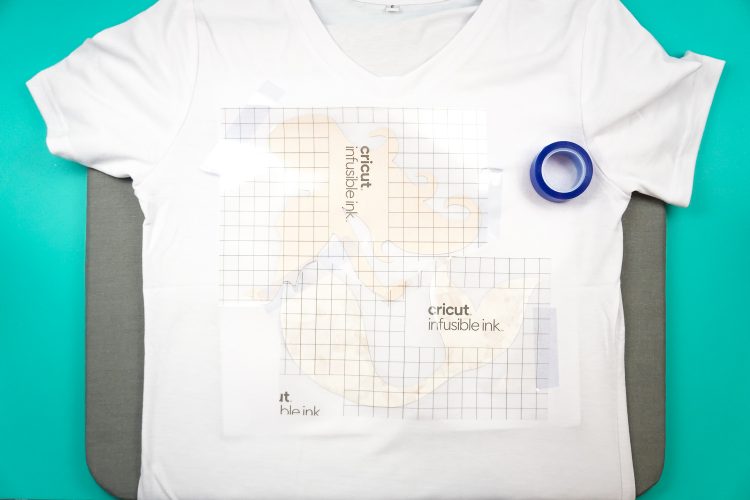
- Zooming in here, you can see that the Infusible Ink has been trimmed right up to the edge of the ink pieces where they overlapIf you want your pieces to touch, you can totally do that as well—just trim right at the edge of the transfer sheet and "set" them together.

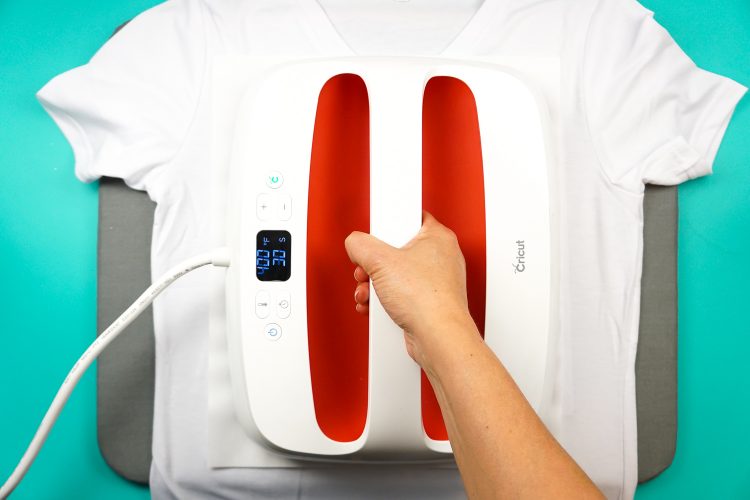
- Press Your Infusible Ink ShirtThen it's time to press! Cover your image with butcher paper. Press your shirt for 30 seconds at 400°, making sure that the entire image is covered and that you're pressing with a little pressure (again, the Cricut heat guide says no pressure, but found that no pressure = uneven transfer).

- Return your EasyPress to its base. Then wait for your transfer to completely cool before removing the sheets.