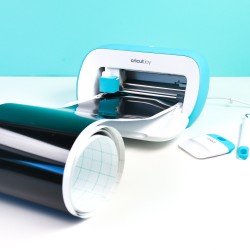
MATLESS CUTTING WITH CRICUT JOY
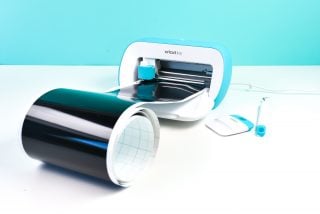
Cut up to 20' of images in a single go with Cricut Smart Vinyl and Cricut Joy! Matless cutting is now possible with a Cricut—you'll save both time and money with this new Cricut feature!
Instructions
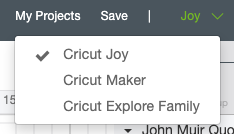
- Before you begin, make sure the dropdown menu for Cricut Design Space is set to Cricut Joy.
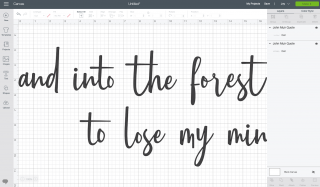
- Then upload the file to Cricut Design Space using the Upload tool in the left-hand Design Panel. Learn more about uploading SVG files.Once uploaded, select the image and click "Ungroup" at the top of the Layers Panel on the left. This will separate your image into two separate lines.
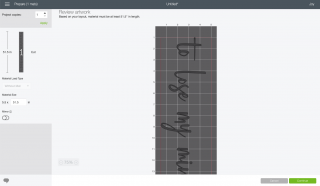
- If you get an error saying the files are too big to cut (shown by a little warning icon in the Layers Panel), change the height dimension to exactly 4.5".Then click Make It in the upper left! In the prepare screen, Design Space will automatically choose your material load type as "Without Mat" since the project is longer than any mat. It will also tell you that you will need 51.5" of material to make the cut. This is handy if you have a certain amount of vinyl and you want to measure for yourself whether or not you have enough.
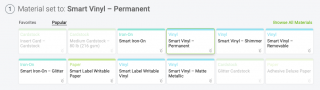
- Click continue. In the Make screen, select your materials. Note that you'll only be able to select "Smart" materials that are compatible with matless cutting.
- Then insert the end of your vinyl into Cricut Joy and it will grab it automatically. It will then pull your vinyl all the way through, from end to end, making sure that 1) you have enough vinyl for your project and 2) that the vinyl is straight. Once it's ready to go, hit "Go" in Design Space (remember Cricut Joy has no buttons) and your design will be cut!
- Once your cut is done, you'll need to weed your vinyl. Check out Weeding Adhesive Vinyl for more tips and tricks.


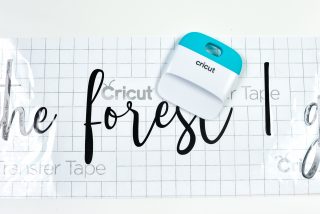
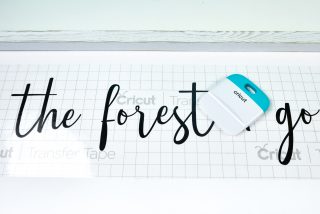
- Once you've weeded your project, you'll want to apply transfer tape. You can use any transfer tape, but Cricut now offers a longer roll of transfer tape made for Smart Vinyl projects—perfect for what we're doing here. Learn all about Using Transfer Tape.Peel back the backing paper off the transfer tape and place it sticky-side down on your weeded image. Use the scraper to burnish the transfer tape to the image.
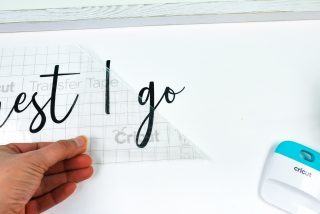
- Before peeling back the backing paper, place the decal on the backing board of the frame. Use the other line of the poem to help figure out where to place it.

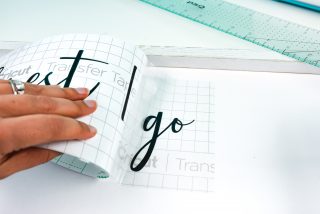
- Then peel back one end of the backing paper from the vinyl—the decal should stick to the transfer tape. Stick that end to the frame, and then work your way down to the other end, peeling back the transfer tape and sticking your decal to the frame as you go.
- The Smart Vinyl didn't want to stick to the transfer tape quite as easily as regular vinyl—the thicker backing material didn't "release" the vinyl as easily. My friend Sydney from Tastefully Frugal suggested hitting the back for a few seconds with a hot blowdryer—worked like a charm! It made the vinyl peel off the backing material so much more easily.Then use the scraper to burnish the decal to the frame.
- Then peel back one end of the transfer tape and your vinyl should stick to the frame. Burnish more if you are struggling to get it to stick. See this post on Using Adhesive Vinyl on Painted Wood for additional suggestions.
- Do the same with the other line in the poem and you're done! Because permanent vinyl was used and this is for indoor use, it wasn't sealed with anything.