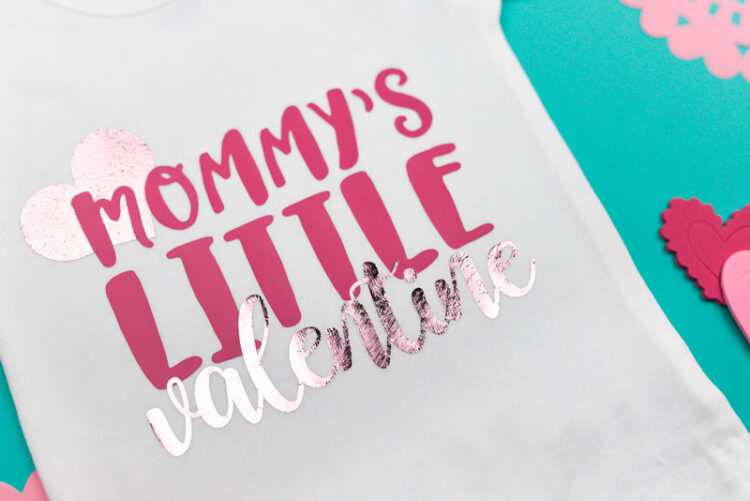
LITTLE VALENTINE ONESIES
Get the free cut files to make these adorable Mommy and Daddy's Little Valentine onesies, plus learn some tips and tricks for layering different types of vinyl using the Cricut EasyPress!
Equipment
Instructions
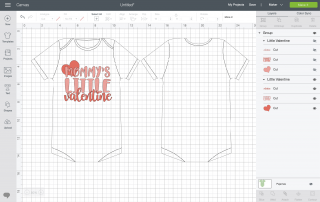
- Size and Cut Your ImageTo cut this file in the correct size for your child’s onesie or t-shirt, use Cricut templates.When you go to cut your iron-on vinyl and foil, make sure to mirror your image and place your material shiny side down on your cutting mat. Cut out your image. Weed the negative space, and then using scissors, cut between the heart and the word “valentine” so they are separate.
- Apply to Onesie Using Layering
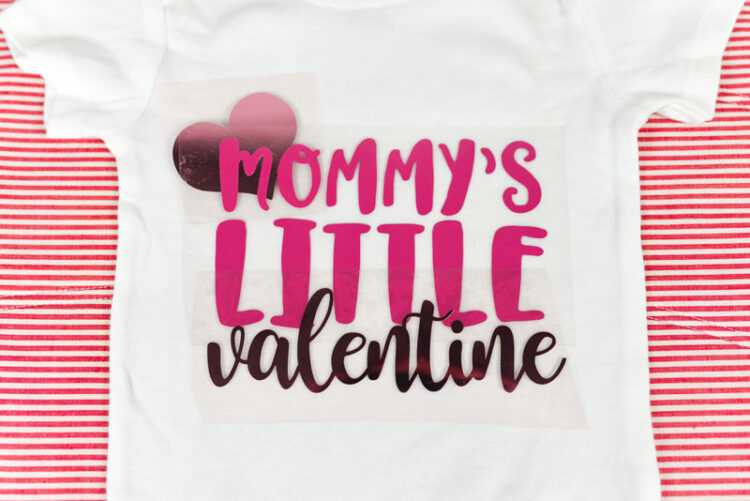
- Start by placing all three iron-on pieces on your onesie to make sure everything is placed right, with your heart on the bottom layer.
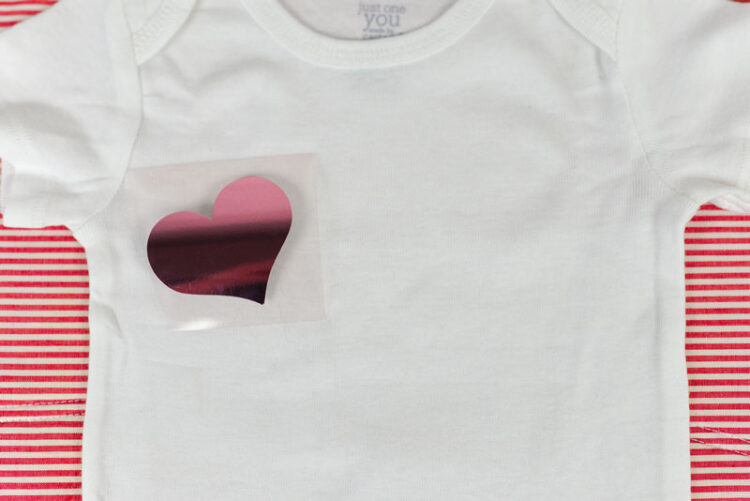
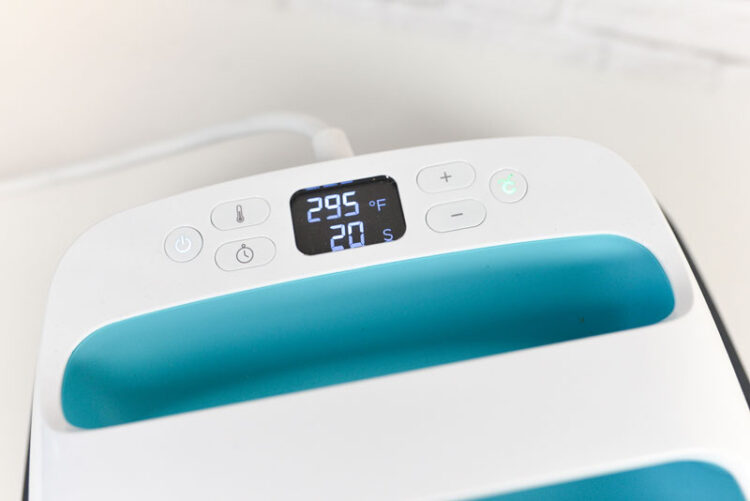
- Then take away the two other sheets, leaving just the heart in the right place. Heat up your EasyPress to the suggested temperature for your material. In this case, the onesie is cotton and iron-on foil is being used, so the temperature was set to 295°. See Note below.Place your EasyPress over the heart and apply even pressure and push the green button. When it beeps after 20 seconds, return the EasyPress to its base. Cricut iron-on foil is “cold peel” so you have to wait for the material to cool before peeling the backing piece off. See more about Warm Peel vs Cold Peel.NOTE: Normally, I’d set my EasyPress for 35 seconds, but because we’re doing several layers, I’m going to just set it to 20 seconds for the first two layers. You can put the EasyPress directly on the iron-on, but I prefer to use a pressing sheet or a piece of cotton fabric.
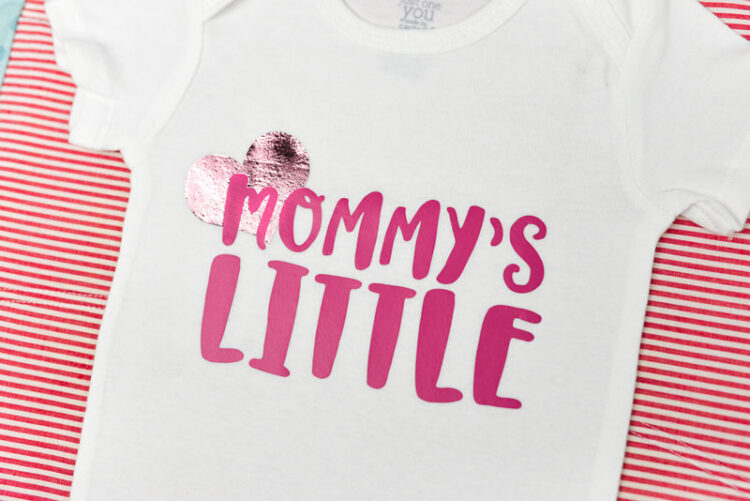
- Then put your “Mommy’s Little” or “Daddy’s Little” piece next. I didn’t increase my temperature to 305°, which would be the normal iron-on setting. I didn’t want to damage my foil. 295° is enough to set the iron-on so we’ll stick with that.Repeat the 20-second press for this layer, and peel off the transfer sheet. Cricut iron-on vinyl is “hot peel” so you don’t have to wait for this layer to cool before removing the backing piece, though you can wait for it to cool if you'd like.
- For the final layer, increase your time to 30 seconds. This will make sure that all three layers are completely set. After this press, turn your onesie inside out and press for 30 seconds from the back as well. This will help adhere the iron-on even better.Note: If you’re using glitter iron-on, it needs to be the top layer of your project. Because the glitter isn’t flat, it doesn’t work well as a base for other layers.
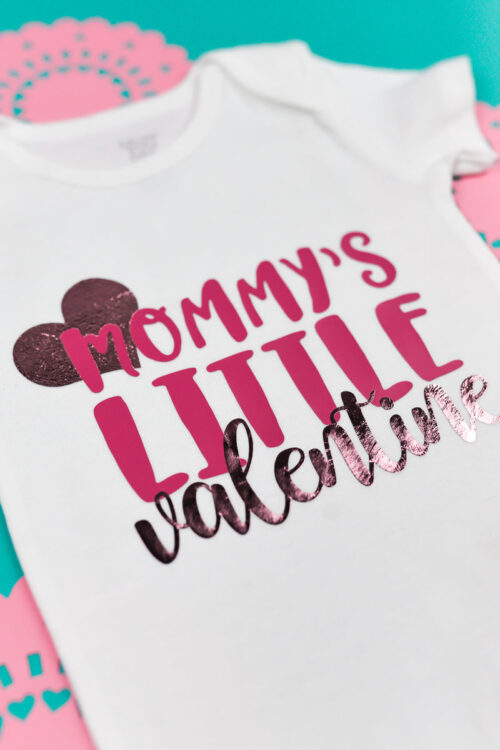
- Layering iron-on doesn’t have to be scary! Just make sure you’re using the lowest heat setting for your materials and taking your time to place your layers exactly where you want them. It makes creating cute custom clothes, like this onesie, super easy!