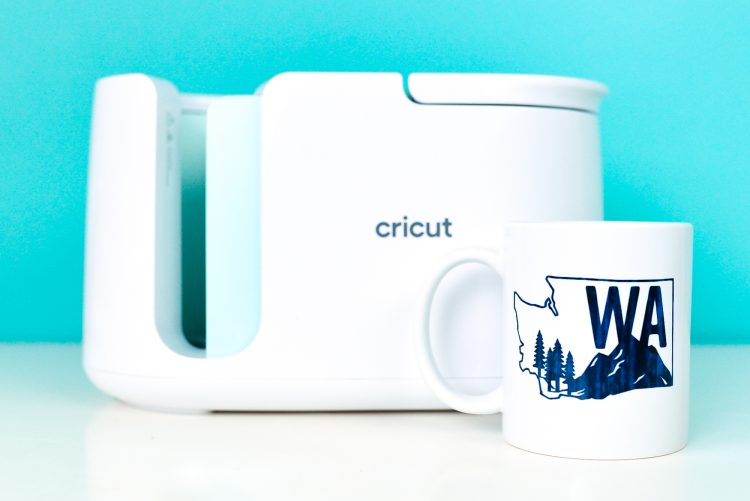
INFUSIBLE INK MUG WITH THE CRICUT MUG PRESS
Here's how to create a simple, two-sided design on a mug using Infusible Ink and the Cricut Mug Press, including tips getting your transfers straight!
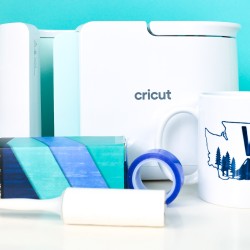
Equipment
- Cricut Maker or
- Cricut EasyPress Mat or other heat-resistant surface
Ingredients
Instructions
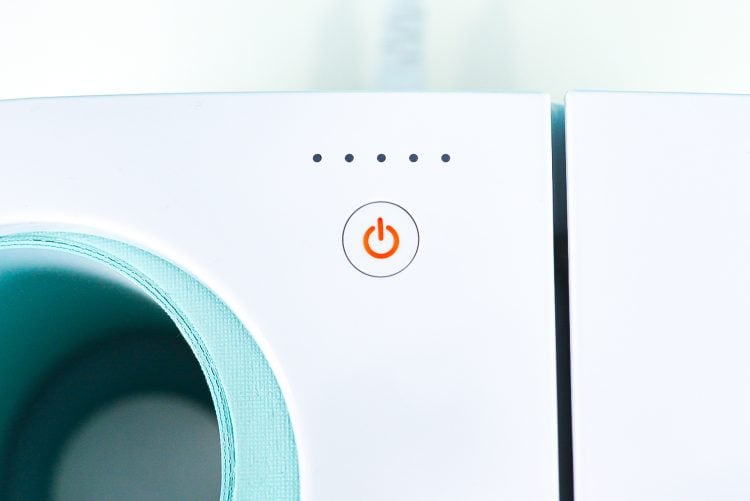
- Before you start, press the button on your Cricut Mug Press so it starts heating up (you'll see the orange light). If you haven't connected your press yet, grab all the instructions in my The Ultimate Guide to the Cricut Mug Press!
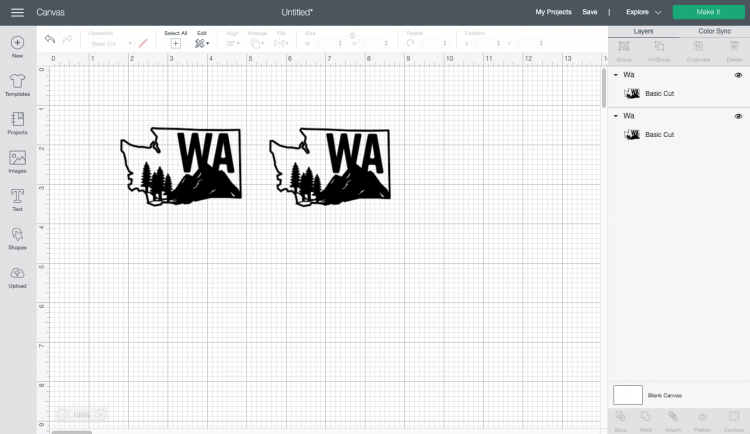
- Set up the file in Cricut Design SpaceCreate your design in Cricut Design Space. You can pick whatever image in Cricut Design Space you'd like, as long as it's a single-layer cut image.
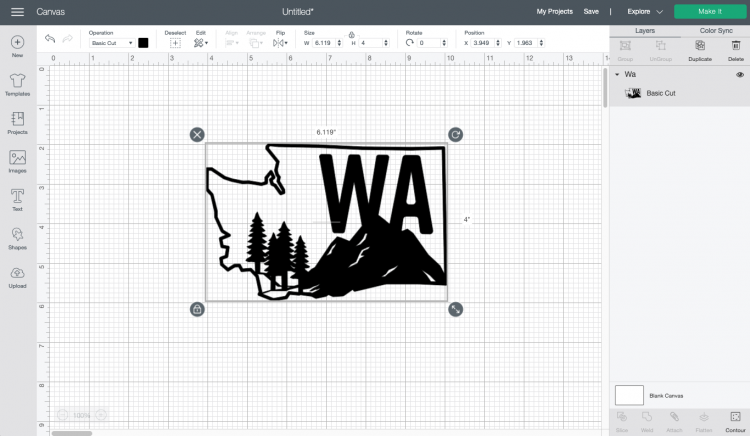
- Then resize your image to fit on the mug. For this project we are making the smaller 12oz mug, so it was resized to be 2" tall and about 3" wide. The image was also duplicated because we are putting the image on both sides of the mug.
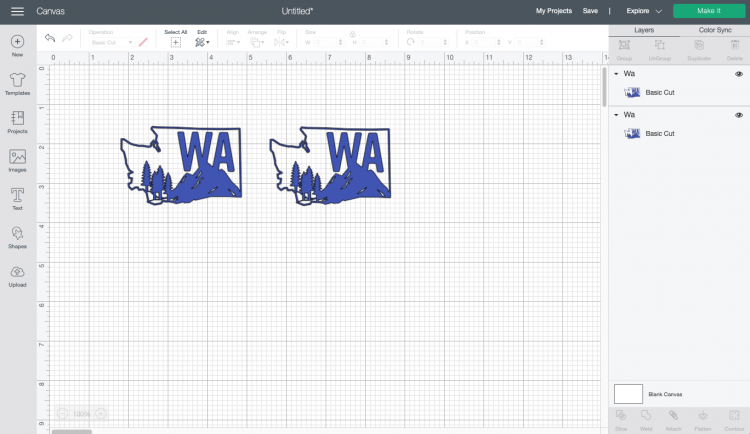
- You can then recolor the image if you'd like to get an idea of the final image. For this project we went with a darker blue, similar to the Infusible Ink that was chosen for this mug.
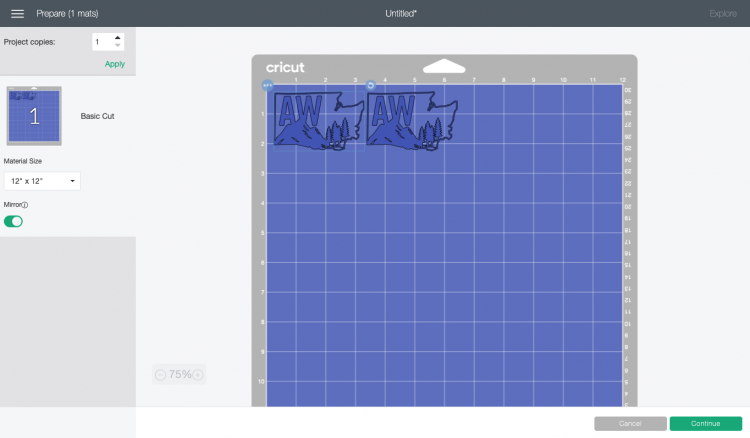
- Once you have your file how you'd like it, click Make It in the upper right. On the Prepare Screen, click Mirror to reverse your image. You MUST do this or your image will be backward on your mug!Then click Continue. In the Make Screen, set your material to Infusible Ink Transfer Sheets and you're ready to cut your project.
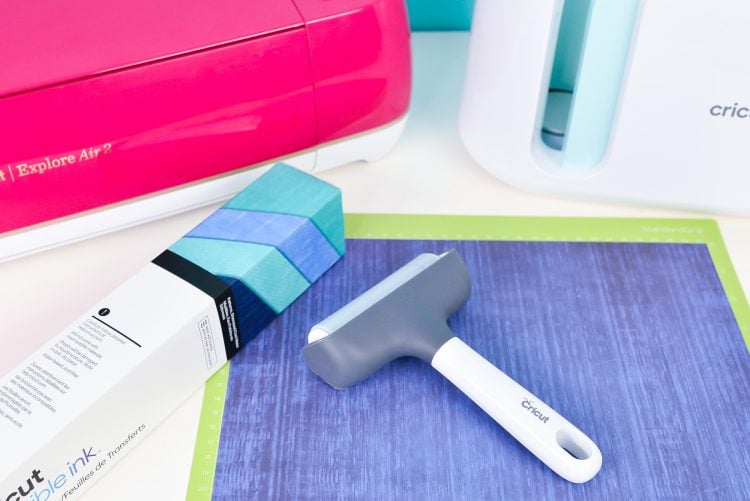
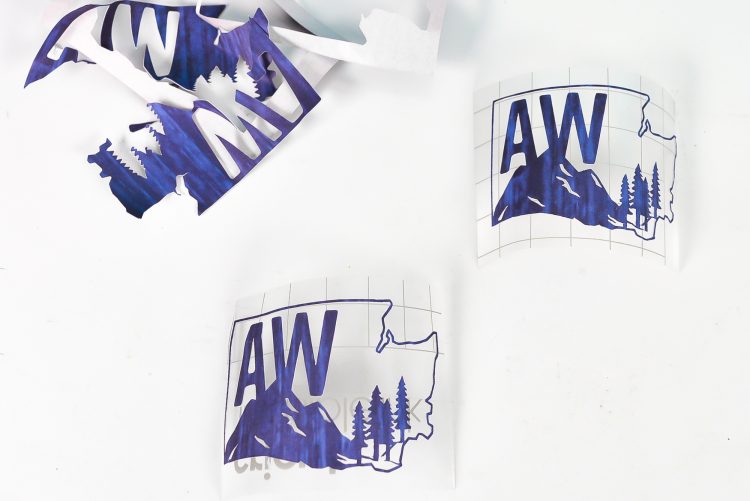
- Cut and weed the Infusible InkPlace your Infusible Ink transfer sheet on a Cricut mat, with the ink/color side up. The transfer sheet is never as bright or vibrant as it looks on the finished project, so don't worry! A brayer works well for getting the transfer sheet flat on the mat.Then insert your mat into your Cricut and it will cut your design!
- Next you're going to weed your Infusible Ink. To do this, you don't need a weeding hook—just use your hands (wash and dry your hands before you do this to remove any oils that can get in the way of a perfect press). Bend the backing sheet and just pull off the negative material you don't want to transfer on your mug.
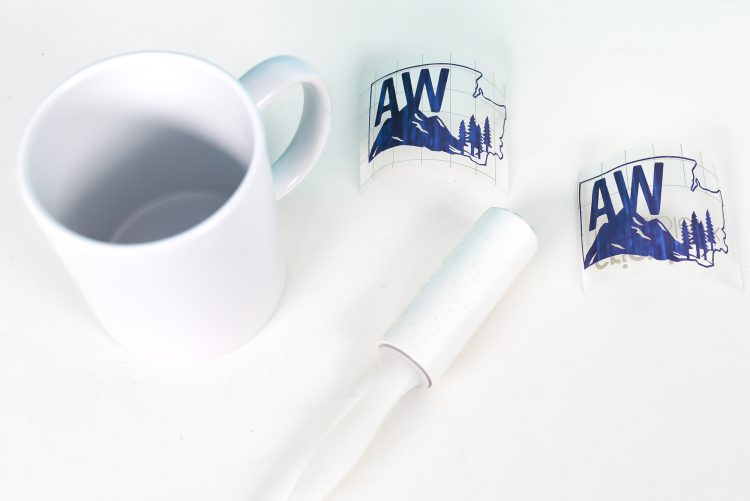
- Place the Infusible Ink transfers on the mugOnce you're done, you need to clean your mug. Cricut recommends a lint roller but found that the lint roller paper stuck to the mug, so tried wiping the mug down with alcohol instead and that worked fine too.
- Now you want to place your image on each side of the mug. But how do you get it straight? My friend Angie suggests using a piece of tape across the top of the mug. If you're looking straight down, you can place the tape perpendicular to the handle.
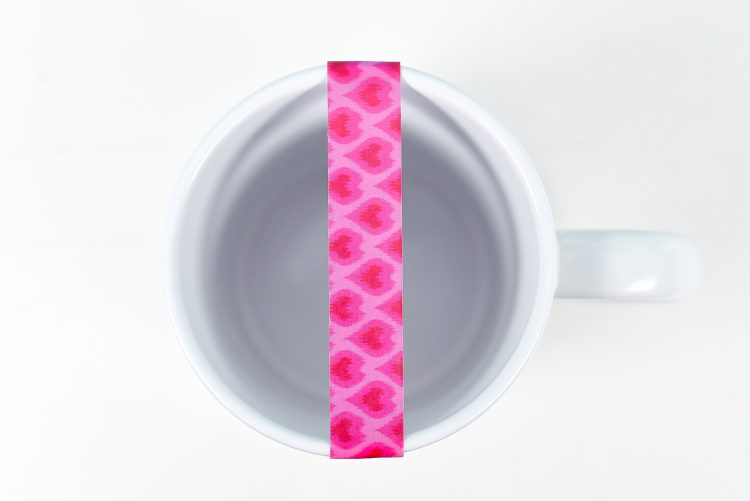
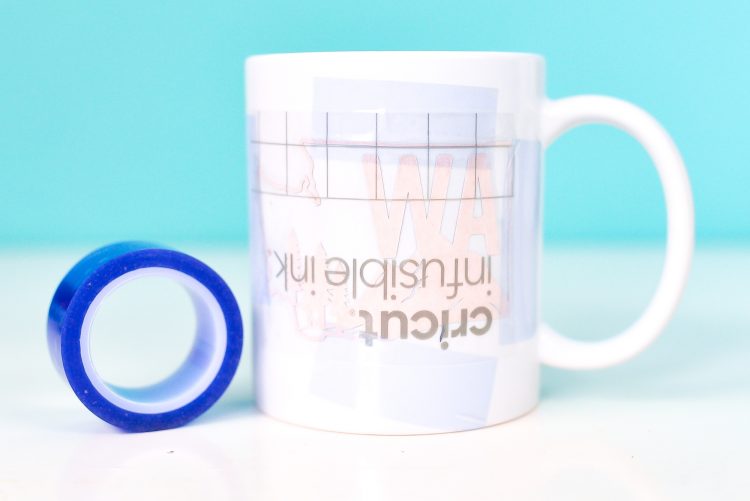
- That way, when you go to place your decals on each side, you can use the tape to center them. You can also use a ruler to make sure the decal is the same distance from the bottom of the mug on both sides.Then remove the tape. Next you'll want to add heat resistant tape on all four sides of your image, to make sure it doesn't shift in the press.
- Press your mugBy now, your Cricut Mug Press should be hot. Carefully insert the mug into the cylinder (you can wear heat resistant gloves if you'd like), and press the lever closed. That's it! The press will sublimate your image onto the mug.

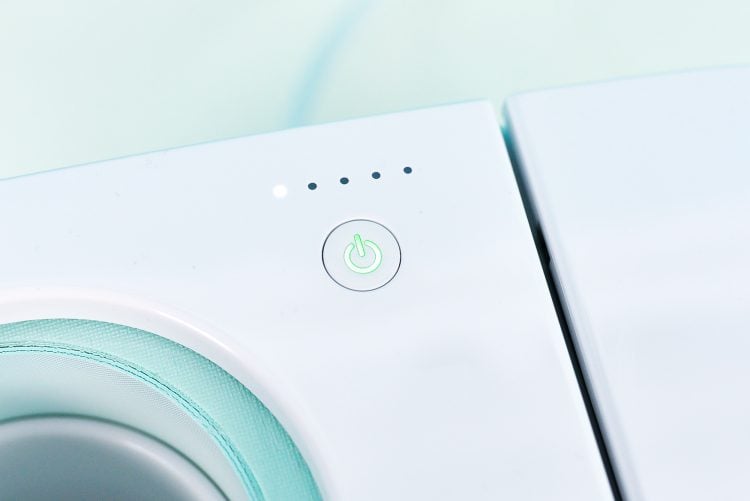
- Pressing time varies, so keep an eye on the progress light on the top of the machine, it will beep when it's all done.
- Just lift the lever and pull out your mug. Set it on a heat-resistant surface (the EasyPress mat works well for this) and let it cool. It takes a long while to cool—15 to 20 minutes, and even then it will still probably be a bit warm.
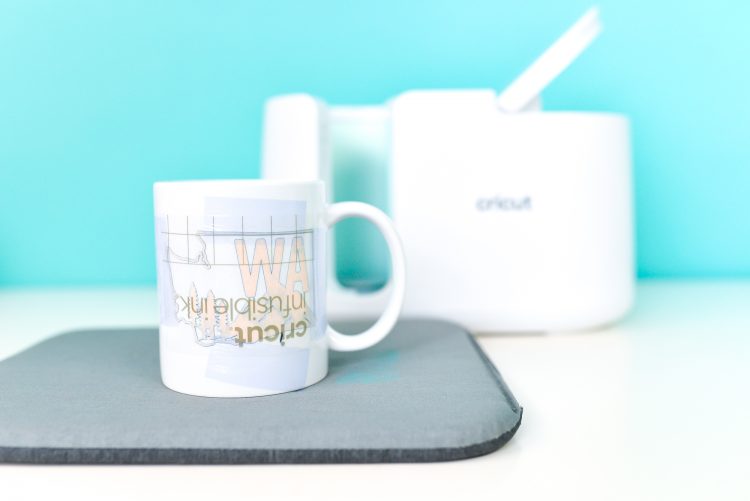
- Once it's cool, peel off the tape and the Infusible Ink layer to reveal a perfectly sublimated image!