HOW TO USE PRINTABLE VINYL
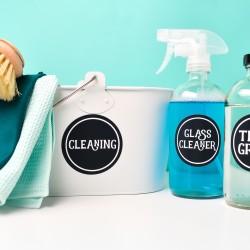
Use printable vinyl to make all sorts of stickers, labels, and decals! Here's everything you need to know about using printable vinyl, as well as a set of cleaning labels made from printable vinyl and cut on a Cricut!
Equipment
- Cricut Maker or
Ingredients
- Free Cleaning Labels #C256
- Printable Vinyl
- Various glass, plastic or metal bottles and containers
Instructions
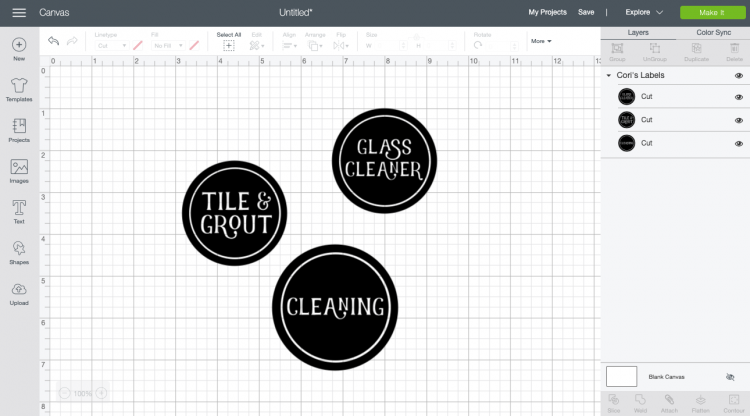
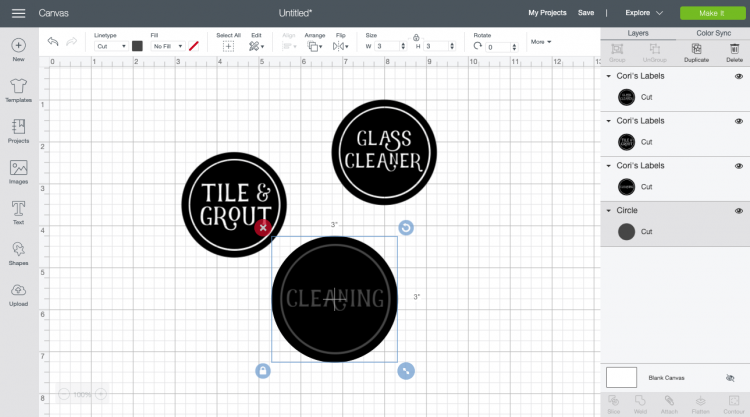
- Create Your File in Cricut Design SpaceAll of the labels, both the free and paid versions, come in sets of nine labels to make uploading them to Cricut Design Space easier. Learn more about uploading SVGs to Design Space. Once you upload the files, click "Ungroup" at the top of the Layer Panel on the right so that all of the labels can be manipulated individually.

- Delete the labels you are not going to use, and resize the remaining labels based on the size of your bottles and containers. For this project, the cleaning caddy label was made 3" wide and the bottle labels 2.5" wide.
- Right now, these three labels are SVG files—all of the letters will be cut out of the background, like in the pantry labels (you can use them as SVGs like this if you'd like!). To use these labels like stickers with Print then Cut, we'll need to "flatten" them.
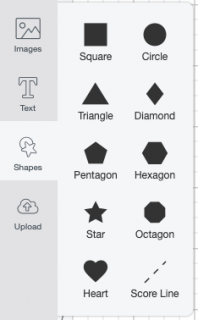
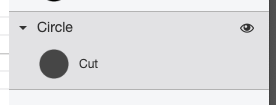
- If we flatten them as is, however, the letters will still be cut out of the label. So we're going to make a white circle and flatten it to the back of each label to make them circular stickers. Insert a circle using the Shapes tool in the Design Panel on the left.
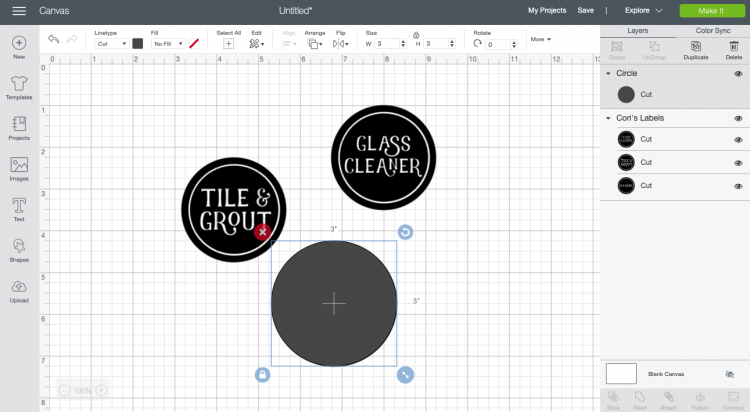
- Then change the size of the circle to match your label. In this case, it was made 3" round to match the "cleaning" label.
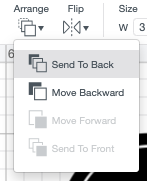
- Then use the Arrange tool in the top Edit Toolbar to "send to back" so the circle is behind your label.
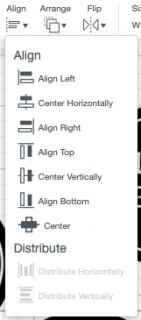
- Use the "center" tool under the Align dropdown to align your circle and your label exactly.
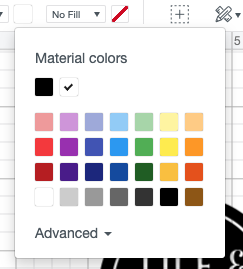
- If you flatten as is, though, your label will be gray and black.
- Click on the gray circle in the Layers Panel on the right and change it to white using the dropdown in the Edit Toolbar at the top.
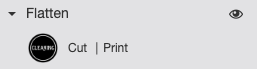
- Okay! Now your labels are ready to flatten. Select the white circle and the label and click "Flatten" at the bottom of the Layers Panel on the right.

- Your label won't look much different but you'll see that it's now a print then cut image in the Layers Panel.Repeat this process with your remaining labels and now you're ready to print then cut!
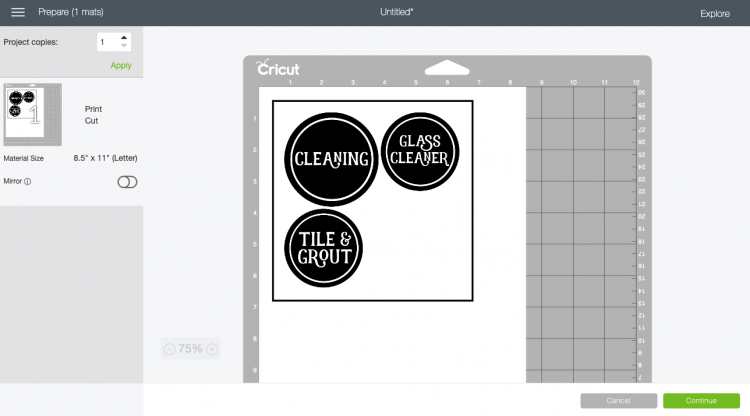
- Cutting your Cleaning Labels on Your CricutClick Make It in the upper right. There are no changes to make in the Prepare Screen, so click Continue.
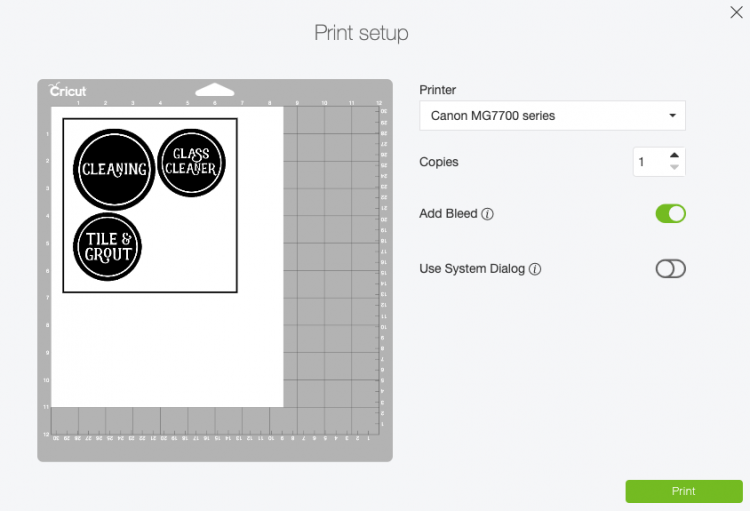
- In the Make Screen, Design Space will prompt you to print your image on your vinyl. Remember, use an ink jet printer. For this project, keep "add bleed" checked—this will help ensure that there's no white edges around your circle.
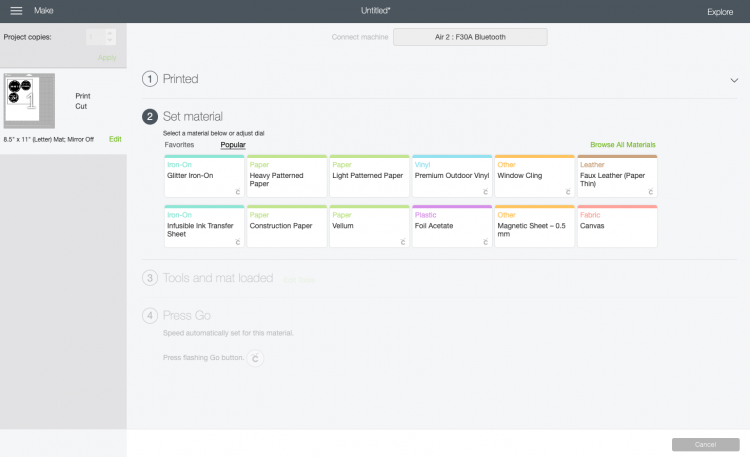
- Once your printer finishes printing your labels, place them on a blue or green mat.

- If you're using a Cricut Explore, set the dial to Custom and select Printable Vinyl as your material. If you're using a Maker, directly select Printable Vinyl as your material.
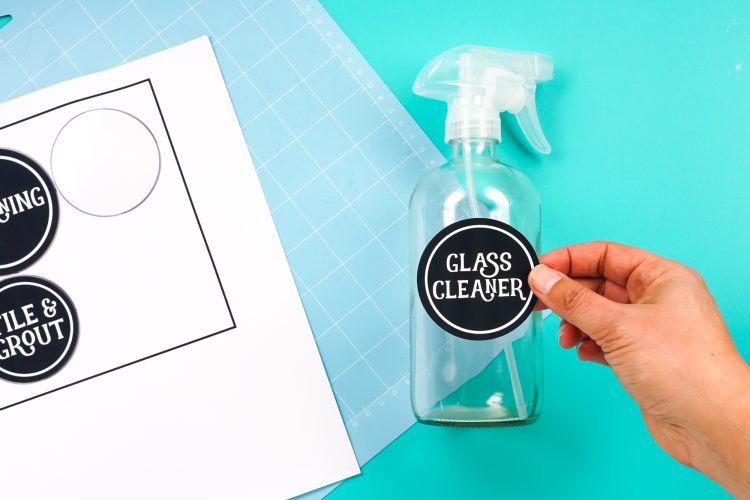
- Then insert your mat into the machine and your Cricut will cut circles around your labels!Troubleshooting: If your machine is struggling to read the registration marks, shine a light on your Cricut—sometimes if it's in a darker corner of your craft room, there's not enough light for it to read the registration marks.Then all you have to do is pick up your labels like stickers and place them on your containers and jars.