
HOW TO USE MUG WRAP DESIGNS
Learn how to create full mug wrap designs using the Cricut Mug Press! These designs wrap around the whole mug and are easy to set up and customize in Cricut Design Space. Here's how to do it!
Equipment
- Cricut Maker or
- Brayer (optional, but helpful)
- Cricut EasyPress Mat or other heat-resistant surface
Ingredients
Instructions
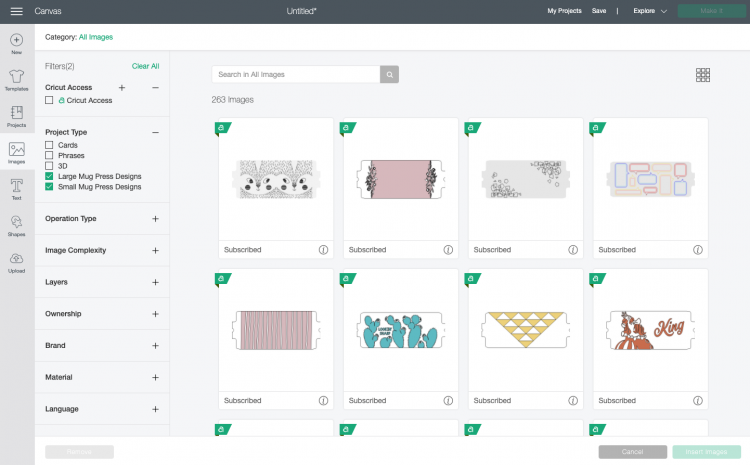
- Simple Mug Wrap Designs in Cricut Design SpaceThese mug wrap designs are easy to find in the Image search. Click on Images on the left-hand side of Design Space and then in the filters on the left, narrow your search down to just mug designs. You can filter by the two mug sizes—make sure you're choosing the correct one for your mug.Many of the designs work as-is, meaning you don't need to change or edit them in any way—just select, cut, and apply! Here's how to do it.
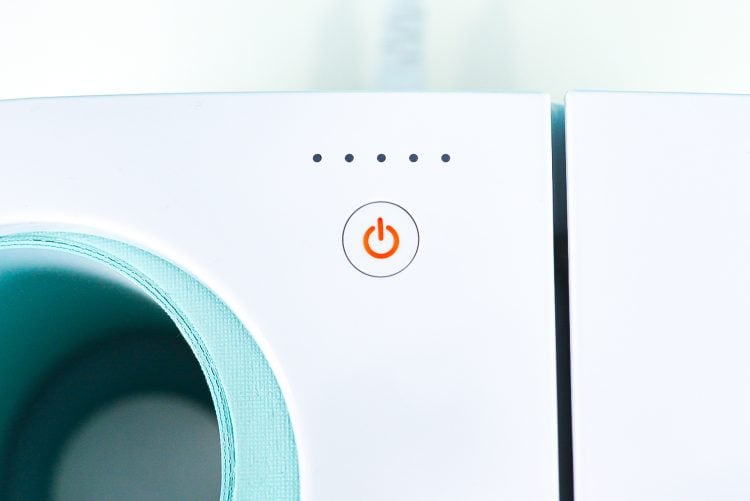
- Before you start, press the button on your Cricut Mug Press so it starts heating up (you'll see the orange light).
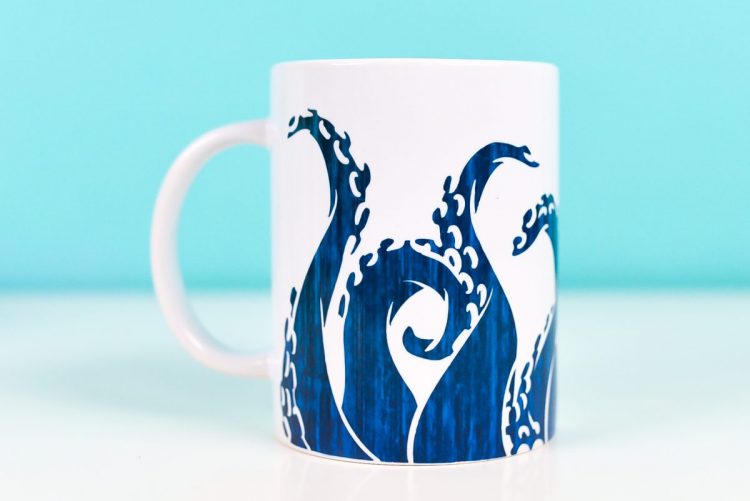
- Set up the file in Cricut Design SpaceChoose your file from the Cricut Image Library. For this project the octopus image was chosen, but you can, of course, pick whatever image in Cricut Design Space you'd like, as long as it's a single-layer cut image.This image is already sized to fit on a 15oz mug. No resizing necessary.The color was changed to more accurately reflect the color Infusible Ink that is being used.
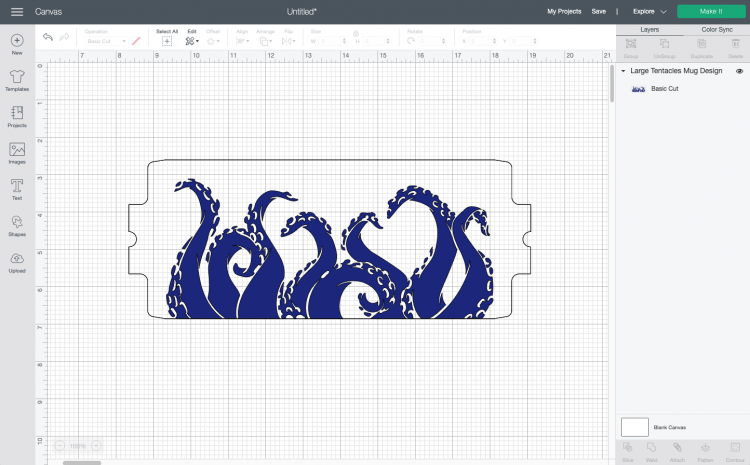
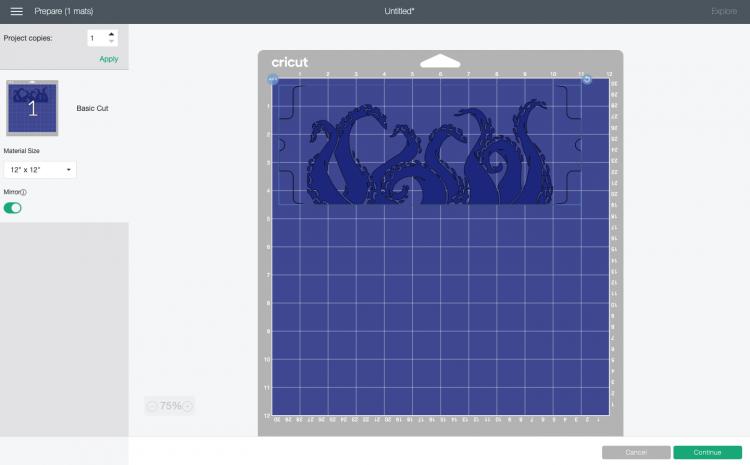
- You'll note that there is a black outline around the wrap—your Cricut will cut this. That will make it the perfect size to wrap around your mug!Then click Make It in the upper right. On the Prepare Screen, click Mirror to reverse your image. This doesn't matter so much for an image like the octopus, but if you have text on your image you MUST do this or your image will read backward on your mug!Then click Continue. In the Make Screen, set your material to Infusible Ink Transfer Sheets and you're ready to cut your project. For more detail read this Simple Infusible Ink Mug with the Cricut Mug Press post.
- Cut and weed the Infusible InkPlace your Infusible Ink transfer sheet on a Cricut mat, with the ink/color side up. Then insert your mat into your Cricut and it will cut your design!Next you're going to weed your Infusible Ink. To do this, you don't need a weeding hook—just use your hands (wash and dry your hands before you do this to remove any oils that can get in the way of a perfect press). Bend the backing sheet and just pull off the negative material you don't want to transfer on your mug.
- Place the Infusible Ink transfers on the mugOnce you're done, you need to clean your mug. Cricut recommends a lint roller, but found that rubbing alcohol on a cotton ball works.Then place the design all the way around your mug, overlapping the two ends underneath the handle. Place heat resistant tape around the top and bottom of the mug to help keep the design from shifting in the mug press.
- Press your mugBy now, your Cricut Mug Press should be hot. Carefully insert the mug into the cylinder (you can wear heat resistant gloves if you'd like), and press the lever closed. That's it! The press will sublimate your image onto the mug.

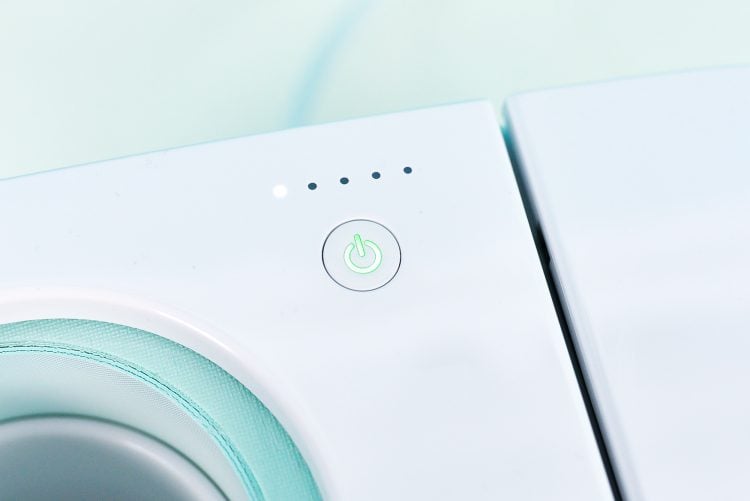
- Pressing time varies, so keep an eye on the progress light on the top of the machine, it will beep when it's all done.
- Just lift the lever and pull out your mug. Set it on a heat-resistant surface (the EasyPress mat works well for this) and let it cool. It takes a long while to cool—15 to 20 minutes, and even then it will still probably be a bit warm.Once it's cool, peel off the tape and the Infusible Ink layer to reveal a perfectly sublimated image!
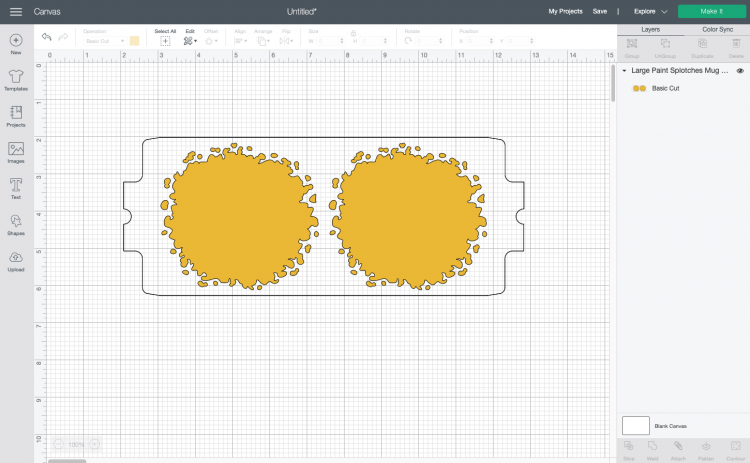
- Customizing Mug Wrap Designs in Cricut Design SpaceNow that we've done a simple mug wrap, here's how to customize one of the other pre-made mug wraps. Some of them are designed to be used in combination with other designs, like this "paint splotch" design. On its own it's sort of weird, but you can combine it with other images to make a cute design.
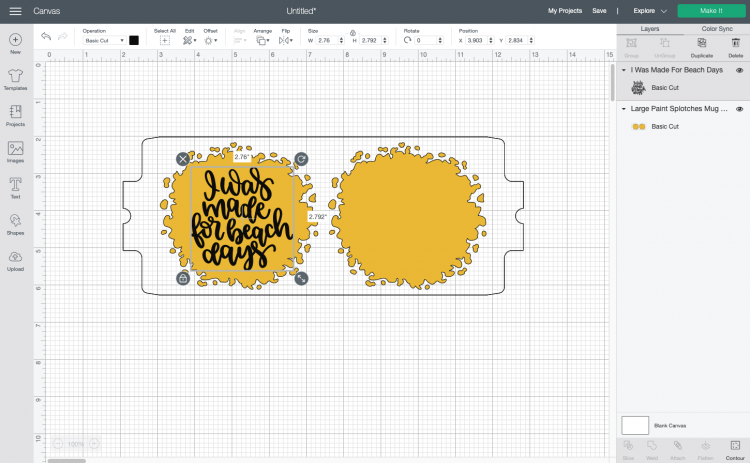
- Start by inserting the paint splotch mug wrap onto your canvas.
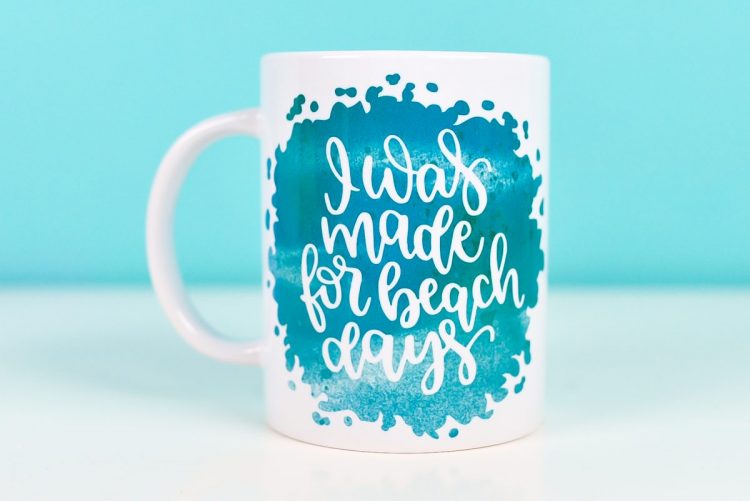
- Then find an image that will fit well inside the splotches. For this project a quote was chosen that says "I was made for beach days." Resize and place over one splotch.
- Duplicate the image and place it over the other splotch. You can use the Align > Center Vertically tool to make sure they are aligned properly.
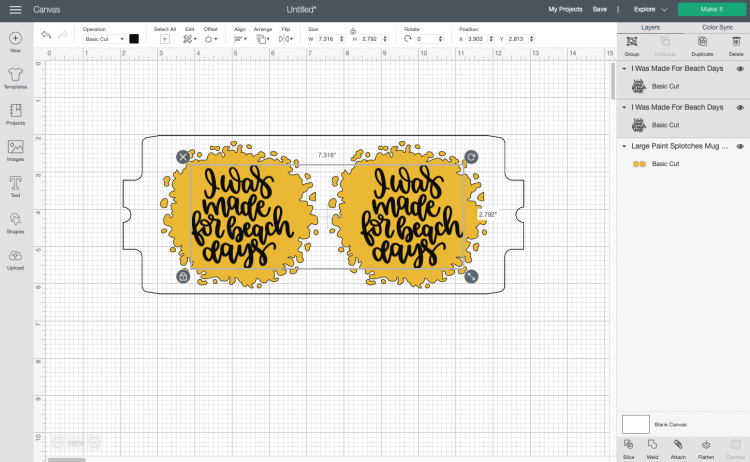
- Then click both images (not the splotch design) and click Weld in the bottom right corner. This will make your design a single piece and allow you to weld it.
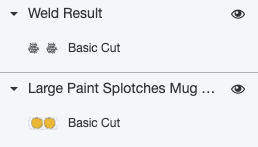
- Then click the image and the splotches and click Slice in the bottom right corner. This will essentially "slice" out your quote from the background. You'll be left with several layers.

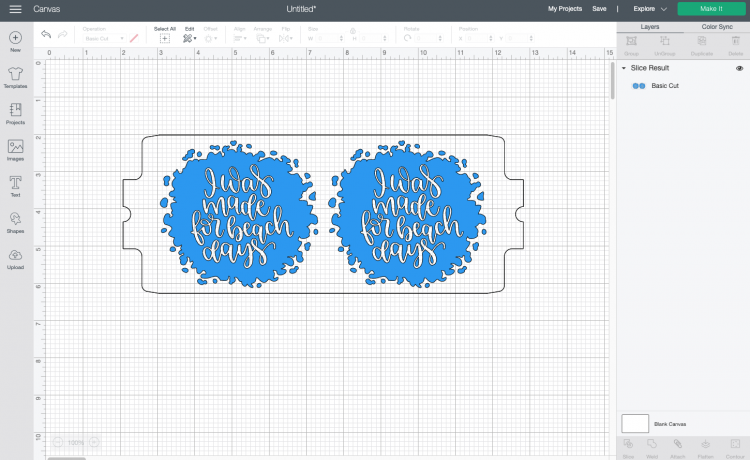
- Then you can delete the layers you don't want (click on a layer and click delete at the top of the Layers Panel) and you're just left with the image with the quote cut out. You can change the color to match your infusible ink as well.
- The process for cutting this image and applying to your mug is the same as the first project in this post!
- How to use the Cricut mug wrap design templateCricut has also included several templates that you can use to create your own fully customized mug wraps.
- Grab the mug wrap template.
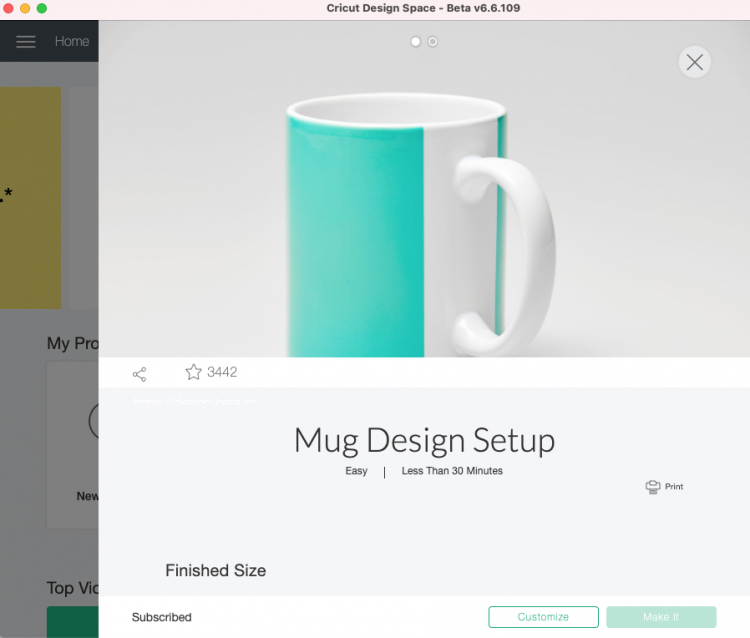
- From here, scroll down to see where you can select the size of your mug and the type of "edge" you'd like on your image.
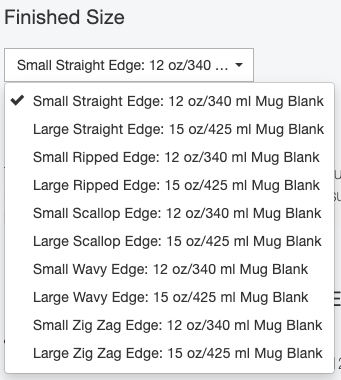
- Then click "Customize" so you can add your design.You'll notice that you can use this mug wrap template OR you can find blank templates in the Cricut Image Library.
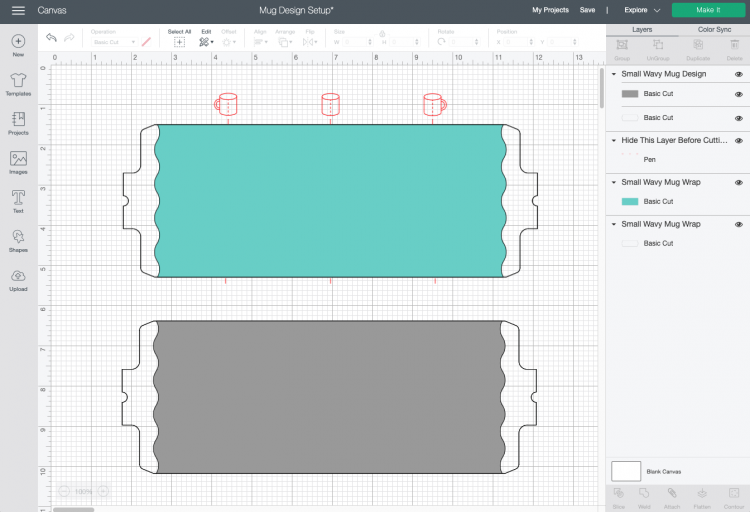
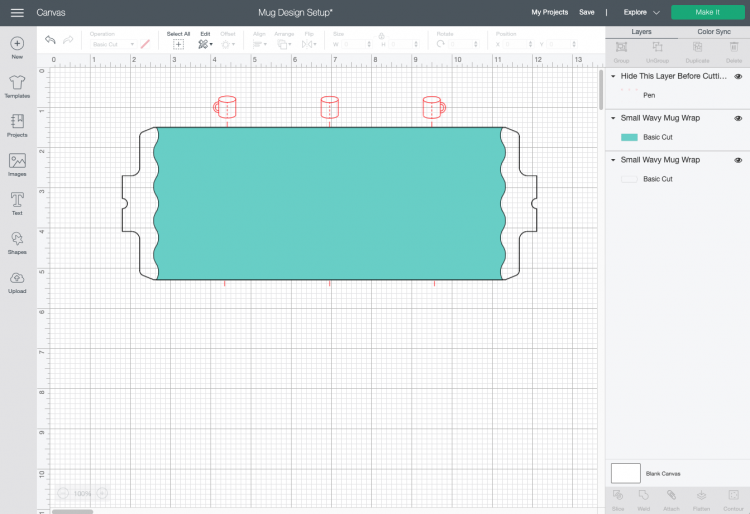
- The "Small Wavy Edge" was chosen for this project and this is what it looks like on the Canvas. It has three layers: the guides (that layer is called Hide This Layer for a reason—I'll get to that in a few), a teal area where you'll put your design, and a "clear" template.
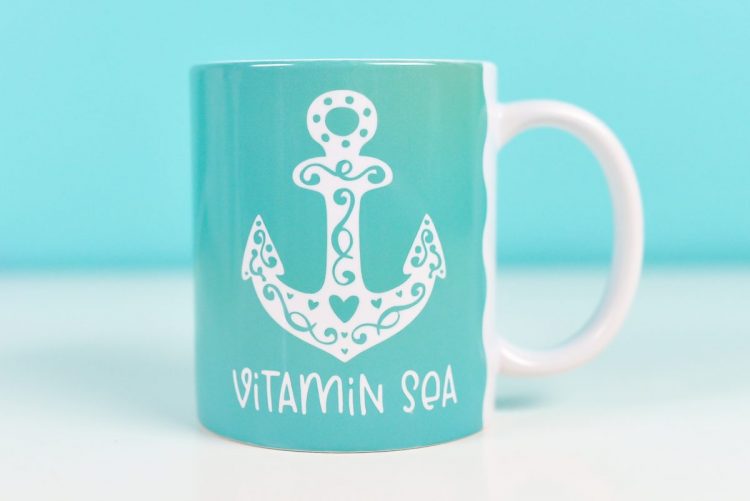
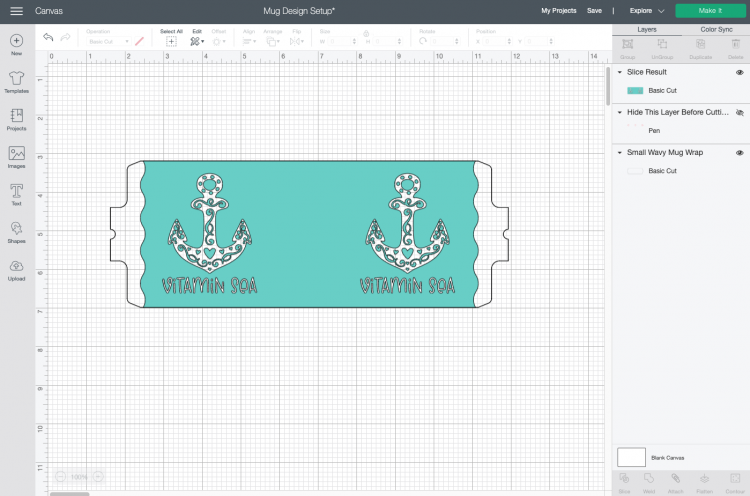
- From here, you can add text or an image from the Cricut Image Library or even upload your own image. For this one, an anchor was chosen from the library and the text "vitamin sea" was added with the font Young Willow.The guides were used (the red layer) to see exactly where the center of each side of the mug is. This is a great way to easily center an image on both sides of the mug.They were sliced out of the teal layer using the same method used for the beach/paint splotch image above, welding both anchors AND the text into a single layer and then slicing with the teal layer.

- Then click the "eye" in the layers panel to hide the guide layer.
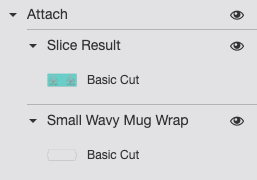
- And then select both the teal layer and the clear layer and click Attach.
- Now you can cut your file and make your project using the same method as above!
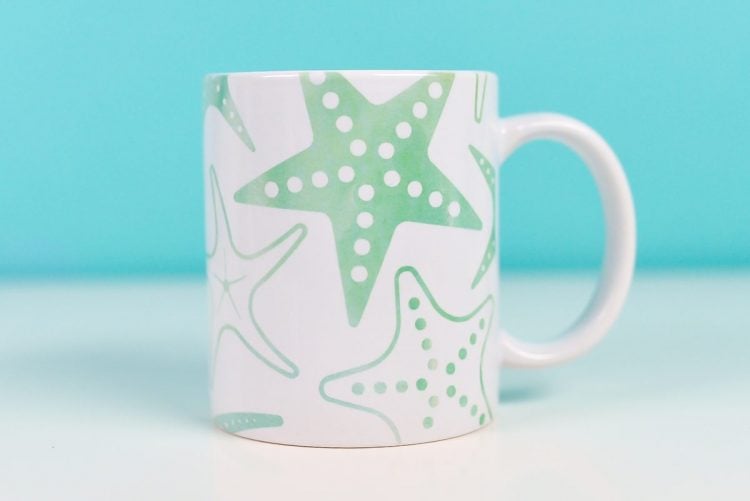
- How to Upload Cricut Mug Wrap DesignsThere's one more way you might want to make a mug wrap, and that's uploading a design from outside Cricut Design Space. Since the Cricut Mug Press was introduced, people are starting to create their own mug press designs (see later in this post for some links!). Use the free Starfish Pattern from the Supply list above.
- To upload an image like this, you're going to use either the mug wrap template from the link above or just pull it from the Cricut image library. You don't necessarily need the guides (but you know how to get to that file if you do want them!).
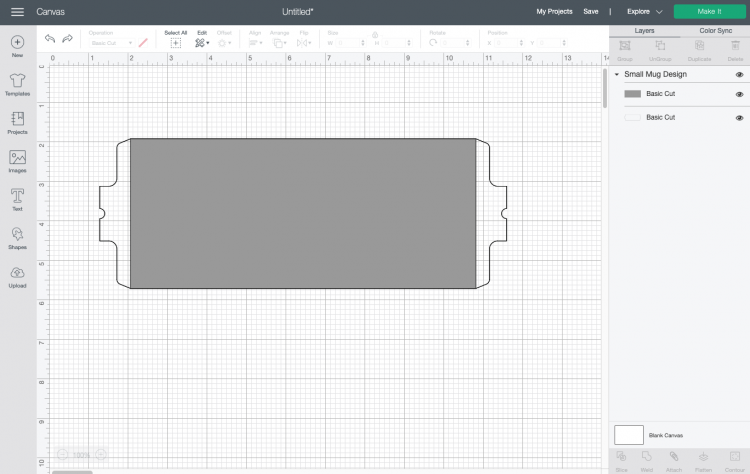
- Click Upload in the side panel on the left and upload the mug wrap SVG you downloaded, and then insert it on the canvas.

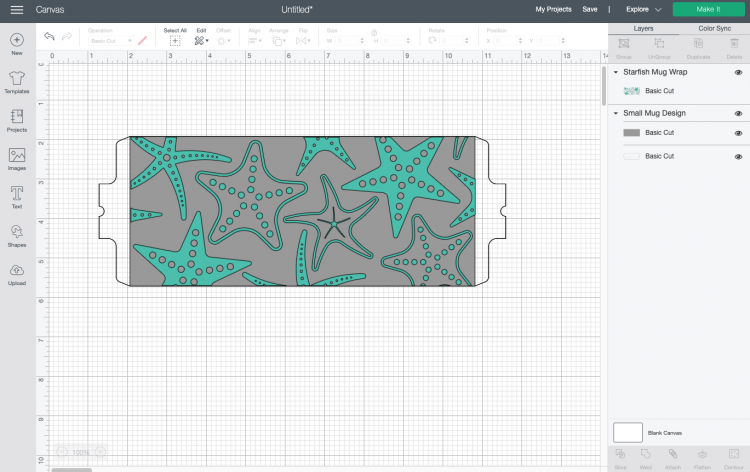
- Then drag and drop it over the gray square on the template. You can select all and use the Align > Center tool to make sure it's centered.
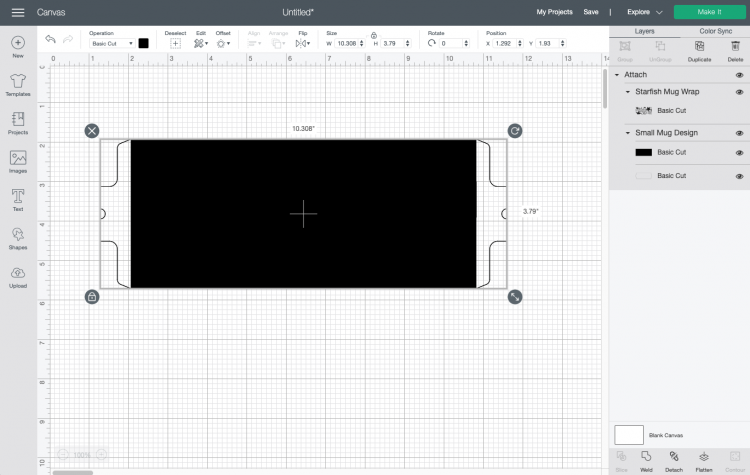
- Then you'll select everything and click attach. Everything will turn black, but don't worry! The file will cut correctly.
- If you'd like to make sure it's correct, you can change the color of the image and you'll see that all of your pieces are still there.
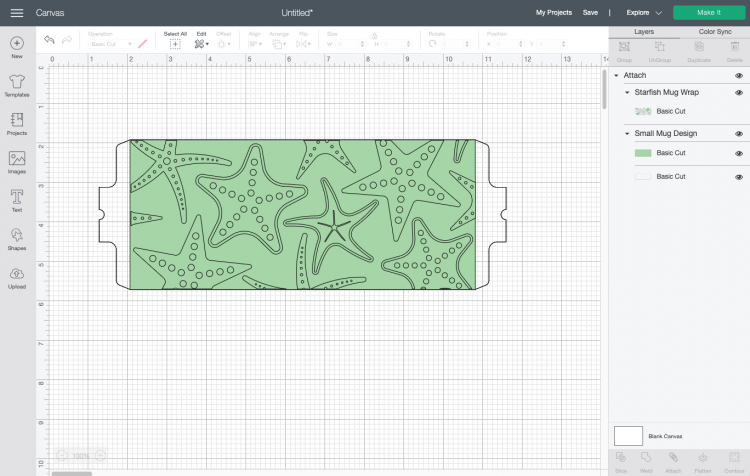
- Then just cut, weed, and apply like the other designs!
- If you're looking for more mug wrap designs, try:Crafting in the RainThe Country Chic CottageMy Blog for a Mermaid Mug Wrap SVG + Free Mug Wrap Designs!