How to Use a Heat Press
Got a new heat press? I'm breaking down everything you need to know about using it, including all of the parts of a heat press, finding your time, temperature, and pressure settings, and making your first project.
Ingredients
Instructions
- Finding Recommended Time, Temperature, and Pressure SettingsOnce you've familiarized yourself with your heat press, you're probably ready to create a project!To start your project, determine the heat time, temperature, and pressure recommendations. If you are using a type of heat-transfer vinyl (HTV, DTV, printable iron on, etc.), your time, temperature, and pressure settings are based on your material. So keep your packaging! If you don't have packaging, you can usually look up the manufacturer of the material online and they should have recommended settings. If you are using sublimation, your time, temperature, and pressure settings are based on the blank. So pressing a polyester shirt will be different than a sublimation photo panel which is different than a sequined pillow case. The manufacturer of these blanks should give you the recommended settings.If you're using another process, like DTF or EcoSolvent, please refer to someone else for instructions since not very familiar with these other types of projects.
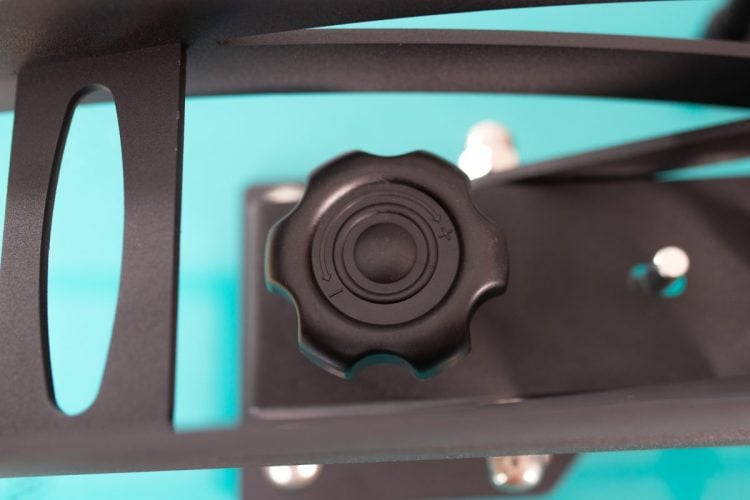
- Setting Your PressureBefore you press your blank, you will want to ensure the pressure is correct. Generally the pressure should be listed with the other recommended settings. On most presses, you just have to go by feel (the Cricut AutoPress, however, adjusts the pressure automatically). To add more pressure, turn your pressure knob to the right. To remove pressure, turn it to the left. You may need to adjust it a few times to get it just right.If your blank calls for heavy pressure, you'll want the handle to be a little tough to clamp down fully. If it calls for light pressure, it should be pretty easy to close. Medium pressure? Well, somewhere between the two. It is recommended to open and close your heat press a few times to double check pressure before adding a blank.
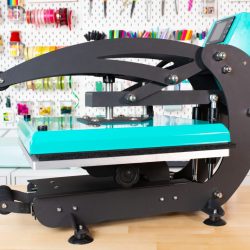
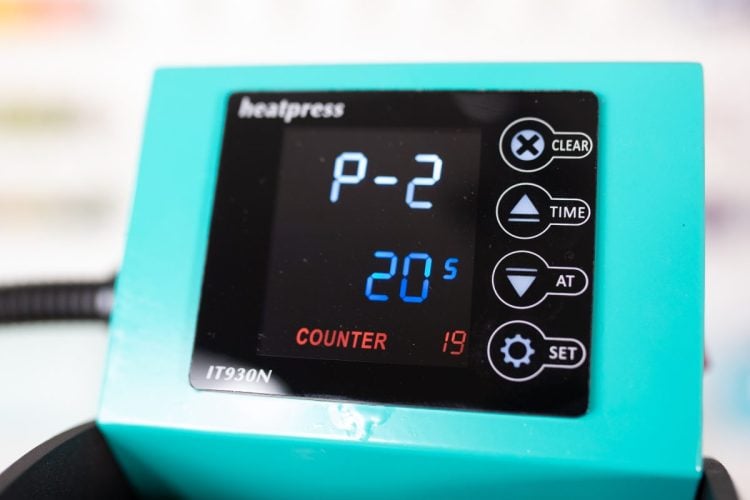
- Setting Your Time and TemperatureNow let's see how to actually adjust the settings. Turn on your heat press. Control boxes for each press will be a bit different, but there are usually three main settings:TimeTemperatureFahrenheit vs. CelsiusGenerally there is a SET or MODE button to get you to the first setting. On the WALApress being used for this project, the first setting is labeled P-1 and it's the temperature. Use the arrow keys to set the temperature.
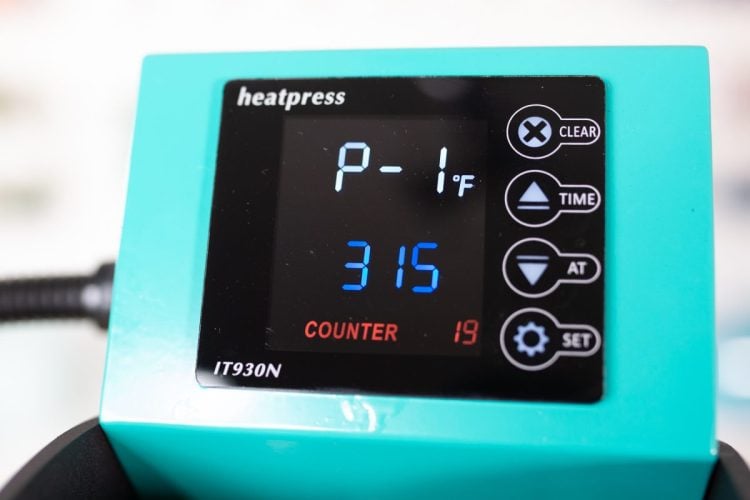
- Then hit the SET or MODE button again to get to the next setting. The WALApress is labeled P-2 and it's the time. Use the arrow keys to set the time in seconds.If that's all you need to set, you can hit the SET or MODE button until you get back to the main screen. On the WALApress, there's also P-3 for changing between Fahrenheit and Celsius, and P-4, which helps you calibrate temperature difference by increasing or decreasing the readout. You would test this by aiming a thermometer gun at the hot platen in several places to see if the readout is what your temperature says it is. If not, you can add or subtract degrees to the temperature readout so it's more accurate.Other heat presses may have a different process for changing the settings, so when in doubt, refer to the user manual.
- Testing Your SettingsNote that recommended settings are just that—recommended. You may need to adjust the settings a bit to get a better press. This is where testing comes in. If possible, test your materials or prints before doing your final press on your blank. Start with the recommended settings and go from there. For example, if your HTV isn't sticking all the way, press for a bit longer. If your sublimation prints are coming out faded, try increasing your temperature. You can use a temperature gun to make sure the temperature shown in the controls is the same. There are a lot of variables that go into your projects, including your material, your blank, the temperature and humidity in your space, and whether or not Mercury is in retrograde (okay, not really, but sometimes it feels that way!). Knowing that recommendations are just a starting place can help you find the best time, temperature, and pressure settings even faster.
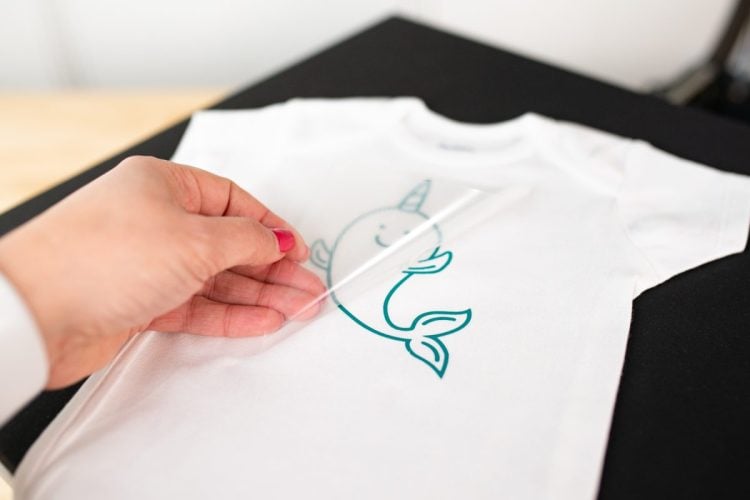
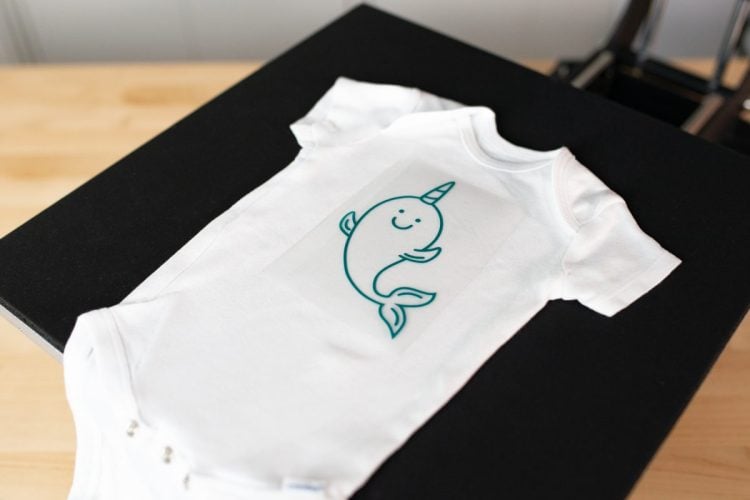
- Creating Your Project!Now that your time, temperature, and pressure settings are all set, you can create a project! These photos are of a simple HTV baby bodysuit using my WALApress, but like I've mentioned, there are lots of things you can do! You can grab the free narwhal SVG we're using under the Supply List.Open your heat press and lay your bodysuit flat on the lower platen.
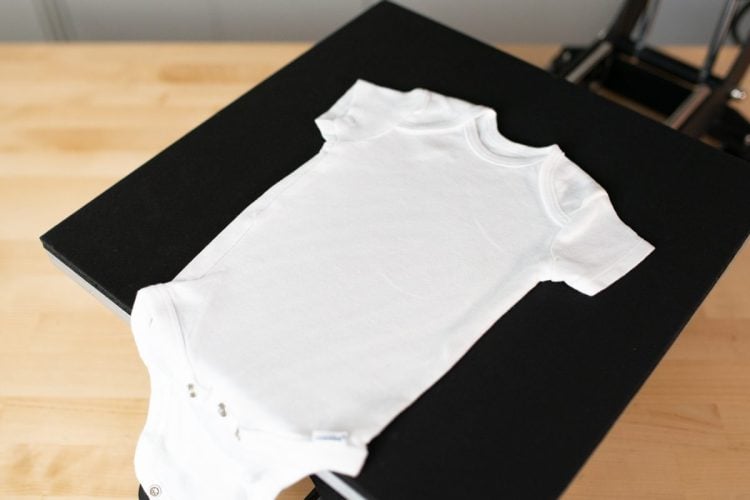
- Use a lint roller to remove any dust, pet hair, or other debris from your garment.

- Pre-press your blank for 10 to 15 seconds to release moisture and/or wrinkles before adding your image decal on top.Once ready, place your material (heat transfer vinyl, sublimation transfer paper, inkjet transfer, etc.) on top of the blank. In many cases, you may also want to use a teflon sheet or piece of butcher paper between the top heat plate and your blank.
- Then, using your handle, carefully close the upper platen and press the start button on your machine. Depending on your machine, the countdown will start automatically, or you may need to press a button to start it. Once the machine is closed, avoid re-opening your project until it's done.
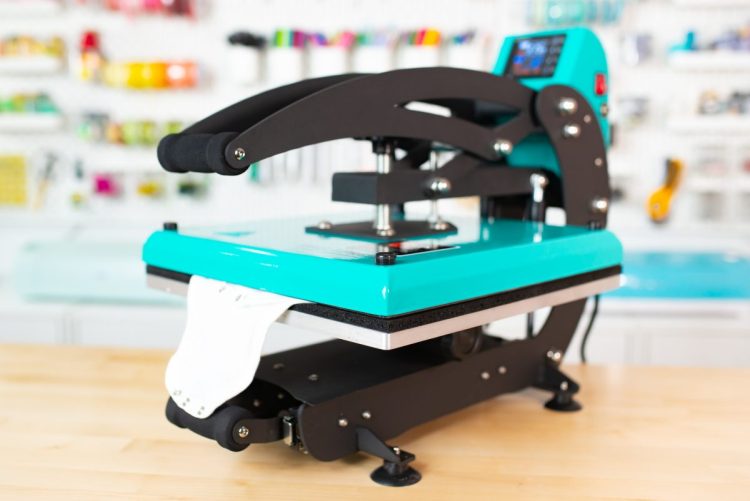
- Once the timer beeps, use the handle to open your heat press. It will be hot, so be careful!Depending on your material, you may need to wait for your project to cool a bit before peeling away the backing or carrier sheet. Read this post HTV: Hot Peel vs Cold Peel for more information.Depending on the recommended instructions for your project, you may also want to press from the back to make sure your material is really adhered to your blank properly.Your project is done!