HOW TO SUBLIMATE ON GLITTER HTV FOR COTTON AND DARK FABRICS
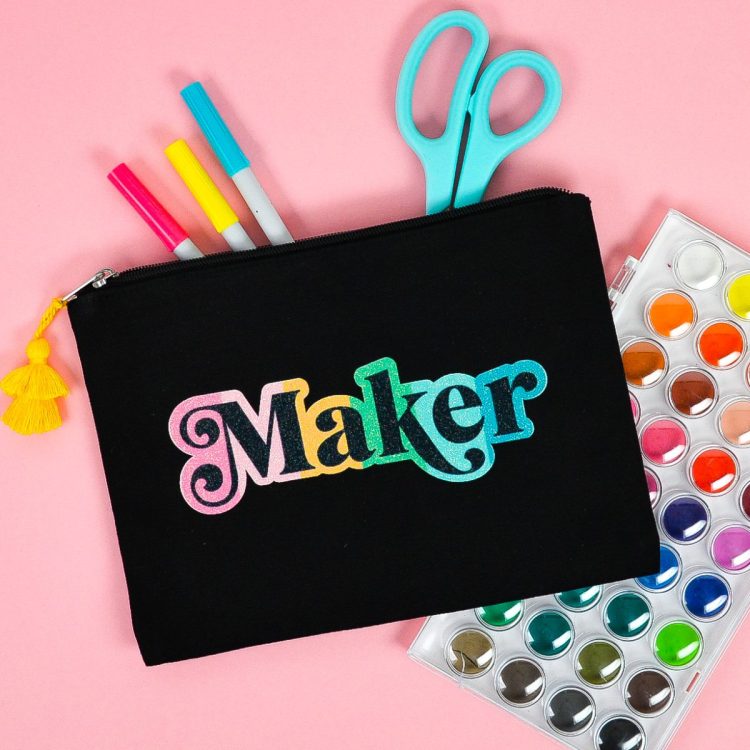
Want to move beyond sublimating white polyester fabrics? You can sublimate on glitter HTV! Use this trick for adding sublimated images to cotton and dark fabrics.
Equipment
- Cricut or other cutting machine
- Pressing pillow (optional)
- Heat press or
Instructions
- NOTE: There are two files in this Maker freebie. One has Maker in black and can be used on any fabric, but if you want the word "Maker" to be the color of your blank (for example, if you're using a dark blue tote bag and you want the dark blue to show through), you can use the cutout version. The process is the same, just make sure to weed the cutout. You'll need to place and tape down the interior of the "a" and "e" when you get to the sublimation press.
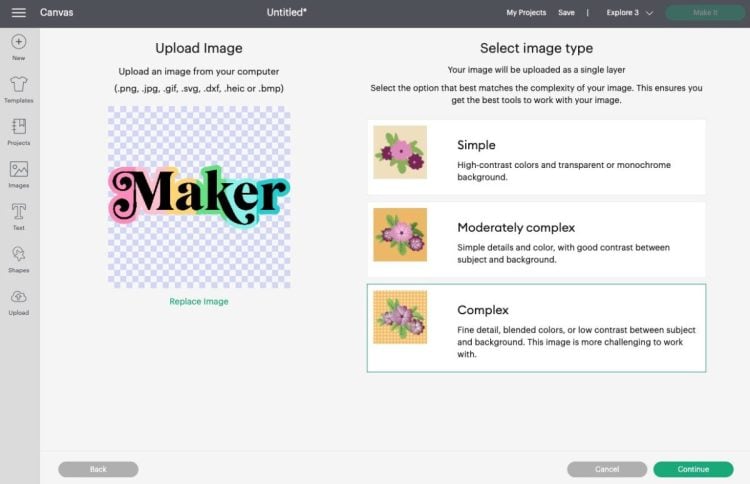
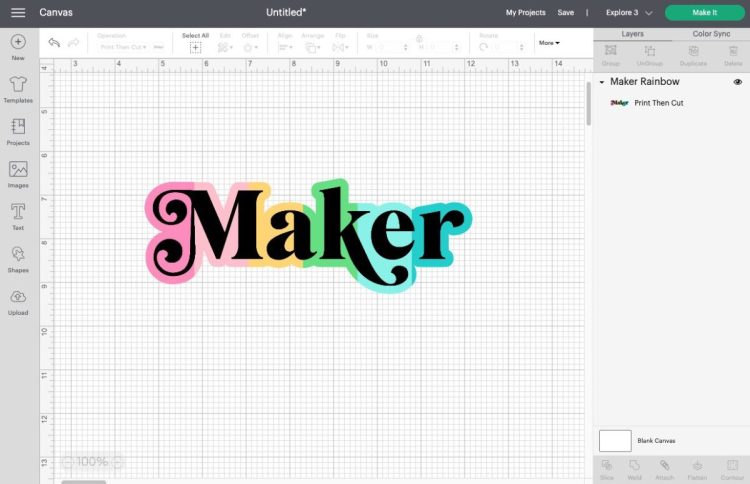
- How to Sublimate on Glitter HTVPrepare the file in Cricut Design SpaceStart by uploading the "Maker" PNG to Cricut Design Space. Under "Select Image Type," choose Complex. Click Continue.
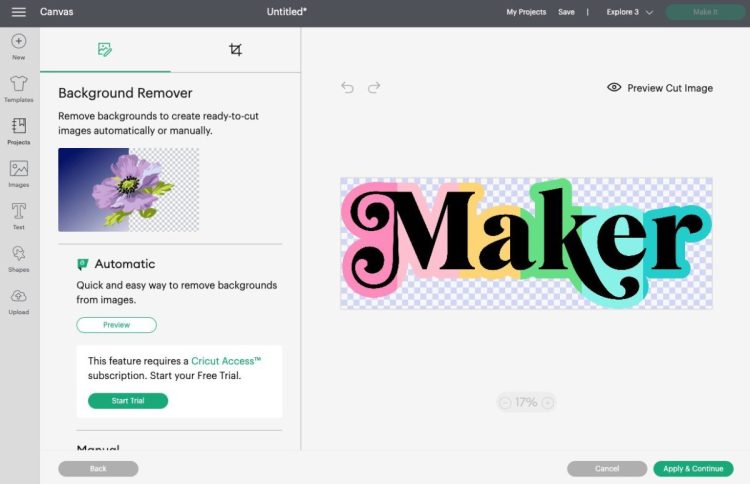
- This next screen is where you would delete a background if needed. Because these files are designed to have a transparent background, you can just click Apply & Continue.
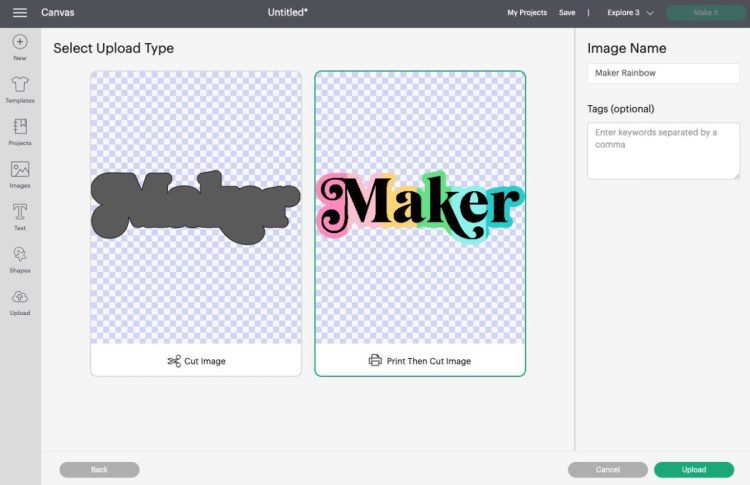
- Next, you'll select your Upload Type. We will be using this image in two ways, but start with Print then Cut image and click Upload.
- Your file will upload and you can bring it onto your canvas. Your file will import large, so resize it to fit on your project using the Size tool at the top. This design was made to measure 7.5" wide to fit on the zippered pouch. Remember that the maximum cut size for Print then Cut is 6.75" X 9.25".
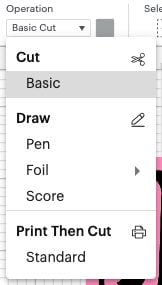
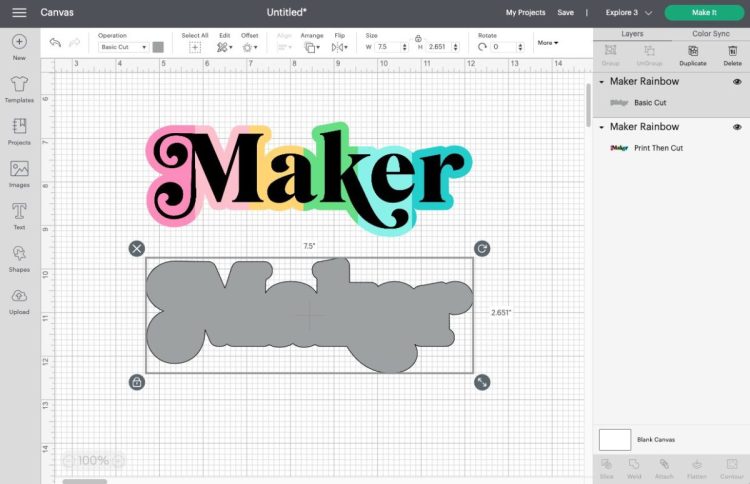
- Then duplicate this image by selecting it and clicking Duplicate at the top of the Layers Panel on the right. Then change that duplicate to a cut image using the dropdown in the menu at the top.
- Your second image should change to an outlined version of the Print then Cut image.You're ready to cut your project!
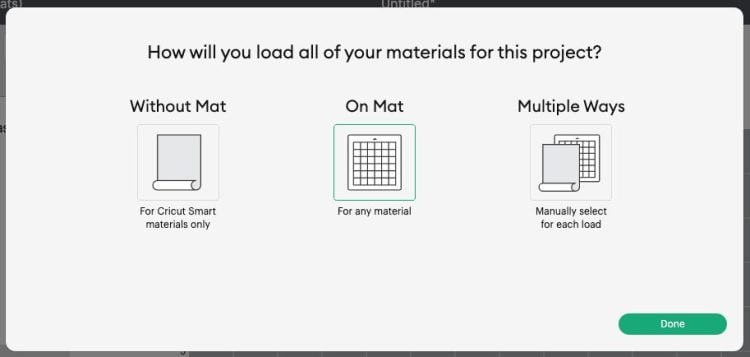
- Print, Cut, and Weed Your ProjectClick Make It in the upper right. If you have a Cricut Explore 3, Cricut Maker 3, or Cricut Joy, you'll see a Load Materials pop-up. Choose On Mat. If you have an older machine, you won't see this option.
- In the Prepare Screen, you'll see your cut image, which is your Glitter HTV layer. Click Mirror.
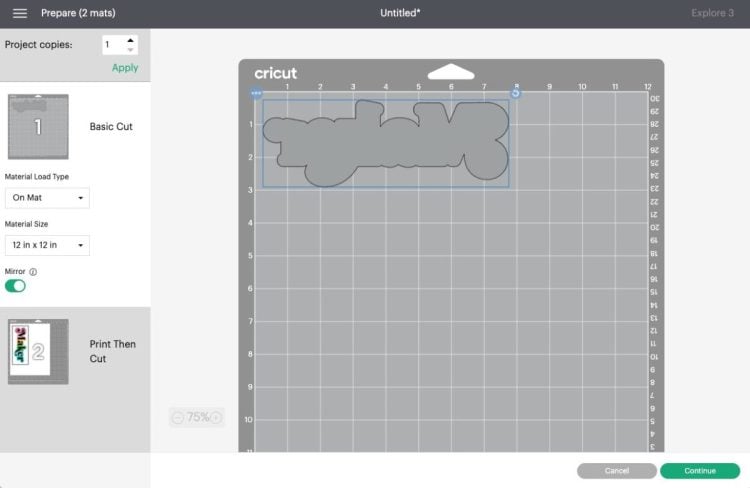
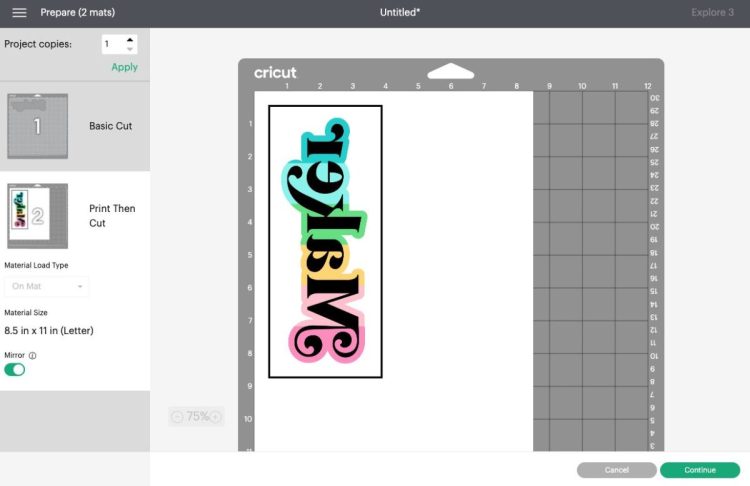
- Then click on the second mat on the left and you'll see your Print then Cut image. Mirror this one as well.
- Then click back on the first cut layer. Connect your Cricut and choose Glitter Iron On as your material.
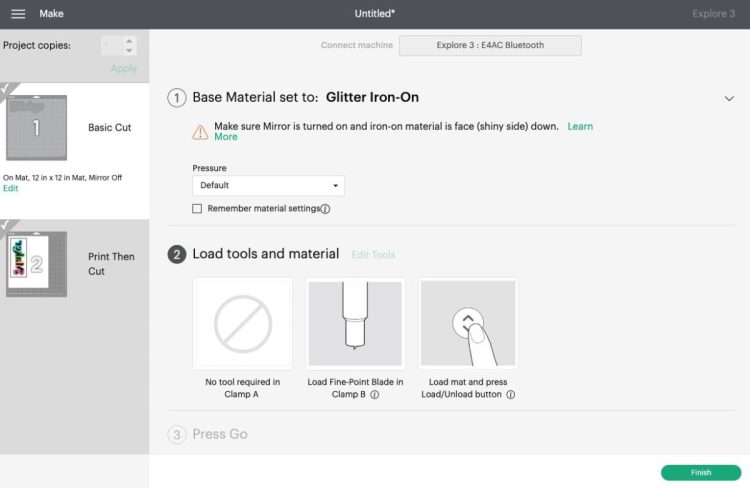
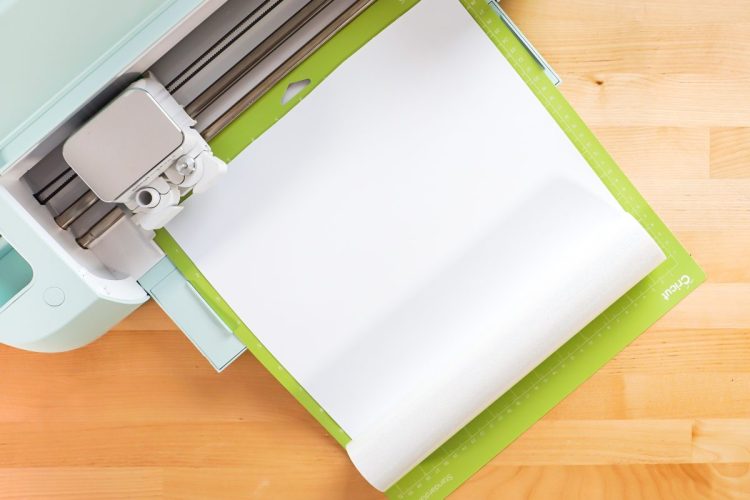
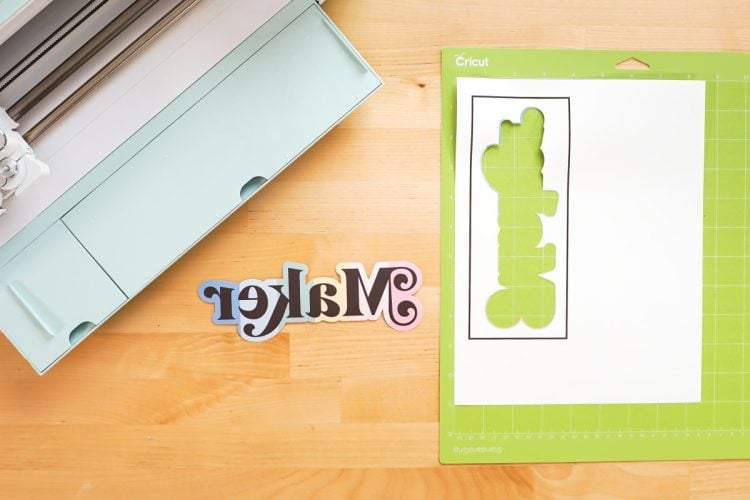
- Cut your glitter HTV.
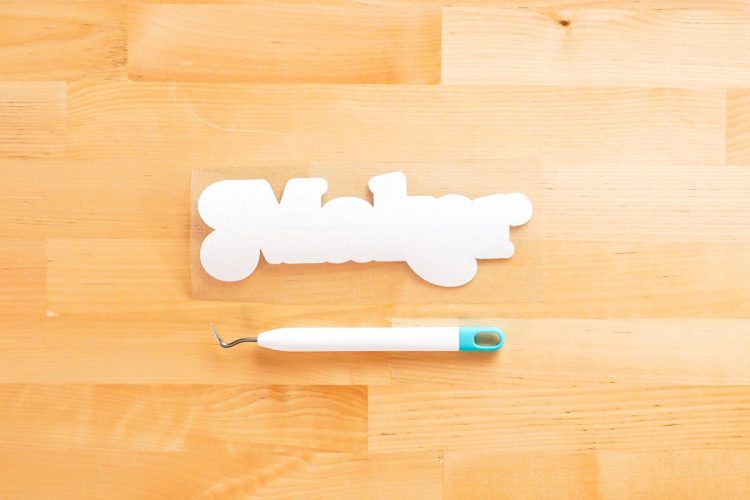
- Now weed your Glitter HTV. If you need help with weeding, check out this post Weeding Iron On Vinyl: Tips and Tricks for Making it Easy. It will just be a solid piece—weed around the edge.
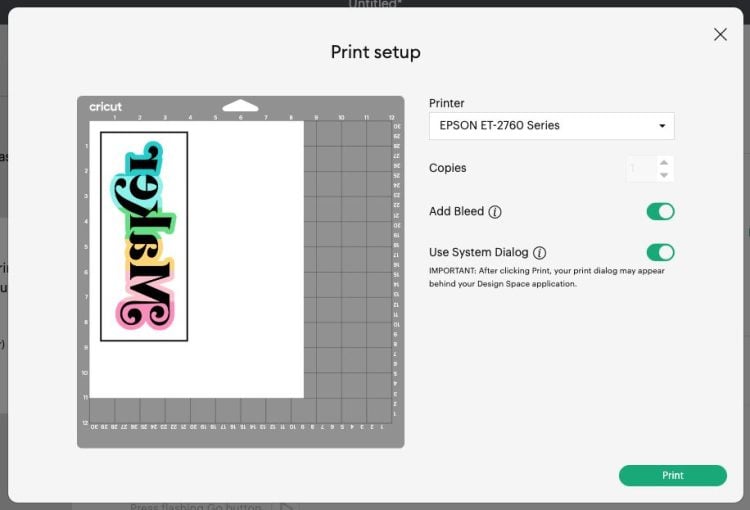
- Now we'll do the Print then Cut image. Click Send to Printer. Here you'll want to select your sublimation printer as well as click the sliders for Add Bleed and Use System Dialog Box.
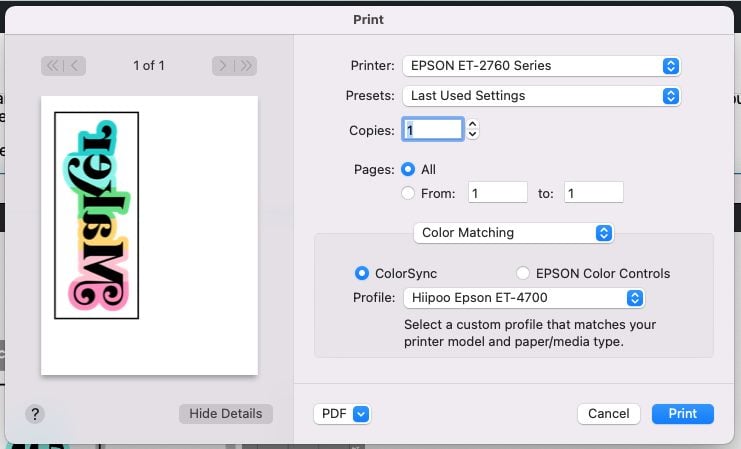
- The system dialog box will open behind your Cricut Design Space window, so click behind it to see the window. You'll double check two things here. If you are using a converted inkjet printer, you'll want to select your ICC profile under color management. This will help correct color issues. Check out these two posts for more information on this important part of sublimation:Sublimation ICC Profiles & Color Management for BeginnersHow to Use Cricut Design Space for Sublimation CraftsFor the color management for this project, we are using a Hiipoo Epson ET-4700 ICC profile.
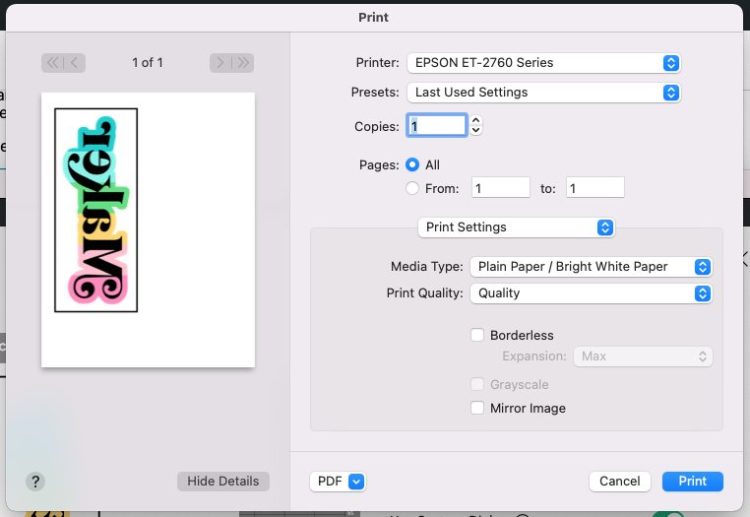
- Then select Print Settings and change your Print Quality to Quality (Mac) or High (PC). You can see screenshots of both of these options on a PC in this post.Click Print! Your sublimation printer will print out the Maker image with a black registration box around the edge. This is what your Cricut's sensors will use to cut accurately around your image.
- Once your image is printed, place your printed image in the top left of a Cricut Mat. Insert it into your machine and your Cricut will scan the registration box and cut around your image.
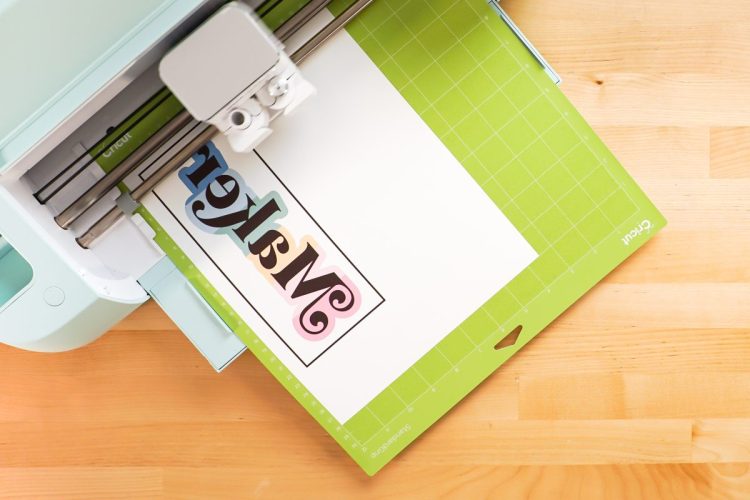
- Peel the cut image carefully off your mat. See this post Tips for Removing Materials from Your Cricut Mat for tips and tricks.
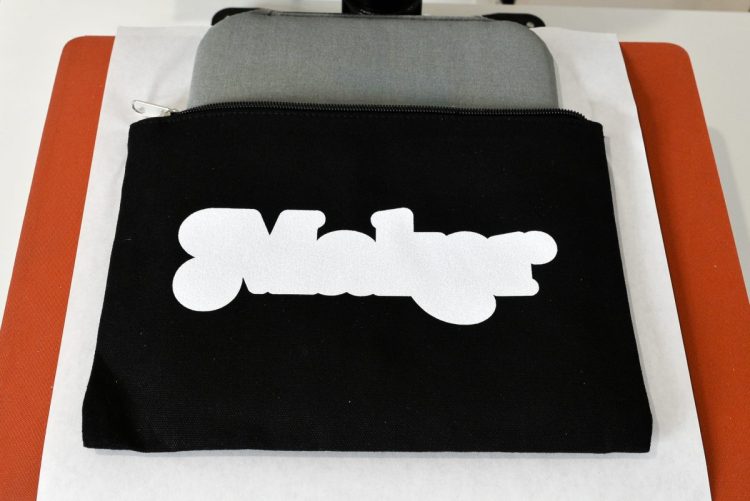
- Press Your Project to Sublimate on Glitter HTVFor this project, we are using a heat press. You can also use a Cricut EasyPress, and you'll want to use firm even pressure when you press. Start by placing your blank on the heat press (or EasyPress mat). If you have a blank that has zippers or seams, you might want to use a pressing pillow. This helps give you a flatter surface to press, which equals a more even transfer. Here, a small EasyPress mat was used inside the zippered pouch and it fit perfectly. Lint roll your blank to remove any fibers or lint.
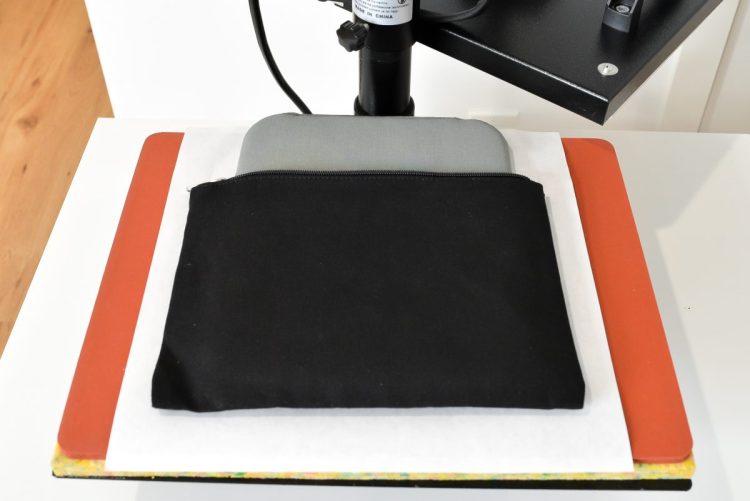
- Set your heat press or EasyPress to 320°.Pre-press your blank at 320° for 15 seconds to remove any moisture and give you a nice flat surface. Once it cools a bit, place your glitter HTV piece on the blank, with the carrier sheet up. Tape down using heat-resistant tape if needed.Then press your HTV to your blank for 20 seconds at 320°.
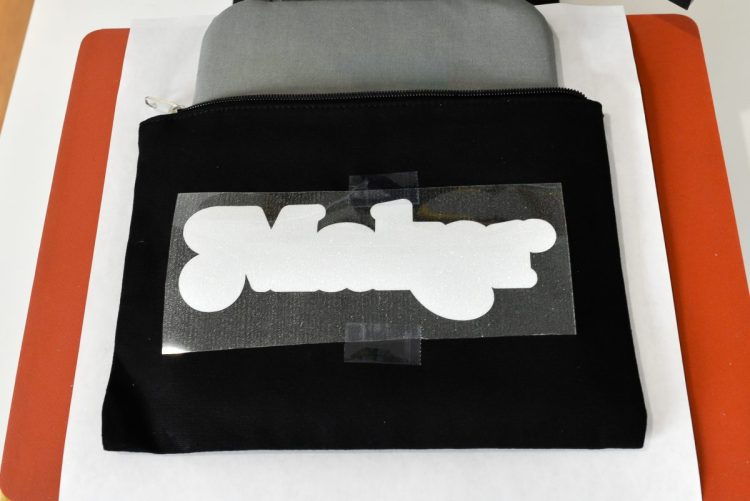
- Then WAIT. Wait for your blank and HTV to cool completely before peeling back the carrier sheet. This helps minimize the possible white outline around your image. If the HTV is cool, it stretches less. Once it's completely cooled, peel back the carrier sheet slowly and carefully, doing your best not to stretch the HTV.
- Now place your printed image face down on your glitter and tape.
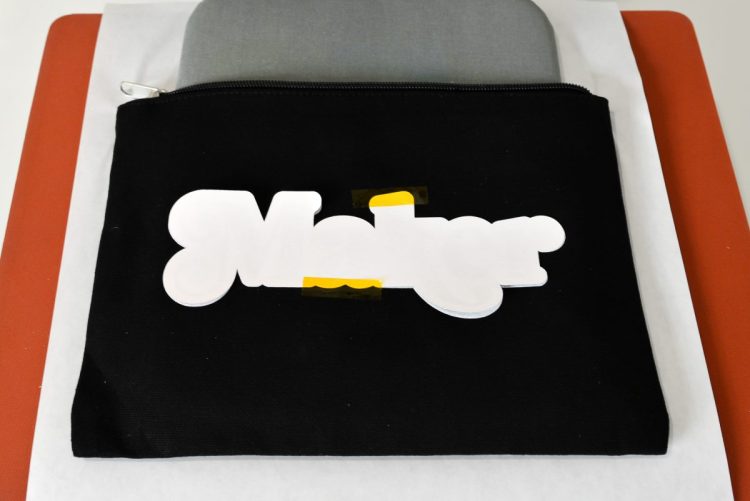
- Reset your heat press / EasyPress to 400°. Once it's to temperature, press your printed sublimation transfer to the HTV for 60 seconds.Then WAIT. Again. Wait until it's completely cool to remove the transfer—this way you minimize the risk of ghosting. You can read more about ghosting and other sublimation issues in this Troubleshooting Sublimation Printing post.Once it's cool, remove the transfer sheet and your image is done!!