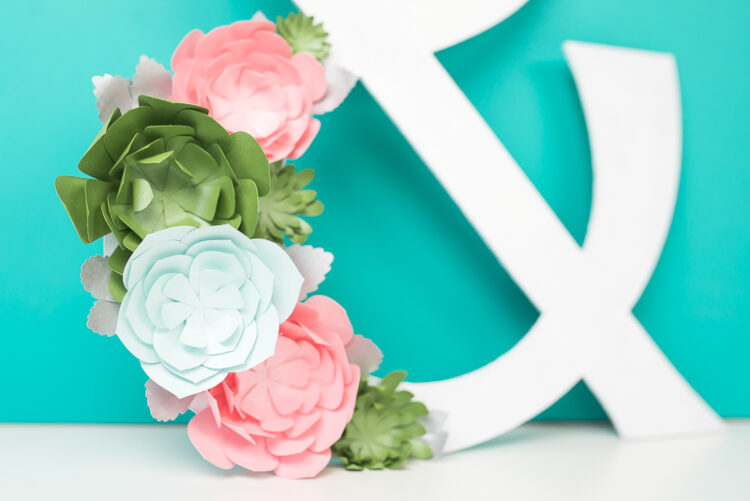
HOW TO MAKE PAPER SUCCULENTS
Get step-by-step instructions for making paper succulents and flowers using your Cricut and Cricut Design Space files. Perfect for nurseries, spring decor, and bridal and baby shower decorations!
Equipment
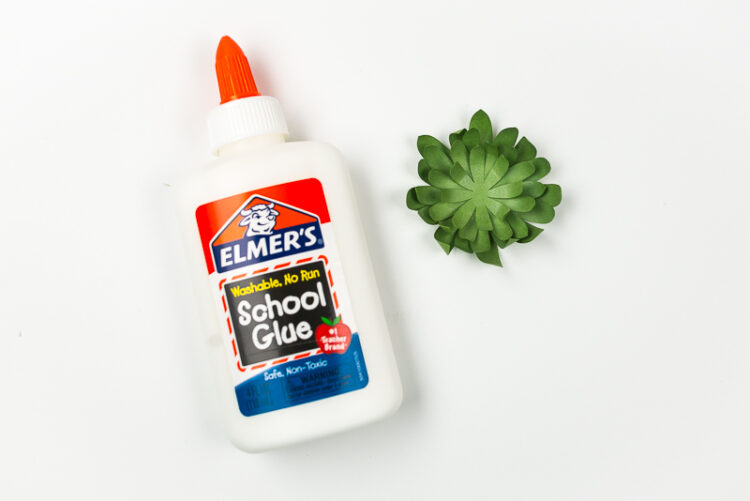
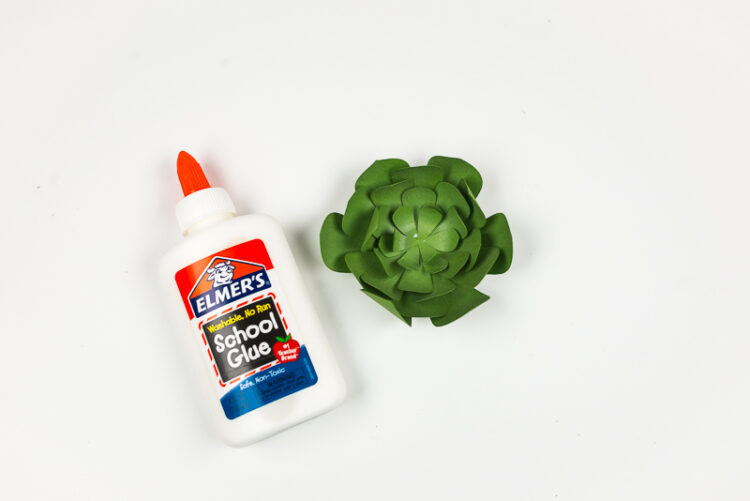
- Aleene's or
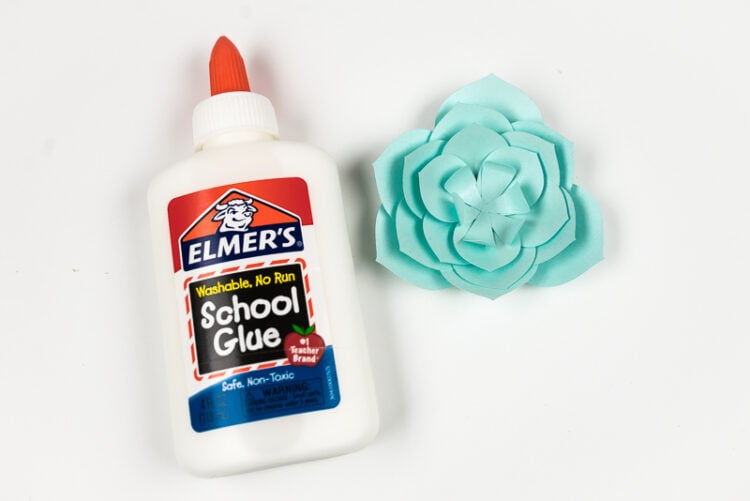
- Elmer's Glue
Ingredients
- Spiky succulent (Design Space #M124F11)
- Six-leaf succulent (Design Space #M1A950E)
- Three-leaf stacked succulent (Design Space #M124F11)
- Separate leaf succulent (Design Space #M124F11)
- Leaves (Design Space #M124F11)
- metallic printer-weight paper
Instructions
- Assembling Cricut Succulents
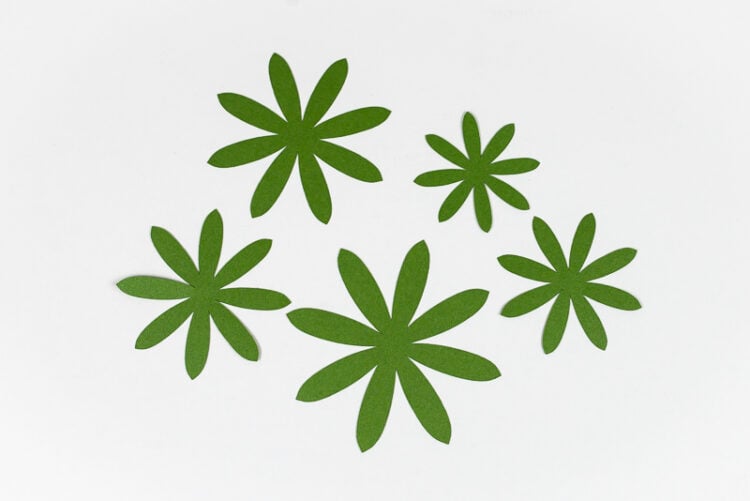
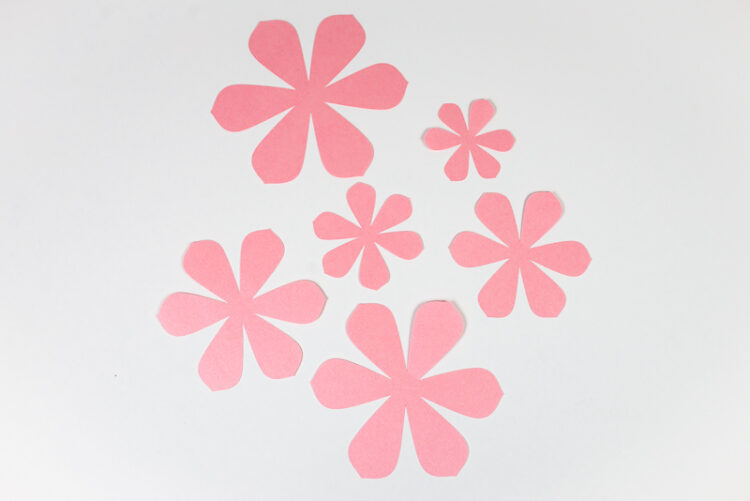
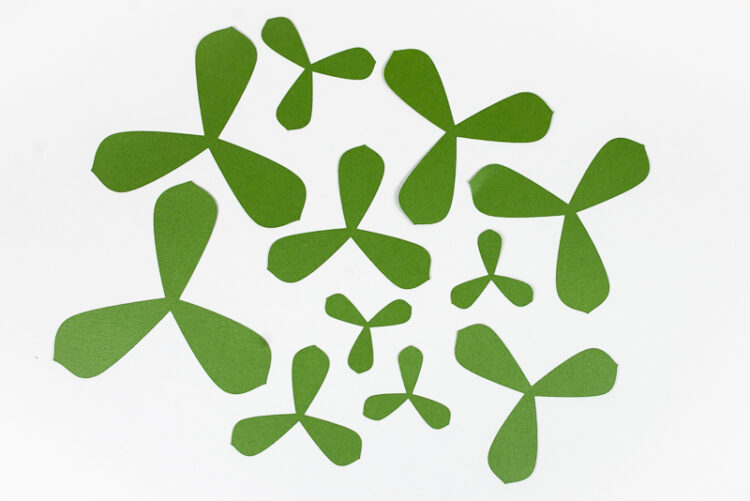
- Spiky Leaf SucculentCut out the pieces on your Cricut (Read my Ultimate Guide to Cutting Cardstock and Paper with a Cricut for tips and tricks).There are five pieces, ranging from little to big.
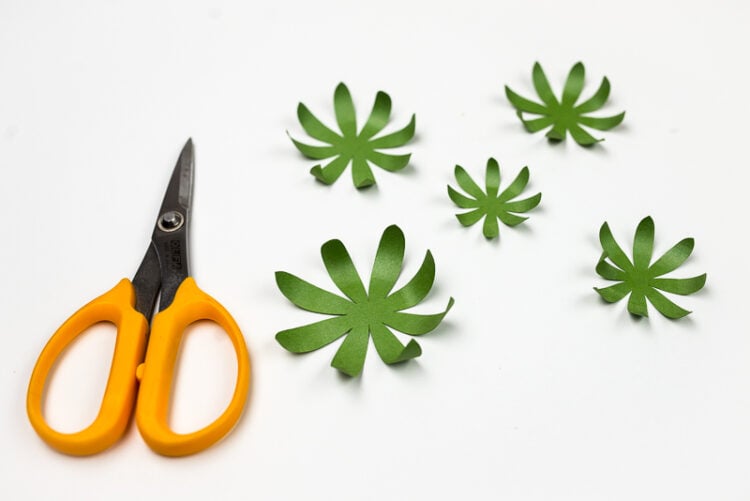
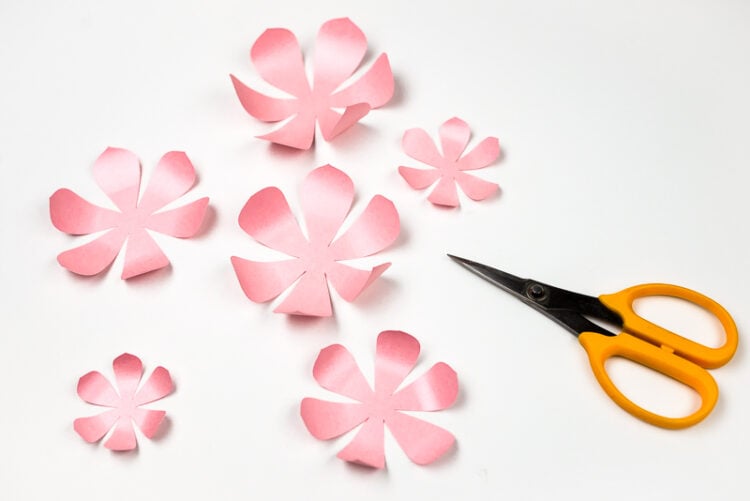
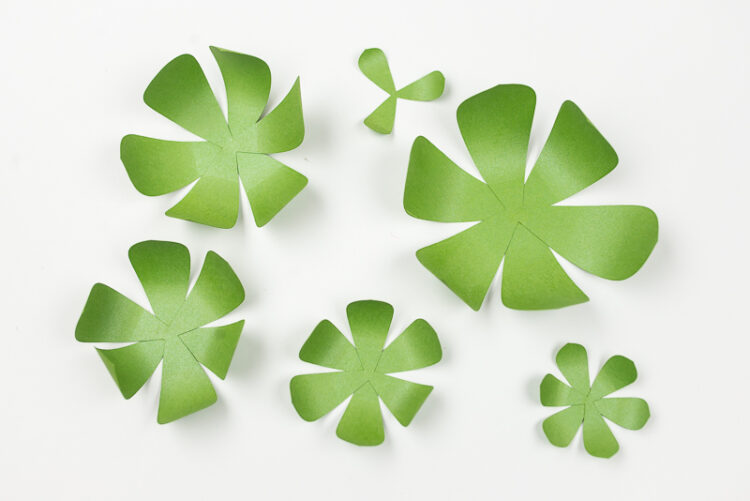
- Start by curling the leaves. Wrap each leaf around a pencil or use scissors to curl the pieces like you would curling ribbon on a gift. I like the scissor method, but be aware that it’s easier to tear your pieces using this method. Curl up each leaf a bit. I try to curl the smaller pieces a little more tightly than the larger pieces, but you can always re-adjust once they are glued together.
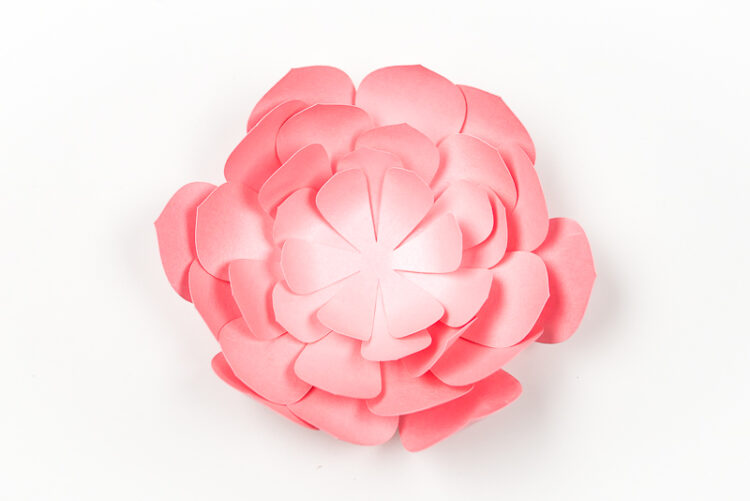
- Then stack the pieces from largest on the bottom to smallest at the top, and glue all the layers together, offsetting the leaves for each layer.
- And that’s it! This is a nice and easy one to start with, but make sure to be careful when curling those smaller leaves so they don’t tear.

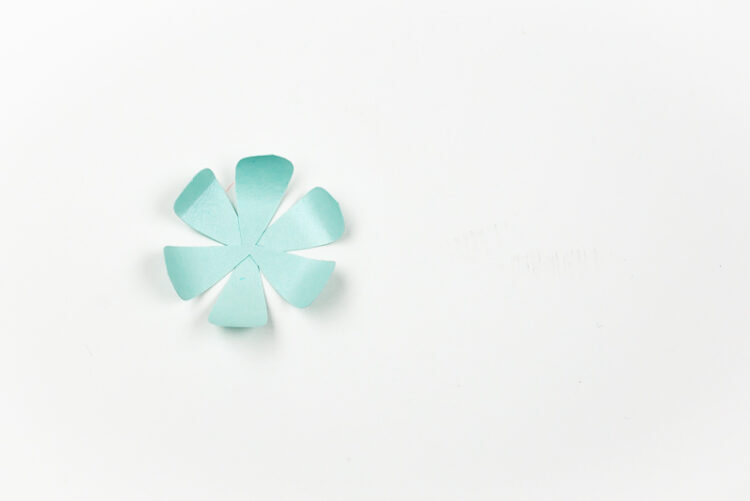
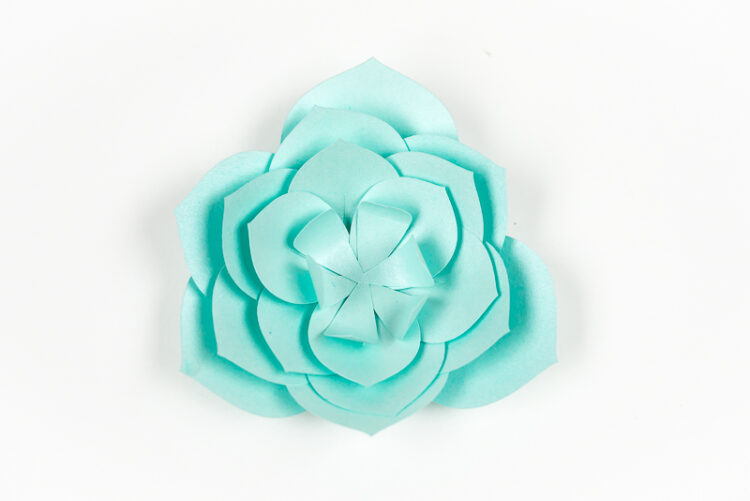
- Six-Leaf SucculentThis succulent is put together in the same manner as the one above. It’s six different pieces, all shaped the same, ranging from big to little.
- Use scissors or a pencil to curl up all of the leaves.
- Layer and glue all six pieces together, offsetting the leaves.

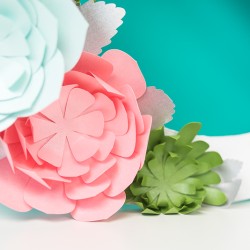
- And that’s it! I think this one can double as a flower, especially when made in pink or purple tones.
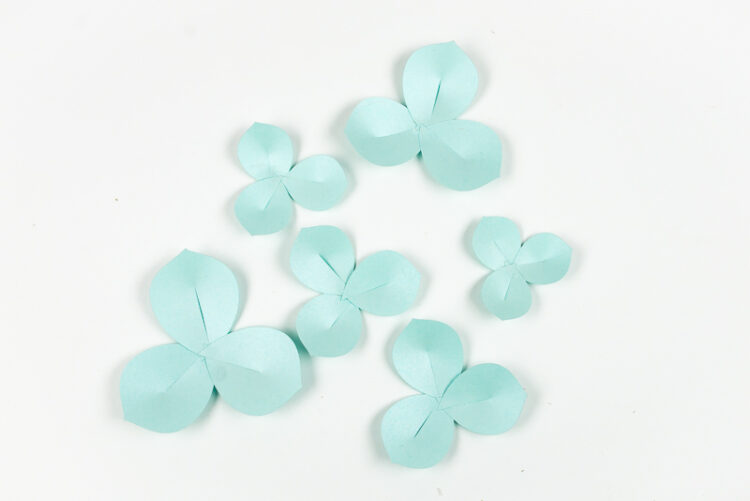
- Three-Leaf Stacked SucculentFrom here we move up in difficulty just slightly. This succulent has 11 pieces. There are two of each size, except for the smallest piece, which has three of that size.
- Use the same method above to curl all the leave pieces. Be extra careful if using scissors for this one—the pieces can tear pretty easily (thankfully it’s so easy to cut out more using your Cricut if you need!).

- Then match up each piece to its mate (the one of the same size) and glue them together, offsetting them. There will be one small one left over.
- Then glue all the glued sections together, biggest on the bottom to the single last piece on the top.
- This one gives a similar effect to the six-petal succulent above, but I think there’s something about it that looks more succulent-like!
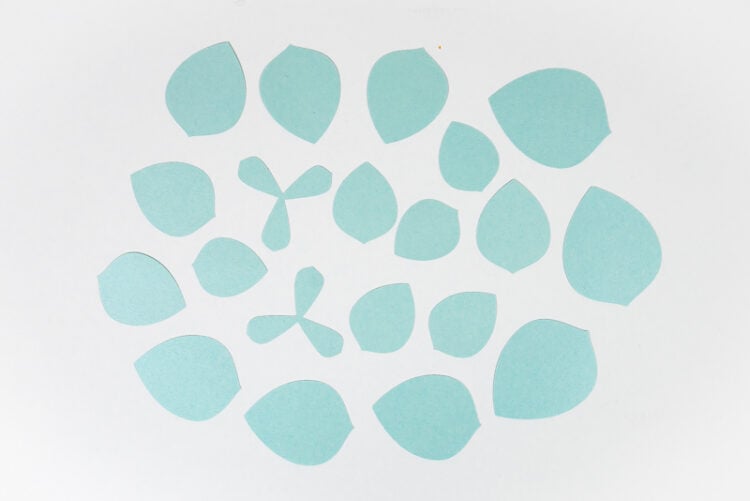
- Separate Leaf SucculentThis is definitely the most complex succulent that we’re making today. When you cut out the pieces on your Cricut, you’ll have 18 individual leaves and two three-leaf pieces.
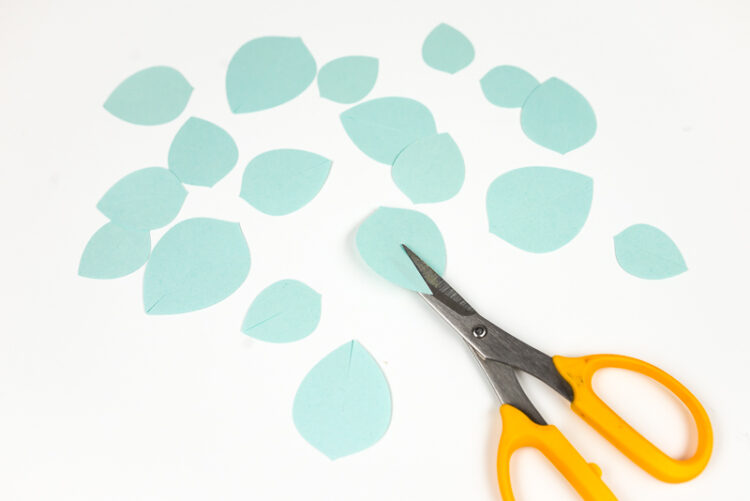
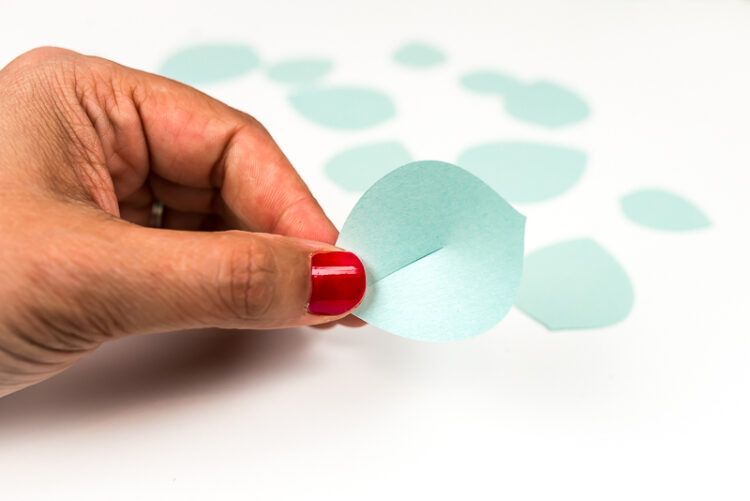
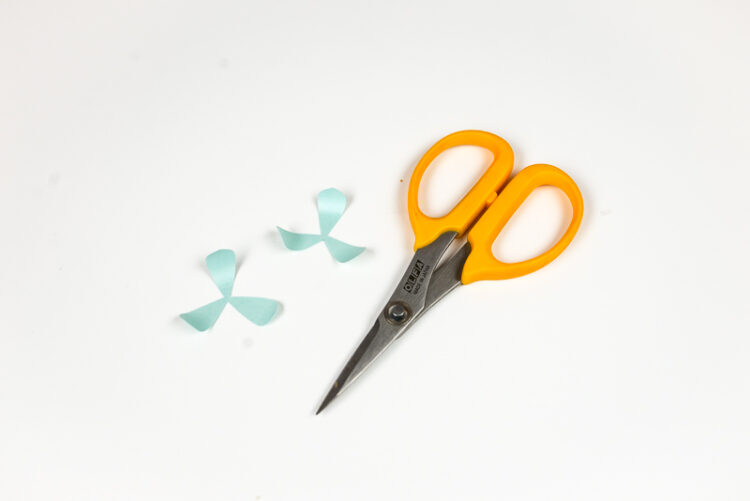
- Instead of curling these individual leaf pieces, I think it works better to cut a slit from the bottom, 2/3 of the way up the leaf.
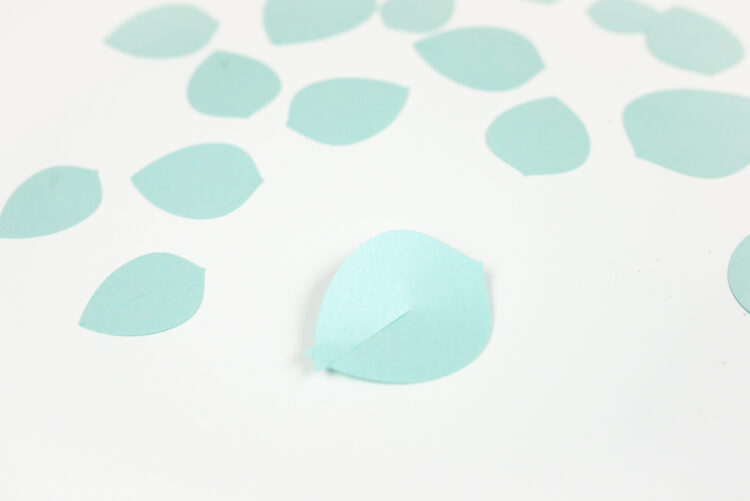
- You can then use craft glue to overlap the cut ends to create some dimension in the leaf.
- Then match the leaves up in sets—there are three leaves per size.
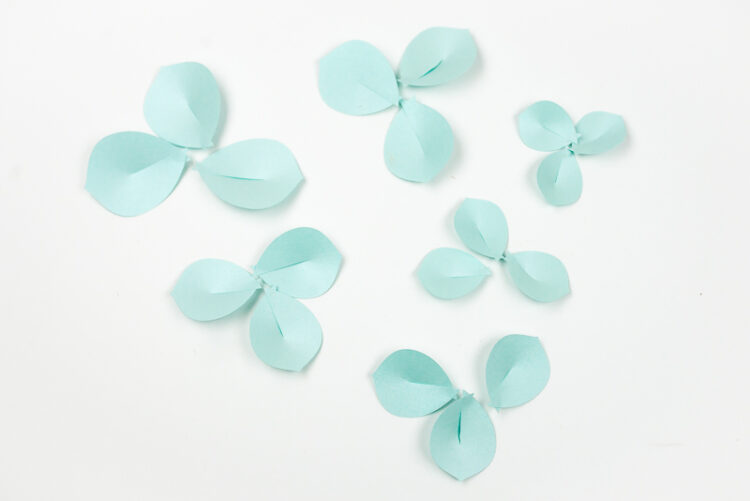
- And glue the three pieces together to form one single piece from three leaves.
- Then curl the leaves of the two three-leaf pieces and glue together.
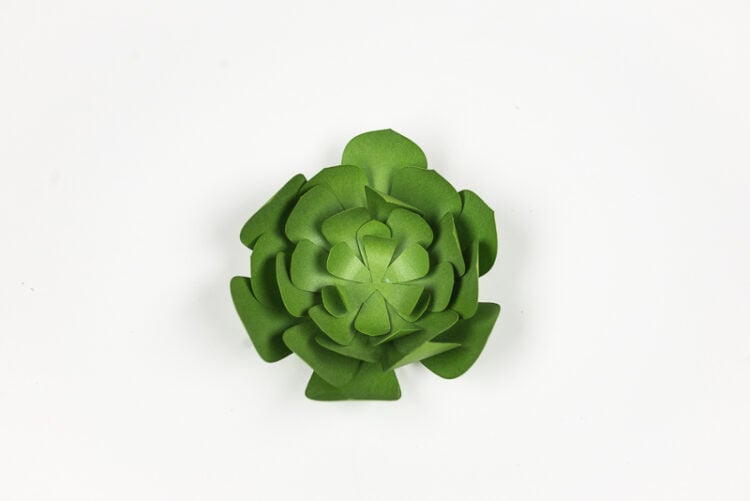
- Then, like you did with all the other succulents, glue all the layers together, offsetting the layers.
- Tada! You’ve made the most complex succulent of the bunch!
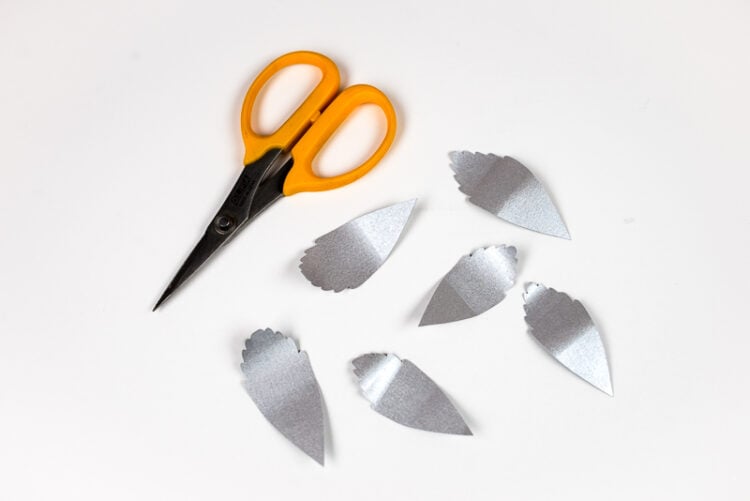
- LeavesThese leaves are not really a succulent by themselves, but they look really pretty when used in conjunction with the other succulents we’re making.
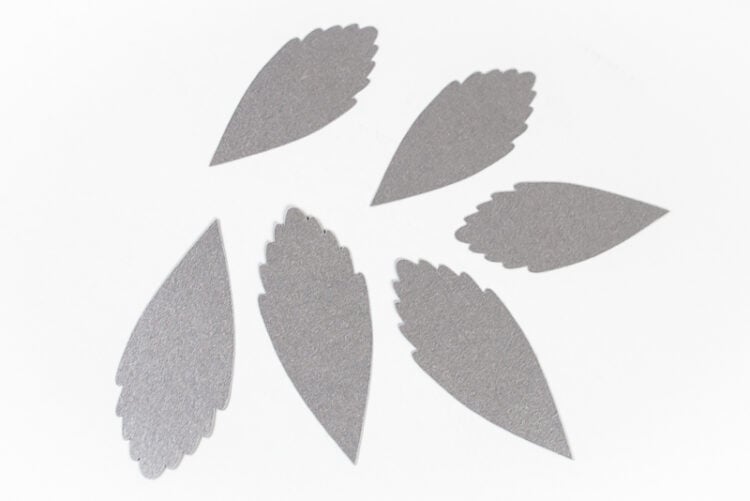
- I use my scissors to curl the leaves. Sometimes I’ll curl them one way and then curl just the end back the other way. Play with the curling to create different levels of dimension.
- Now you are ready to use your succulents in a project! I used my Cricut Knife Blade to cut a chipboard ampersand using the Cricut font Alphalicious. I sealed it with ModPodge before painting it white.Then I glued my succulents to my ampersand, using adhesive foam squares to create some depth and dimension!