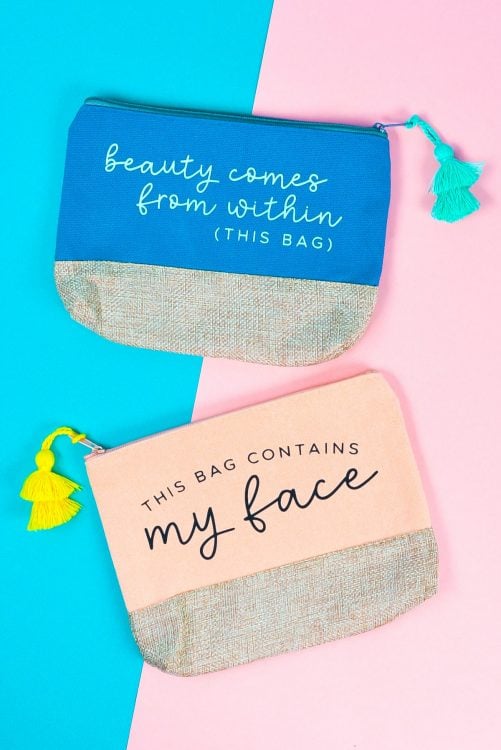
Funny Makeup Bags with Your Cricut
Make these funny makeup bags with your Cricut! This is a beginner Cricut project that takes less than 20 minutes and perfect for using scraps of iron on vinyl. Grab the funny makeup SVGs and make your own!
Equipment
- Cricut Joy or
- mini iron or
- Pressing Mat or
Ingredients
Instructions
- Upload your makeup bag SVG to Cricut Design Space (see this post Uploading SVG files to Cricut Design Space if you need help).
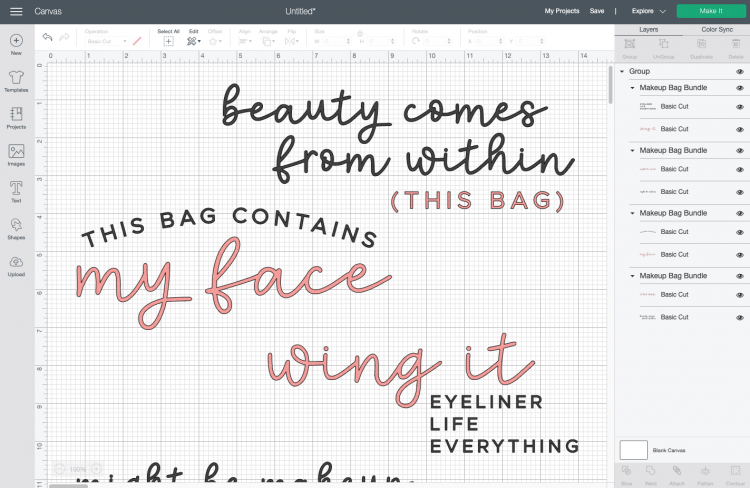
- For this project we are only making two of these images, so the images were ungrouped and the ones not being used were deleted. If you'd like, change the color of your images so they will work on your bags. For the pink bag, black iron on was used and for the blue bag mint was used. Resize each image to be 5.5" wide, which will fit nicely on these zippered pouches. Make sure you resize to the size of your own bags.
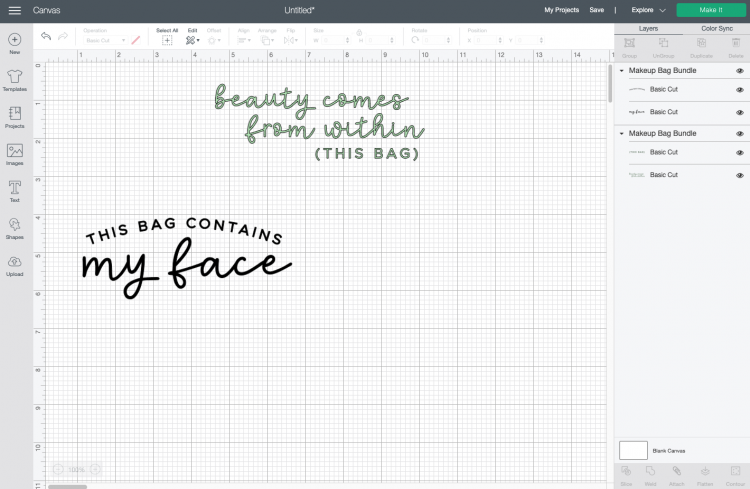
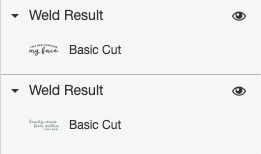
- Because these images started out as two colors, you'll notice that there are still two layers for each image in the Layers Panel on the left. For each of these two images, select both pieces and click Weld so they cut as one piece.
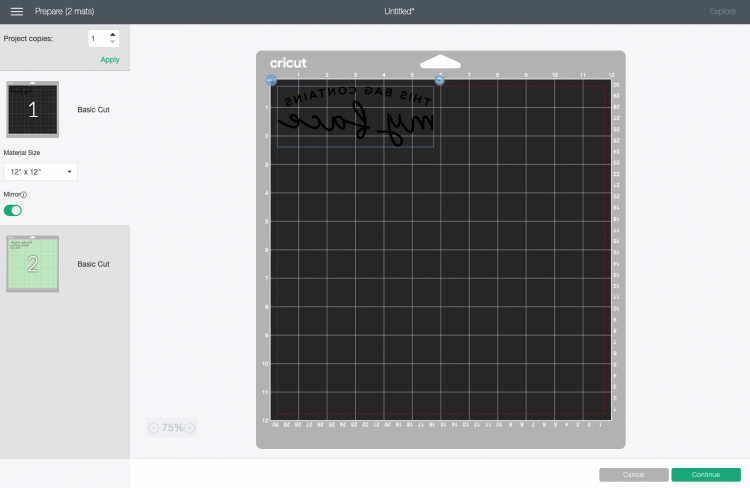
- That's it! Now you’re ready to cut. Click Make It in the upper right. Make sure you click “mirror” for both mats—you always want to mirror your iron on vinyl so that it adheres the right way to your base material.Then cut your images from your iron on vinyl. Learn more about Using Iron On Vinyl.
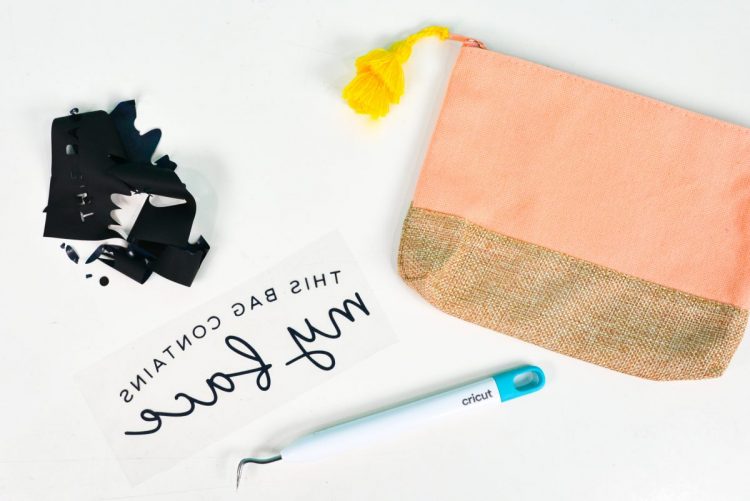
- Once you’ve cut out the files, use the weeding hook to remove all of the negative material from your files. If you need help, check out the post on Weeding Iron On Vinyl.
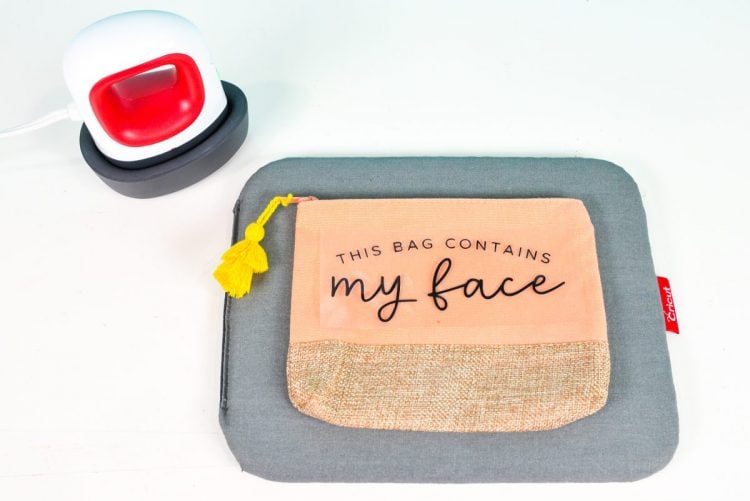
- To adhere my transfers to the pouches, the EasyPress Mini was used. I love this little guy (read my post about the EasyPress Mini) and it’s perfect for projects like this!Heat up your EasyPress Mini to the medium setting. Place your pouch on an EasyPress mat or other pressing mat, and place your iron on transfer on your pouch.
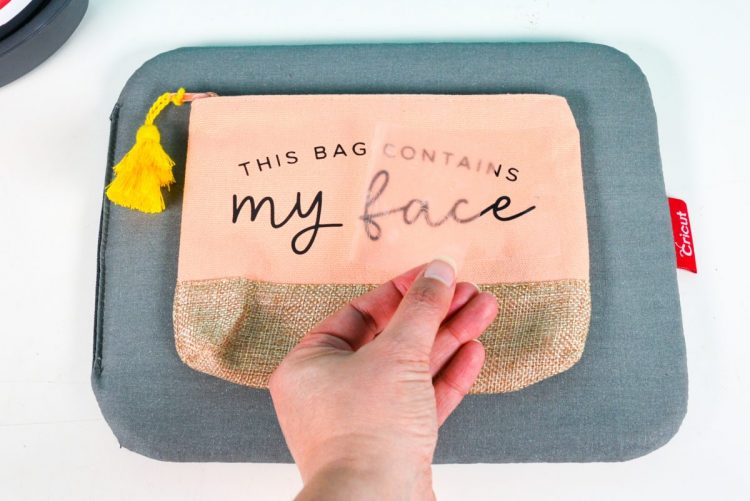
- Then cover with a pressing cloth or sheet. Then press your decal for about 15 seconds.Peel back the iron on vinyl carrier sheet and you’re done! If your transfer doesn’t fully stick, press again.
- This is a super easy Cricut project, perfect for beginners!