DIY N95 MASK
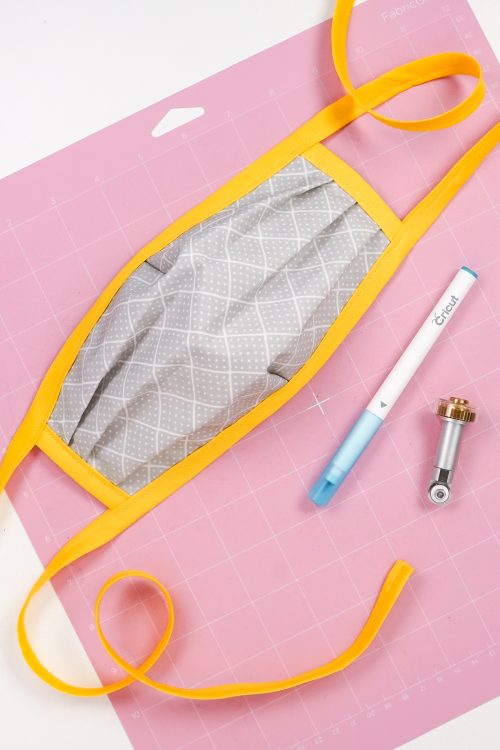
This free Cricut N95 Mask Cover pattern is designed to go over an N95 respirator mask or worn alone. Make it easily by marking and cutting the pattern with your Cricut Maker's rotary blade.
Equipment
- Cricut Maker with Rotary Blade
Ingredients
Instructions
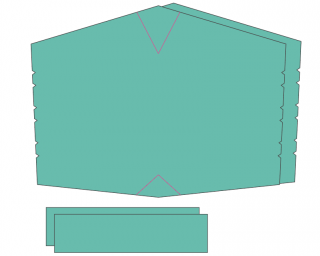
- NOTE: ALL the credit goes to Jessica Nandino, who is a nurse, for this pattern and instructions.This Cricut Maker SVG is free (I'm not even asking for your email!) so that as many masks can be made as possible. As Jessica said in her post, do not sell this pattern or sell masks made using this pattern. Masks are for personal use or should be donated to healthcare workers (not sold).There are two versions of the pattern. One with Jessica's original 1/2" seam allowance and notches, and one with a 1/4" seam allowance and fabric marks instead of actual notches.Each pattern has two layers, but only one of the layers has markings.Both versions have pattern pieces to make the side binding, but you will need to cut the longer binding pieces for the top binding / ties by hand since the Maker cannot cut such lengths. See below for a modification using bias tape.Please see Jessica's post for assembly. Some suggestions are below for ways that you can change up the pattern based on the materials you may have.Want a fitted mask? Check out my fitted mask SVG post.
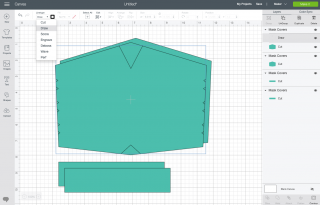
- Setting Up Your Cricut Mask File to Mark and CutUpload the SVG to Cricut Design Space. You'll see five layers—two mask layers, a markings layer, and two binding pieces.
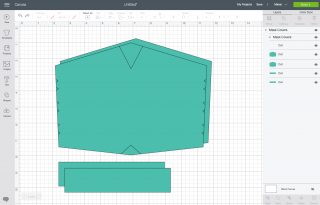
- Click ungroup so you can manipulate each layer individually. Click on the markings layer and change the linetype to draw in the top Edit menu.
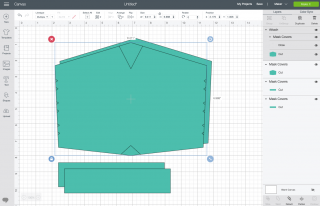
- Select the markings layer and the single mask piece right below it and click Attach. This will ensure the Cricut Maker writes on the correct layer of fabric.
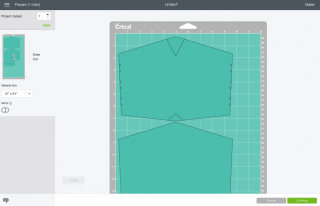
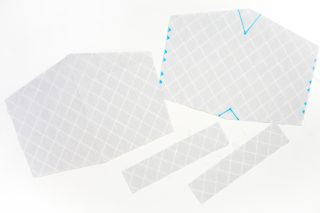
- You're ready to cut your mask. You can fit both mask pieces and the binding pieces on a piece of 12" x 18" fabric. If you are making more than one mask, use the Project Copies tool at the top of this screen to increase the number of masks.
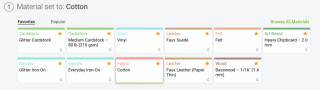
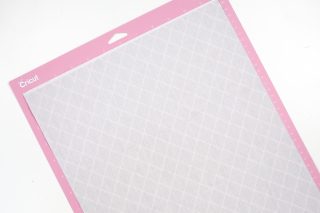
- Choose cotton as your fabric, and insert the fabric marker and rotary blade into your Cricut Maker. You can learn more about Using the Fabric Pen.

- You'll want to put your fabric face-down on the mat, particularly if you are using a darker fabric. The fabric pen will show up better.Update: A nurse suggested using two different fabrics for each layer, so she could tell which was the front of the mask and which was the back. If you do use the same fabric, keep the inside layer wrong-side out so that it's clear it's the inside of the mask.
- Then click Go and your Maker will mark and cut your pattern pieces for you! Head over to Jessica's tutorial for how to sew your mask.
- ModificationsIf you want to save yourself the step of trimming the pattern, use the 1/4" seam allowance SVG and skip the trimming step.Use the fabric pen in the Cricut Maker to mark your notches/darts. So much faster than notching and marking by hand.Instead of making your own binding, for this project double-fold bias tape was used. You'll need one package of bias tape per mask. Cut the two long pieces at 48" each, and the two side bias pieces at 6" each (the extra bit on the ends of the side binding makes it easier to pull through the machine while sewing—because the feed dogs get fussy if there are too many layers). Do the sides, then the longer pieces. All you need to do is sandwich the mask in between the two layers and sew from end to end.You can size this Cricut N95 mask cover pattern up by an inch or down by an inch to make it work better for smaller or larger faces. People of all sizes are on the front lines of this COVID-19 crisis.