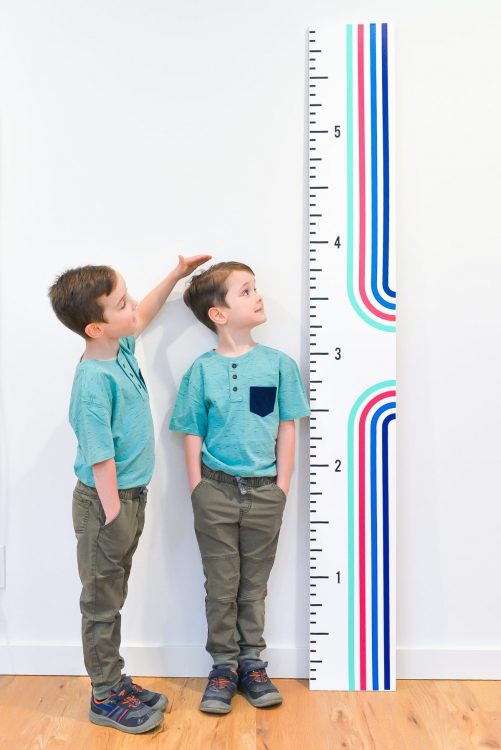
DIY HEIGHT RULER
Track your child's height with this fun DIY height ruler! Learn how to use Cricut Smart Vinyl without a mat so you can make larger than life projects on your Cricut Maker 3 or Cricut Explore 3.
Equipment
- Paint & roller/brush
Ingredients
- Cricut Smart Vinyl
- 6' x 10" wood board
- Height Ruler SVG #C479
Instructions
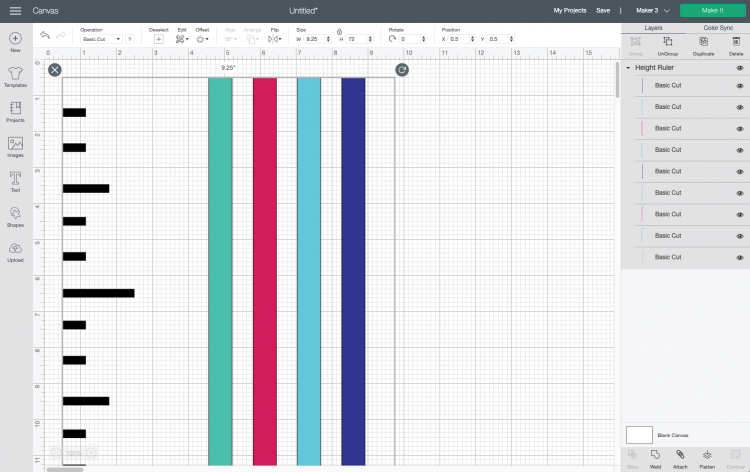
- Paint the BoardIf desired, start by painting your wood board. For this project, went with a white chalk paint and it took two coats to cover the board. Cut the Height Ruler SVG on your CricutStart by uploading the SVG to Cricut Design Space. Learn more about How to Upload SVG Files to Cricut Design Space. It will come in very large! If you'd like to change the colors, you can do so before hitting Make It in the upper right.
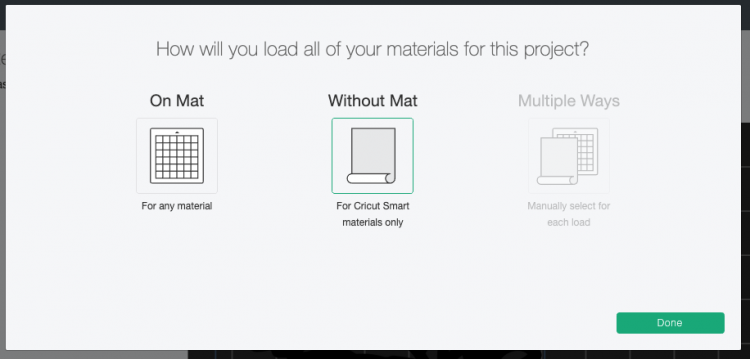
- Before hitting the Prepare Screen, a pop-up will ask you how you want to cut your project. Cricut Smart Vinyl is being used for this project, so Without Mat was selected.
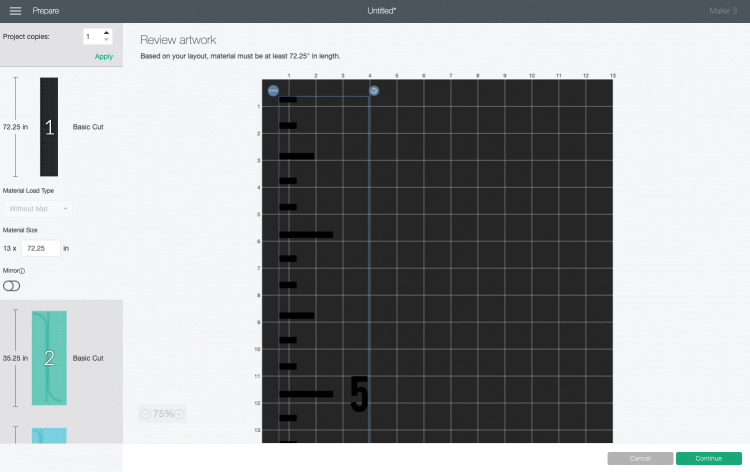
- In the Prepare Screen, you'll see all of your materials on the left. You'll see that you'll need 72.25" of Smart Vinyl for your longest cut (the black ruler layer), and then you can scroll down to see how much you'll need for the other cuts. This is helpful for making sure you have the right amount of material for your project BEFORE you cut it.
- Didn't like how Cricut Design Space was laying out the rainbow pieces on the mat, so the Move and Rotate tools were used (see the post How to Fit More on a Cricut Mat and Save Material!) to move the pieces to the edge. This way you will be able to use the center of those sheets of Smart Vinyl for other projects in the future.
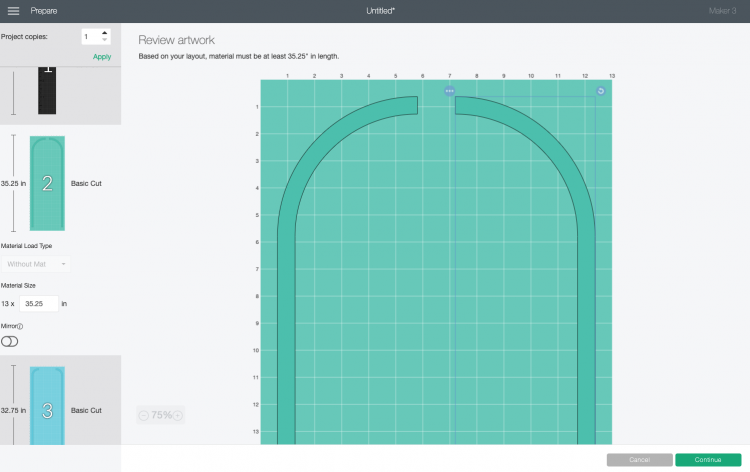
- This was done for all of the rainbow layers. Then hit Continue. In the Make Screen, you'll choose your material. Select Smart Vinyl - Permanent (or Removable, depending on what you're using).
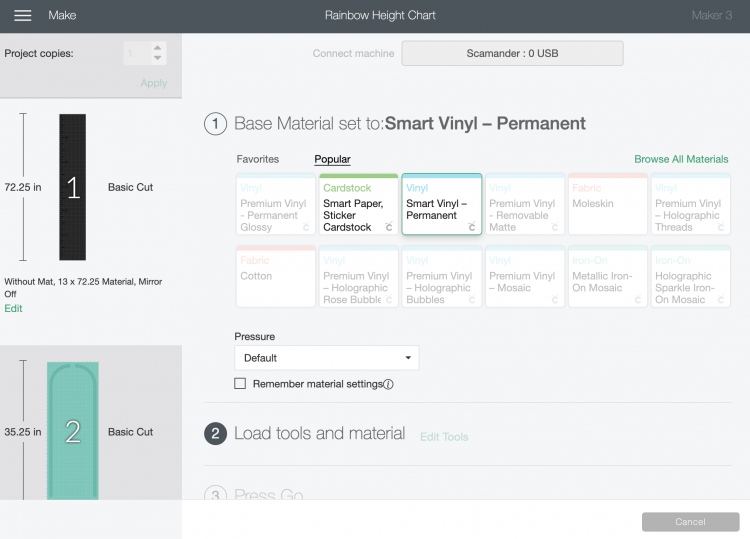
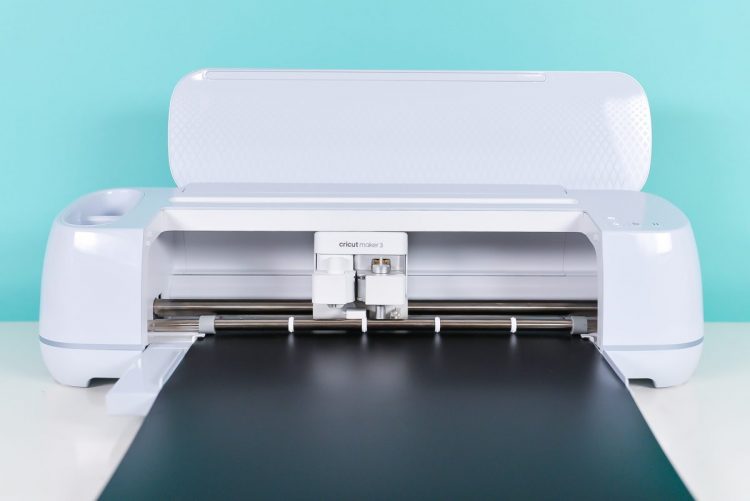
- Then insert your Cricut Smart Vinyl into your machine. Your Cricut Maker 3 or Cricut Explore 3 will pull the material all the way through to double check you have the correct length you need for your project. Make sure there's space behind your machine for it to do this.Then click the blinking Play / Go button and your Cricut will cut your vinyl. The Cricut Maker 3 and Cricut Explore 3 can cut Cricut Smart Materials up to 2x faster than the Cricut Maker and Cricut Explore Air 2. You can watch the Cricut Cutting Speed Comparison to see the difference!After the black layer was cut, the vinyl was trimmed all the way down the center the long way, so that the cut image was one one side, and usable uncut vinyl was on the other. This uncut vinyl won't be able to be cut without a mat, but can still put it on a mat and cut like you would cut regular adhesive vinyl in the future. Check out the post How to Use Adhesive Vinyl with a Cricut for more information on that.
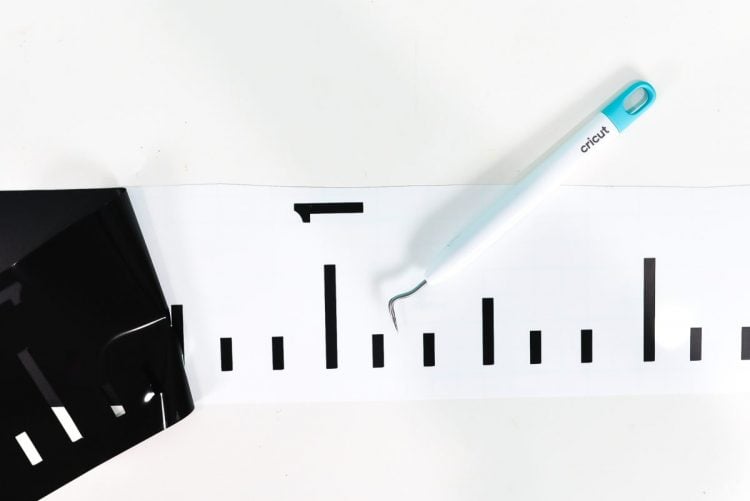
- Adhere the Smart Vinyl to Your BoardThen weed the ruler part of the vinyl. It comes off in one giant piece, except for the little pieces inside the 4 and 6—make sure you get those as well.
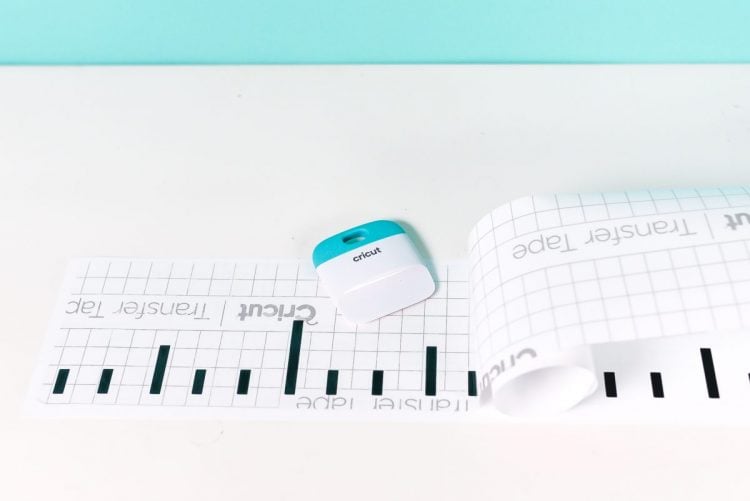
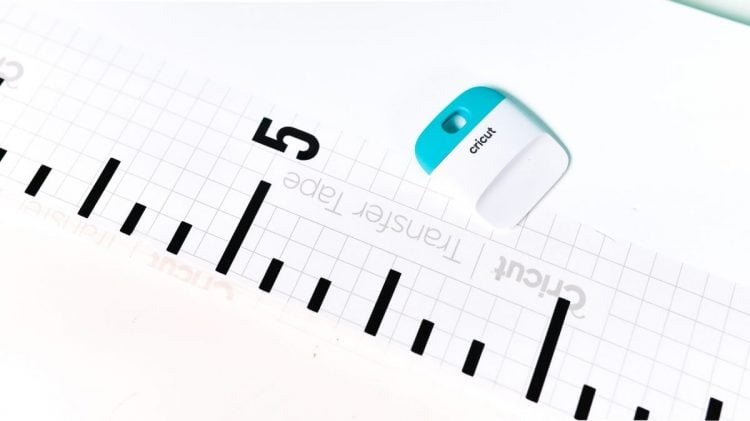
- Next we need to get the ruler image onto the board and to do that we're going to use transfer tape. Cut a long piece of transfer tape straight down the middle so you have two long narrow pieces. To apply, peel the transfer tape off the backing on one end and start to press the sticky side of the transfer tape on top of your image. This method worked really well—then just peel and work your way down the entire image. Two pieces of transfer tape have to be used, so just overlap them a bit so you can transfer the decal all in one go.
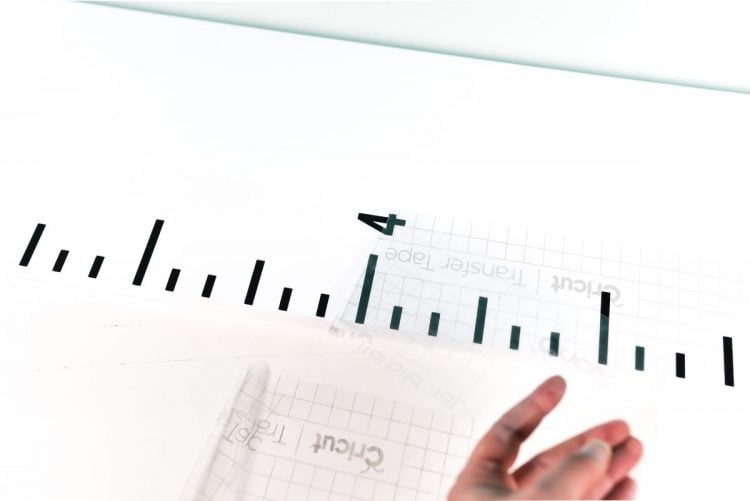
- Then carefully peel the backing paper away from the transfer tape with the decal. If you need, use your fingernail to make sure each piece of vinyl sticks to the transfer tape.

- Then flip the entire thing over and place it on your board. Before you press down, make sure you have it placed exactly where you want it, with the hash marks right at the edge of your board. Then use your scraper to burnish the transfer tape onto your board.
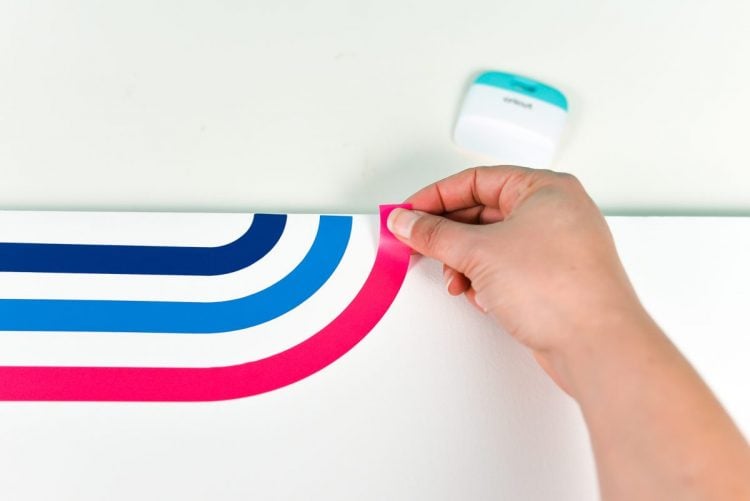
- Then peel back the transfer tape, leaving the decal attached to the board. If you are struggling, check out the post Using Vinyl on Painted Wood for tips and tricks.
- For the rainbow pieces, it was decided not to mess with the transfer tape since they were basically just giant stickers. Each one was peeled off from the backing sheet and applied by hand to the board.
- That's it! Cricut Smart Materials, made this so much easier to make using the matless long-cutting feature!