
USING CRICUT IRON ON VINLY ON A SHIRT
Customize a plain shirt using iron on vinyl! You can make all sorts of designs for custom projects and family vacation tees when you learn to use Cricut iron on vinyl on a shirt!
Equipment
- Cricut Maker or
Ingredients
Instructions
- Preparing a Shirt for Iron On VinylBefore you make your shirt, pre-wash it. If your material is prone to shrinking, you'll want it to shrink before you put the iron on vinyl on your shirt. If you do it after, there's a chance it might crack or peel off after the first few washes. Also, iron the shirt before you get started. Not only does this give a flat surface to work on, it helps lay out the shirt evenly, so that you are getting the cut out in the center of the shirt.
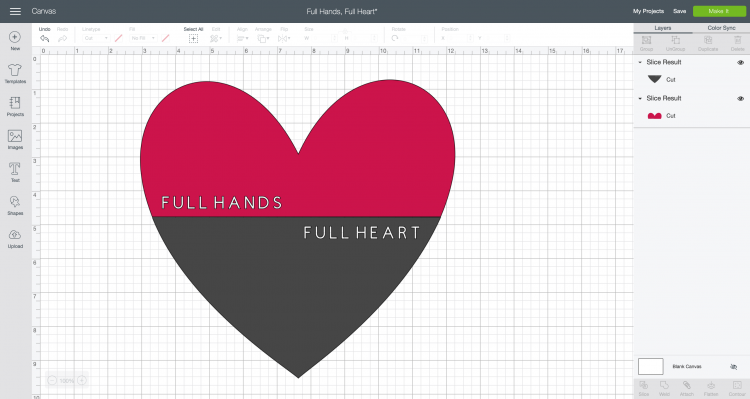
- Cutting Iron On to Use on a ShirtLet's start by cutting our our iron on to use on our shirt. This fun file is in Cricut Design Space - Full Hands, Full Heart. You can make this file, choose one of the thousands of other images in Cricut Design Space, or upload your own!
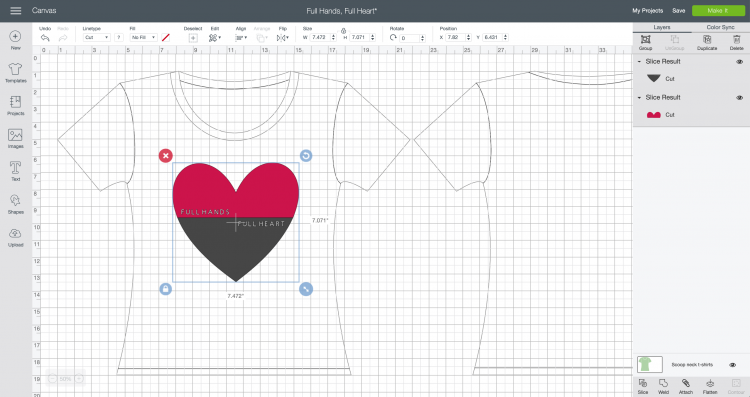
- Before cutting your file, make sure that it is sized however large you'd like the decal on your shirt. Use Cricut's templates to help you size your decal correctly (click here for a detailed post on using templates).Then click Make It in the upper right of Cricut Design Space to cut your project!
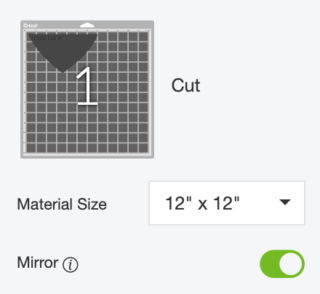
- In the Prepare Screen, you'll see that your two colors of iron on are split onto two mats. Before continuing, you MUST make sure Mirror is turned on for both layers. Iron on vinyl cuts in reverse, so this step is vital if you do not want your words to be backward on your shirt.
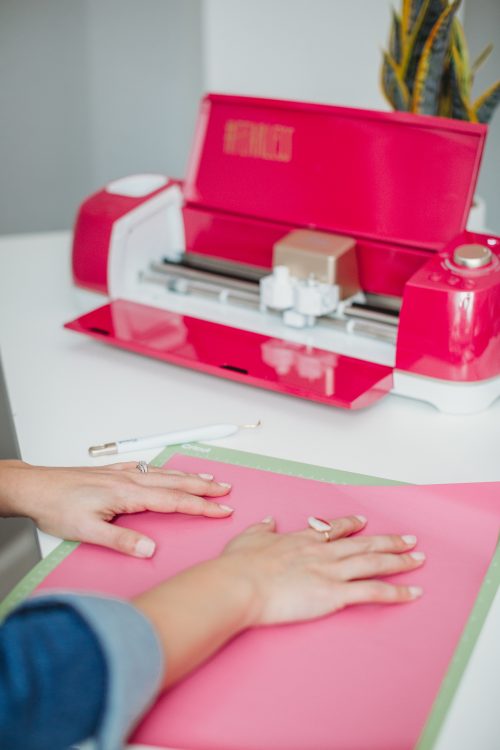
- Then place your iron on face-down (shiny side down) on your cutting mat.
- If you are using a Cricut Explore, turn the dial to "iron on." If you are using a Cricut Maker, you'll choose iron on from the materials directly in Design Space.Then insert your mat into your machine by pushing the blinking arrow button. Press the blinking C and your vinyl will cut! Cut both layers.

- Once your layers are done, you'll want to weed them. This means you're removing anything that doesn't belong on your decal. In this case, that's the iron on around the heart and inside the letters. I have an extensive post on weeding iron on vinyl that you'll want to check out.

- Now you're ready to adhere your iron on to your shirt!
- Lay out your shirt on an EasyPress mat or folded towel on a solid surface. Make sure it's flat and even. You don't want your decal off center because you didn't take the time to make sure your placement was correct.Place your two layers of vinyl on your shirt to get the ideal placement. Then remove one layer so you're only working with a single layer at a time. Make sure to check out this post on layering iron on vinyl for even more information. Obviously if you're working with a single layer, you just have to do this process once.

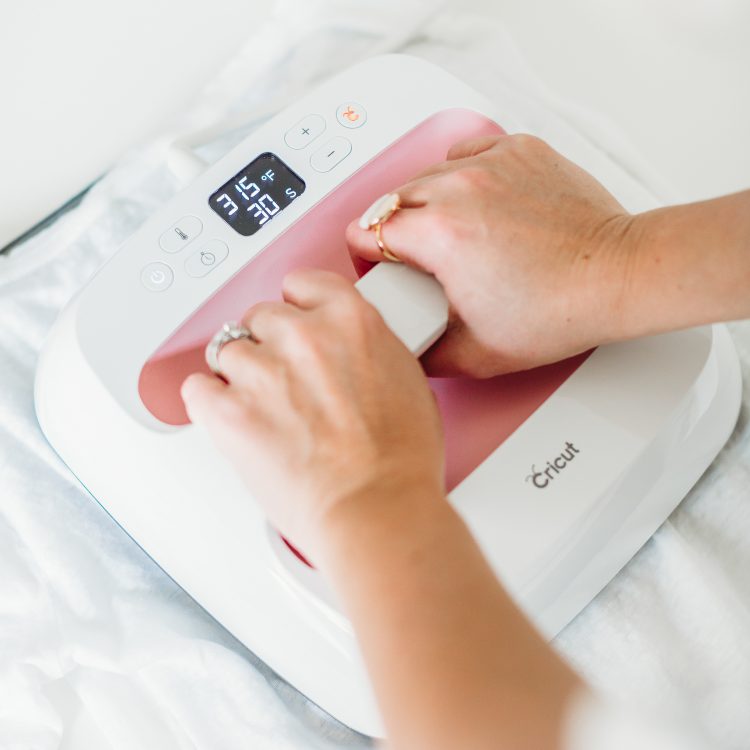
- Regular iron on vinyl has a temperature setting of 315°. Press for 30 seconds.
- Peel back the plastic carrier sheet and your iron on should adhere to your shirt. If not, press again.

- Then place your second layer down. Cut as close as you can to the bottom edge of the pink so it won't leave an imprint in the black vinyl. Also use a piece of fabric between the iron on and the EasyPress. This way the already-pressed iron on doesn't come in contact with the plate of the EasyPress. It can lead to bubbles.
- Peel off that second carrier sheet. Then flip your shirt inside out, and do a 15-second press of your iron on from the backside. This final press is the secret to getting really good adherence!You'll want to make your shirt last! Make sure not to wash it for at least 24 hours, giving the adhesive time to cure. Then wash, inside out, in cold water. Hang to dry and then enjoy wearing your DIY shirt!