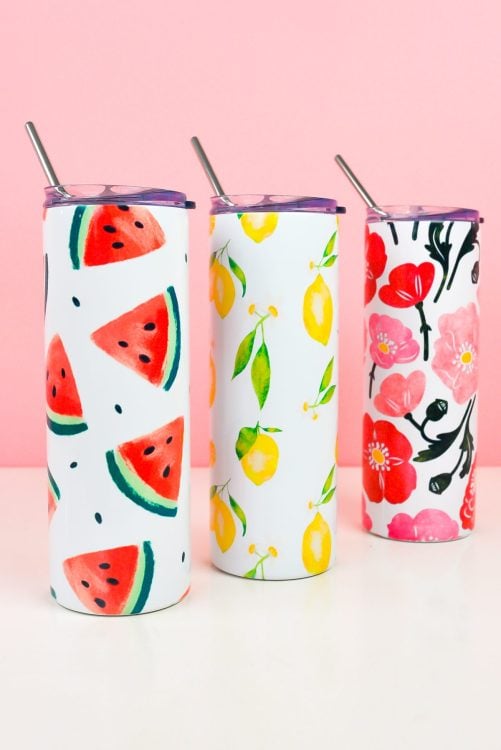
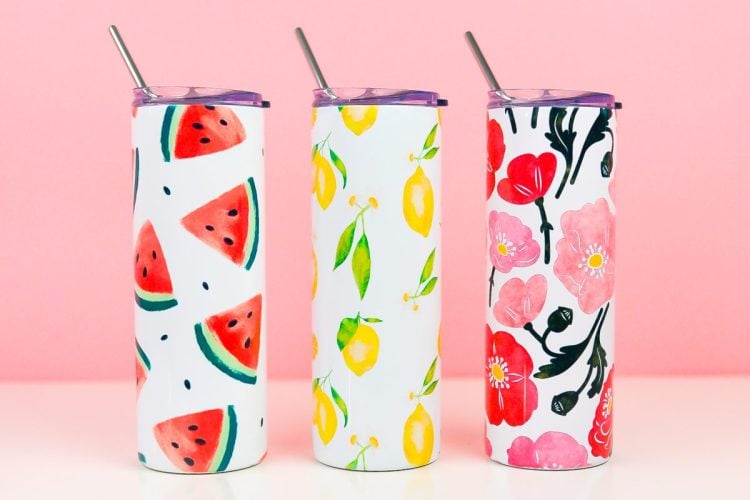
Sublimate a Tumbler Using Shrink Wrap & a Convection Oven
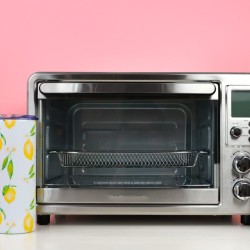
Did you know you can use a convection oven for sublimation? The following instructions walk you through how to sublimate a tumbler using shrink wrap and a convection oven. It's easier than you think!
Equipment
- Sublimation printer with sublimation ink
- Heat-resistant gloves (optional)
Ingredients
Instructions
- NOTE: Before starting this process, please read the section in this post under "Using Shrink Wrap for Sublimation Questions".Setting Up the Tumbler Sublimation FileLet's start by setting up our file in our software. For this project, three different files were used:Watermelon Sublimation TransferLemon Sublimation TransferPoppies Sublimation Transfer
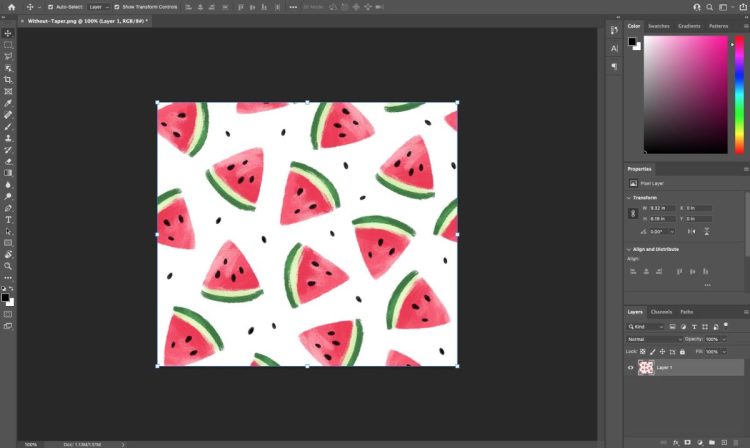
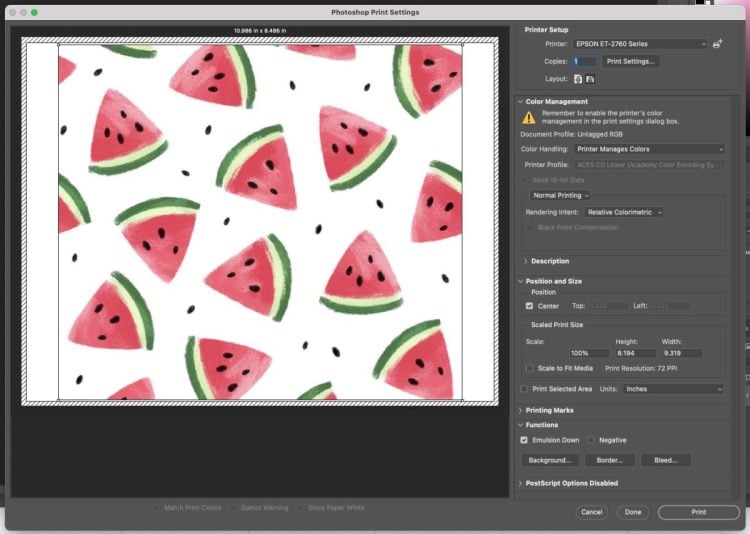
- You can use almost any graphic design software for this part. Cricut Design Space does have its limitations, since the size of the image needed for a skinny tumbler is larger than the Print then Cut maximum of 6.25" x 9.25". So for this project, the PNG was opened in Adobe Photoshop.If needed, resize your image and then print using your sublimation printer.
- In the Print Settings, make sure you have your ICC Profile selected if needed, and click Emulsion Down to reverse your image.Note that your transfer will be duller and the color may not be quite what you expect on the print. If you'd like, you can do a test press using a piece of polyester fabric to make sure the colors are correct before printing another transfer and using it on your more expensive blank.
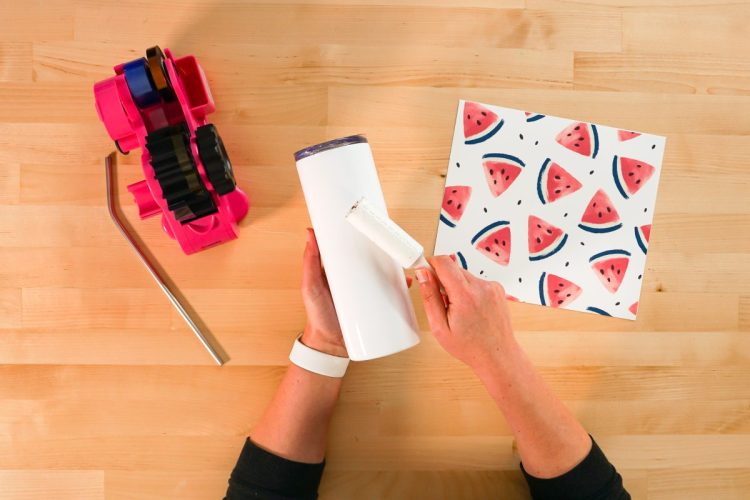
- How to Sublimate a Tumbler in an OvenOkay, let’s make our tumbler using shrink wrap sleeves! Start by turning on your convection oven and setting it to 375 degrees so it heats up fully while you work on creating your transfer. NOTE: Temperature will vary based on the manufacturer of your blank. Always check manufacturer instructions. I also like to use two inexpensive thermometers inside my oven to make sure I have even temperature. Even the digital convection ovens aren't always 100% accurate with heat settings.Clean your tumbler using a lint roller. Any pieces of lint or dust can sublimate onto the tumbler and leave spots.
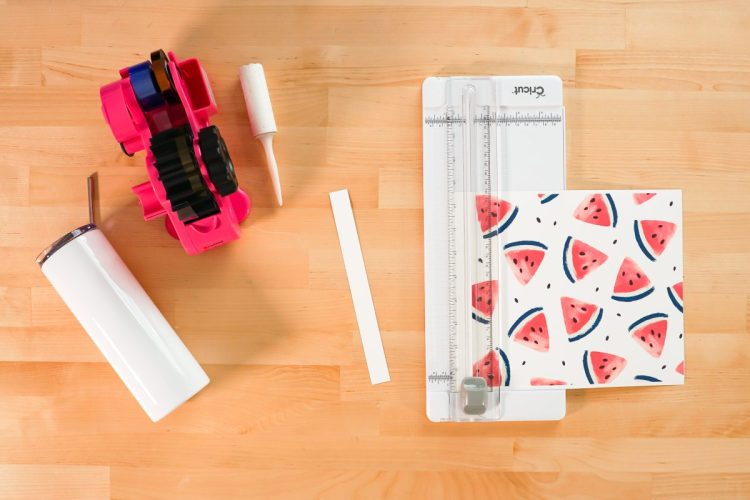
- Trim your design to fit on your skinny tumbler. Leave a tiny bit of overhang on both the top and bottom of the mug. You'll want this so there isn't a blank white area around the edges. Also, ensure you have just the tiniest bit of extra so your transfer overlaps slightly when it's fully wrapped around your tumbler.
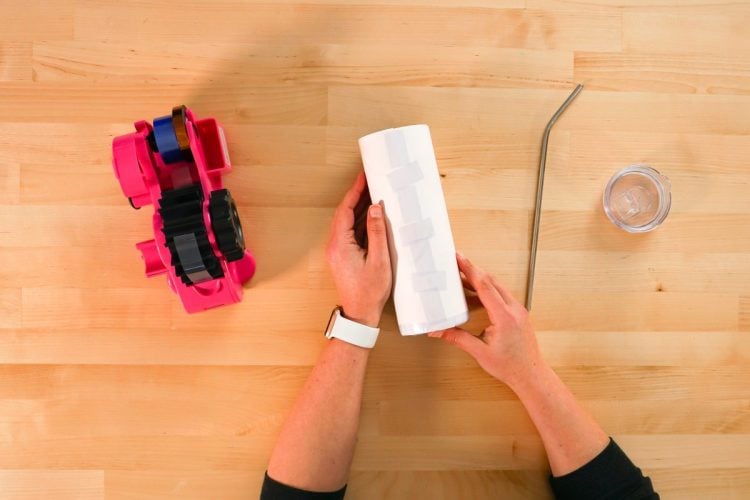
- Remove the cap and straw from your tumbler.For a more detailed tutorial, check out my post How to Tape a Tumbler to Minimize Seams and Uneven Edges!Center the design on your tumbler, pull it tightly and tape down the entire seam using piece of heat resistant tape. You'll want the slightest little bit of overlap so there isn't white space where your design connects. Fold down the bottom of your transfer paper slightly and tape around the bottom of the tumbler, as well. Leaving the top un-taped works pretty well, but you can tape the top if you'd like. Be sure everything is taped as tightly as possible. This will help prevent "gassing out" and blurry images.
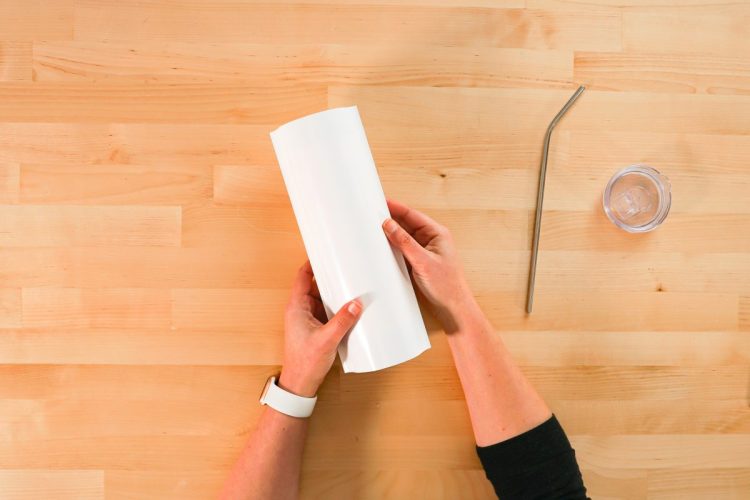
- Place your tumbler inside the shrink wrap sleeve. Center it inside the sleeve as much as possible. Note that a lot of other tutorials will have you use a heat gun to pre-shrink your sleeve, but haven't found this necessary. The second it gets in the oven the sleeve shrinks right up in the heat.
- Once your oven is heated, place your tumbler inside laying flat. Set your timer for six minutes (or the manufacturer's recommended time for your blank). You may want to flip your tumbler halfway through, but I haven't found it necessary with my oven. But if you have an uneven transfer, you'll want to add this step.

- When the timer beeps, remove your tumbler from the oven. Use your heat resistant gloves to carefully handle the tumbler while cutting away the shrink wrap and transfer sheet. You'll want to remove the shrink wrap and transfer sheet right away. First because it helps keep your image from ghosting and second because it is SO MUCH easier removing that shrink wrap when it's warm. Trust me on that one.Always impressed with the end result. These tumblers are cute!