SHARK CLOTHESPIN BAG
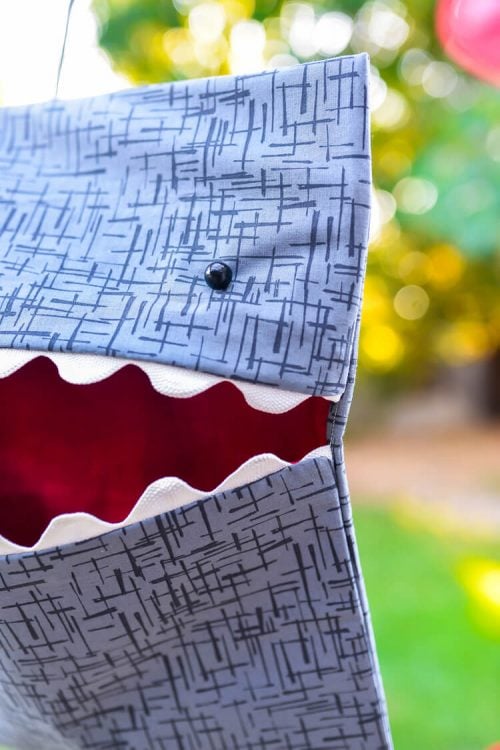
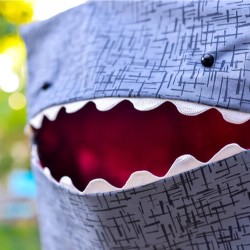
Make laundry day a little more fun with this easy-sew shark clothespin bag! Join me for Polka Dot Chair's Summer Sewing series!
Equipment
- measuring tape
Ingredients
- 1/2 yard gray fabric
- 1/2 yard red fabric
- 1 yard giant white rick rack
- Hanger
- Coordinating thread
- Black buttons
Instructions
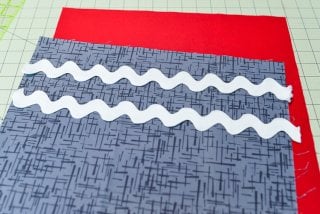
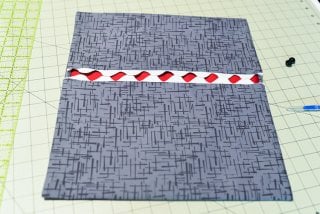
- Start by cutting your fabric. From the red and the gray, you'll need to cut a piece that is 30" wide by the width of your hanger, plus 2" (the hanger for this project was 13", so this piece was cut 30" x 15").Cut two pieces of rick rack the same length as the short side of your fabric (this one was 15").
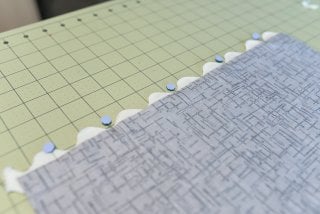
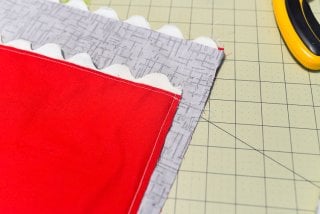
- Place your two pieces of fabric right sides together. Sandwich the rick rack on each end and pin carefully.
- Sew all the way around the edge of your fabric, with a 1/4" seam allowance. Leave a small hole along the long side for turning.
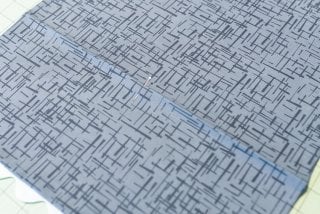
- Fold one short edge down 6" and iron a crease. Place a pin on the center of your crease. Sew a button hole along the crease -- this is where you will insert your hanger.
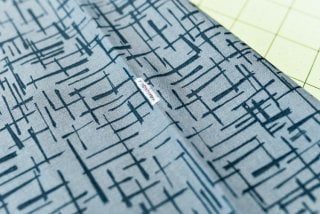
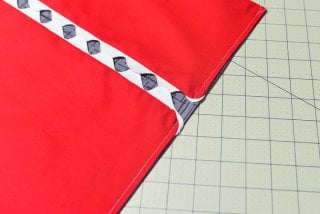
- Now you're going to fold the length of fabric, gray side together, into the shape of your shark, and pin. Make sure the button hole is along the top crease of your fabric. In the photo below, the button hole is at the top center.

- Sew a straight line down each side with a 1/4" seam allowance.
- Turn everything right sides out, and iron flat.
- Sew on your button eyes, insert your hanger through the button hole and you're done!